
Chapter 8
In this chapter we cover loops and conditionals again but with sounds instead of pictures. We
find that students need the repetition and that some students enjoy sounds more than pictures
while others like pictures more than sounds.
In section 8.1 we explain how sound is encoded. We recommend using a microphone and the
Media Tools Sound Tool to demonstrate this. To start the Media Tools drag the mediatools-v5-
sa.image file and drop it on the SqueakVM.exe file (Figure 9).
This will start up Squeak which is what the Media Tools are written in. Squeak is a form of
Smalltalk. There are three windows one named SoundTools, one named PixelTools and one
named VideoTools (Figure 10).
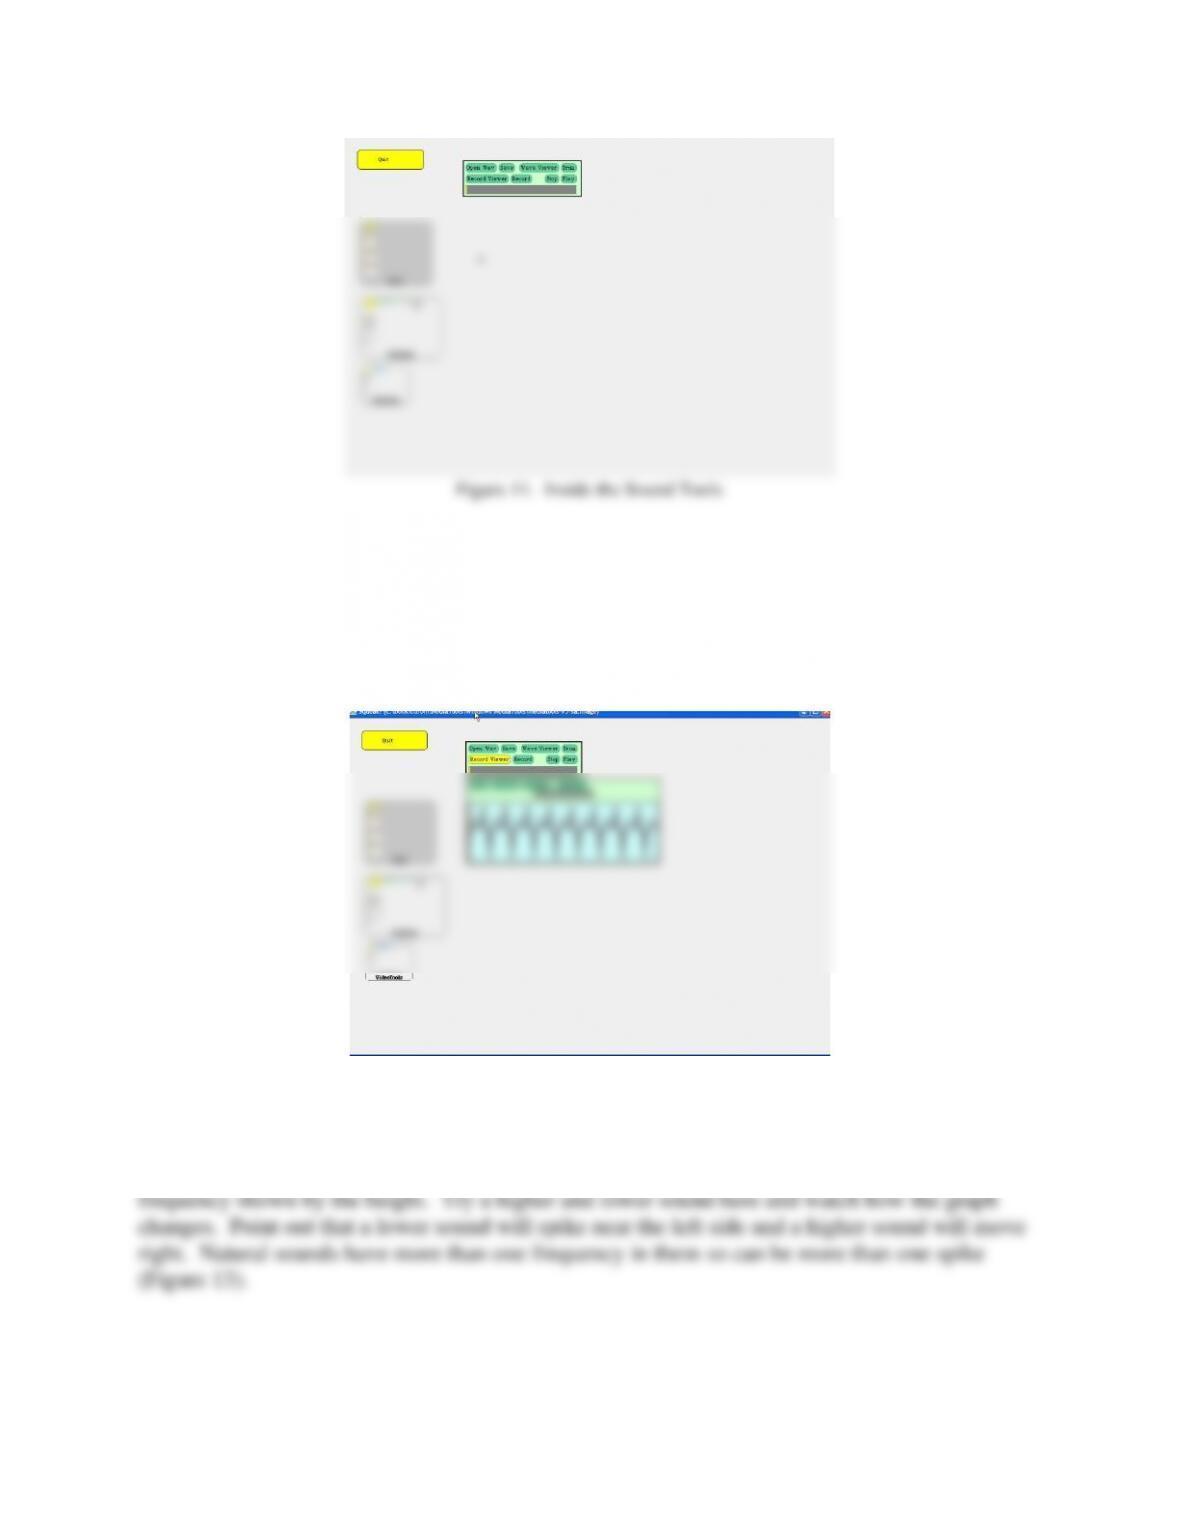
Click on the “Record Viewer” button and then on the “Record” button to see the sounds as they
are being recorded (Figure 12). Click on “Stop” to stop recording. Click on “Play” to play the
recorded sound. Try some high and low sounds to show that low sounds have less cycles per
second. If you don’t like to sing you can whistle. Try some loud and soft sounds and show that
the amplitude of the waves gets bigger. You can bring in some small instruments like a
harmonica or thumb piano and show these.
Figure 12. The Record Viewer Showing a Sound
The default view is the signal view (shown above). In the signal view you are looking at the
sound values as they happen. You can see the positive and negative values and the cycles. Click
on “Spectrum View” to see the frequencies in a sound from left to right and the volume of each
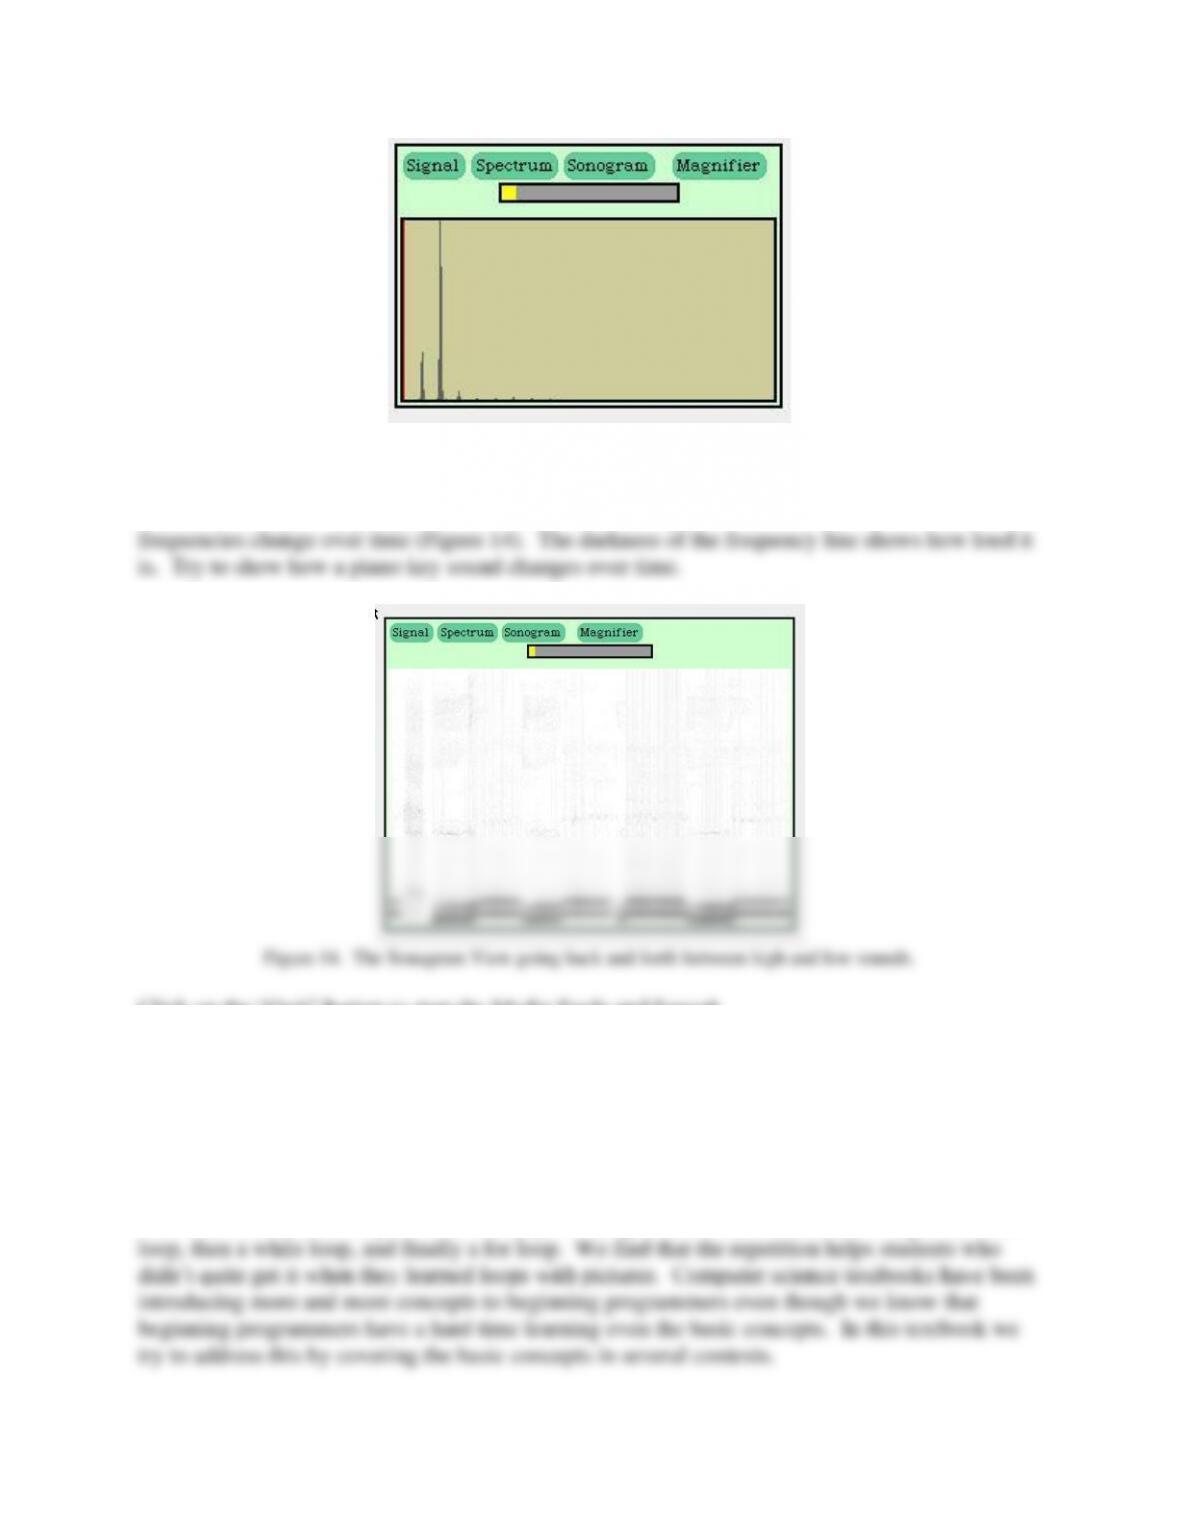
Figure 13. The SprectrumView showing multiple frequencies in a sound.
Click on “Sonogram View” to see the frequencies over time. The frequencies increase from the
bottom to the top. Try going back and forth between a high and low sound to see how the
Click on the “Quit” button to stop the Media Tools and Squeak.
An important part of section 8.1 is the Nyquist theorem and what the maximum sound value and
minimum sound values are. Students should understand that if you have n bits you can have 2n
possible.
In section 8.2 we show the basics of how to manipulate a sound. Each sound has a one-
dimensional array of SoundSample objects. You can get the value for a SoundSample and set
the value for a SoundSample. We start by processing all the values in a sound using a for-each
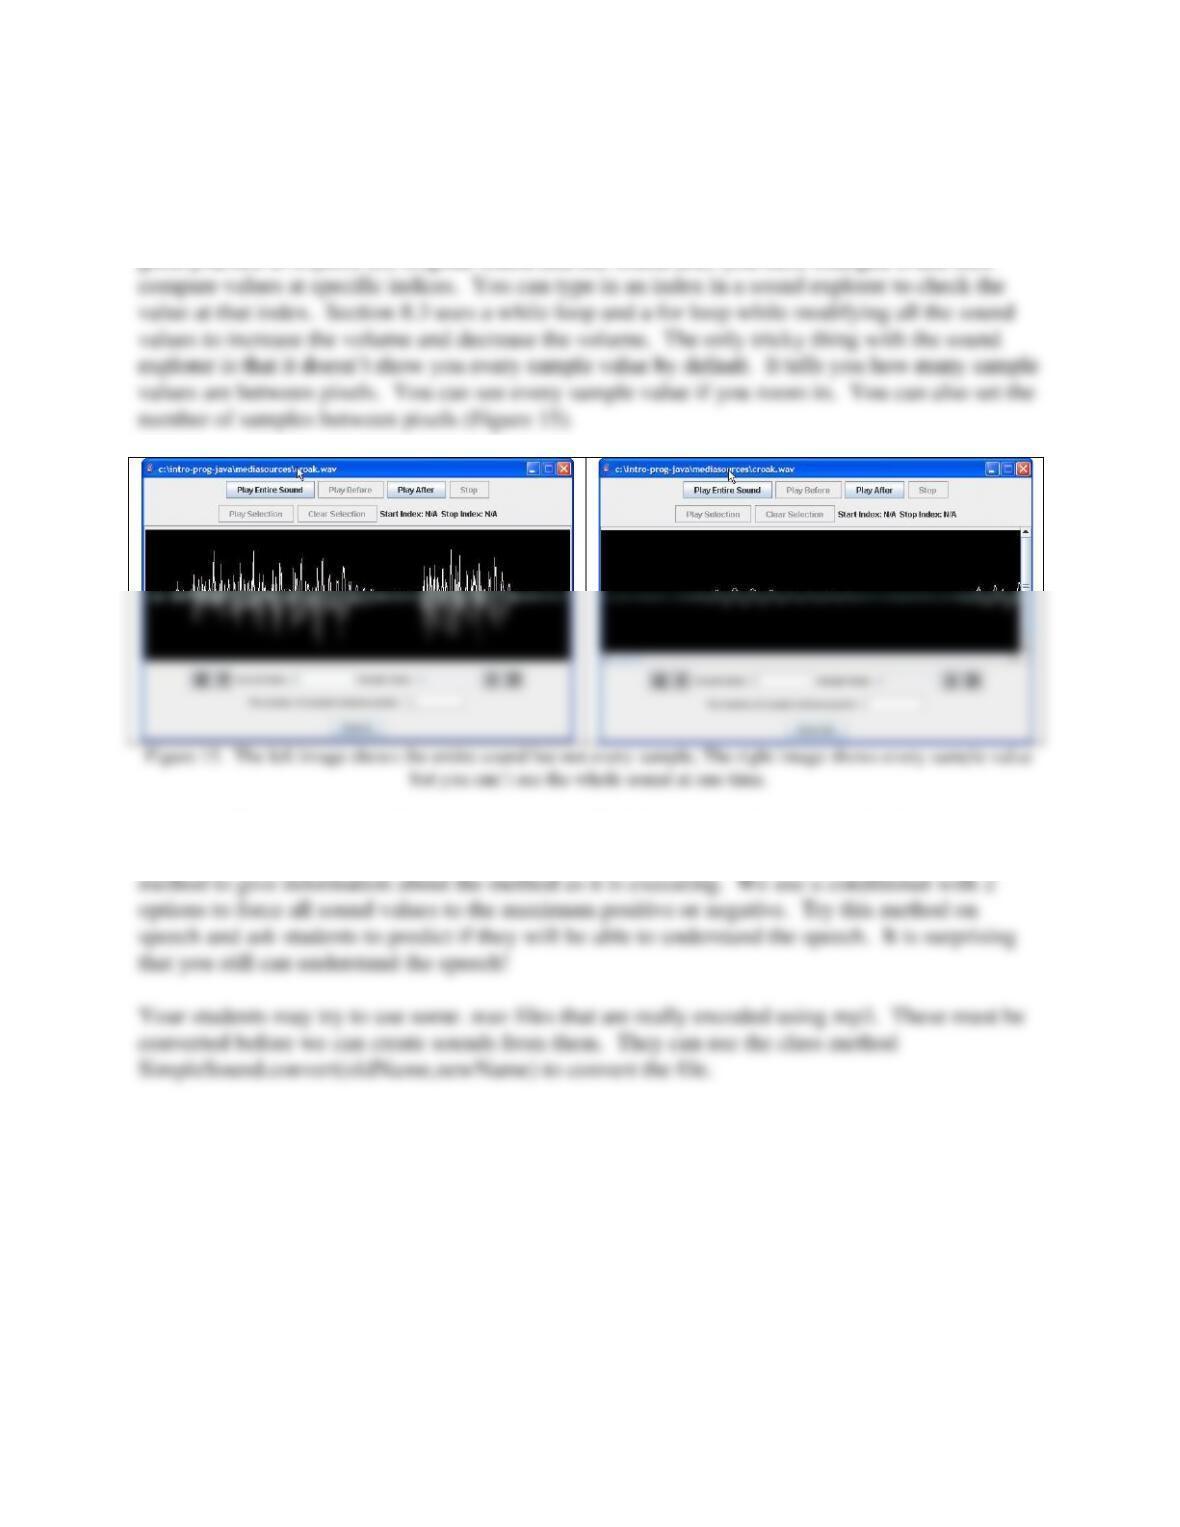
In section 8.3 we introduce the sound explorer which helps students examine sounds and sound
values. Students often assume that their programs work without checking if they really do. The
picture explorer and sound explorer help them to check if the resulting values are correct. It is
good practice to explore the original sound and the sound after you have changed it and then
Figure 15. The left image shows the entire sound but not every sample, The right image shows every sample value
but you can’t see the whole sound at one time.
In section 8.4 we use a conditional and a loop to find the largest value (using absolute value) in a
sound and then make the sound as loud as possible. We introduce putting print statements in a