Chapter 4
The focus in chapter 4 is on looping through all the pixels in a picture by looping through a one-
dimensional array of pixels and doing something to the color at each pixel. So the chapter starts
off with arrays. We know it is unusual to introduce arrays before loops, but it explains why we
need loops. You don’t want to have to change each pixel in a picture by hand. In this chapter
In section 4.2 we show how to get information from a picture and how to get a pixel object. We
show how to get and set the color in a pixel object. You can point out that there are several
classes involved here. Picture objects have Pixel objects which have Color objects. Objects of
each of these classes have different information and can do different things. We show changing
a series of pixels to create a black line on a picture. We have students do this one pixel at a time
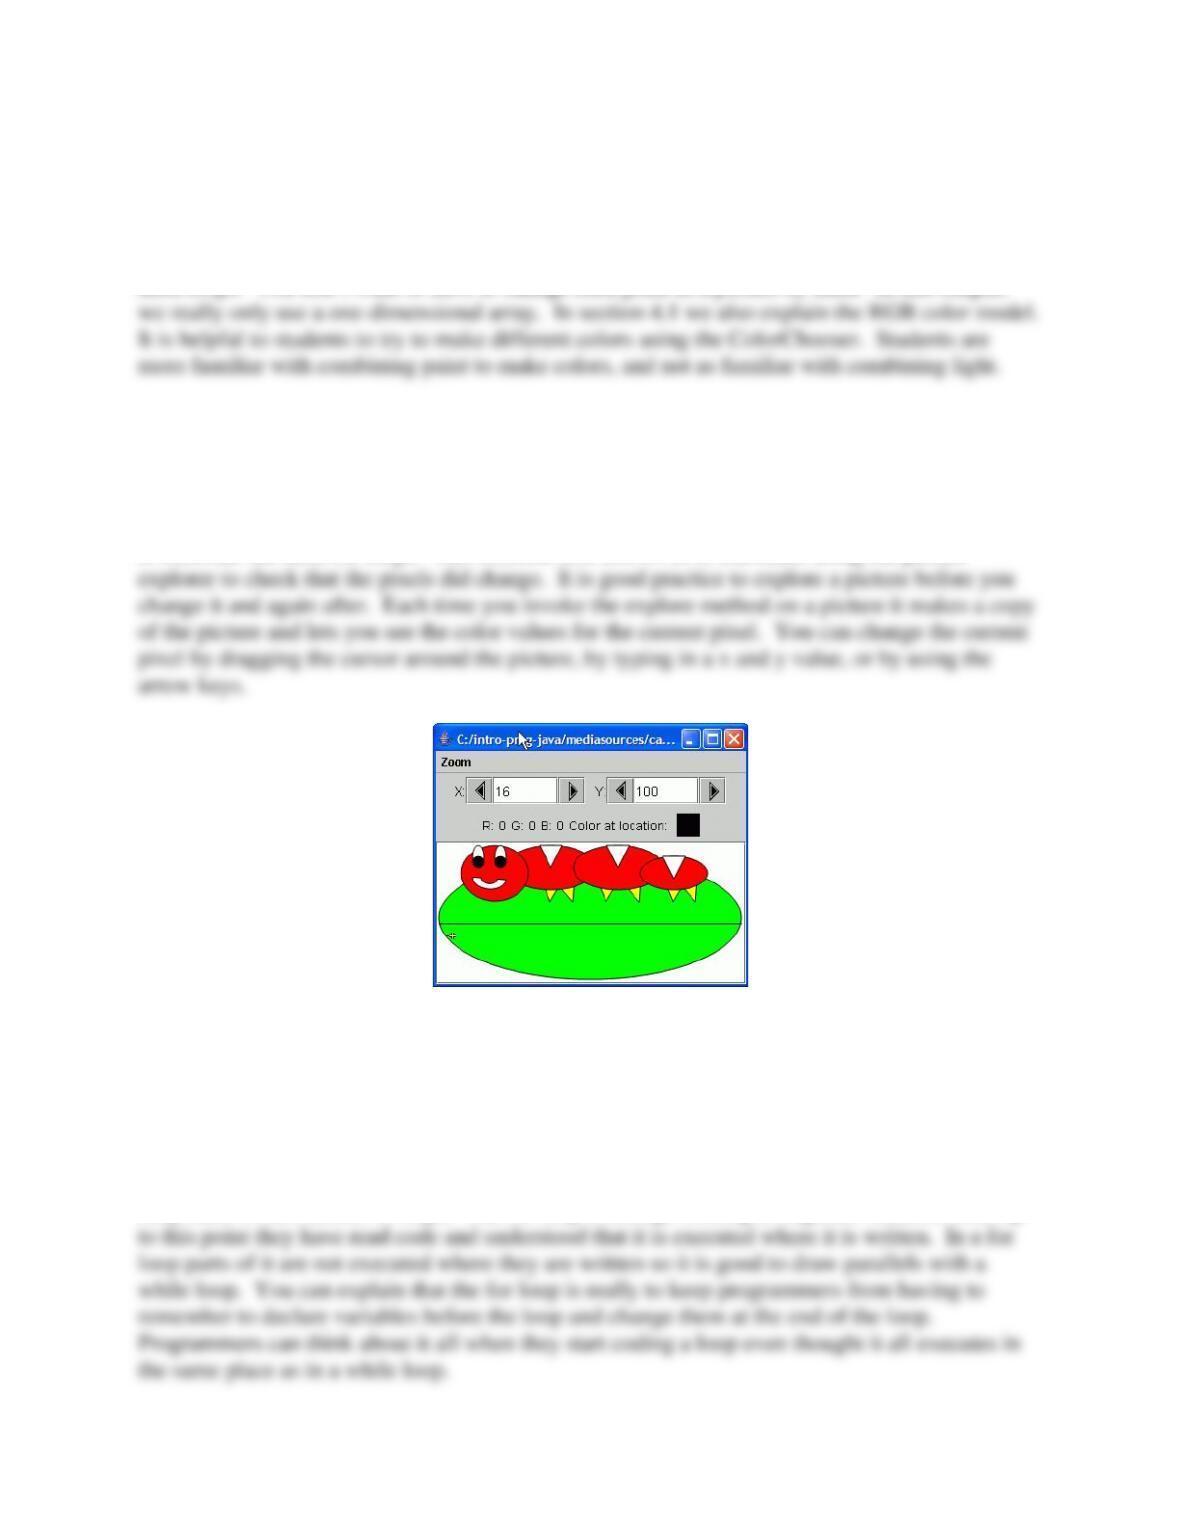
to motivate the need for loops. This exercise also allows us to introduce using the picture
Figure 5. Using the Picture Explorer
In section 4.3 we introduce the for-each loop, then the while loop, and finally the for loop. The
for-each loop is easiest for students to understand. Research on beginning programmers shows
that they understand set operations, like do this for each member of a set. We introduce the
while loop before the for loop because it is easier for students to understand the for loop after
they have seen the while loop. Tell a student to clap her hands twelve times. Then ask the other
students did she do it right? Ask how they know if she did it right? They would have had to
keep track of the number of claps. The for loop is strange looking to beginner students since up
It is important to point out that changing the picture in memory doesn’t change the contents of
the file the picture data was read from. Students often have this misconception. Ask students to
predict what you will get if you create a second picture from the same file after changing the first
Students enjoy creating a negative image on a picture of a person, so be sure to show this. You
want to make sure that the pictures your students are working on are small enough so that the
methods don’t take too long or run out of memory. If their pictures are too big they can scale
them to a specific height (like 480 pixels) using:
There are also tools for scaling a JPEG picture in the MediaTools in the PixelTools window.
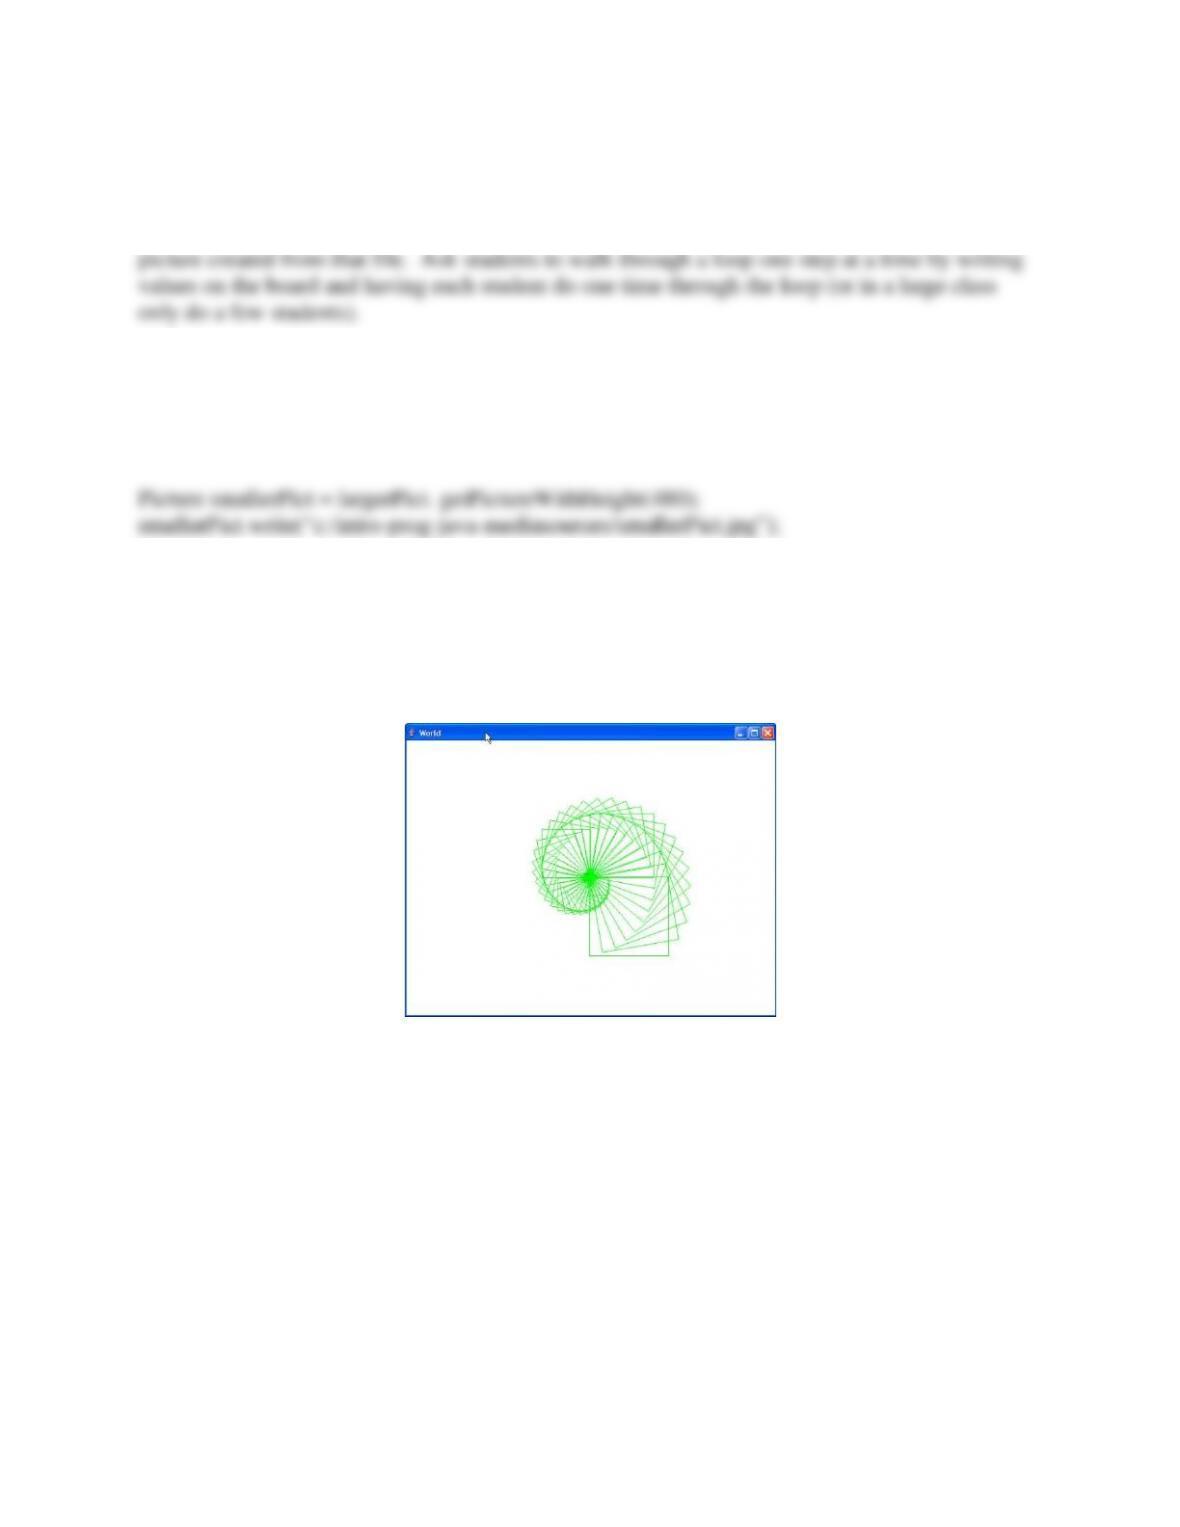
One additional thing that you can do after this chapter is have the students use a loop to create
Spirograph-like pictures with the Turtle. You can change the length of a square as you loop to
draw a spiral (Figure 6). You can use the hide method to stop the turtle from displaying.
Figure 6. Creating a Spiral by Drawing a Series of Larger Rectangles in a Loop