L
EARNING
O
UTCOME
1
Concepts for Lecture
1. The function of the respiratory system is gas exchange. Oxygen from
2. The respiratory system is divided structurally into the upper respira-
tory system and the lower respiratory system. The mouth, nose,
pharynx, and larynx compose the upper respiratory system. The low-
er respiratory system includes the trachea and lungs, with the bron-
chi, bronchioles, alveoli, pulmonary capillary network, and pleural
ward to the larynx and throat by cilia.
No gas exchange occurs until the air enters the respiratory bron-
chioles and alveoli. Alveoli have very thin walls, composed of a sin-
gle layer of cells covered by a network of pulmonary capillaries (the
respiratory membrane) where gas exchange occurs.
L
EARNING
O
UTCOME
2
Describe the processes of breathing (ventilation) and gas exchange
(respiration).
Concepts for Lecture
1. Ventilation of the lungs is accomplished through the act of breath-
2. The intrapulmonary pressure (pressure within the lungs) always
equalizes with atmospheric pressure. Inspiration occurs when the di-
C
HAPTER
50
OXYGENATION
S
UGGESTIONS FOR
C
LASSROOM
A
CTIVITIES
S
UGGESTIONS FOR
C
LASSROOM
A
CTIVITIES
•
Review the lung volume and capacities.
S
UGGESTIONS FOR
C
LINICAL
A
CTIVITIES
• Arrange for the students to observe pulmonary
S
UGGESTIONS FOR
C
LINICAL
3. Conversely, when the diaphragm and intercostal muscles relax, the
4.
After the alveoli are ventilated, the second phase of the respiratory pro-
cess—the diffusion of oxygen from the alveoli and into the pulmonary
blood vessels—begins. Pressure differences in the gases on each side of
the respiratory membrane affect diffusion. The partial pressure (the pres-
L
EARNING
O
UTCOME
3
Explain the role and function of the respiratory system in transporting oxygen
and carbon dioxide to and from body tissues.
Concepts for Lecture
1. The third part of the respiratory process involves the transport of
respiratory gases. Oxygen is transported from the lungs to the tis-
sues, and carbon dioxide must be transported from the tissues to the
lungs.
2.
Carbon dioxide, continually produced in the processes of cell metabo-
lism, is transported from the cells to the lungs in three ways. The majori-
ty (about 65%) is carried inside the red blood cells as bicarbonate
L
EARNING
O
UTCOME
4
Describe the mechanisms for respiratory regulation.
Concepts for Lecture
1. Factors that influence respiratory function affect the cardiovascular
system as well. These factors are age, environment, lifestyle, health
status, medications, and stress.
Profound changes occur in the respiratory system at birth when
S
UGGESTIONS FOR
C
LINICAL
A
CTIVITIES
• Review arterial blood gases.
S
UGGESTIONS FOR
C
LASSROOM
A
CTIVITIES
• Divide the students into groups. Assign each a
factor that may influence respiratory function.
Have each group develop a pamphlet describ-
ing these factors and interventions to prevent
alterations.
Diseases of the respiratory system adversely affect oxygenation
of the blood.
A variety of medications can decrease the rate and depth of res-
pirations (benzodiazepines, sedative–hypnotics, and antianxiety and
narcotics such as morphine).
L
EARNING
O
UTCOME
5
Identify factors influencing respiratory function.
Concepts for Lecture
2. Hypoxia is a condition of insufficient oxygen anywhere in the body,
from the inspired gas to the tissue. Common manifestations of
3. Respiratory patterns refer to the rate, volume, rhythm, and relative
ease or effort of respiration. Tachypnea (rapid rate), bradypnea (ab-
4. Obstructed airway (completely or partially) can occur anywhere
along the upper or lower respiratory passageways. Partial obstruction
is indicated by a low–pitched snoring sound during inhalation. Air
passing through accumulated secretions may cause gurgling or bub-
• Ask the students to review the chart of as-
signed clients to determine factors that may
influence respiratory function as listed in the
textbook. Discuss findings in postconference.
S
UGGESTIONS FOR
C
LASSROOM
A
CTIVITIES
•
Show a videotaped demonstration of a respirato-
ry assessment and have students practice this as-
sessment on each other.
• Play an audiotape of normal and abnormal
breath sounds.
S
UGGESTIONS FOR
C
LINICAL
A
CTIVITIES
abnormal breath sounds. Obtain permission
from these clients for students to listen to their
CHAPTER 50 / Oxygenation 379
L
EARNING
O
UTCOME
6
Identify four major types of conditions that can alter respiratory function.
Concepts for Lecture
1. Respiratory function can be altered by conditions that affect
• Patency (open airway).
• The movement of air into or out of the lungs.
2. Conditions affecting the airway include complete or partial airway
obstruction that can occur anywhere along the respiratory passage-
3. Conditions affecting movement of air may include altered respirato-
4. Conditions affecting diffusion impact levels of gases in the blood,
particularly oxygen, which does not diffuse as readily as carbon di-
5.
Conditions affecting transport occur once oxygen has moved from the
lungs into the capillaries and depend upon the cardiovascular system to
L
EARNING
O
UTCOME
7
Describe nursing assessments for oxygenation status.
Concepts for Lecture
1. Nursing assessment of oxygenation status includes a history, physi-
cal examination, and review of relevant diagnostic data.
2. A comprehensive nursing history relevant to oxygenation status
should include data about current and past respiratory problems; life-
3. When assessing a client’s oxygenation status, the nurse uses all four
physical examination techniques: inspection, palpation, percussion,
and auscultation. The nurse first observes the rate, depth, rhythm,
and quality of respirations, noting the position the client assumes for
4. The primary care provider may order various diagnostic tests to
assess respiratory status, function, and oxygenation. Included are
sputum specimens, throat cultures, visualization procedures, venous
and arterial blood specimens, and pulmonary function tests. Meas-
5.
Pulmonary function tests measure lung volume and capacity. Clients
undergoing pulmonary function tests, which are usually carried out by a
respiratory therapist, do not require an anesthetic. The client breathes in-
L
EARNING
O
UTCOME
8
Describe nursing measures to promote respiratory function and oxygenation.
Concepts for Lecture
1. Examples of nursing interventions to facilitate pulmonary ventilation
may include ensuring a patent airway, positioning, encouraging deep
breathing and coughing, ensuring adequate hydration, and giving
Deep breathing and coughing assist the client to remove secre-
tions from the airways. Breathing exercises such as abdominal (dia-
S
UGGESTIONS FOR
C
LASSROOM
A
CTIVITIES
•
Divide the students into groups. Assign each
group a nursing method to promote respiratory
function. Have the students demonstrate these
methods to the class.
S
UGGESTIONS FOR
C
LINICAL
A
CTIVITIES
•
Discuss agency procedures for teaching deep
CHAPTER 50 / Oxygenation 381
to the client to prevent mucous membranes from drying and becom-
ing irritated and to loosen secretions for easier expectoration.
L
EARNING
O
UTCOME
9
Concepts for Lecture
1. Medications such as bronchodilators, anti-inflammatory drugs,
expectorants, and cough suppressants may be used to treat respirato-
• Expectorants help “break up” mucus, making it more liquid and
easier to expectorate.
Incentive spirometers measure the flow of air inhaled through a
mouthpiece. These devices are used to improve pulmonary ventila-
tion, counteract the effects of anesthesia or hypoventilation, loosen
respiratory secretions, facilitate respiratory gaseous exchange, and
expand collapsed alveoli. Percussion, vibration, and postural drain-
age are dependent nursing functions performed according to a prima-
drainage by gravity of secretions from various lung segments.
Oxygen therapy is used for clients who have difficulty ventilat-
ing all areas of their lungs, those whose gas exchange is impaired, or
individuals with heart failure to prevent hypoxia. Oxygen therapy is
prescribed by the primary care provider. Safety precautions are es-
sential during oxygen therapy (see Box 50–2). Different systems are
available to deliver oxygen to the client. The choice will depend up-
S
UGGESTIONS FOR
C
LASSROOM
A
CTIVITIES
•
Show videotaped demonstrations of the admin-
ficial airways for the students to review.
• Have the students practice suctioning tech-
niques on manikins.
• Use a drinking straw and a glass of water to
illustrate the principles of chest tube function.
• Invite a respiratory therapist to demonstrate
percussion, vibration, and postural drainage on
respiratory therapist to demonstrate proper use
of oxygen equipment.
• Arrange for the students to spend time with a
implementation of therapeutic measures, and
client teaching.
• Have the students visit an intensive care unit
and observe the use of artificial airways, chest
tubes, and suctioning techniques. Ask the stu-
dents to share observations in postconference.
382 CHAPTER 50 / Oxygenation
have difficulty mobilizing their secretions or who have an artificial
airway in place.
Chest tube and drainage systems are used when the pleural
membrane is disrupted by lung disease, surgery, or trauma. The neg-
ative pressure between the pleural layers may be lost, and the lung
L
EARNING
O
UTCOME
10
State outcome criteria for evaluating client responses to measures that pro-
mote adequate oxygenation.
Concepts for Lecture
1. Overall goals/outcomes for a client with oxygenation problems are
to maintain a patent airway; improve comfort and ease of breathing;
maintain or improve pulmonary ventilation and oxygenation; im-
L
EARNING
O
UTCOME
11
Verbalize the steps used in:
a. Administering oxygen by cannula, face mask, or face tent.
Concepts for Lecture
ESSENTIAL/
CRITICAL
ELEMENT?
SKILL 25–1: ADMINISTERING OXYGEN BY CANNULA,
FACE MASK, OR FACE TENT
COMPETENCY
DEMONSTRATED?
Yes
No
2. Explained the procedure to the client and discussed how the re-
sults will be used.
4. Performed hand hygiene and observed other appropriate infection
S
UGGESTIONS FOR
C
LINICAL
A
CTIVITIES
• Have students develop care plans for clients
with respiratory problems.
5. Provided for client privacy, if appropriate.
6. Set up the oxygen equipment and humidifier:
b. Filled the humidifier bottle with tap or distilled water, if
needed.
d. Attached the prescribed oxygen tubing and the delivery de-
vice to the humidifier.
a. Attached the flow meter to the wall outlet or tank.
7. Turned on the oxygen at the prescribed rate, and ensured its
proper functioning.
a. Checked that the oxygen was flowing freely through the tub-
ing.
8. Applied the appropriate oxygen delivery device.
Nasal Cannula
head or tubing over the ears and under the chin.
b. Taped the cannula at the sides of the face if it would not stay
in place.
c. Padded the tubing and band over the ears and the cheekbones
if needed.
a. Put the cannula on the client with the outlet prongs curved
downward, fitting into the nares, and elastic band around the
Face Mask
a. Guided the mask toward the client’s face and applied from
the nose downward.
b. Fitted the mask and metal nose bracket to the contours of the
client’s face.
c. Secured the elastic band around the client’s head so that the
mask was comfortable but snug.
d. Padded the band behind the ears and over the bony promi-
nences.
Face Tent
a. Placed the tent over the client’s face and secured its ties
around the client’s head.
9. Assessed the client regularly.
adjusted to the device.
b. Assessed the client in 15 to 30 minutes and regularly thereaf-
ter.
c. Assessed the client for clinical signs of hypoxia, tachycardia,
confusion, dyspnea, restlessness, and cyanosis.
a. Assessed the client’s vital signs, level of anxiety, color, and
Nasal Cannula
Applied a water-soluble lubricant as required.
b. Assessed the top of the client’s ears for any signs of irritation
from the cannula strap.
a. Assessed the client’s nares for encrustations and irritation.
Face Mask or Tent
a. Inspected the facial skin frequently for dampness or chafing,
and dried and treated the skin as needed.
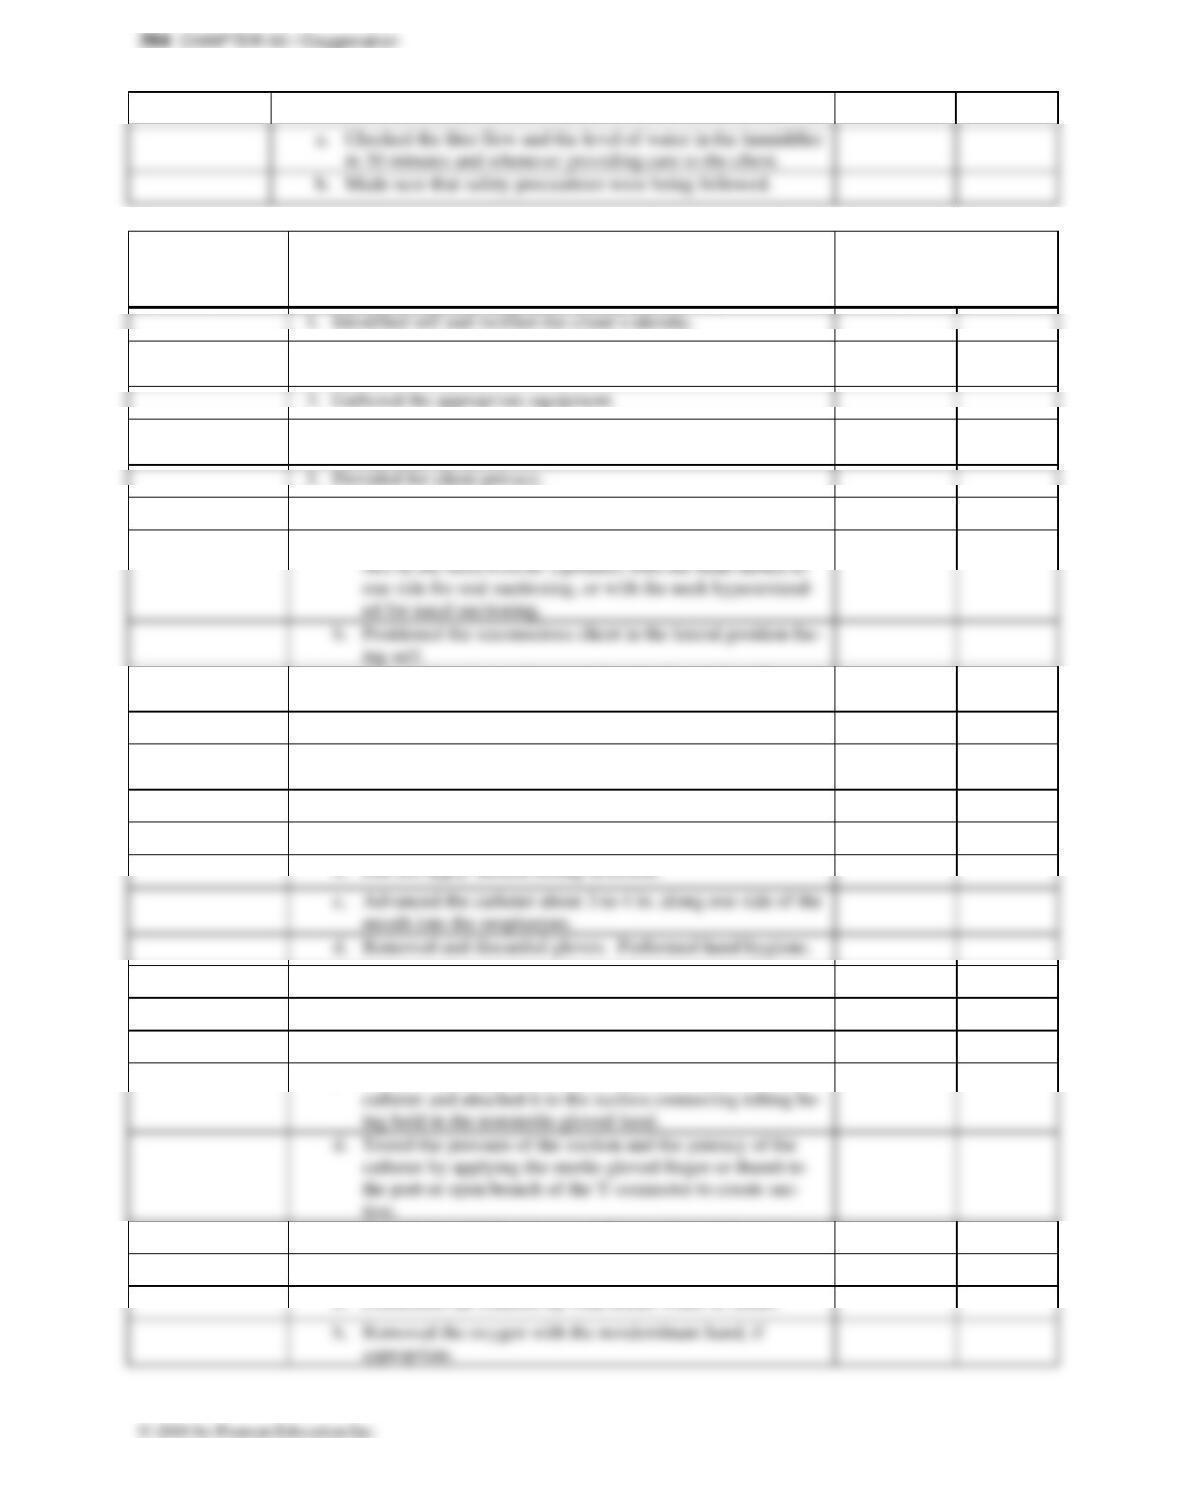
10. Inspected the equipment on a regular basis.
in 30 minutes and whenever providing care to the client.
b. Made sure that safety precautions were being followed.
ESSENTIAL/
CRITICAL
ELEMENT?
SKILL 50–2: OROPHARYNGEAL, NASOPHARYNGEAL,
AND NASOTRACHEAL SUCTIONING
COMPETENCY
DEMONSTRATED?
Yes
No
1. Identified self and verified the client’s identity.
2. Explained the procedure to the client and discussed how the
results will be used.
4. Performed hand hygiene and observed other appropriate
infection control procedures.
5. Provided for client privacy.
6. Prepared the client.
ed for nasal suctioning.
b. Positioned the unconscious client in the lateral position fac-
ing self.
a. Positioned the conscious individual with functional gag re-
c. Placed a towel or moisture-resistant pad over the pillow or
under the chin.
7. Prepared the equipment.
a. Turned the suction device on and set the devices to an ap-
propriate negative pressure on the suction gauge.
For Oral and Oropharyngeal Suction
a. Applied clean gloves.
mouth into the oropharynx.
b. Did not apply suction during insertion.
For Nasopharyngeal and Nasotracheal Suction
a. Opened the lubricant.
b. Opened the sterile suction package.
ing held in the nonsterile-gloved hand.
d. Tested the pressure of the suction and the patency of the
tion.
c. With the sterile-gloved hand, picked up the sterile suction
e. If needed, applied or increased the supplemental oxygen.
8. Lubricated and introduced the catheter.
appropriate.
a. Lubricated the catheter tip with sterile water or saline.
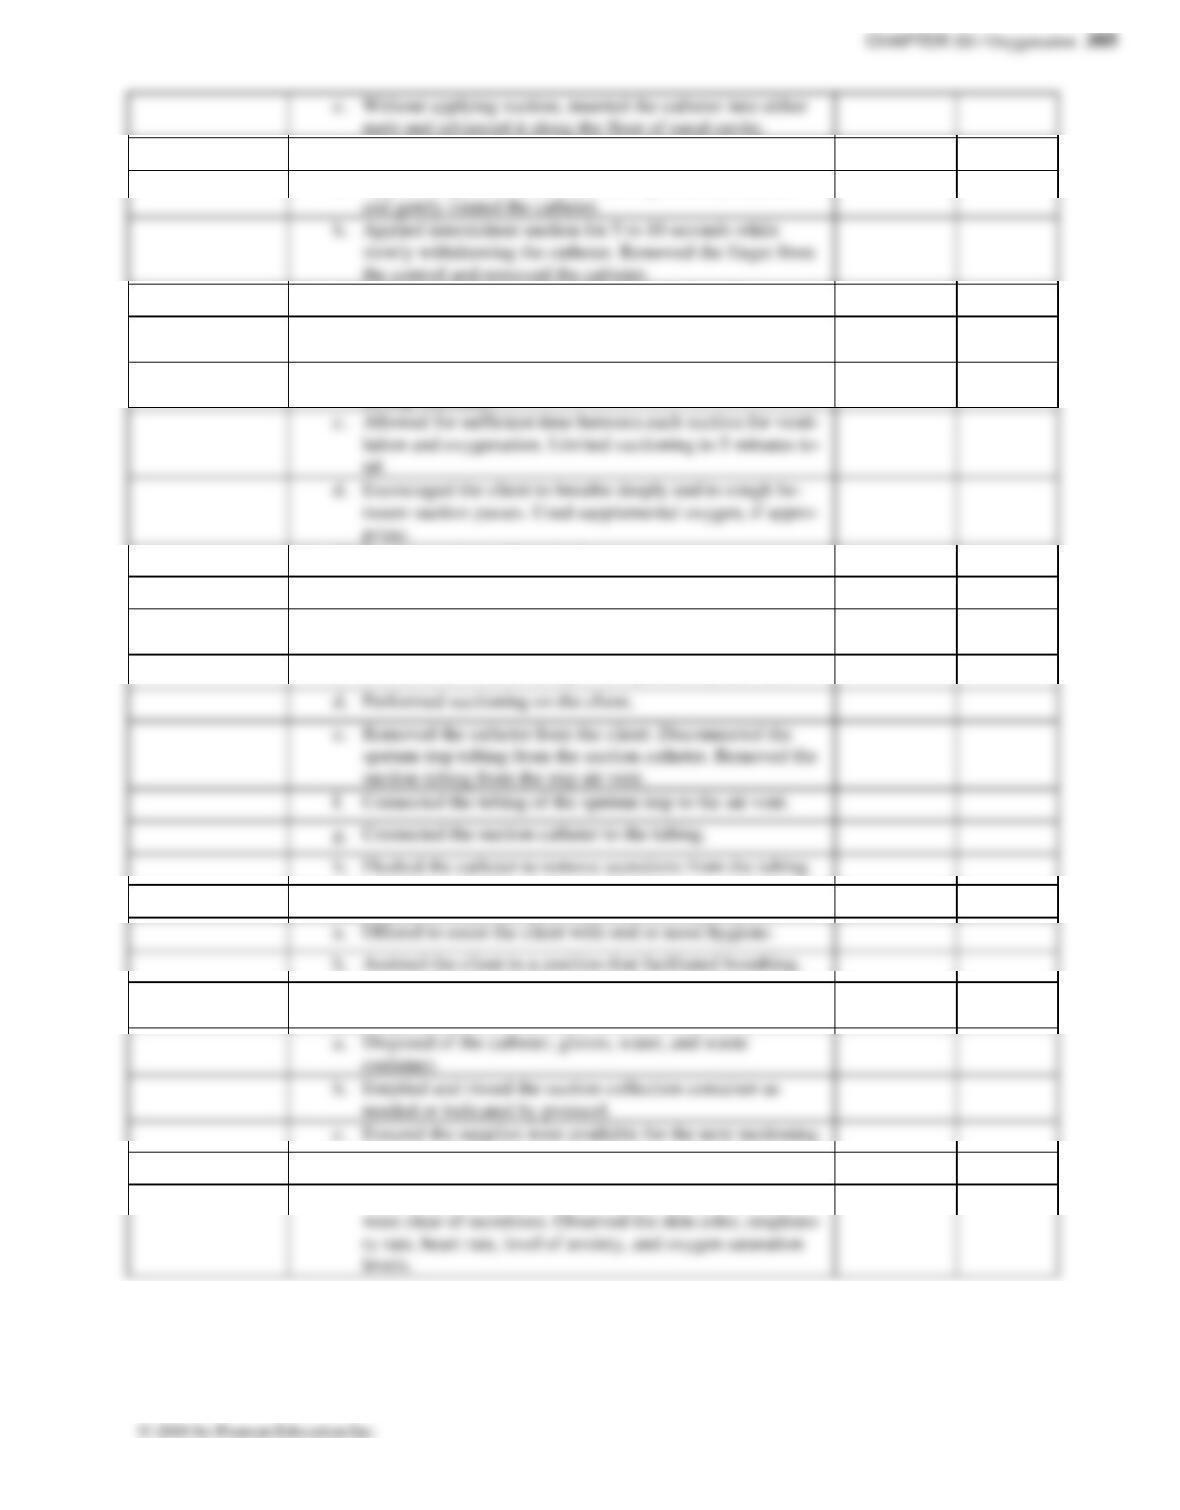
9. Performed suctioning:
and gently rotated the catheter.
the control and removed the catheter.
a. Applied finger to the suction control port to start suction
10. Rinsed the catheter and repeated suctioning as before.
a. Rinsed and flushed the catheter and tubing with sterile wa-
ter or saline.
b. Re-lubricated catheter and repeated the suctioning until the
airway was clear.
tal.
priate.
11. Obtained a specimen, if required.
a. Used a sputum trap.
b. Attached a suction catheter to the tubing of the sputum
trap.
c. Attached the suction tubing to the sputum trap air vent.
d. Performed suctioning on the client.
suction tubing from the trap air vent.
f. Connected the tubing of the sputum trap to the air vent.
h. Flushed the catheter to remove secretions from the tubing.
12. Promoted client comfort.
a. Offered to assist the client with oral or nasal hygiene.
b. Assisted the client to a position that facilitated breathing.
13. Disposed of equipment and ensured availability for the next
suction procedure.
a. Disposed of the catheter, gloves, water, and waste
container.
b. Emptied and rinsed the suction collection container as
needed or indicated by protocol.
c. Ensured the supplies were available for the next suctioning.
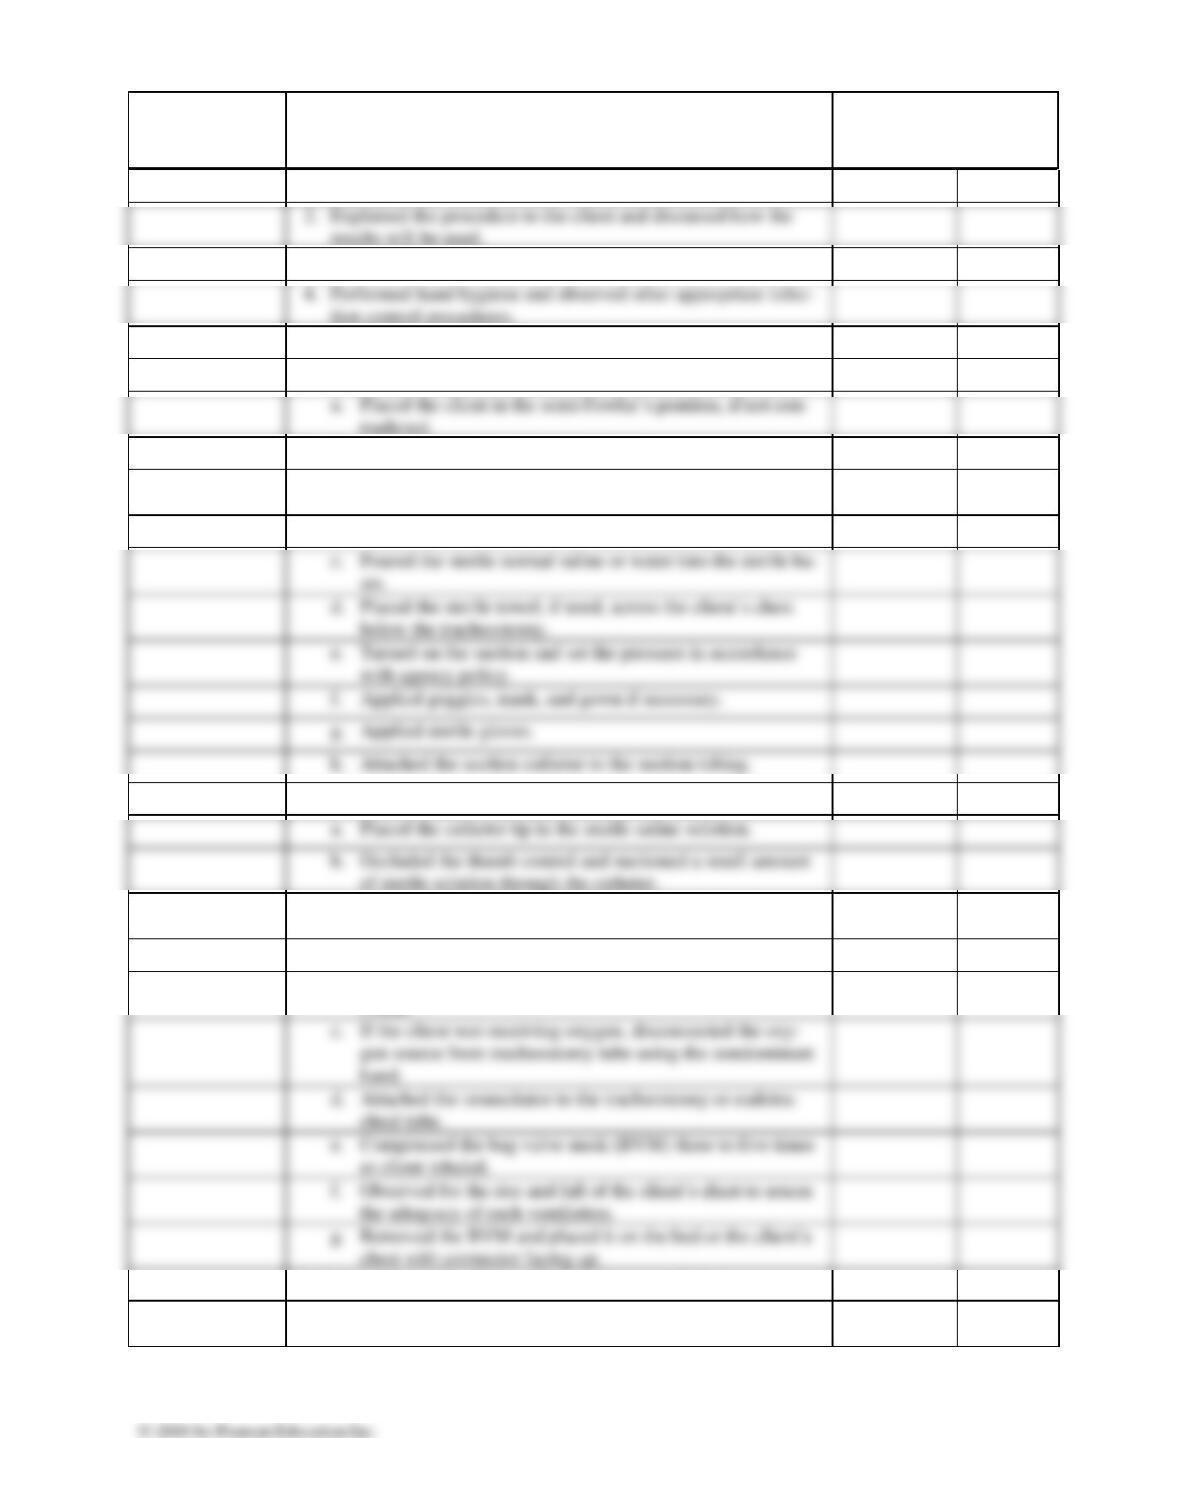
14. Assessed the effectiveness of the suctioning.
levels.
a. Auscultated the client’s breath sounds and ensured they
386 CHAPTER 50 / Oxygenation
ESSENTIAL/
CRITICAL
ELEMENT?
SKILL 50–3: SUCTIONING A TRACHEOSTOMY OR
ENDOTRACHEAL TUBE
COMPETENCY
DEMONSTRATED?
Yes
No
1. Introduced self and verified the client’s identity.
2. Explained the procedure to the client and discussed how the
results will be used.
3. Gathered the appropriate equipment.
4. Performed hand hygiene and observed other appropriate infec-
tion control procedures.
5. Provided for client privacy.
6. Prepared the client.
tradicted.
7. Prepared the equipment (open suction system).
a. Attached the resuscitation apparatus to the oxygen source.
Adjusted the oxygen flow to 100%.
b. Opened the sterile supplies.
c. Poured the sterile normal saline or water into the sterile ba-
sin.
d. Placed the sterile towel, if used, across the client’s chest
below the tracheostomy.
e. Turned on the suction and set the pressure in accordance
with agency policy.
f. Applied goggles, mask, and gown if necessary.
h. Attached the suction catheter to the suction tubing.
8. Flushed and lubricated the catheter.
a. Placed the catheter tip in the sterile saline solution.
b. Occluded the thumb control and suctioned a small amount
of sterile solution through the catheter.
9. Hyperventilated the client’s lungs with a resuscitation bag be-
fore suctioning (if no copious secretions).
a. Summoned an assistant if one was available for this step.
b. Using the nondominant hand, turned on oxygen to 12 to 15
L/min.
hand.
d. Attached the resuscitator to the tracheostomy or endotra-
cheal tube.
e. Compressed the bag valve mask (BVM) three to five times
as client inhaled.
f. Observed for the rise and fall of the client’s chest to assess
the adequacy of each ventilation.
chest with connector facing up.
Variation: Using a Ventilator to Provide Hyperventilation
a. If the client was on a ventilator, used the ventilator for hy-
perventilation and hyperoxygenation.
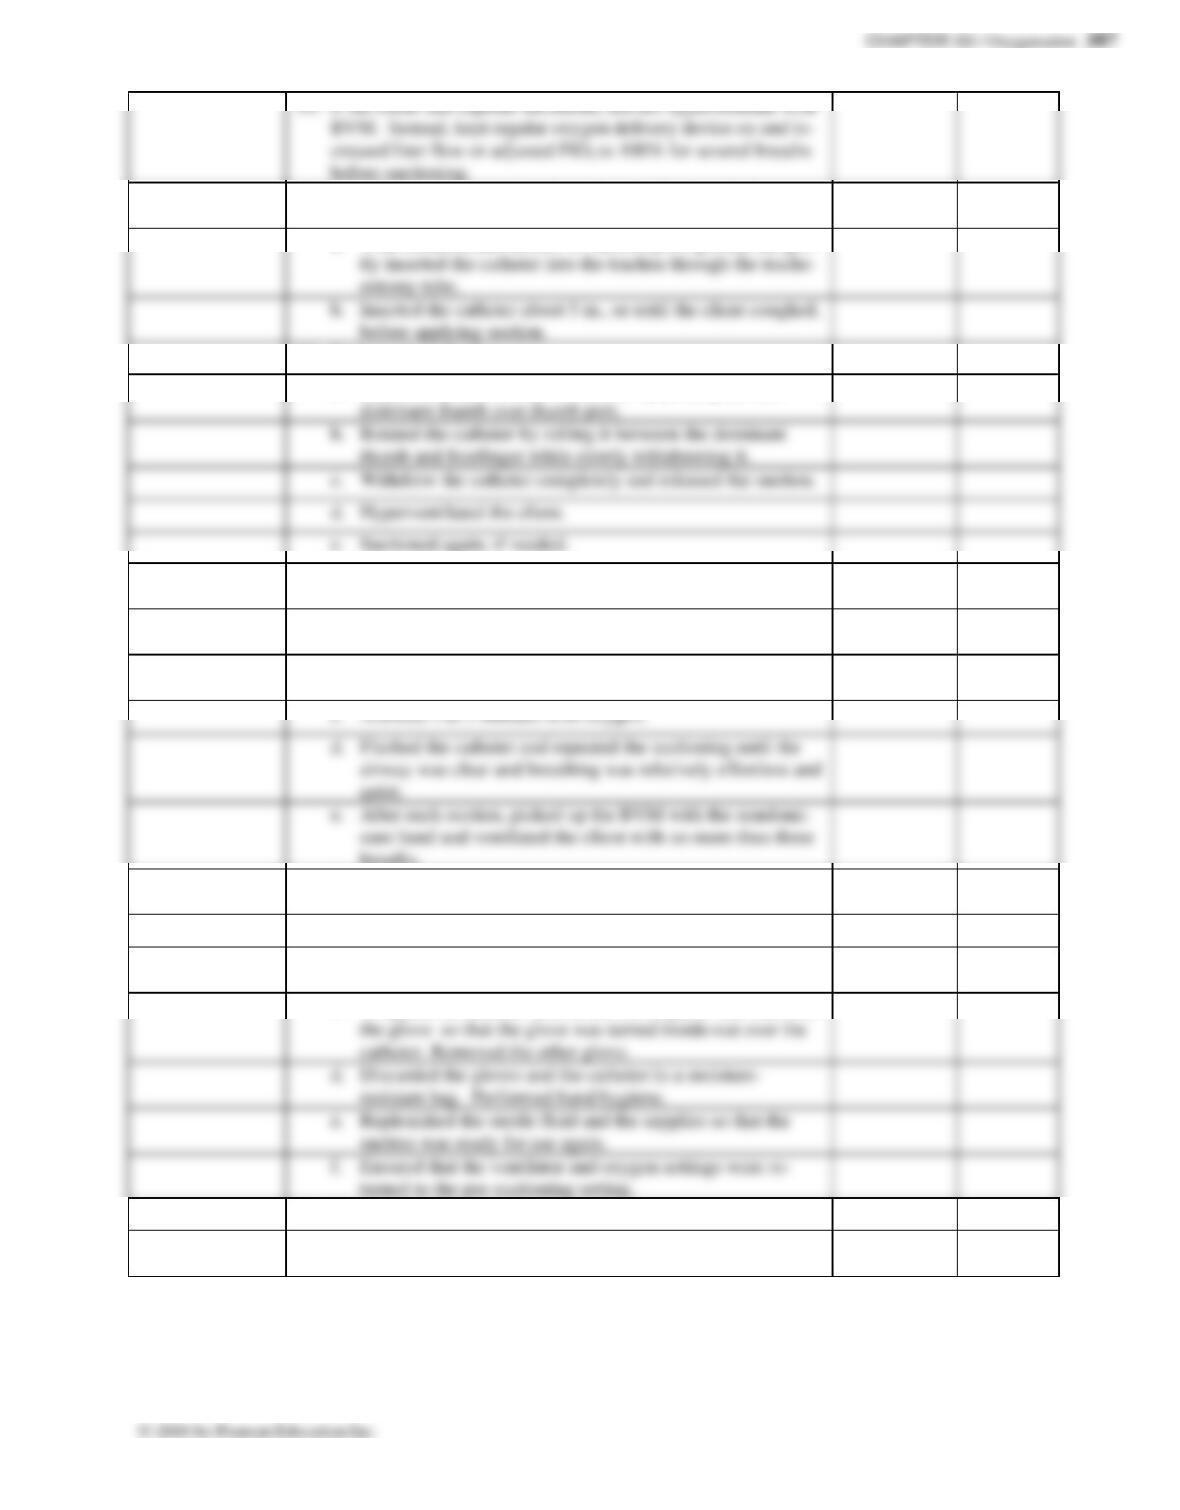
creased liter flow or adjusted FiO2 to 100% for several breaths
before suctioning.
11. Quickly but gently inserted the catheter without applying
suction.
b. Inserted the catheter about 5 in., or until the client coughed,
before applying suction.
a. With nondominant thumb off suction port, quickly but gen-
12. Performed suctioning.
dominant thumb over thumb port.
b. Rotated the catheter by rolling it between the dominant
thumb and forefinger while slowly withdrawing it.
d. Hyperventilated the client.
a. Applied suction for 5 to 10 seconds by placing the non-
13. Reassessed the client’s oxygenation status and repeated the
suctioning.
a. Observed the client’s respirations and skin color. Checked
the client’s pulse if necessary, using the nondominant hand.
b. Encouraged the client to breathe deeply and cough between
suctions.
d. Flushed the catheter and repeated the suctioning until the
quiet.
e. After each suction, picked up the BVM with the nondomi-
breaths.
14. Disposed of the equipment and ensured the availability for the
next suction.
a. Flushed the catheter and the suction tubing.
b. Turned off the suction and disconnected the catheter from
the suction tubing.
catheter. Removed the other glove.
d. Discarded the gloves and the catheter in a moisture-
resistant bag. Performed hand hygiene.
e. Replenished the sterile fluid and the supplies so that the
suction was ready for use again.
f. Ensured that the ventilator and oxygen settings were re-
turned to the pre-suctioning setting.
c. Wrapped the catheter around the sterile glove and removed
15. Provided for client comfort and safety.
a. Assisted the client to a comfortable, safe position that aided
breathing.
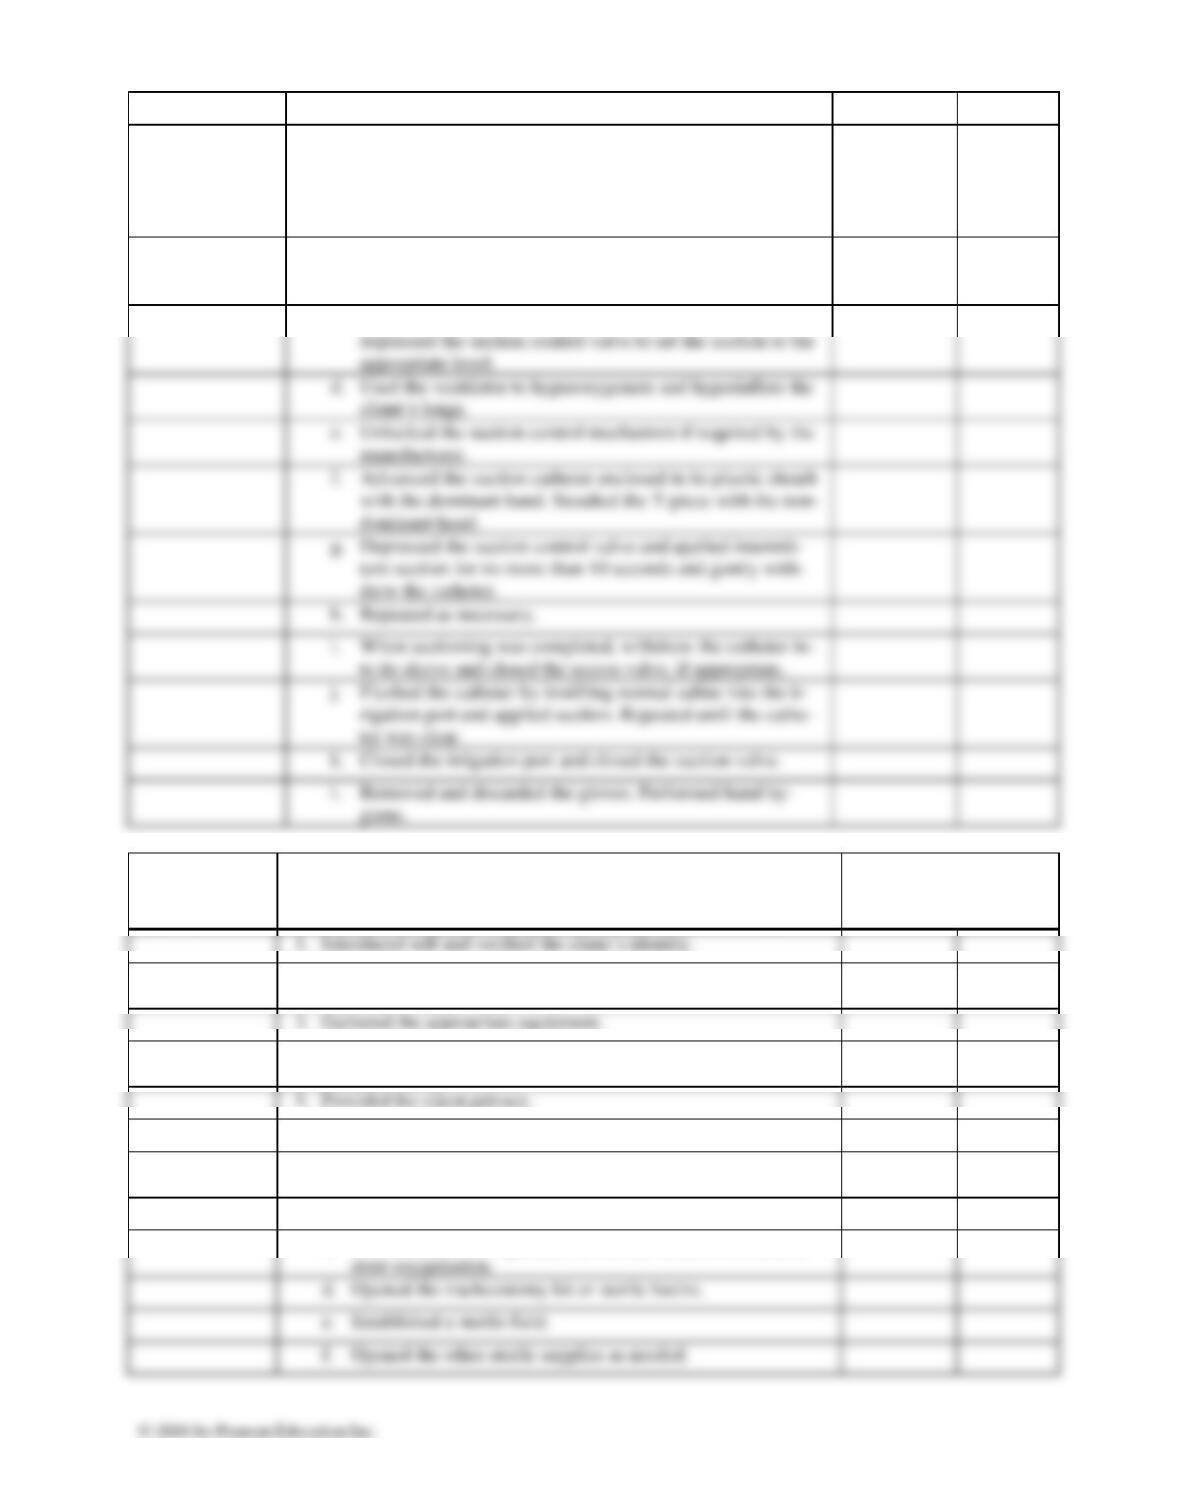
388 CHAPTER 50 / Oxygenation
Variation: Closed Suction System (In-Line Catheter)
a. If the catheter was not attached, applied clean gloves, asep-
tically opened a new closed catheter set, and attached the
ventilator connection on a T-piece to the ventilator tubing.
Attached the client connection to the endotracheal tube or
tracheostomy.
b. Attached one end of the suction connecting tubing to the
suction connection port of the closed system and the other
end of the connection tubing to the suction device.
depressed the suction control valve to set the suction to the
appropriate level.
e. Unlocked the suction control mechanism if required by the
manufacturer.
f. Advanced the suction catheter enclosed in its plastic sheath
with the dominant hand. Steadied the T-piece with the non-
dominant hand.
g. Depressed the suction control valve and applied intermit-
tent suction for no more than 10 seconds and gently with-
drew the catheter.
h. Repeated as necessary.
i. When suctioning was completed, withdrew the catheter in-
to its sleeve and closed the access valve, if appropriate.
j. Flushed the catheter by instilling normal saline into the ir-
rigation port and applied suction. Repeated until the cathe-
ter was clear.
k. Closed the irrigation port and closed the suction valve.
l. Removed and discarded the gloves. Performed hand hy-
giene.
c. Turned the suction on, occluded or kinked the tubing, and
ESSENTIAL/
CRITICAL
ELEMENT?
SKILL 50–4: PROVIDING TRACHEOSTOMY CARE
COMPETENCY
DEMONSTRATED?
Yes
No
2. Explained the procedure to the client and discussed how the re-
sults will be used.
4. Performed hand hygiene and observed other appropriate infection
control.
6. Prepared the client and the equipment.
a. Assisted the client to the semi-Fowler’s or Fowler’s position
to promote lung expansion.
b. Suctioned the tracheostomy tube, if needed.
store oxygenation.
d. Opened the tracheostomy kit or sterile basins.
f. Opened the other sterile supplies as needed.
c. If suctioning was required, allowed the client to rest and re-
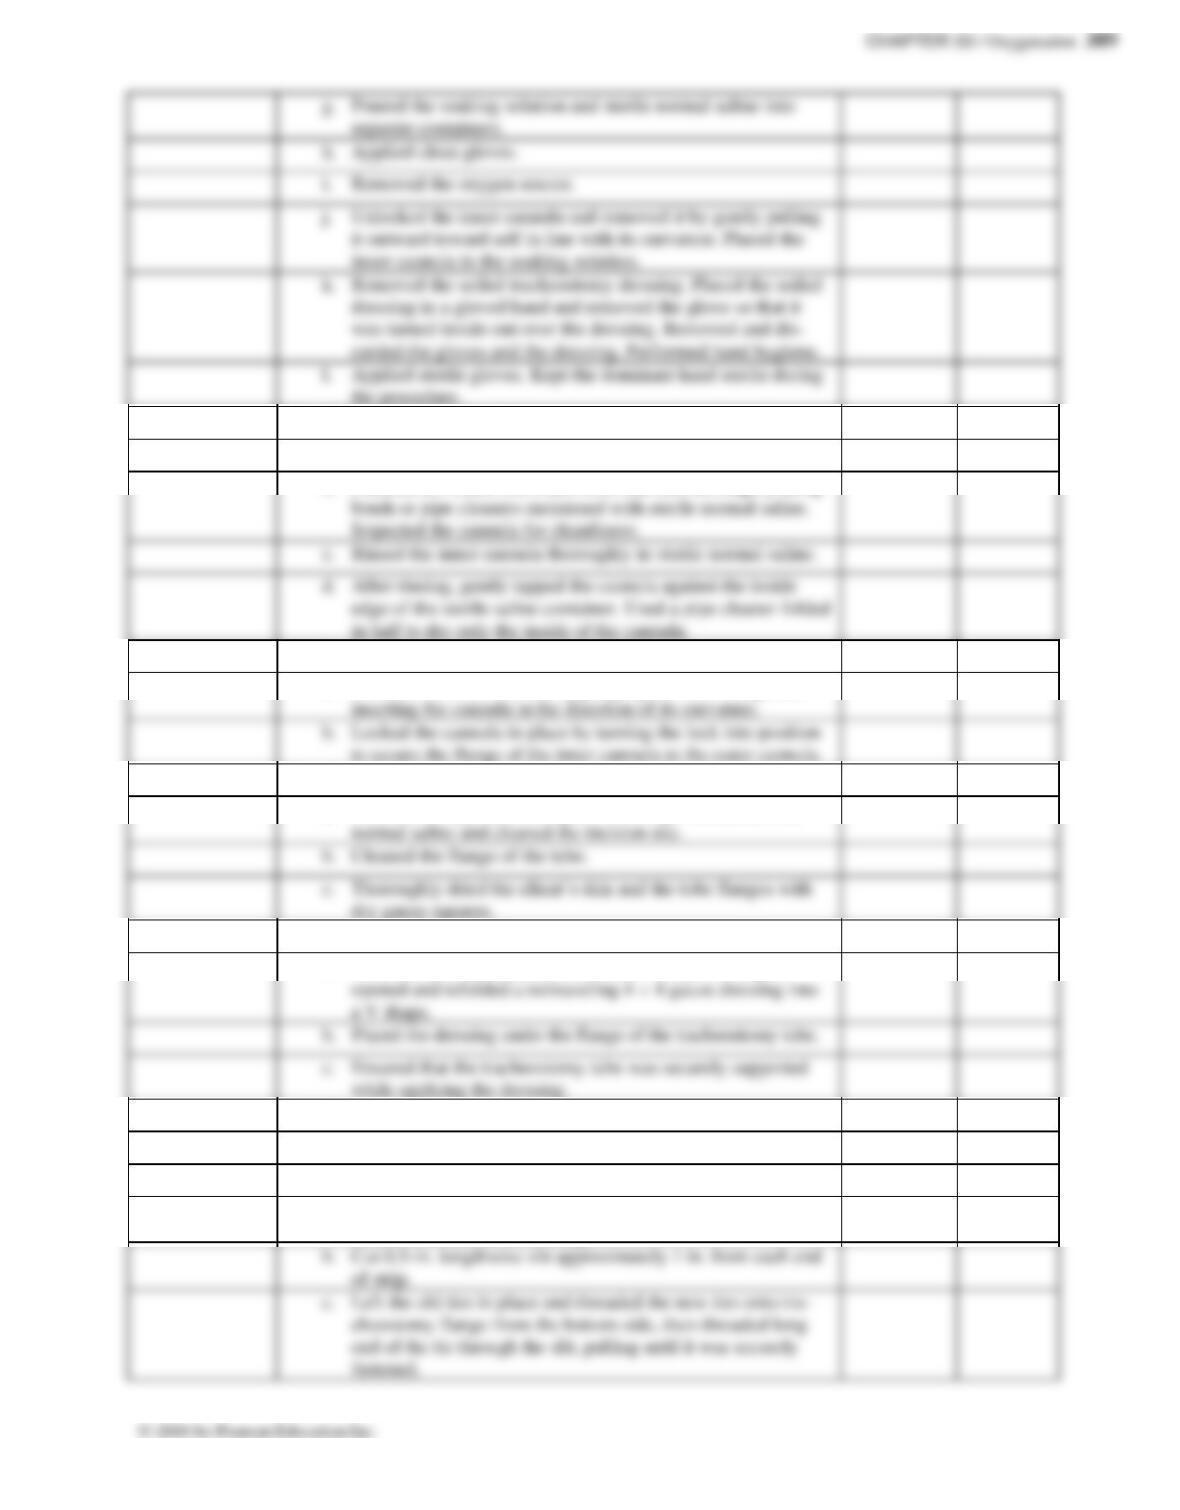
h. Applied clean gloves.
i. Removed the oxygen source.
j. Unlocked the inner cannula and removed it by gently pulling
inner cannula in the soaking solution.
carded the gloves and the dressing. Performed hand hygiene.
l. Applied sterile gloves. Kept the dominant hand sterile during
the procedure.
7. Cleaned the inner cannula.
a. Removed the inner cannula from the soaking solution.
Inspected the cannula for cleanliness.
c. Rinsed the inner cannula thoroughly in sterile normal saline.
d. After rinsing, gently tapped the cannula against the inside
in half to dry only the inside of the cannula.
b. Cleaned the lumen and entire inner cannula thoroughly using
8. Replaced the inner cannula and secured it in place.
inserting the cannula in the direction of its curvature.
b. Locked the cannula in place by turning the lock into position
to secure the flange of the inner cannula to the outer cannula.
a. Inserted the inner cannula by grasping the outer flange and
9. Cleaned the incision site and the tube flange.
normal saline and cleaned the incision site.
b. Cleaned the flange of the tube.
dry gauze squares.
a. Used sterile applicators or gauze dressings moistened with
10. Applied the dressing.
a V shape.
b. Placed the dressing under the flange of the tracheostomy tube.
c. Ensured that the tracheostomy tube was securely supported
while applying the dressing.
a. Used a commercially prepared tracheostomy dressing or
11. Changed the tracheostomy ties.
a. Changed as needed to keep the skin clean and dry.
Two-Strip Method (Twill Ties)
a. Cut two unequal strips of ties, one approximately 10 in. long
and the other about 20 in. long.
b. Cut 0.5-in. lengthwise slit approximately 1 in. from each end
of strip.
fastened.
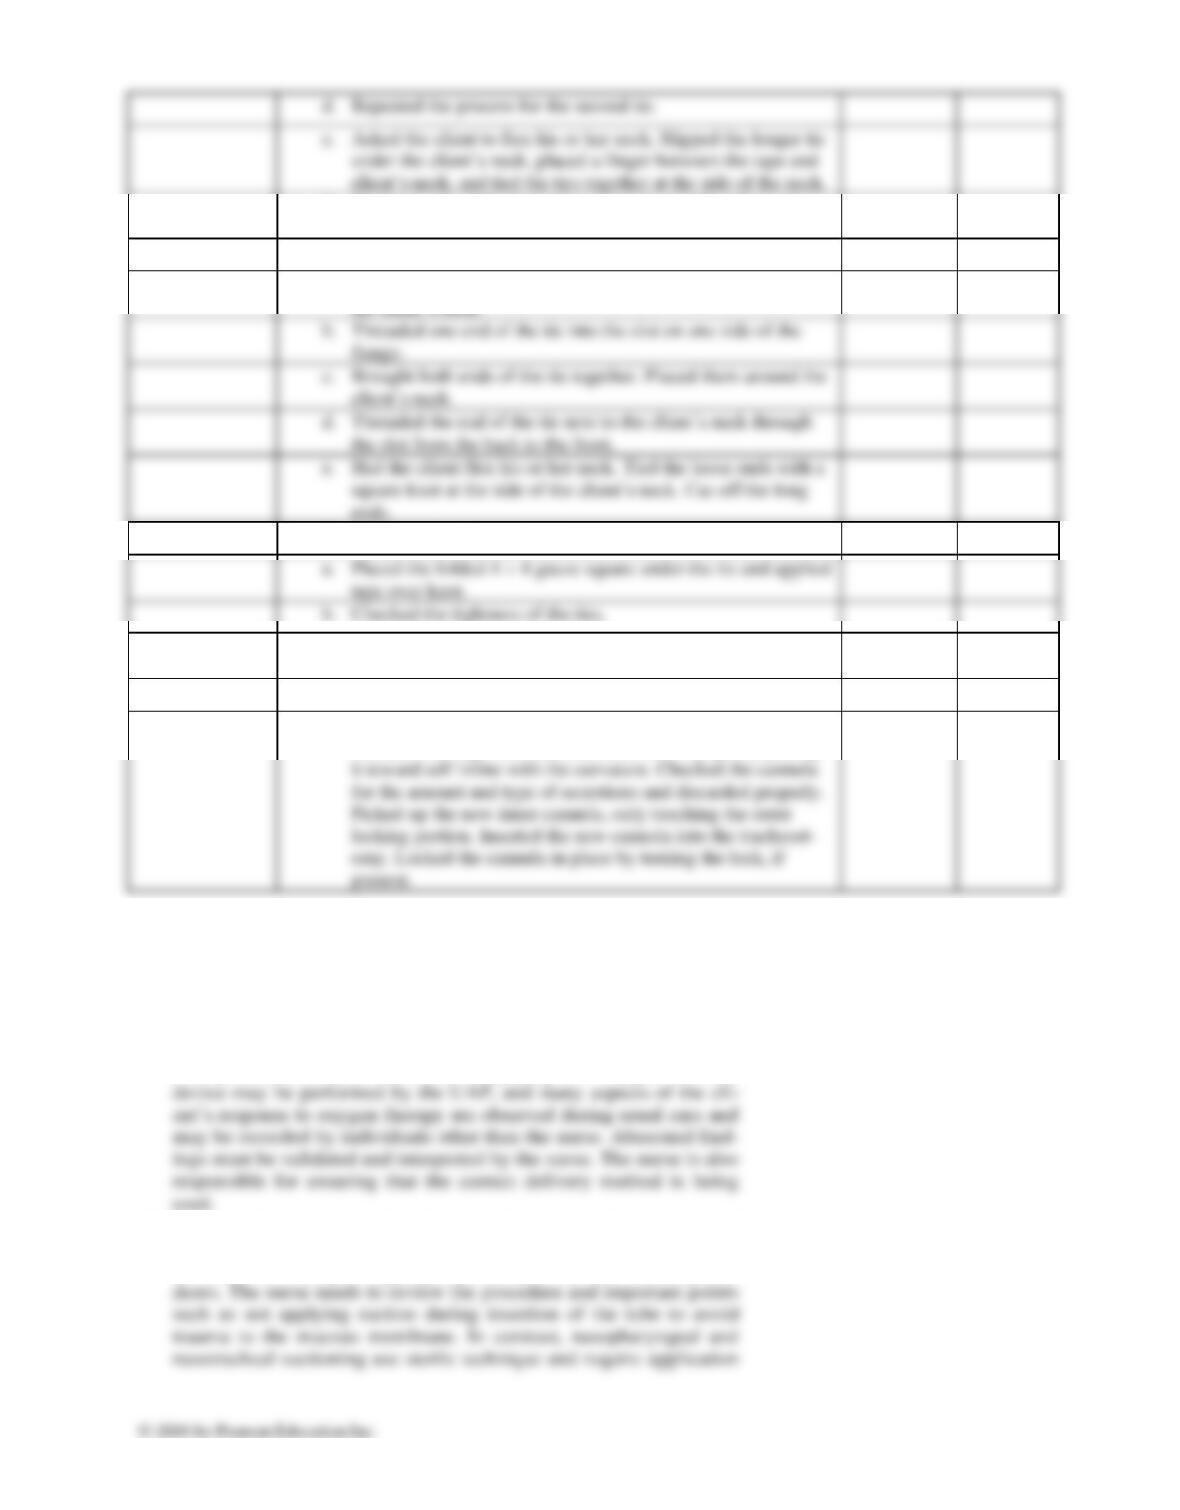
390 CHAPTER 50 / Oxygenation
f. Tied the ends of the ties using square knots. Cut off any long
ends.
One-Strip Method (Twill Tie)
a. Cut length of twill tie 2.5 times length needed to go around
the client’s neck.
b. Threaded one end of the tie into the slot on one side of the
flange.
c. Brought both ends of the tie together. Placed them around the
d. Threaded the end of the tie next to the client’s neck through
the slot from the back to the front.
ends.
12. Taped and padded the tie knot.
a. Placed the folded 4 × 4 gauze square under the tie and applied
tape over knot.
13. Removed and discarded the sterile gloves. Performed hand hy-
giene.
Variation: Using a Disposable Inner Cannula
a. Opened the new cannula package. Unlocked the current inner
cannula with a gloved hand and removed it by gently pulling
L
EARNING
O
UTCOME
12
Recognize when it is appropriate to delegate aspects of oxygen therapy,
suctioning, and tracheostomy care.
1. Initiating the administration of oxygen is considered similar to
administering a medication and is not delegated to unlicensed assis-
tive personnel (UAP). However, reapplying the oxygen delivery
2. Oral suctioning using a Yankauer suction tube and oropharyngeal
suctioning using a suction catheter can be delegated to UAP and to
the client or family, if appropriate, as these are not sterile proce-
3. Suctioning a tracheostomy or endotracheal tube is a sterile, invasive
4.
Tracheostomy care involves application of scientific knowledge, sterile
L
EARNING
O
UTCOME
13
Demonstrate appropriate documentation and reporting of oxygen therapy,
suctioning, and tracheostomy care.
1. When initiating and applying oxygen, it is important to document the
method of oxygen administration, client assessment prior to oxygen
2.
When suctioning the airway, record the procedure: the amount, con-
sistency, color, and odor of sputum (e.g., foamy, white mucus; thick,