
13
4. When the test has finished running, answer the following questions:
a. What network media connects your computer to your network?
b. How do your test results compare with the various Ethernet standards
discussed in the chapter?
c. If your test results differ from the standards you were expecting, how do you
explain these results?
TamoSoft, another security and network monitoring software company, offers a free
Throughput Test that works on both wired and wireless LAN connections. Complete the
following steps:
5. Go to tamos.com and look for the Throughput Test in the Download Area.
6. One computer will act as the client and one as the server.
a. On the server computer, click Start and, in the Start menu, click Run
b. On the client computer, click Start and, in the Start menu, click Run

14
7. On the computer acting as the server, note its IP address, which is reported
8. On the computer acting as the client, enter the server’s IP address, then click
9. In the Chart pane, TCP and UDP throughput are monitored. Upstream refers to
traffic moving from the client computer to the server computer. Downstream
refers to traffic moving from the server computer to the client computer. Other
charts include Loss and RTT. Let the test run for a while, then click Disconnect.
Examine the results, and answer the following questions.
a. On the Throughput chart, what was the highest reading obtained, and what
kind of traffic was it?
b. On the Loss chart, were there any significant loss results, and what kind of
traffic was involved? What theories do you have about why this might be?
Where would you look next to resolve this problem?

15
c. On the RTT (round trip time) chart, were there any spikes? Do you notice any
correlation between the timing of the spikes on this chart and the timing of
problem indicators on the other two charts?
10. Document both of these software installations in your wikidot website.
Capstone Projects
Capstone Project 5-1: Set Up an FTP Server in Ubuntu Server
In Chapter 4, in Capstone Project 4-1, you installed Ubuntu Server in a VM and learned
to use some Linux commands in Ubuntu. In this Capstone Project, you set up an FTP
server on the Ubuntu Server VM. Follow these steps:
1. Using the same VM you created in Capstone Project 4-1, log on to Ubuntu Server
2. To install a program, you need to have the security privileges of a superuser. In
Linux, the superuser is named root. You can apply root privileges to any command by
3. Respond to the prompts and then wait for the package to install.
4. Now you need to configure the FTP program by editing the vsftpd.conf text file
stored in the /etc directory. Before you edit the file, go to the /etc directory and make
6. Now edit the FTP configuration file:
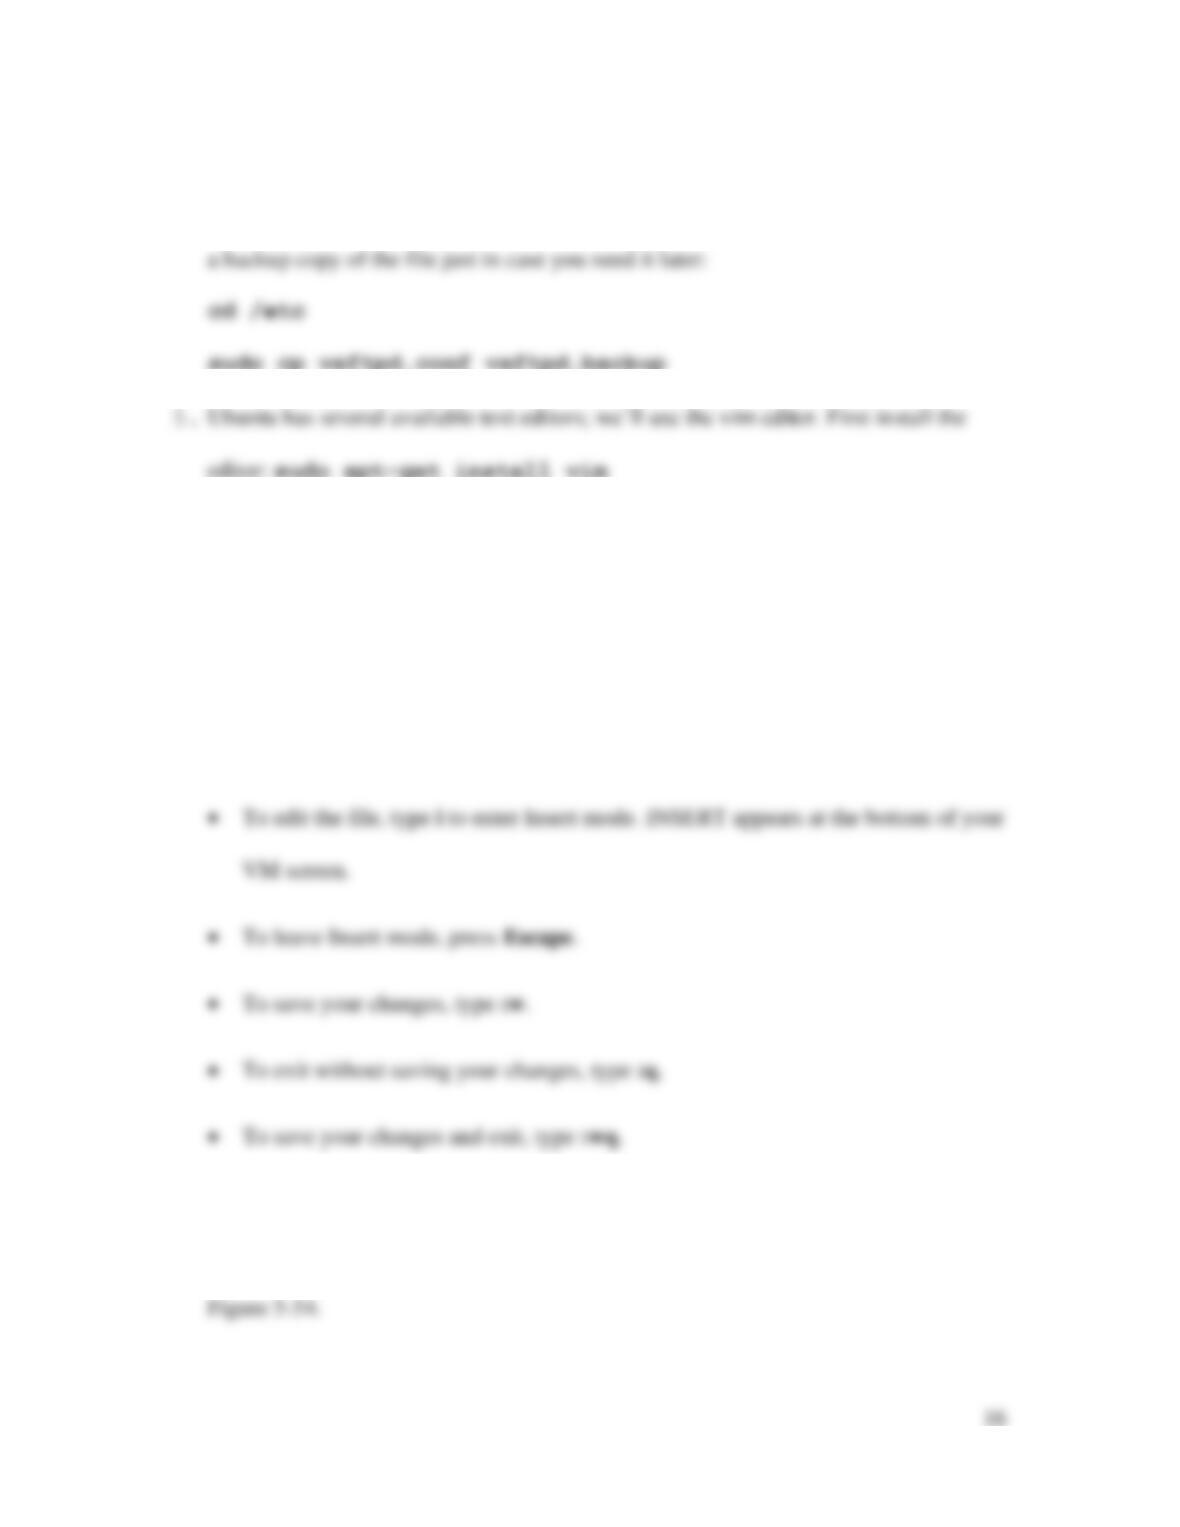
sudo vim vsftpd.conf
Here are a few tips on using the vim editor. You can find out more about it by doing a
Google search:
• Use the arrow keys to move over the file.
7. Using vim, find and, if necessary, change three lines in the config file to create the
settings listed in Table 5-8. Part of the file, including the three lines, is shown in

17
8. Exit the vim editor, saving your changes. Restart the FTP service using this
command: sudo service vsftpd restart
9. To test your FTP server using the local machine, enter ftp 127.0.0.1. Then
enter your username and password for your Ubuntu Server account. Next enter the
dir command to see a list of directories and files. You should see the mydir
11. Go to another computer on your local network or in your virtual network and use the
commands from Step 9 to connect to your FTP server, this time using the IP address
of your server rather than the loopback address. Here are some caveats, potential
problems, and possible solutions to consider for this step:
• Your installation of Ubuntu Server might not allow FTP traffic through its
firewall. You’ll learn about the default Ubuntu Server firewall, iptables, in
Chapter 10. For now, let’s enable the simpler firewall, ufw (Uncomplicated
Firewall), and open the required FTP ports. Enter these commands:
sudo ufw status
determine its new IP address, and then repeat Step 9 on the FTP client.
• If you’re using VirtualBox for either the server or the client, you must first enable
Bridged mode on each VM’s network adapter, which you’ll learn more about in
Chapter 7. To do this, first power down all VirtualBox VMs. Select the Ubuntu
Server VM, click Settings, and click Network. On the Adapter 1 tab, click the
• If you’re using a Windows machine for the client, either virtual or physical, you
should be able to log onto the FTP server from the Windows command prompt.
However, you might run into a firewall problem when you attempt to run the dir
command. Windows Command Prompt uses an older and less secure process for

12. If you’ve not done so already, return to your wikidot Virtualization:VMclients page
and update your notes for each VM you adjusted during this project. List any changes
you made to settings and installations. You might also consider creating a new page
where you collect Linux commands that you’re learning in these projects. The best
Capstone Project 5-2: Decode a TCP Segment in a Wireshark
Capture
In Chapter 4, you walked through a TCP segment to interpret the fields included in its
header. You also installed Wireshark and examined several messages in your capture. In
this project, you’ll pull these concepts together and use Wireshark to capture your own
DNS messages, examine TCP headers in a TCP stream, and practice interpreting the
information that you find.
1. Open Wireshark and snap the window to one side of your screen. Open a browser and
2. Start the Wireshark capture on your active network connection. In the browser,

3. Somewhere in your capture, a DNS message will show the original request to resolve
the name google.com to its IP address. A series of TCP messages will then show the
4. This filter helps reduce the number of messages to the ones you actually want to see.
But you ’ll still probably have to scroll through your results to find exactly the right
DNS message that started this process. You’ll see DNS in the Protocol field, and
5. Once you’ve located the message querying the DNS server, click on it and examine
the details of the message in the second pane. Answer the following questions:
a. What is the OUI of the source’s NIC?
b. Which IP version was used?
c. If the message used IPv4, what was the TTL? If IPv6, what was the hop limit?
d. Did the message use TCP or UDP?
e. What is the source port? The destination port?

6. Now check your filter results for the first [SYN] message after this DNS request.
Open the TCP segment header in the second pane, and answer the following
questions:
a. What is the sequence number?
b. Which flags are set in the TCP segment?
7. To find the actual sequence number assigned to this segment, click on the sequence
8. To switch the output to show actual sequence numbers (in decimal form) in your
capture, click on the Edit menu, click Preferences, expand the Protocols list, scroll
down and click TCP, and uncheck Relative sequence numbers. Then click OK.
9. Apply another filter layer to show only the messages for this TCP conversation.
Right-click the [SYN] message you selected earlier, point to Follow, and click TCP

22
10. Immediately after that initial [SYN] message, locate the [SYN, ACK] message and
answer the following questions:
a. What is the source IP address? The destination IP address?
b. What is the sequence number? The acknowledgment number?
c. Which flags are set in the TCP segment?
11. Locate the third message in this three-way handshake, the [ACK] message, and
answer the following questions:
a. What is the source IP address? The destination IP address?
b. What is the sequence number? The acknowledgment number?
c. Which flags are set in the TCP segment?
12. The three-way handshake establishes the session, but the conversation continues as
the web server begins to respond to your browser’s request for the web page. First,
Google’s server redirects the conversation to a secure website using HTTP over
SSL/TLS. Look for a series of messages listing TLS in the Protocol field. Locate the

23
13. Soon after this key exchange, you’ll see several messages using the TLS protocol that
are labeled Application Data. Look at the Length field for these messages. What is the
size of the longest message listed?
14. Click on one of the longest messages, and answer the following questions:
a. List the types of headers included in this message, in order.
b. What is the source IP address? The destination IP address?
c. Which flags are set in the TCP segment?