
12
The operating system confirms that the DNS resolver cache has been flushed. One
circumstance in which you might want to empty a client’s DNS cache is if the client
4. View the DNS cache again with the command: ipconfig /displaydns
Because you just emptied the DNS cache, you see a message indicating that Windows
could not display the DNS resolver cache. (See Figure 3-33.)
5. Open a browser window and go to cengage.com. Next, go to google .com.
Finally, go to loc.gov.
6. Return to the Command Prompt window and view the DNS cache containing the
new list of resource records using this command: ipconfig /displaydns
7. Scroll up through the list of resource records and note how many associations
were saved in your local DNS cache after visiting just three websites. How many
hosts are identified for each site you visited? What type of record is most
common? What other situations can you think of, other than wanting to reach a
host that has moved to a different address, in which you might want to clear your
DNS cache?

By default, DHCP supplies the IP addresses of DNS servers when you first connect to a
network. When traveling, you can still use your organization’s DNS servers, even when
they are far away from your laptop. Doing so means you don’t have to rely on DNS
servers provided by a public hot spot, which might be controlled by hackers.
Follow these steps to view or change the name server information on a Windows 10
workstation:
8. Open the Network and Sharing Center and click Change adapter settings.
9. Right-click the connection you want to configure, and click Properties on the
shortcut menu. Respond to the UAC box if necessary.
10. On the Networking tab under This connection uses the following items, select
11. To change the default settings and specify the DNS server for your workstation,
12. Enter the IP address for your primary DNS server in the Preferred DNS server
space and the address for your secondary DNS server in the Alternate DNS server

14
13. Now that you have changed your DNS servers, do you still have DNS data stored
in your DNS cache? To find out, return to the Command Prompt window and
view the DNS cache to see what records are still there. Then close all windows,
saving your changes.
Project 3-4: Create a NAT Translation Table Entry
Your corporation hosts a website at the static public IP address 92.110.30.123. A router
directs this traffic to a web server at the private IP address 192.168.11.100. However, the
web server needs a hardware upgrade and will be down for two days. Your network
administrator has asked you to configure the router so that requests to the IP address
92.110.30.123 are redirected to the backup server for the website, which has the private
IP address 192.168.11.110. The router’s inside Ethernet interface uses IP address
192.168.11.254 and its outside interface uses the IP address 92.110.30.65. Answer the
following questions about the new static route you’ll be creating:
1. What is the router’s outside interface IP address?
2. What is the router’s inside interface IP address?
3. What is the website’s public IP address?
4. What is the private IP address of the backup Web server?

15
Use the example given in Figure 3-12 earlier in the chapter as a template to create the
NAT translation table entries for the address translation. For the subnet masks, use the
default subnet mask for a Class C IP address license. Include appropriate comment lines
in your table.
Answer:
Capstone Projects
Capstone Project 3-1: Set Up an FTP Server
In this project, you return to the small network you created in Chapter 1, Project 1-1.
You’ll install and use FTP. Recall that FTP is a client-server application in which the first
computer, the client, requests data or a service from the second computer, the server.
Designate one computer as computer A, the server, and the other computer as computer
B, the client. Do the following using computer A:

16
1. Create a folder named Normal Users and create a file in the folder named
2. Connect Computer A to the Internet so you can get the FileZilla software. Go to
4. After the installation is complete, the Enter server to administrate dialog box
appears (see Figure 3-34). Enter an administration password and be sure to record
this password in a Secure Note, using the Server type, in your LastPass account.
5. Because you’re running only one FTP server on computer A, check the Always
connect to this server check box. When you click Connect, the FileZilla Server
6. You’re now ready to configure your FTP server. To set up a user group, click
7. In the left pane, under Page, click Shared folders.

9. Under Directories, select the Normal Users directory and then click Set as home
10. Next, click Edit, Users, and create a new user named User1. Put the user in the
11. In the Account settings pane, check Password and assign the password
12. To verify the service is working, let’s use the FTP client commands embedded in
Windows on Computer A. As you work, watch the dialogue recorded in the
13. In the FileZilla Server window, click Edit, then click Settings. Under General
14. The server software is still running as a background service, listening at port 21
for clients to initiate a session. To see the service running, open the Windows

18
15. To find out the IP address of computer A, in the Command Prompt window, enter
ipconfig. What is the IP address?
16. Open a Command Prompt window and ping computer A. Theoutput should show
17. Now try the same commands as in step 12, using the IP address of computer A in
the first command line. Most likely, you will not be able to connect because the
On computer A, do the following to open port 21:
18. In the Network and Sharing Center, click Windows Firewall. In the Windows
Firewall window, click Advanced settings. In the left pane, click Inbound Rules
On computer B, you should now be able to open an FTP session with computer A. Do the
following:
19. Using the commands listed in step 12 and the IP address of computer A, open the
session and verify you can see the contents of the shared folder. If you see a
Windows Security Alert, allow access. You might have to restart the session to try
19
Capstone Project 3-2: Install and Use WSL (Windows Subsystem for
Linux)
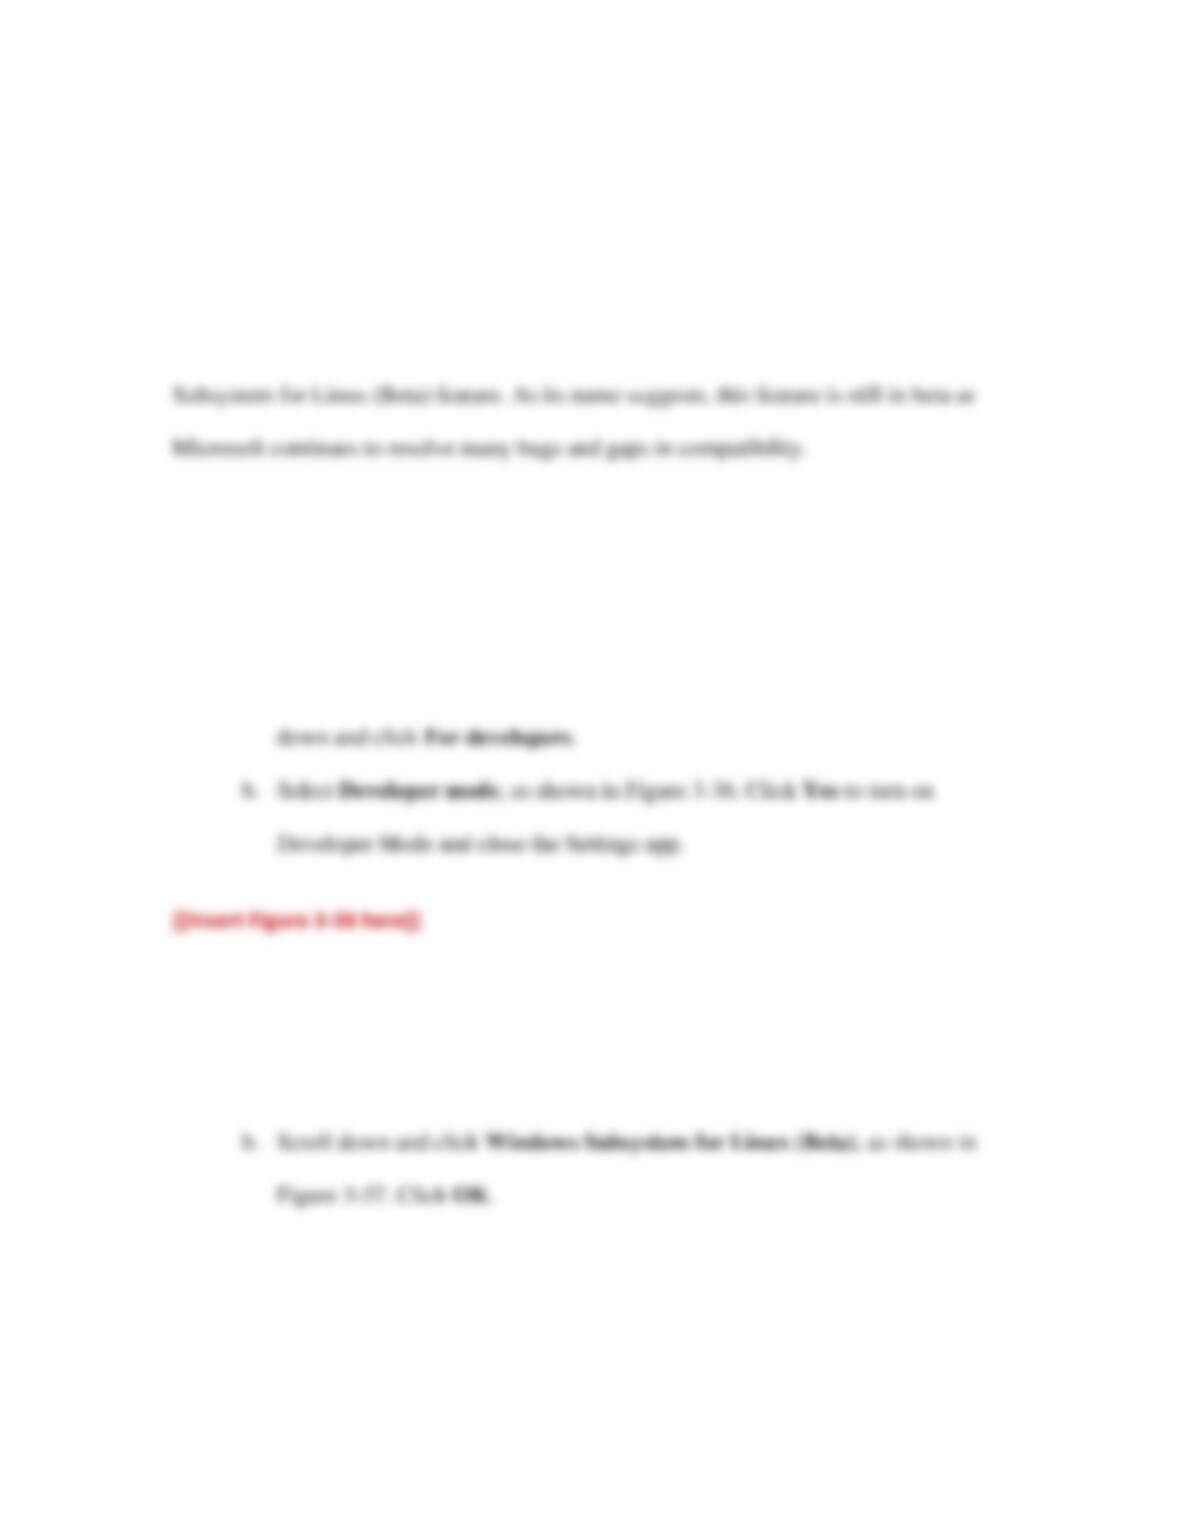
WSL runs on any 64-bit Windows 10 system with the Anniversary Update (version 1607)
or later. You must first turn on Developer Mode, and then enable the Windows
Complete the following steps to enable Windows Subsystem for Linux and install Ubuntu
Bash on a Windows 10 system:
1. First, turn on Developer Mode.
a. Open the Settings app and click Update & security. In the left pane, scroll
2. Enable Windows Subsystem for Linux.
a. Open Control Panel and click Programs and Features. In the left pane,
click Turn Windows features on or off.

20
3. Now that you have enabled Windows Subsystem for Linux, you can install a version
of Linux designed to run on Windows. This version is called Bash on Ubuntu on
Windows. To install and run Bash on Ubuntu on Windows from the command
prompt, do the following:
a. Open a Command Prompt window and enter the command bash (see Figure
b. Enter y to accept the installation terms. Bash on Ubuntu on Windows
downloads from the Windows Store, and then is extracted and installed. This
might take several minutes.
c. Enter a new UNIX username at the prompt. This username can be different
d. Enter a password at the next prompt. The cursor will not move as you type the
password. Re-enter the password at the next prompt. Add this information as a
Secure Note in your LastPass vault.
e. After the installation is complete, Windows switches to the Bash on Ubuntu
on Windows environment with its shell prompt within the Command Prompt

21
f. You can continue to interact with Bash on Ubuntu on Windows from the
Command Prompt window, or you can open Bash on Ubuntu on Windows in
At this point, many of the Linux commands you have become familiar with will work as