15
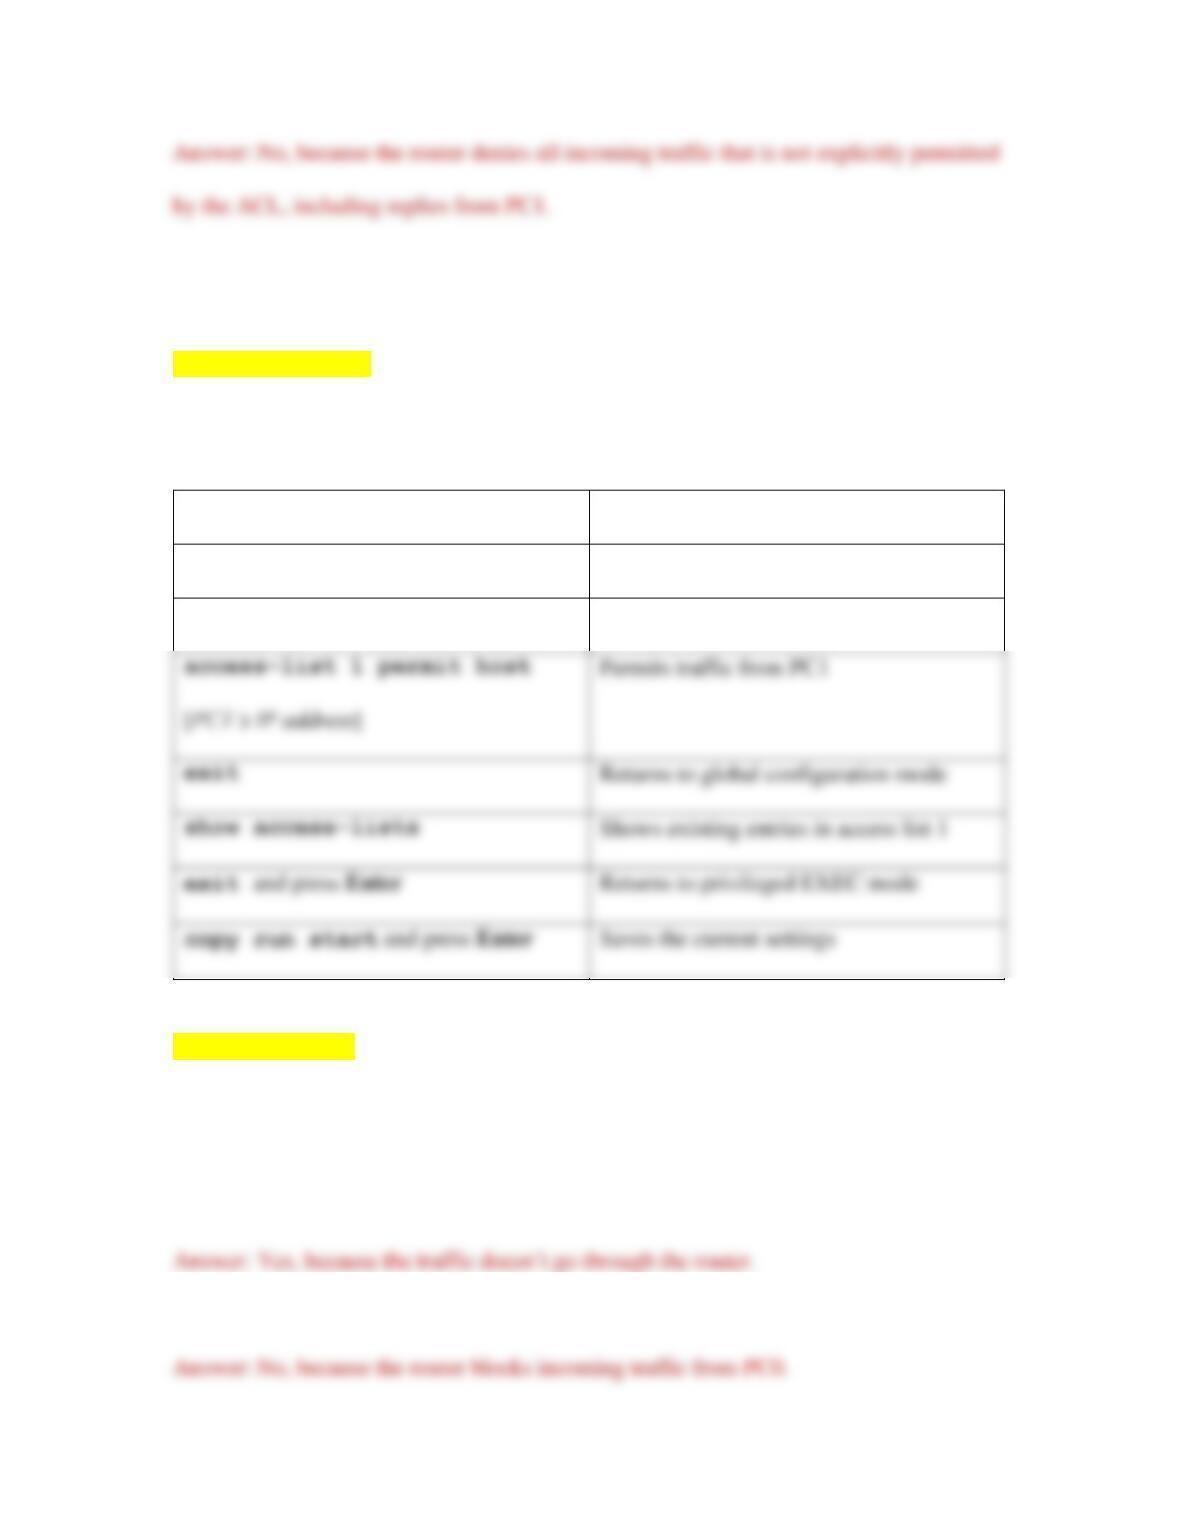
7. Let’s edit the ACL to permit traffic from PC1. On the router’s CLI tab, enter the
commands from Table 10-3.
[[Begin Table 10-3]]
Table 10-3 View and edit an ACL on a router
Command
Purpose
show access–lists
Shows existing entries in access list 1
configure terminal
Enters global configuration mode
show access–lists
Shows existing entries in access list 1
exit and press Enter
copy run start and press Enter
[[End Table 10-3]]
8. You’ve now added a new entry to your ACL. Let’s test your work:
a. From PC0, ping PC1. Does it work? Why do you think this is?
b. From PC0, ping PC2. Does it work? Why do you think this is?

c. From PC2, ping PC0. Does it work? Why do you think this is?
d. From PC2, ping PC1. Does it work? Why do you think this is?
9. Save your project for future reference.
10. Make some notes on your Wikidot website about your activities in Packet Tracer
for this project.
Project 10-4: Compare Windows Server AD to Azure AD
AD DS (Active Directory Domain Services) has been around since Windows 2000
Server, and took a significant leap forward with Windows Server 2008. However, AD, as
it’s most commonly called, was not designed to integrate cloud services within its
domain. Microsoft’s answer to this problem was to introduce Windows Azure Active
Directory. Azure is not intended as a replacement for AD, but rather as a supplement.
Many of the concepts you’ve learned about in this book, such as cloud computing and
security in network design, have built a solid foundation for you to now begin exploring
Azure AD. Complete the following steps:
1. Many employers, when interviewing technicians for job openings, will ask the job
applicant what he knows about Active Directory. Just like you need to be familiar

17
2. Write a paragraph or two describing what you’ve learned. As practice for
business-quality communications, carefully edit your writing. Use complete
sentences, good grammar, and correct spelling.
[BEGIN NOTE]
Note
Some people have a hard time “hearing” their own writing. They use incomplete
sentences or poorly constructed sentences without realizing it, and yet they don’t make
these kinds of mistakes when speaking. If you struggle to write well, consider having
someone else read your paragraph back to you out loud so you can hear your own
mistakes. You might also copy and paste the text into Google Translate
(translate.google.com), which can read it back to you. Listen for statements that don’t
make sense, that didn’t say what you intended them to say, or that could be interpreted in
many different ways.
[END NOTE]
3. Spend some time researching Azure and comparing it to Active Directory. What
services does Azure offer that are the same as AD? What services does Azure
offer that are different? Which protocols does Azure rely on? What AD
limitations does Azure address? Also watch some videos showing how to use
Azure.
18
4. Write two paragraphs describing what you’ve learned. As practice for business–
quality communications, carefully edit your writing. Use complete sentences,
good grammar, and correct spelling. Consider drawing a diagram or two to
illustrate the information you’re sharing.
Capstone Projects
Capstone Project 10-1: Secure Switch Ports in Packet Tracer
In this project, you will create a new network in Packet Tracer and configure port security
on the switch. Complete the following steps:
1. Create a Packet Tracer network with one 2960 switch and two PCs, as shown in
Figure 10-34. Create the needed connections with Copper Straight-Through
cables, connecting PC0 to Switch0’s FastEthernet0/1 interface and PC1 to
Switch0’s FastEthernet0/2 interface. The links between the switch and the PCs
should come up automatically.
2. Configure the PCs with the following static IP addresses:
3. Let’s see what options are available for port security on the switch’s port that
faces PC0. On the switch’s CLI tab, press Enter, then enter the commands from
19
Table 10-4. In Step 4, there are questions for you to answer as you work through
the commands in Table 10-4.
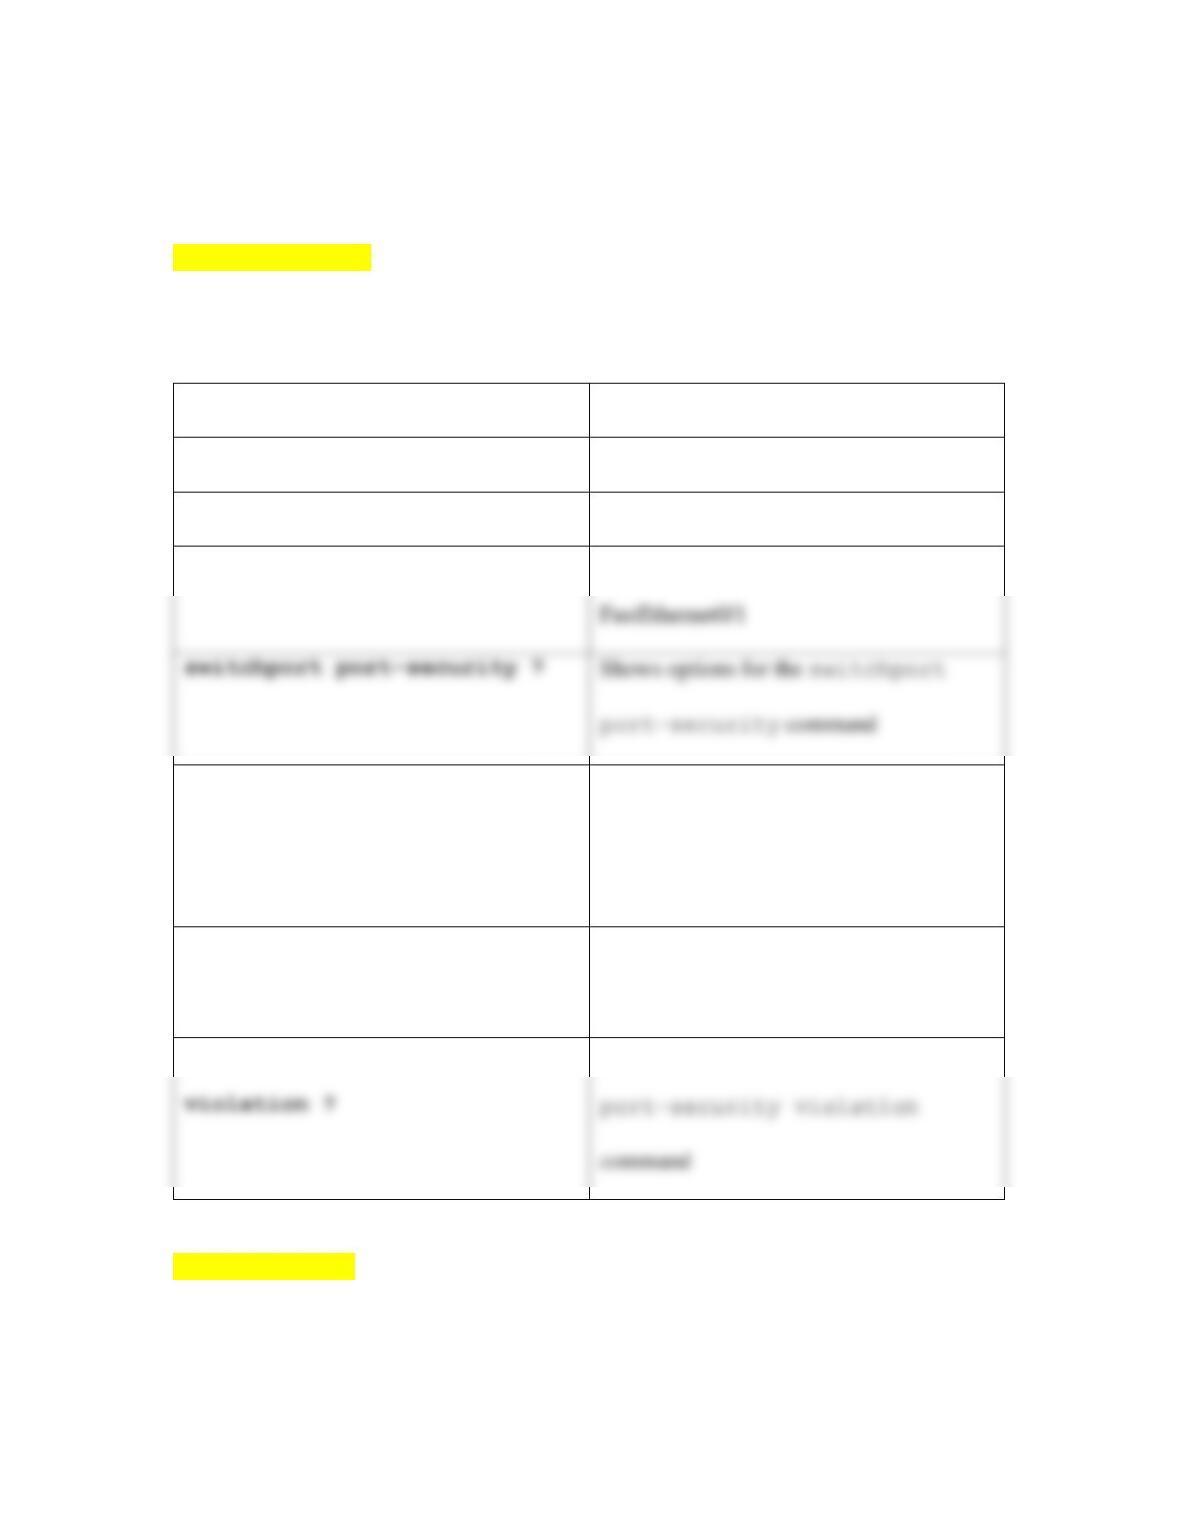
[[Begin Table 10-4]]
Table 10-4 Explore port security options on a switch
Command
Purpose
enable
Enters privileged EXEC mode
configure terminal
Enters global configuration mode
interface fastethernet0/1
Enters interface configuration mode for
switchport port–security
mac–address ?
Shows options for the switchport
port–security mac–address
command
switchport port–security
maximum ?
Shows options for the switchport
port–security maximum command
switchport port–security
Shows options for the switchport
[[End Table 10-4]]
4. Answer the following questions:
FastEthernet0/1
switchport port–security ?
Shows options for the switchport
port–security command

20
a. What are the three configuration options for the switchport port-
security command?
b. What are the two configuration options for the switchport port-
security mac–address command?
c. How many MAC addresses can be allowed using the switchport
port–security maximum command?
d. What are the three configuration options for the switchport port-
security violation command?
[BEGIN NOTE]
Note
When re-entering the same or similar commands repeatedly at the IOS CLI, you can
press the up arrow on your keyboard to recall recent commands. Then make edits to a
recalled command before entering it.
[END NOTE]
21
5. Now you’re ready to configure port security on the switch’s port that faces PC0.
But first, you have to configure the port for access mode. On the switch’s CLI tab,
enter the commands from Table 10-5.
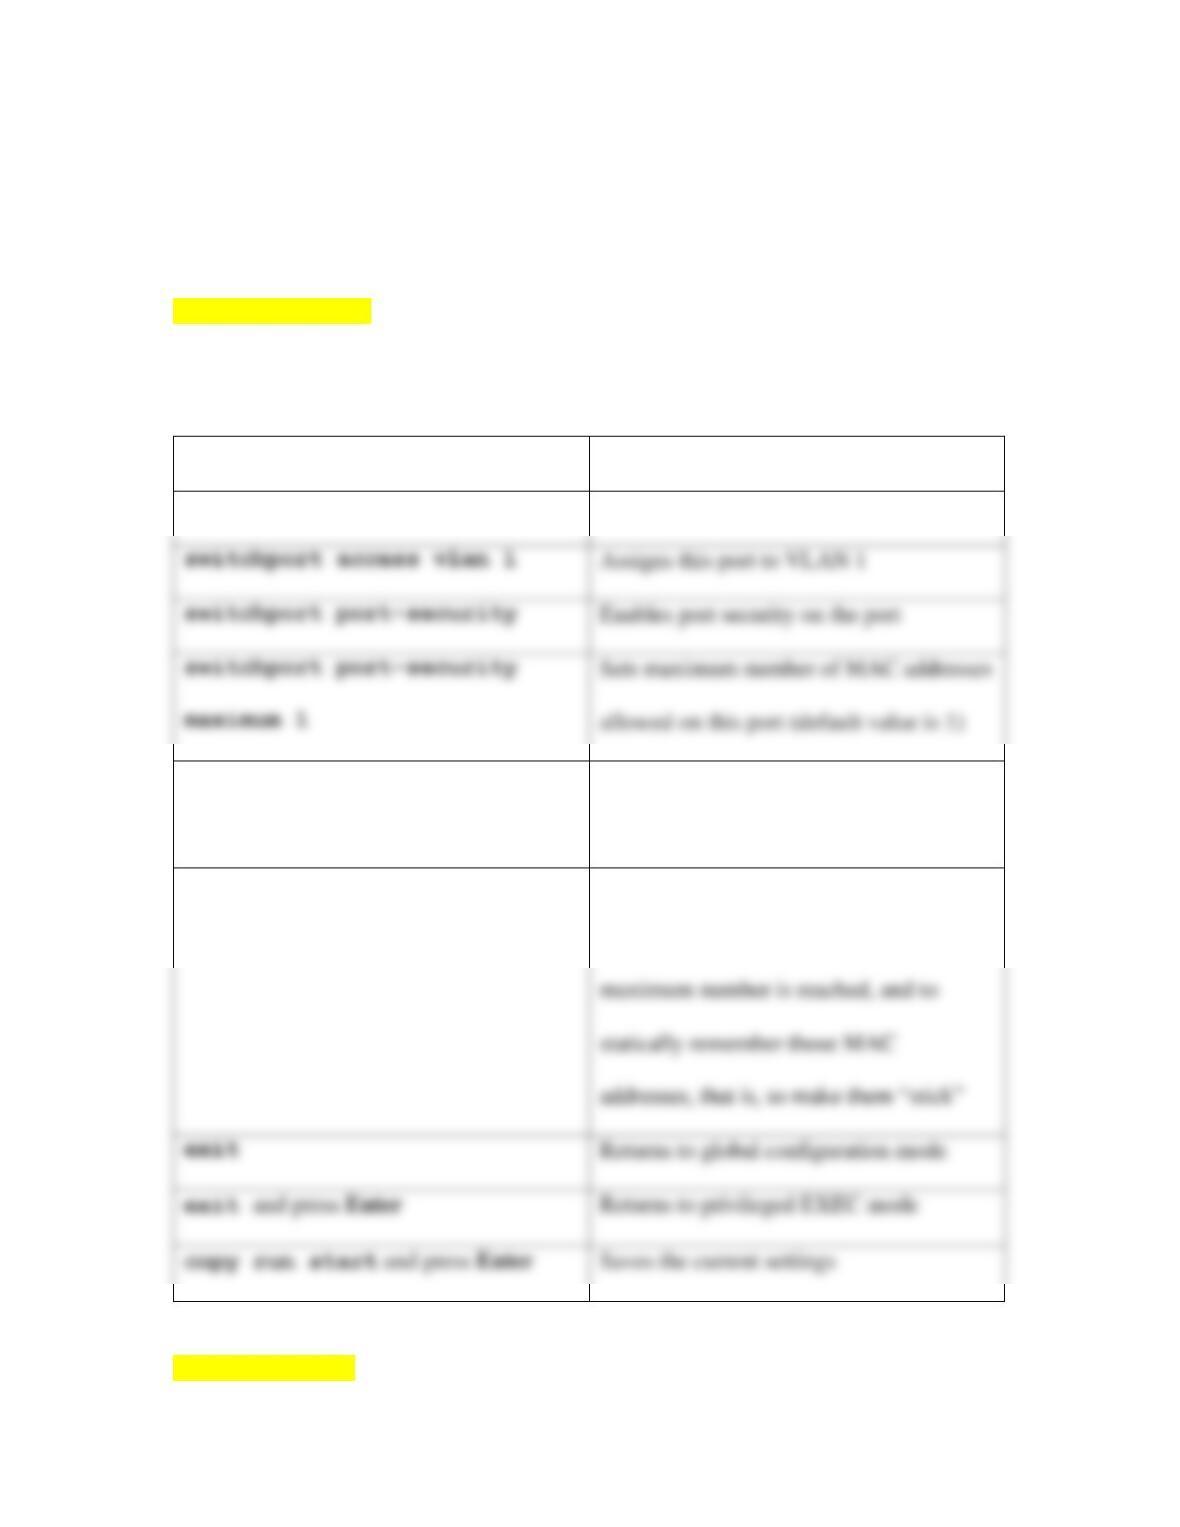
[[Begin Table 10-5]]
Table 10-5 Configure port security on a switch
Command
Purpose
switchport mode access
Sets access mode for this port
switchport port–security
violation shutdown
Requires the port to shut down if port-
security is violated (default is shutdown)
switchport port–security
mac–address sticky
Returns to global configuration mode
exit and press Enter
Instructs the port to dynamically learn the
MAC addresses of connected devices until
[[End Table 10-5]]
switchport access vlan 1
Assigns this port to VLAN 1
switchport port–security
Enables port security on the port
allowed on this port (default value is 1)

22
6. Now that you’ve secured the port and instructed the switch to automatically learn
and remember the MAC address of the connected computer, let’s check the MAC
address table. Enter the command show mac–address–table. What MAC
address information is listed?
7. The switch has not yet seen any packets from PC0 in order to learn its MAC
address. So let’s send some packets across the interface from which the switch
can collect some information. From PC0, ping PC1. Then rerun the show mac-
address–table command on the switch. Now what information is listed?
What is the type of each entry? Why do you think this is?
8. Let’s pretend a hacker gains physical access to the Ethernet cable connected to
PC0. She removes the cable from PC0 and connects it to her own laptop. What
will happen when she tries to access the network? To find out, do the following:
a. Delete the cable connecting PC0 to the switch as follows: click the Delete
button to the right of the workspace, click the cable, then press Esc to exit
Delete mode. What information is reported on the switch’s CLI tab?
b. Add a laptop to the workspace. Set its static IP address information to
192.168.10.30/24.

23
c. Add a Copper Straight-Through connection from the laptop to the switch’s
FastEthernet0/1 port. Wait for the link to come up. What information is
reported on the switch’s CLI tab now?
9. The connection is successfully established, but can the hacker do anything on the
network? Go to the laptop’s Command Prompt interface. Position the laptop’s
configuration window off to the side of the workspace so you can see the network
and enter commands at the same time. Ping PC1. What happens? What
information is reported on the switch’s CLI tab? What do you think
“administratively down” means?
10. The switch has automatically shut down the port in response to the security
violation. Let’s try to reconnect the legitimate computer. Delete the laptop’s
connection to the switch, and add a new connection between PC0 and the switch’s
FastEthernet0/1 port. What happens? Try to ping PC1. What happens?
11. To re-enable the connection from PC0, go to the switch’s CLI tab. Position the
switch’s configuration window off to the side of the workspace so you can see the
network and enter commands at the same time. Press Enter to return to the

24
command prompt, and then enter the commands from Table 10-6. What happens
to the connection?
[[Begin Table 10-6]]
Table 10-6 Restart a switch’s port
Command
Purpose
configure terminal
Enters global configuration mode
interface fastethernet0/1
Enters interface configuration mode for
FastEthernet0/1
shutdown
Disables the port
no shutdown and press Enter
Enables the port
[[End Table 10-6]]
12. Ping PC1 from PC0 to confirm the connection is restored. Save your project for
future reference.
13. Make some notes on your Wikidot website about your activities in Packet Tracer
for this project.
Capstone Project 10-2: Use iptables in Ubuntu Server
In Chapter 4, Capstone Project 4-1, you installed Ubuntu Server in a VM. In Chapter 5,
Capstone Project 5-1, you might have enabled a simple Linux firewall called ufw
(Uncomplicated Firewall). The default Ubuntu Server firewall, however, is iptables,
which you learned about in this chapter.
In this project, you will learn some basic commands in iptables, configure a couple of
rules, and save the rules in a file. Complete the following steps:
1. Start your Ubuntu Server VM and log in. Refer to your notes in Wikidot and your
account information in LastPass if you need a refresher on where this VM is
2. Let’s begin by looking to see what rules are currently in force. Enter the
command sudo iptables -L and then enter your password. The three
chains, or lists of rules, are currently empty. What three chains are listed?
3. Firewall traffic can be set to either accept traffic that doesn’t meet a deny rule,
which is called implicit allow, or reject traffic that doesn’t meet an accept rule,
which is called implicit deny. No restrictions are configured by default, so we
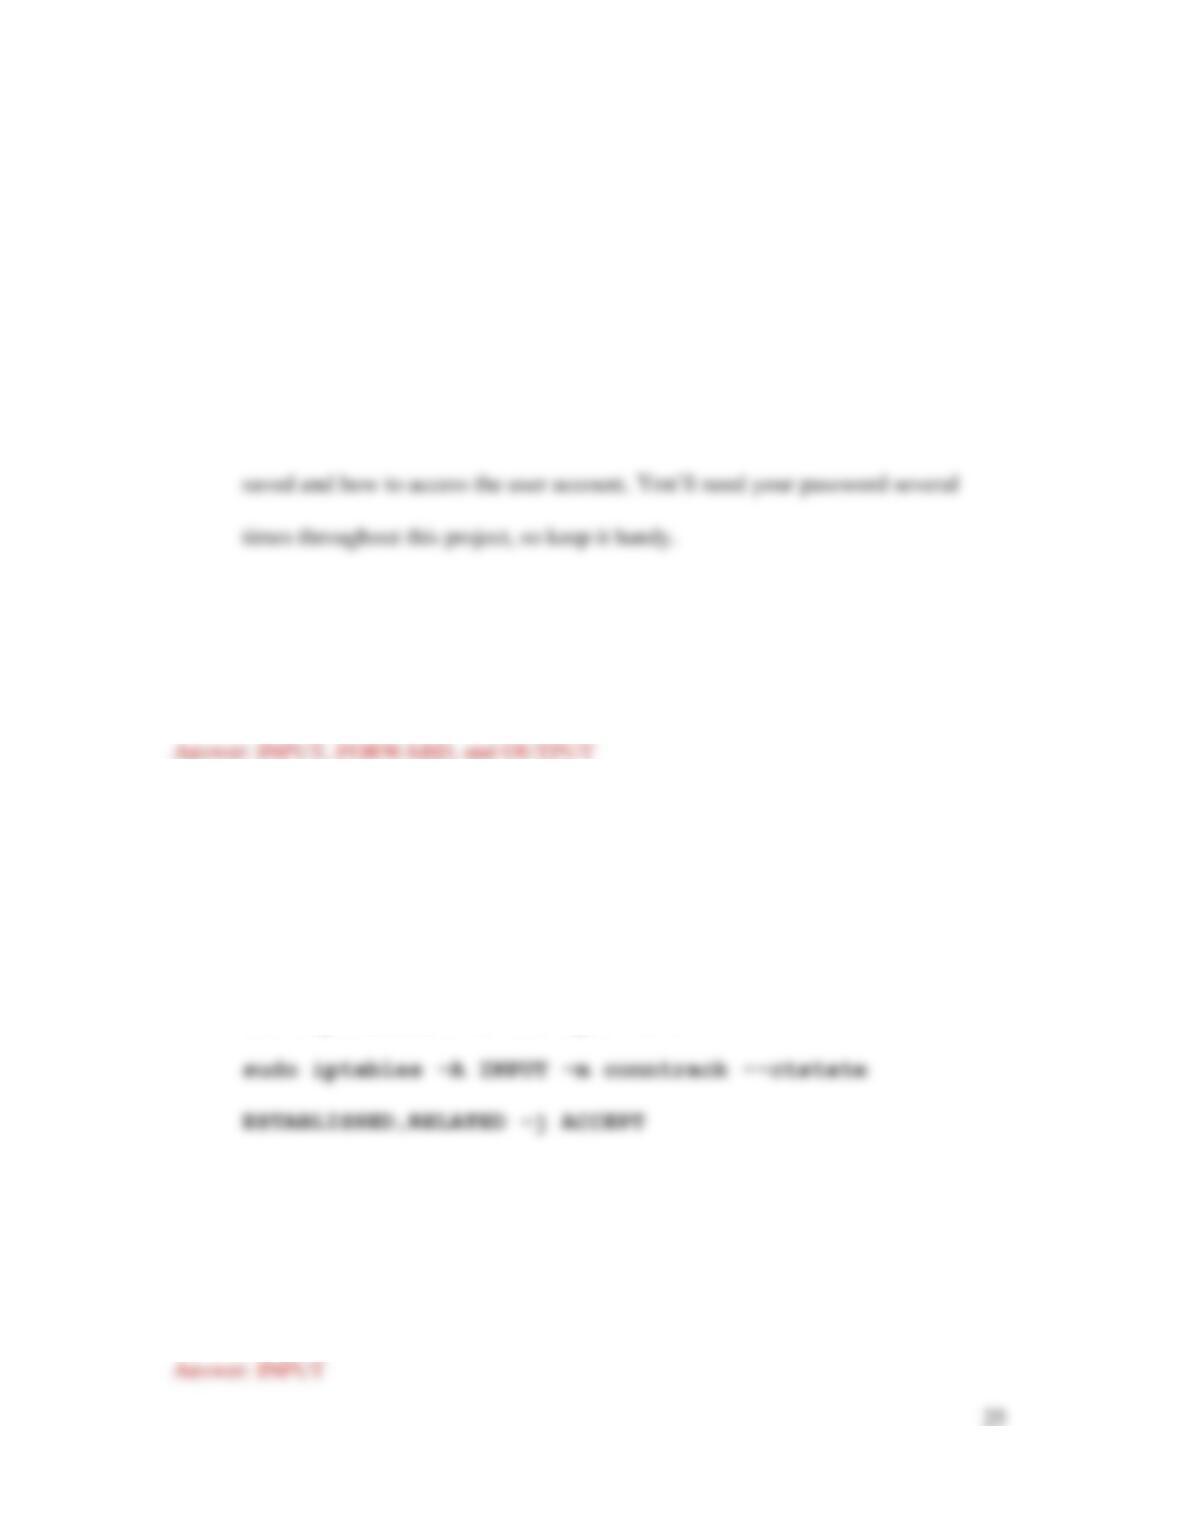
need to add some. Let’s first allow any current connections to continue. Enter the
following command, as shown in Figure 10-35:
[[Insert Figure 10-35 here]]
4. Enter the sudo iptables -L command again to make sure the new rule is
listed. Which chain(s) includes the new rule?
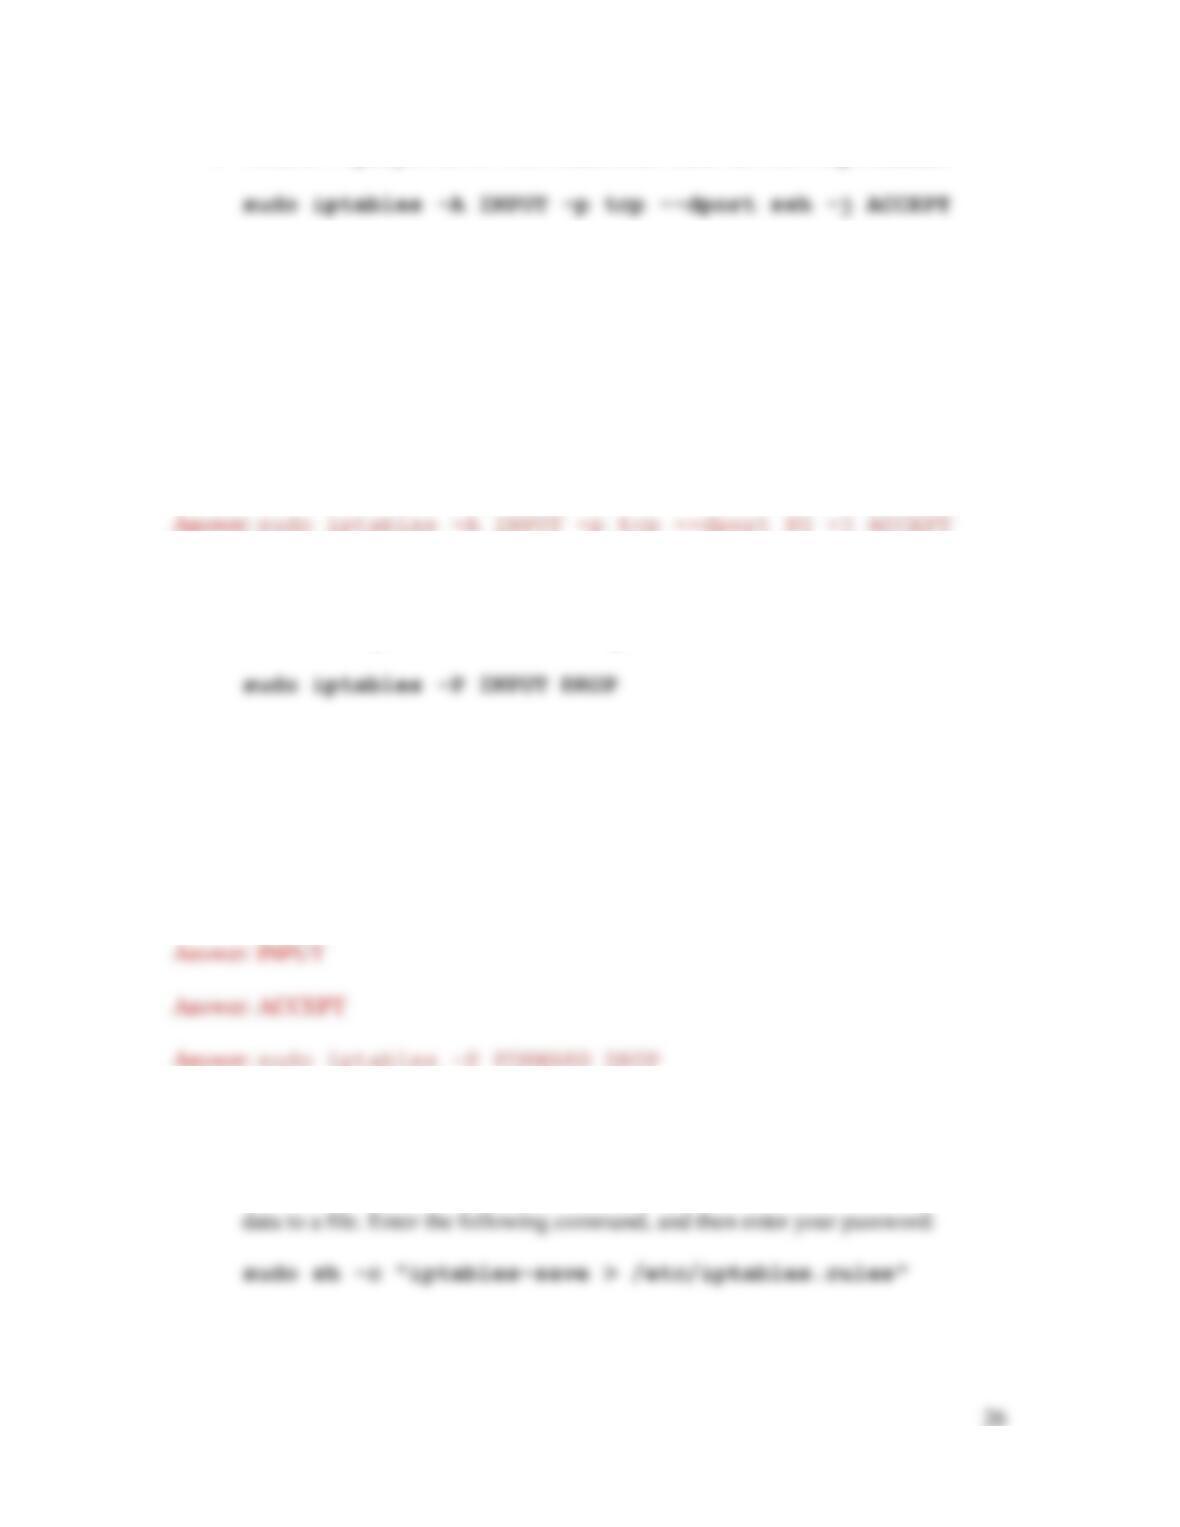
5. Next, let’s open port 22 for SSH connections. Enter the following command:
6. The iptables utility automatically knows that SSH runs on port 22 by default, so it
opens port 22 when SSH is listed in this command. Sometimes, however, you
might want to list the port number itself. Using the command in Step 5 as a guide,
what command would you enter to allow HTTP traffic using the port number
instead of the protocol name?
7. Now let’s change the default input policy so it will drop any traffic that doesn’t
match an accept rule. Enter the following command:
8. Enter the sudo iptables -L command again to see your changes. Which
chain now has a DROP policy? What policy is listed for the other two chains?
Using the command in Step 7 as a guide, what command would you enter to
change the default forward policy instead?
9. These policies are not persistent, meaning they will be lost the next time you
power off the Ubuntu Server VM. To save these rules, you first have to export the

27
10. To confirm your file was saved, change to the /etc directory with the command
cd /etc. Then show the directory’s contents with the command ls. Is your file
listed? What is it called?
11. You won’t always have a handy guide to tell you what commands to enter when
you want to accomplish a task at the command line. Oftentimes, you have to do
some research. The iptables utility has the option to automatically restore the rules
from the rules file each time you power on the system. Look online and find the
command that makes this possible. What did you find? What does this command
do?
12. Use the sudo poweroff command to shut down the VM. Make some notes on
your Wikidot website about your activities in Ubuntu Server for this project.