Extended Learning Module L – Building Web Sites with FrontPage
Mod L-1
EXTENDED LEARNING MODULE L
BUILDING WEB SITES WITH FRONTPAGE
JUMP TO THE SUPPORT YOU WANT
STUDENT LEARNING OUTCOMES
2. Describe the different ways to navigate in FrontPage.
4. Describe and build a Web site using FrontPage.
6. Demonstrate the method used to insert a graphic into a Web page using FrontPage.
8. Create a list and a table in a Web page using FrontPage.
9. Define the benefits of using Themes when developing a Web page.
MODULE SUMMARY
This Extended Learning Module teaches your students how to design and build Web pages and
Web sites using Microsoft FrontPage.
The primary sections of this module include:
2. Navigation in FrontPage
4. Building a Web Page
6. Including Hyperlinks
8. Formatting Pages
Extended Learning Module L – Building Web Sites with FrontPage
Mod L-2
LECTURE OUTLINE
INTRODUCTION (p. L.2)
WEB SITES, WEB PAGES, AND HTML (p. L.3)
1. FrontPage Builds Web Sites Big and Small
NAVIGATION IN FRONTPAGE (p. L.5)
2. FrontPage Views
BUILDING A WEB SITE (p. L.9)
2. Creating a Web Site with Templates
4. Creating an Empty Web Site
BUILDING A WEB PAGE (p. L.13)
1. Creating a Blank Web Page
3. Entering Text on a Web Page
5. Paragraphs
WORKING WITH GRAPHICS (p. L.20)
2. Putting Your Own Images on a Web Page
INCLUDING HYPERLINKS (p. L.23)
2. Creating a Link to an E-Mail Address
PRESENTING INFORMATION IN LISTS AND TABLES (p. L.25)
2. Working with Tables
FORMATTING PAGES (p. L.30)
1. Setting Page Properties
END OF MODULE (p. L.34)
1. Summary: Student Learning Outcomes Revisited
3. Assignments and Exercises
Back to Jump List
Extended Learning Module L – Building Web Sites with FrontPage
Mod L-3
MODULES, PROJECTS, AND DATA FILES
• Demonstrating How to Build Web Sites: With HTML
• Building A Web-Based Classified System
DATA FILES
Back to Jump List

Extended Learning Module L – Building Web Sites with FrontPage
Mod L-4
• These are the Student Learning Outcomes for the module.
• These are the Student Learning Outcomes for the module.
• Use them as a road map to inform your students of what you will be
• These are the Student Learning Outcomes for the module.
• Use them as a road map to inform your students of what you will be
covering.
• This slide discusses Microsoft FrontPage and Web authoring software.
• You should mention that there are other Web authoring software
• This slide starts the discussion on the functions using FrontPage.
• There are more functionalities than the text refers to, but we have
Extended Learning Module L – Building Web Sites with FrontPage
Mod L-5
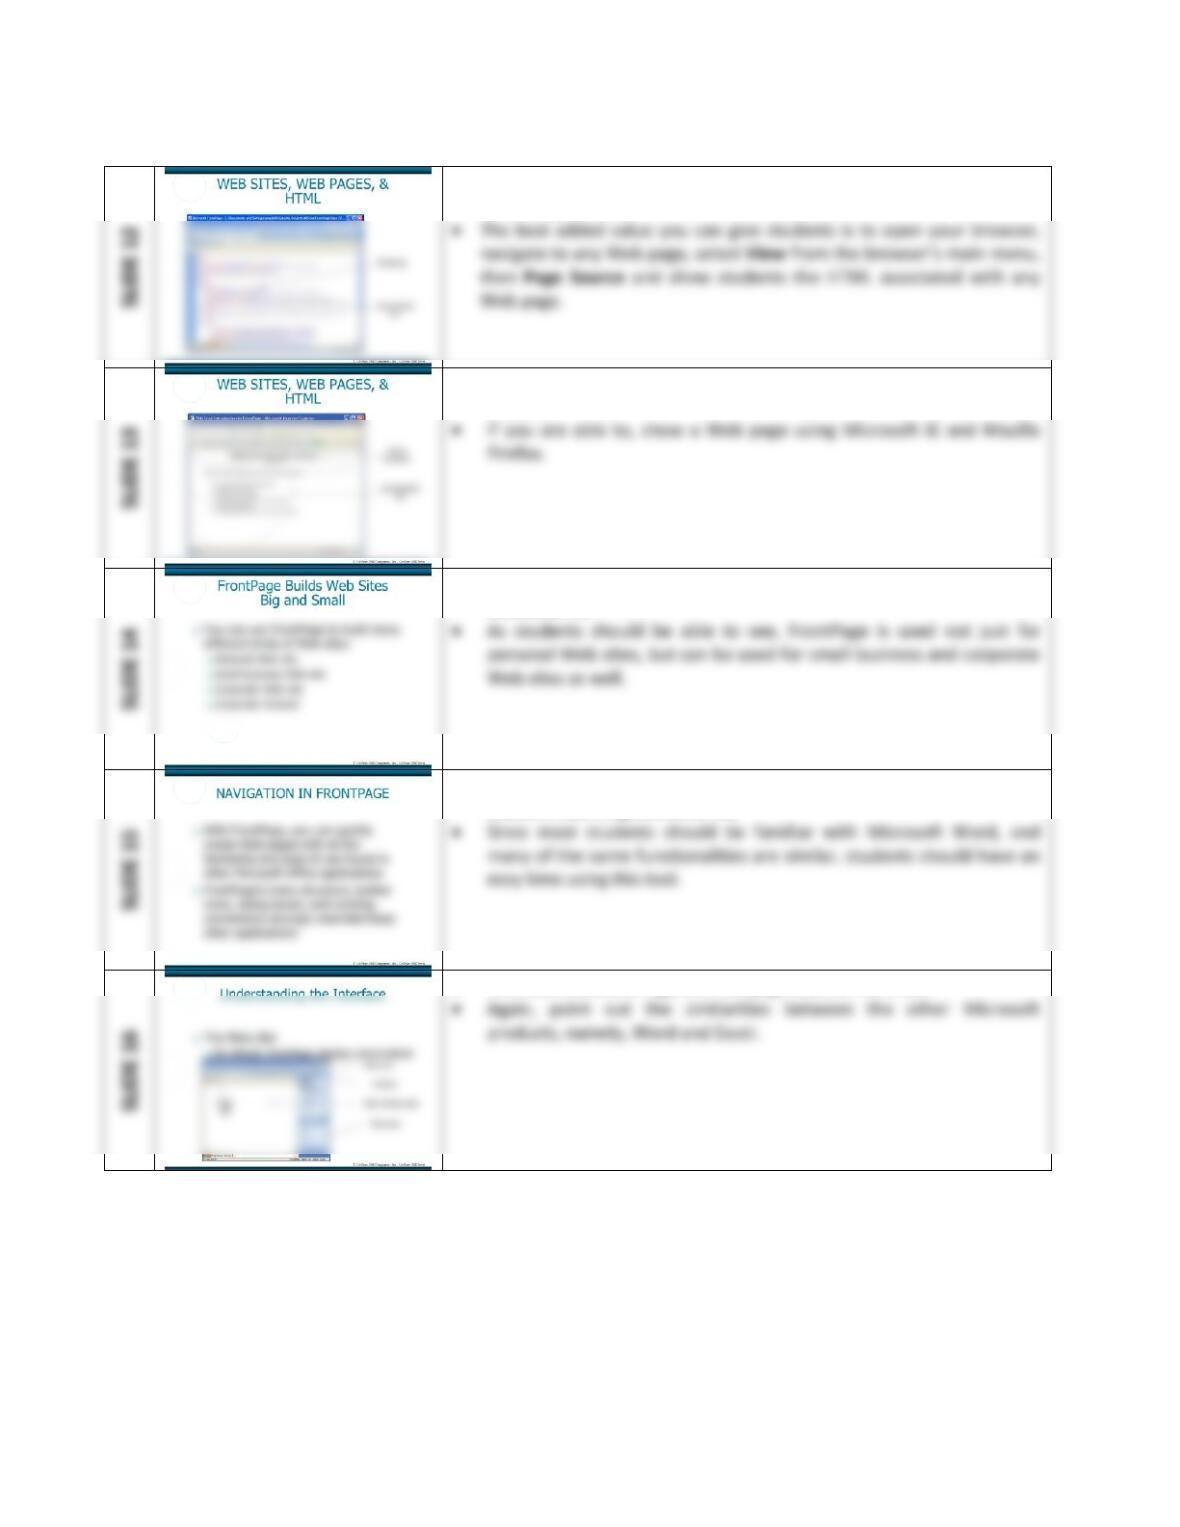
• This slide defines HTML.
• From this figure, students should see some very similar features
• This slide illustrates Figure L.1 on page L.2, Microsoft FrontPage and
Word interfaces.
• It identifies the major sections and learning outcomes associated with
• This slide presents the organization for the module.
• This slide presents the organization for the module.
• It identifies the major sections and learning outcomes associated with
• This slide introduces the distinctions between a Web site, a Web page,
and HTML.
• There are tons, and tons of examples to give, such as:
• Although we define this term in more detail in Extended Learning
Extended Learning Module L – Building Web Sites with FrontPage
Mod L-6
• This slide illustrates Figure L.2, HTML tags.
• Here is a good view of what HTML really looks like.
• This slide illustrates Figure L.3, the HTML code as it is displayed in a
browser.
• This slide introduces the uses of FrontPage. (Student Learning
Outcome #1)
• This slide starts a series of slides on how to navigate within FrontPage.
(Student Learning Outcome #2)
• This slide illustrates Figure L.4 on page L.6, the menu bar.
Extended Learning Module L – Building Web Sites with FrontPage
Mod L-7
• This slide introduces the standard toolbar.
• Again, point out the similarities between the other Microsoft
products.
• This slide introduces students to FrontPage views. (Student Learning
Outcome #3)
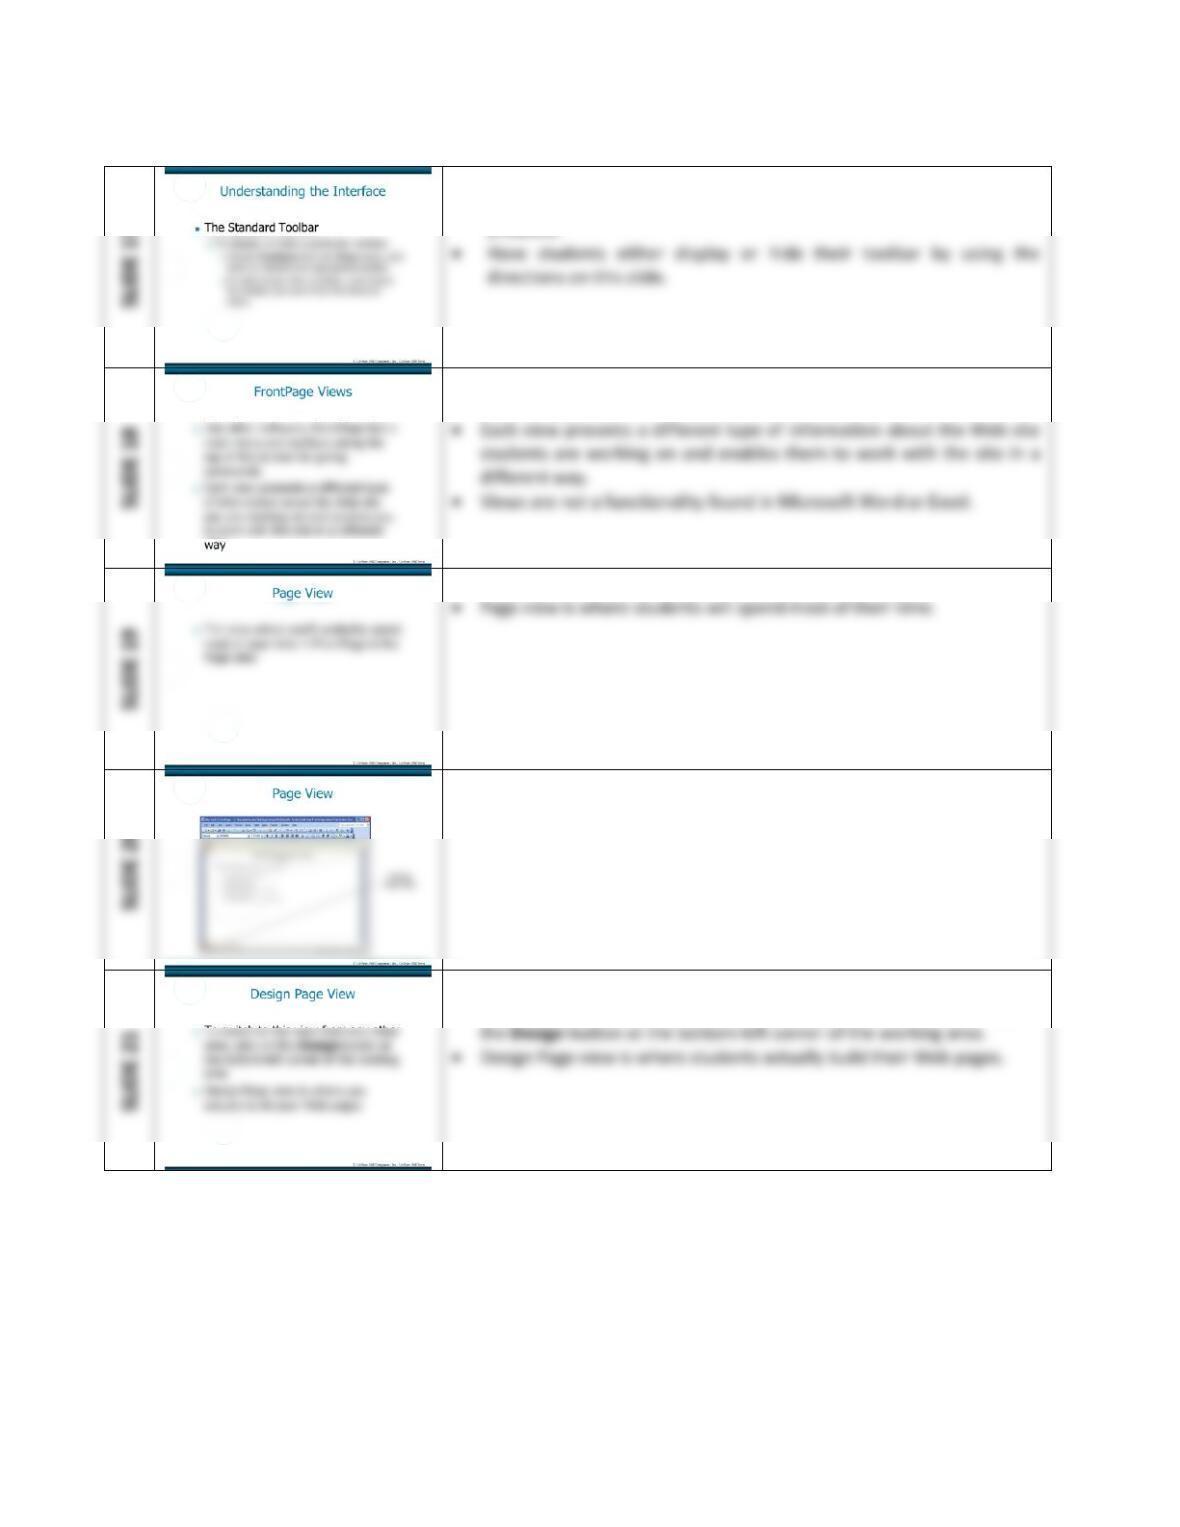
• Page view is where students will spend most of their time.
• This slide discusses the Page view.
• This slide shows Figure L.5 on page L.7, the Page view.
• This slide introduces the Design Page view.
• Have students switch to this view from any other view, by clicking on
Extended Learning Module L – Building Web Sites with FrontPage
Mod L-8
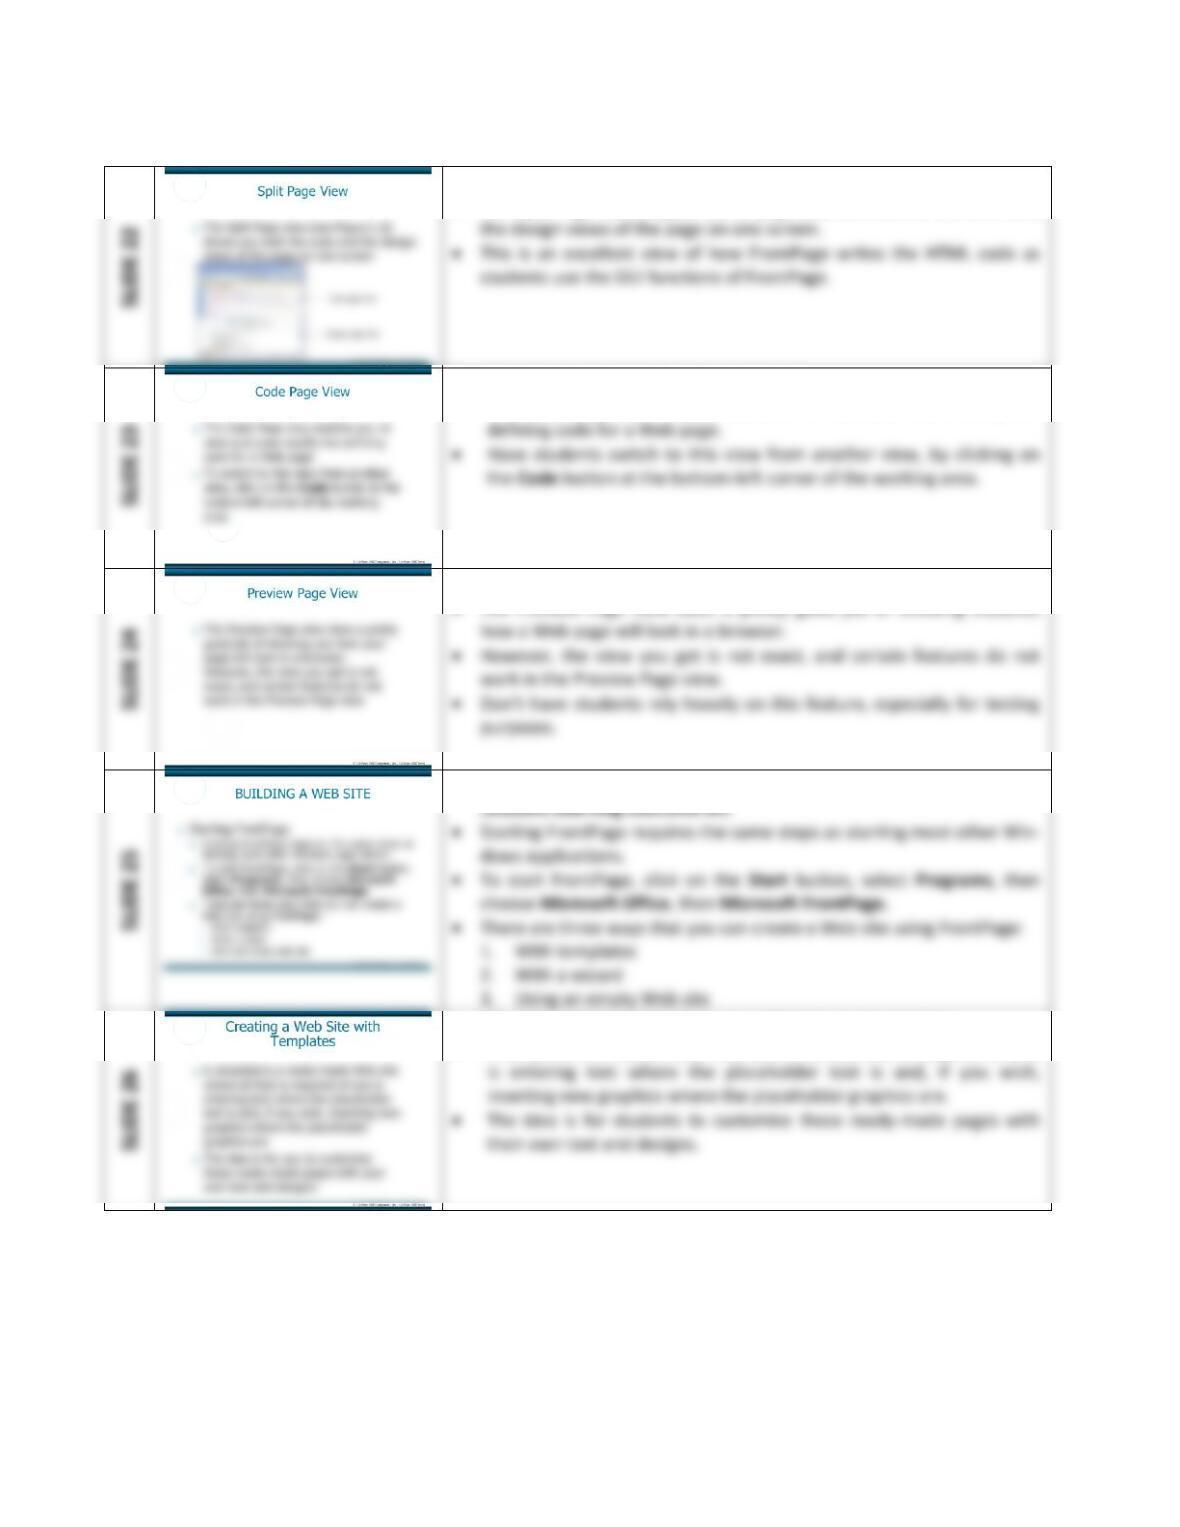
• This slide introduces the Split Page view.
• The Split Page view (Figure L.6 on page L.8) shows both the code and
• This slide introduces the Code Page view.
• The Code Page view enables students to view and even modify the
• The Preview Page view does a pretty good job of showing students
• This slide introduces the Preview Page view.
• This slide starts the section on building a Web site and using FrontPage.
• This slide discusses how to create a Web site with templates.
• A template is a ready-made Web site where all that is required of you
Extended Learning Module L – Building Web Sites with FrontPage
Mod L-9
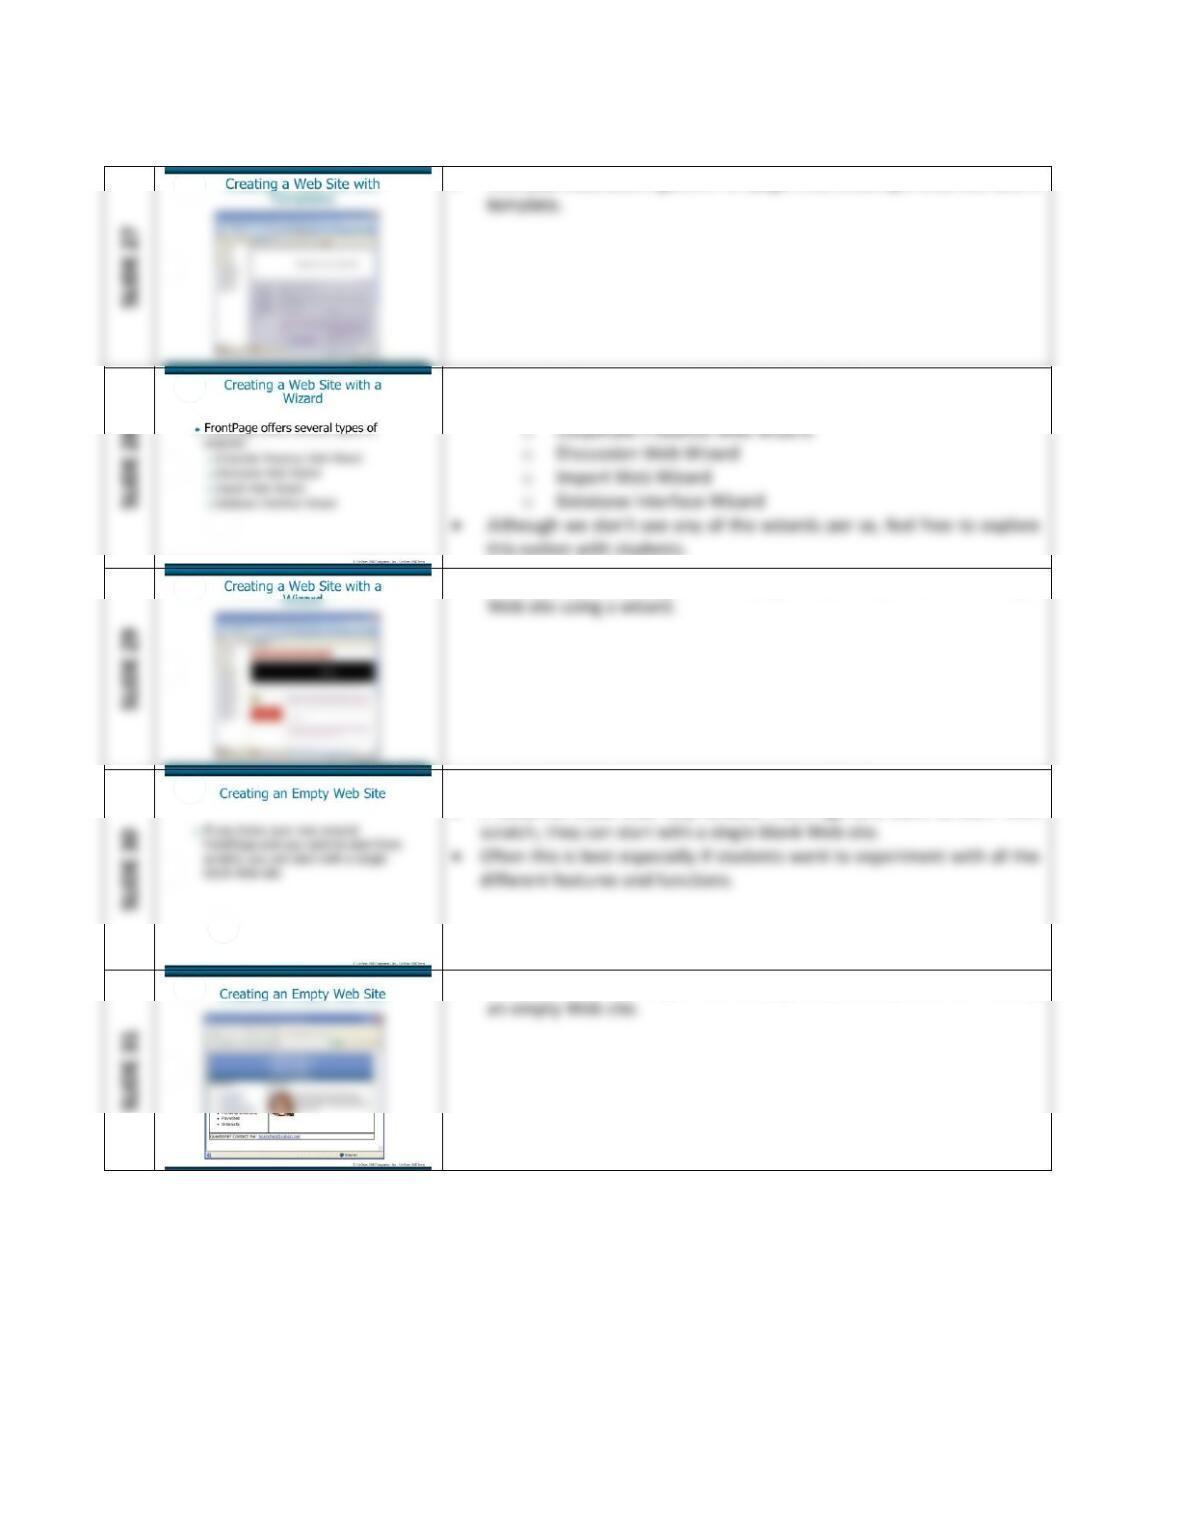
• This slide illustrates Figure L.7 on page L.10, creating a Web site with a
• This slide discusses some of FrontPage’s wizards.
• FrontPage offers several types of wizards:
• This slide illustrates Figure L.8 on page L.11, the options for creating a
• This slide shows how to create an empty Web site.
• If students know their way around FrontPage and want to start from
• This slide illustrates Figure L.9 on page L.12, the options for creating
Extended Learning Module L – Building Web Sites with FrontPage
Mod L-10
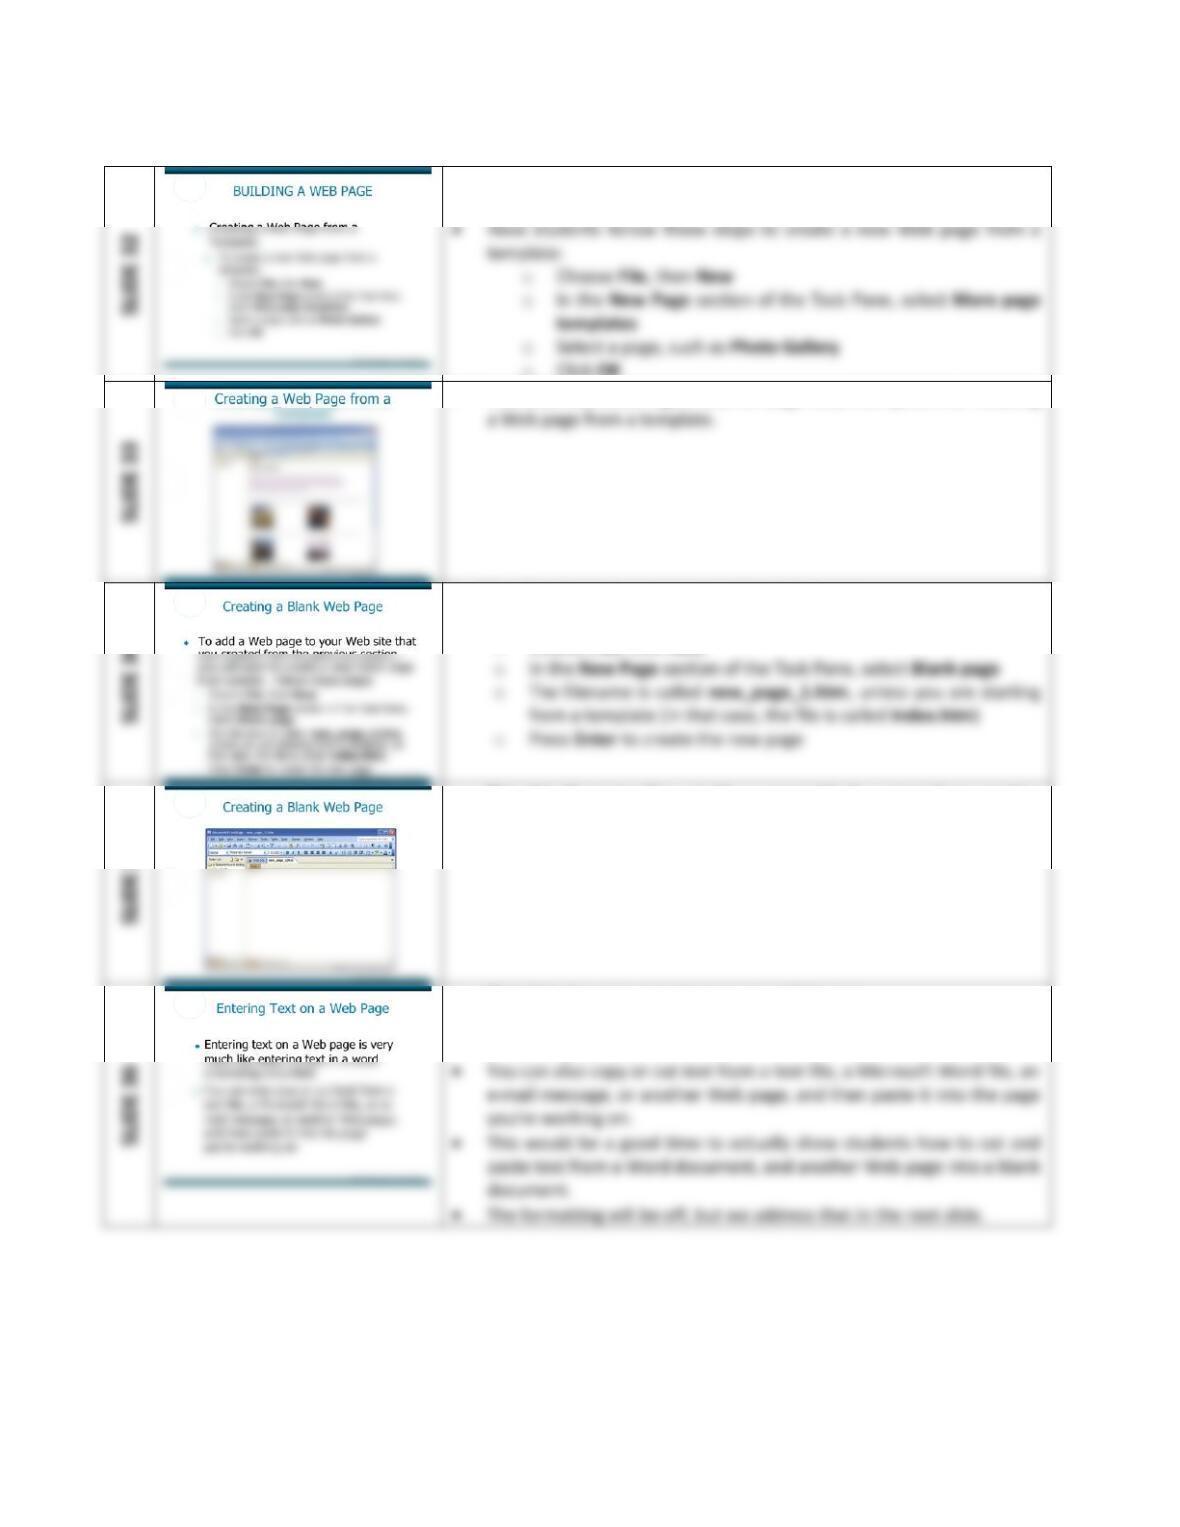
• This slide shows how to create a Web Page from a template. (Student
Learning Outcome #5)
o Click OK
• This slide illustrates Figure L.10 on page L.13, the options for creating
• This slide shows how to create a blank Web page.
• Have students follow these steps:
o Choose File, then New
• This slide illustrates Figure L.11 on page L.14, the output from creating
a new blank Web page.
• This slide discusses entering text on a Web page.
• Entering text on a Web page is very much like entering text in a word
processing document.
Extended Learning Module L – Building Web Sites with FrontPage
• This slide discusses formatting text.
• Controlling fonts on Web pages presents unique difficulties.
SLIDE 38
• This slide illustrates Figure L.12 on page L.16, the formatting toolbar.
SLIDE 39
• This slide starts a series of slides on paragraphs.
• In HTML, paragraph breaks don’t mean quite the same thing that they
• This slide continues the discussion on paragraphs.
• To insert a paragraph break
o In Page view, inserting a paragraph break is as simple as pressing
• This slide illustrates Figure L.13 on page L.17, a comparison of
paragraph breaks and line breaks.
Extended Learning Module L – Building Web Sites with FrontPage
Mod L-12
• This slide continues the discussion on paragraphs.
• There are different ways that you can align text.
• This slide continues the discussion on paragraphs.
• The arrangement and layout of paragraphs, or any blocks of text, are
• This slide starts the discussion on working with graphics.
• Using ruled lines is the easiest place to start.
• There are several ruled line types, using a horizontal rule, and using an
• This slide discusses putting your own images on a Web page.
• Gif and jpeg graphics are the best choice for a Web page because all
browsers can display them easily.
• This slide discusses how to change a graphic’s size, alignment, and
spacing.
• FrontPage offers four different ways to open the Picture Properties
dialog box;
Extended Learning Module L – Building Web Sites with FrontPage
• This slide shows Figure L.17 on page L.21, the picture properties dialog
box.
• This slide discusses changing a graphic’s size, alignment, and spacing.
• Picture Properties
o Wrapping Style
• This slide shows Figure L.18 on page L.22, the graphic layout
alignment options.
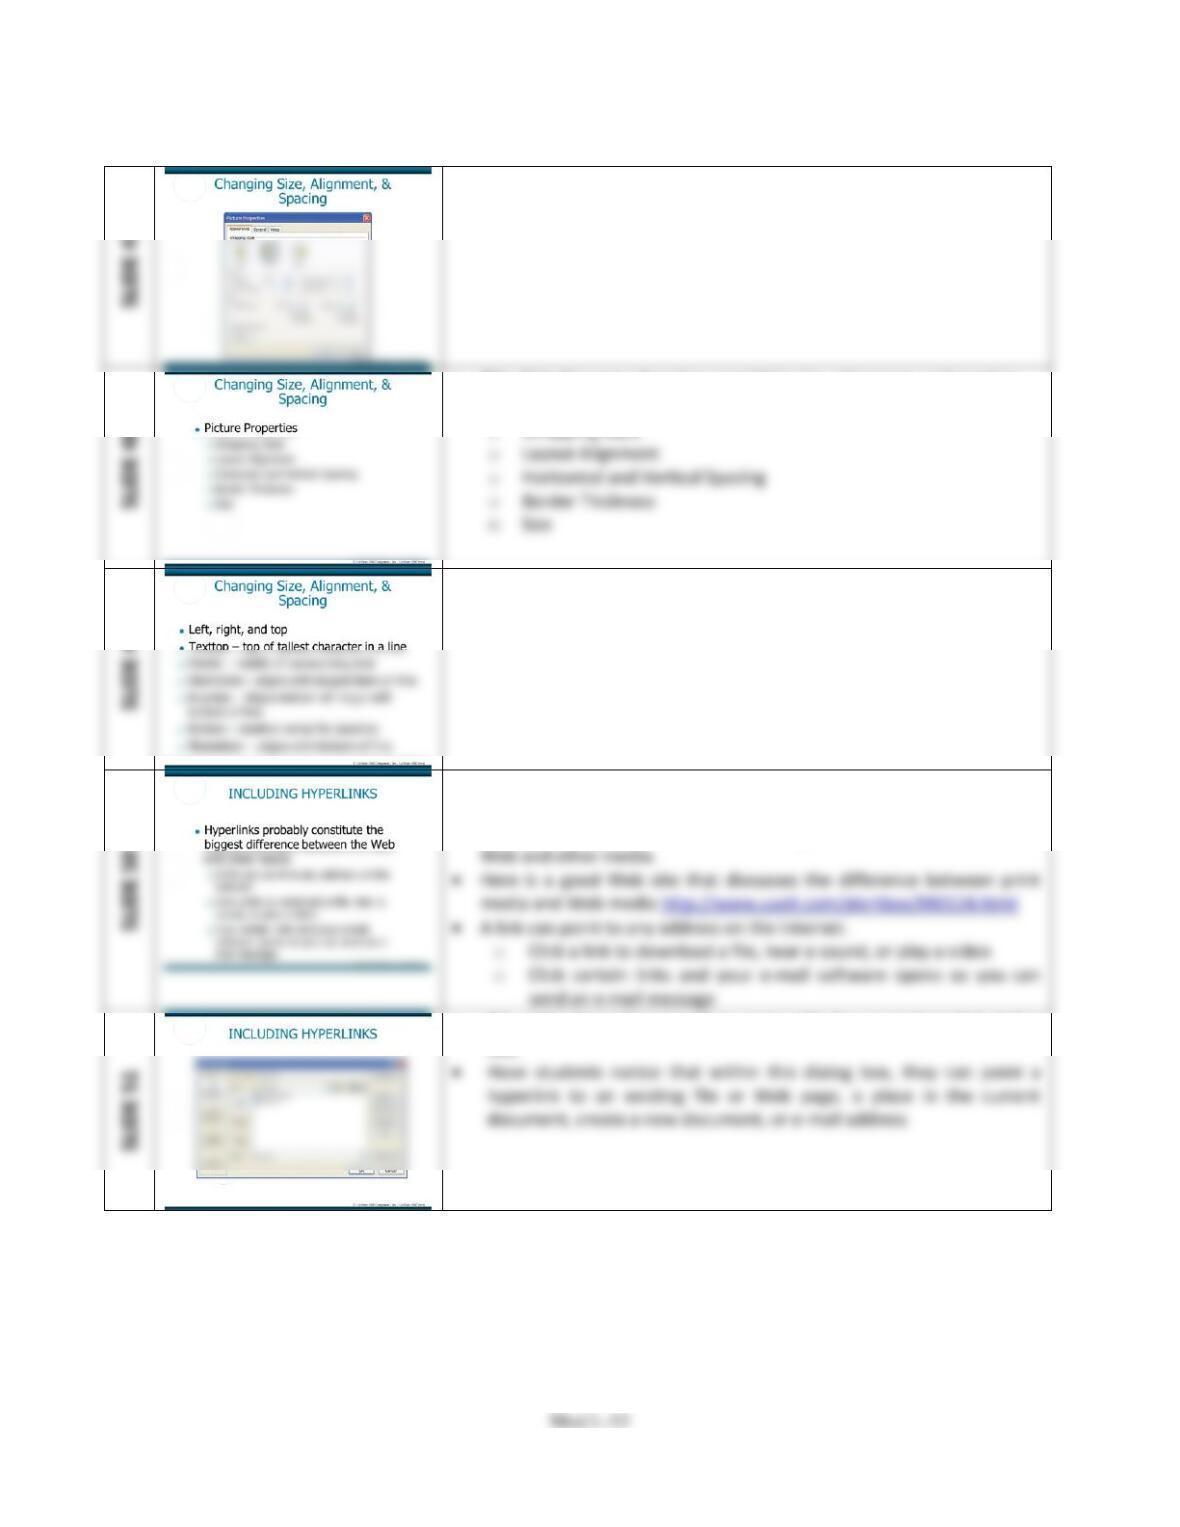
• This slide starts a discussion on including hyperlinks. (Student Learning
Outcome #7)
• Hyperlinks probably constitute the biggest difference between the
• This slide shows Figure L.19 on page L.23, the insert hyperlink dialog
box.
Extended Learning Module L – Building Web Sites with FrontPage
Mod L-14
• This slide shows Figure L.20 on page L.24, inserting an e-mail
SLIDE 53
• This slide starts a discussion on presenting information in lists and
tables. (Student Learning Outcome #8)
• This slide talks about working with lists.
• When you need to present information in a structured way, lists are
SLIDE 55
• This slide shows Figure L.21 on page L.25, the numbered list dialog
box.
SLIDE 56
• This slide discusses working with tables.
• The basic premise of tables is that they arrange information into rows
SLIDE 52
Extended Learning Module L – Building Web Sites with FrontPage
box.
• This slide shows Figure L.22 on page L.26, the table properties dialog
• This slide talks about working with rows and columns.
• If you don‘t get the table exactly the right size, you can add rows and
columns to the table.
• This slide talks about working with cells.
• You can modify a table structure by working directly with the cells.
• This slide shows Figure L.23 on page L.29, the cell properties dialog
box.
• This slide starts a discussion on formatting Web pages. (Student
Learning Outcome #9)

Extended Learning Module L – Building Web Sites with FrontPage
Mod L-16
• This slide talks about setting page properties.
• From the General tab, you can change the title of the page.
• This slide shows Figure L.24 on page L.31, the page properties dialog
box.
• This slide discusses themes.
• A theme is a collection of properties you can apply to selected pages
• This slide shows Figure L.25 on page L.32, the themes task pane.
• This slide talks about setting page properties.
• You can set many properties for Web pages using the Page Properties
Extended Learning Module L – Building Web Sites with FrontPage
Mod L-17
• This slide talks about the theme options, such as
o Vivid Colors
• This slide shows Figure L.26 on page L.33, the customize themes task
pane.
Back to Jump List

Extended Learning Module L – Building Web Sites with FrontPage
Mod L-18
ASSIGNMENTS & EXERCISES (p. L.35)
1. SELECTING WEB-SAFE COLORS. Computers with different operating systems (Macintosh,
Windows 95/98/Me/2000/XP, and so on) use different color palettes. They do, however,
have 216 colors in common. These colors are called Web-safe colors (or browser-safe
colors) because a browser, regardless of the operating system on which it is running, will
display these colors consistently. Although FrontPage allows you to select any standard
color or create your own custom color, you can run into trouble if you use colors that are
not considered to be Web-safe. If you create a custom color in a Web page using a monitor
with high resolution and 16.7 million colors (32-bit color), you might be surprised when
viewing the page on a lower-resolution monitor that is set for 256 colors — the color will
most likely be dithered or look washed out. A color that you create on a Macintosh might
look different, even terrible, when viewed on a computer running a Windows operating
system.
DISCUSSION:

Mod L-19
2. USING IMAGES AS HYPERLINKS. Images can be used as hyperlinks which allow users to
click a picture and link to another location. This is an effective way to create visual
reference to your pages on a Web site. Look at www.cnn.com for an example of an image
that is used as a hyperlink. There are several images that will bring you to a detailed story if
you click them.
A. Create a blank Web page.
B. Search the Internet to find an image of the Tetons and download that to your
computer.
C. Insert the image you just downloaded onto the blank Web page you created in step
A.
D. Right mouse click on the image, select Picture Properties.
E. Click on the General tab
F. Under the Default Hyperlink section, type in the Location text box
http://www.nps.gov/grte/
G. Save the file
H. Open the file in your browser and click on the image. You should be taken directly
to the National Park Service Grand Teton Web site.
DISCUSSION
3. INSERTING A BACKGROUND SOUND. You can have a background sound play when a Web
page is loaded or refreshed in a browser; the sound is played using a program and speakers
on the user’s computer.
A. Go to http://www.findsounds.com/.
B. Locate a small sound clip to add to a Web page. Remember the key here is small!
Download the sound clip (this can be a 25k-50k .wav or .au file) onto your computer.
C. To insert a background sound in a Web page, open the page in Design view, select
File on the menu bar, click Properties, click the General tab in the Page Properties
dialog box, click Browse in the Background sound section to find the sound file that
you downloaded in the previous step, and then double-click to insert the sound file.
D. Do not select the Forever check box, and click OK.
E. When you save the Web page, you’ll need to save the embedded sound file in the
Web site’s images folder to save it with the Web page.
F. Test the sound clip by opening the Web page in your browser.
Extended Learning Module L – Building Web Sites with FrontPage
Mod L-20
DISCUSSION
4. DEVELOPING A WEB SITE. You have been asked to assist a friend, Arlene Palmer, who is
looking to create a Web site to post the top golf clubs available. She wants to display the
golf clubs in three categories: (1) woods, (2) iron sets, and (3) putters. Figure L.27 displays a
graphical storyboard of how Arlene wants the main Web page to look.
A. Create a table that will give Arlene the same visual appearance as Figure L.27.
B. Add all the text and attributes according to Figure L.27.
C. Search the Internet for 3 graphical images you can use as a heading for each column.
Place them in the appropriate cell within the table.
D. Create a hyperlink to the golf club manufacturer’s Web site for the first golf club in
each column. You will have to search the Internet to find the URL.
E. In the last row, insert the text Last Updated: then add today’s date beside that.
F. Add your initials next to the text that you typed in the previous step, highlight your
initials, and insert an E-mail hyperlink.
DISCUSSION
• This will test your students on how well they understand using numbered lists and
Back to Jump List