Extended Learning Module J (Office 2007 Version) – Implementing a Database with Microsoft Access
Mod J Web-1
EXTENDED LEARNING MODULE J (Office 2007 Version)
IMPLEMENTING A DATABASE WITH MICROSOFT ACCESS
JUMP TO THE SUPPORT YOU WANT
STUDENT LEARNING OUTCOMES
1. Identify the steps necessary to implement the structure of a relational database using
the data definition language provided by Microsoft Access.
2. Demonstrate how to use the data manipulation subsystem in Access to enter and
MODULE SUMMARY
This Extended Learning Module teaches your students how to implement a database design in
Microsoft Access, version 2007.
It is assumed that your students have completed Extended Learning Module C and have also
read Chapter 3.
The primary sections of this module include:
2. Entering Information into the Solomon Database
4. Creating an Advanced Query Using More than One Relation
6. Generating a Report with Grouping, Sorting, and Totals

Extended Learning Module J (Office 2007 Version) – Implementing a Database with Microsoft Access
Mod J Web-2
LECTURE OUTLINE
INTRODUCTION (p. J.2)
2. Implementing the Raw Material Relation Structure
4. Implementing the Bill of Material Relation
DEFINING RELATIONSHIPS WITHIN THE SOLOMON ENTERPRISES DATABASE (p. J.12)
ENTERING INFORMATION INTO THE SOLOMON DATABASE (p. J.15)
CREATING A SIMPLE QUERY USING ONE RELATION (p. J.18)
CREATING AN ADVANCED QUERY USING MORE THAN ONE RELATION (p. J.21)
GENERATING A SIMPLE REPORT (p. J.23)
GENERATING A REPORT WITH GROUPING, SORTING, AND TOTALS (p. J.25)
CREATING A DATA INPUT FORM (p. J.32)
END OF MODULE (p. J.34)
Back to Jump List

Extended Learning Module J (Office 2007 Version) – Implementing a Database with Microsoft Access
Mod J Web-3
MODULES, PROJECTS, AND DATA FILES
• Building Value Chains: Helping Customers Define Value
DATA FILES
There are no data files associated with this chapter. There may, however, be data files for the
Back to Jump List
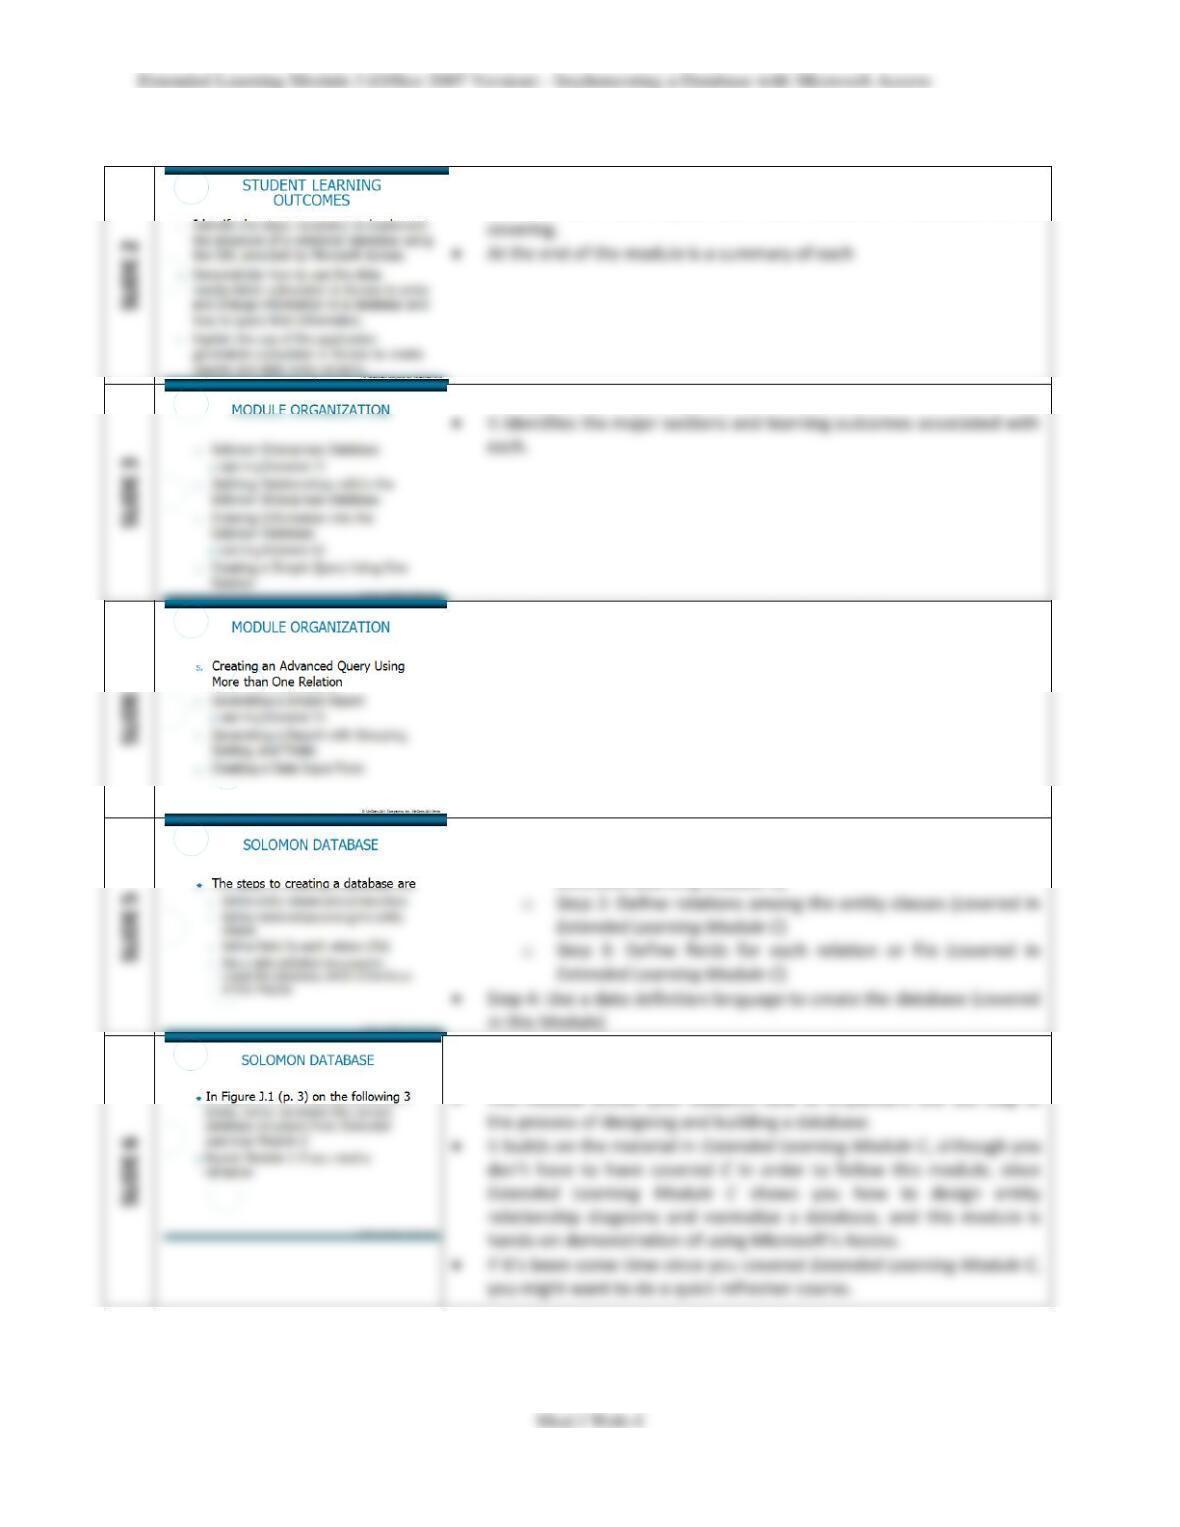
• These are the Student Learning Outcomes for the module.
• Use them as a road map to inform your students of what you will be
• This slide presents the organization for the module.
• This slide presents the organization for the module.
• It identifies the major sections and learning outcomes associated with
each.
• This slide shows the steps involved in creating a database.
o Step 1: Define the entity classes and primary keys (covered in
Extended Learning Module C)
• The next 4 slides provide the structure of the Solomon Database from
Extended Learning Module C.
Extended Learning Module J (Office 2007 Version) – Implementing a Database with Microsoft Access
Mod J Web-5
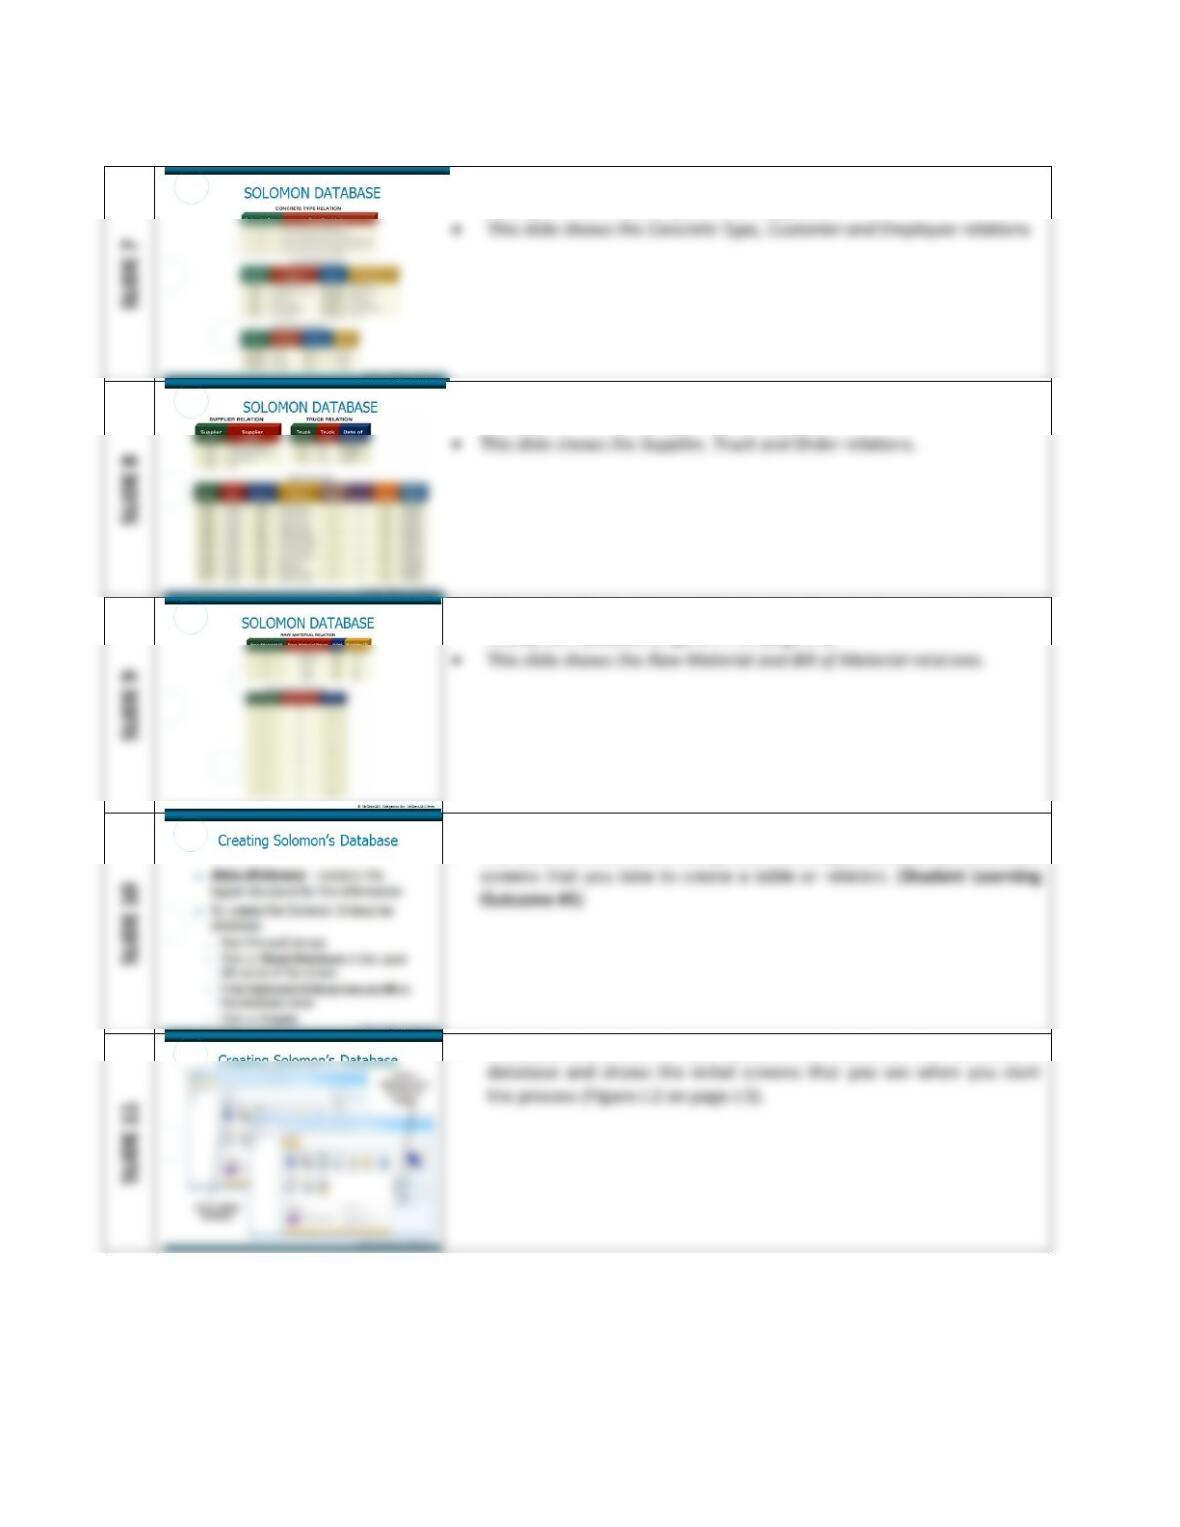
• This slide and the next two show the structure of the Solomon
Enterprises database (Figure J.1 on page J.3).
• This is the second slide showing the structure of the Solomon
Enterprises database (Figure J.1 on page J.4).
• This is the third and last slide showing the structure of the Solomon
Enterprises database (Figure J.1 on page J.4).
• This slide defines a data dictionary.
• This slide and the next three present the steps, followed by illustrative
• This slide shows the first two screens in the series on how to create a
Mod J Web-6
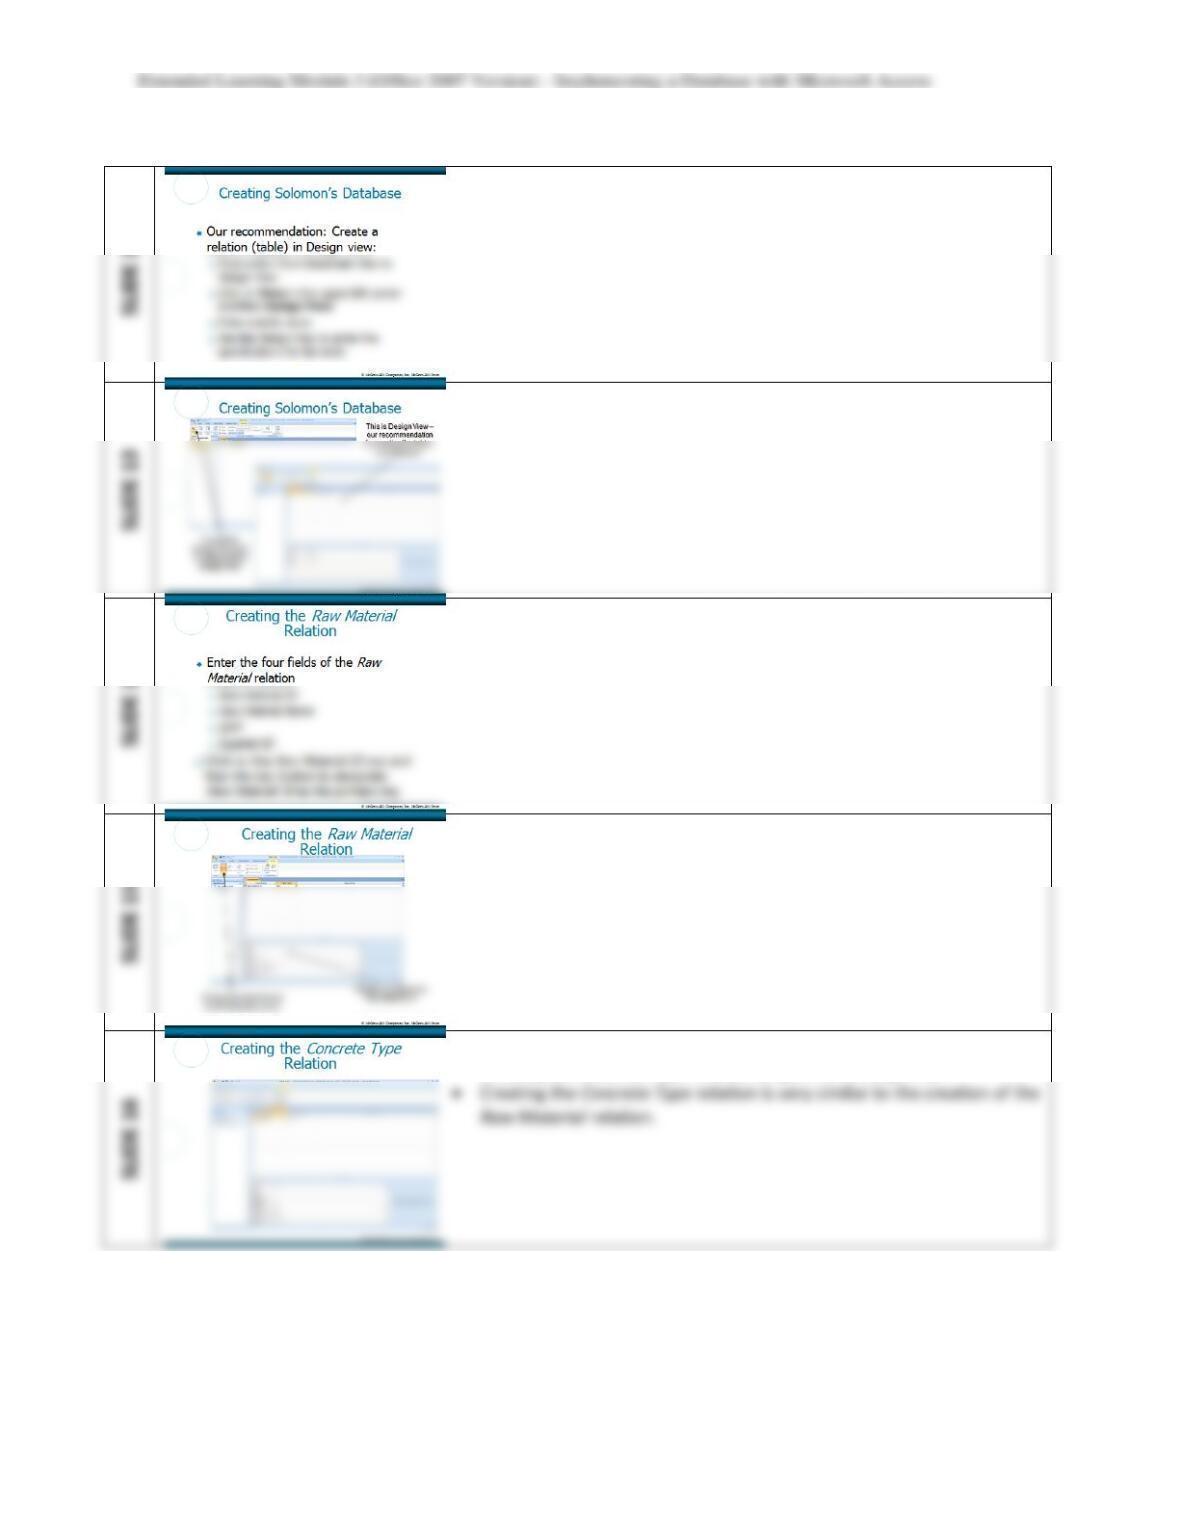
• This third slide shows the next step in creating a database.
• This slide shows how to create a relation in Design view.
• This last slide in the set shows the last set of screens involved in
creating a database (Figure J.3 on page J.6).
• This is the first of two slides focusing on creating the Raw Material
relation.
• This second of two slides for this relation shows what the screen looks
like for this step (Figure J.4 on page J.7).
• This slide shows the data dictionary screen you would get when
creating the Concrete Type relation (Figure J.5 on page J.8).
Extended Learning Module J (Office 2007 Version) – Implementing a Database with Microsoft Access
Mod J Web-7
• This is the first of three slide showing how to create the Bill of
Materials relation to illuminate the many-to-many relationship
• This slide deals with the primary key of this relation.
• For this composite primary key, you have to highlight both the
• This figure illustrates the creation of a composite primary key (Figure
J.6 on page J.9).
• This slide is the first of five showing how to define relationships
between the tables.
• This slide illustrates the relationships between all the tables in our
database (Figure J.7 on page J.10).
Extended Learning Module J (Office 2007 Version) – Implementing a Database with Microsoft Access
Mod J Web-8
• This slide defines the steps involved in creating the relationships.
• This second slide illustrates the first step in defining relationships
(Figure J.10 on page J.13).
• The third slide and last slide in the series is the figure showing how the
relationships between the tables look in Access (Figure J.11 on page
J.14).
• This slide starts the process of entering information into the database
we created in the previous slides. (Student Learning Outcome #2)
• This slide shows the steps in entering information into the relation
(Figure J.13 on page J.16).
Extended Learning Module J (Office 2007 Version) – Implementing a Database with Microsoft Access
Mod J Web-9
• This slide introduces the concept of referential integrity.
• Referential integrity ensures that your information is consistent.
• This slide show what happens in Access if you try to violate referential
• This slide demonstrates how you would begin if you wanted to change
the structure of a relation (Figure J.15 on page J.18).
• This slide begins the tutorial on creating queries.
• This figure shows the first step in creating a simple query (the top two
screens in Figure J.16 on page J.19).
• We move down now from the Tables tab to the Queries tab.
Extended Learning Module J (Office 2007 Version) – Implementing a Database with Microsoft Access
Mod J Web-10
• This slide is the continuation of the previous one showing the rest of
Figure J.17 on page J.20).
• This figure shows how to restrict the fields that appear based on some
• This slide continues the conditional query theme with a slightly more
complex condition.
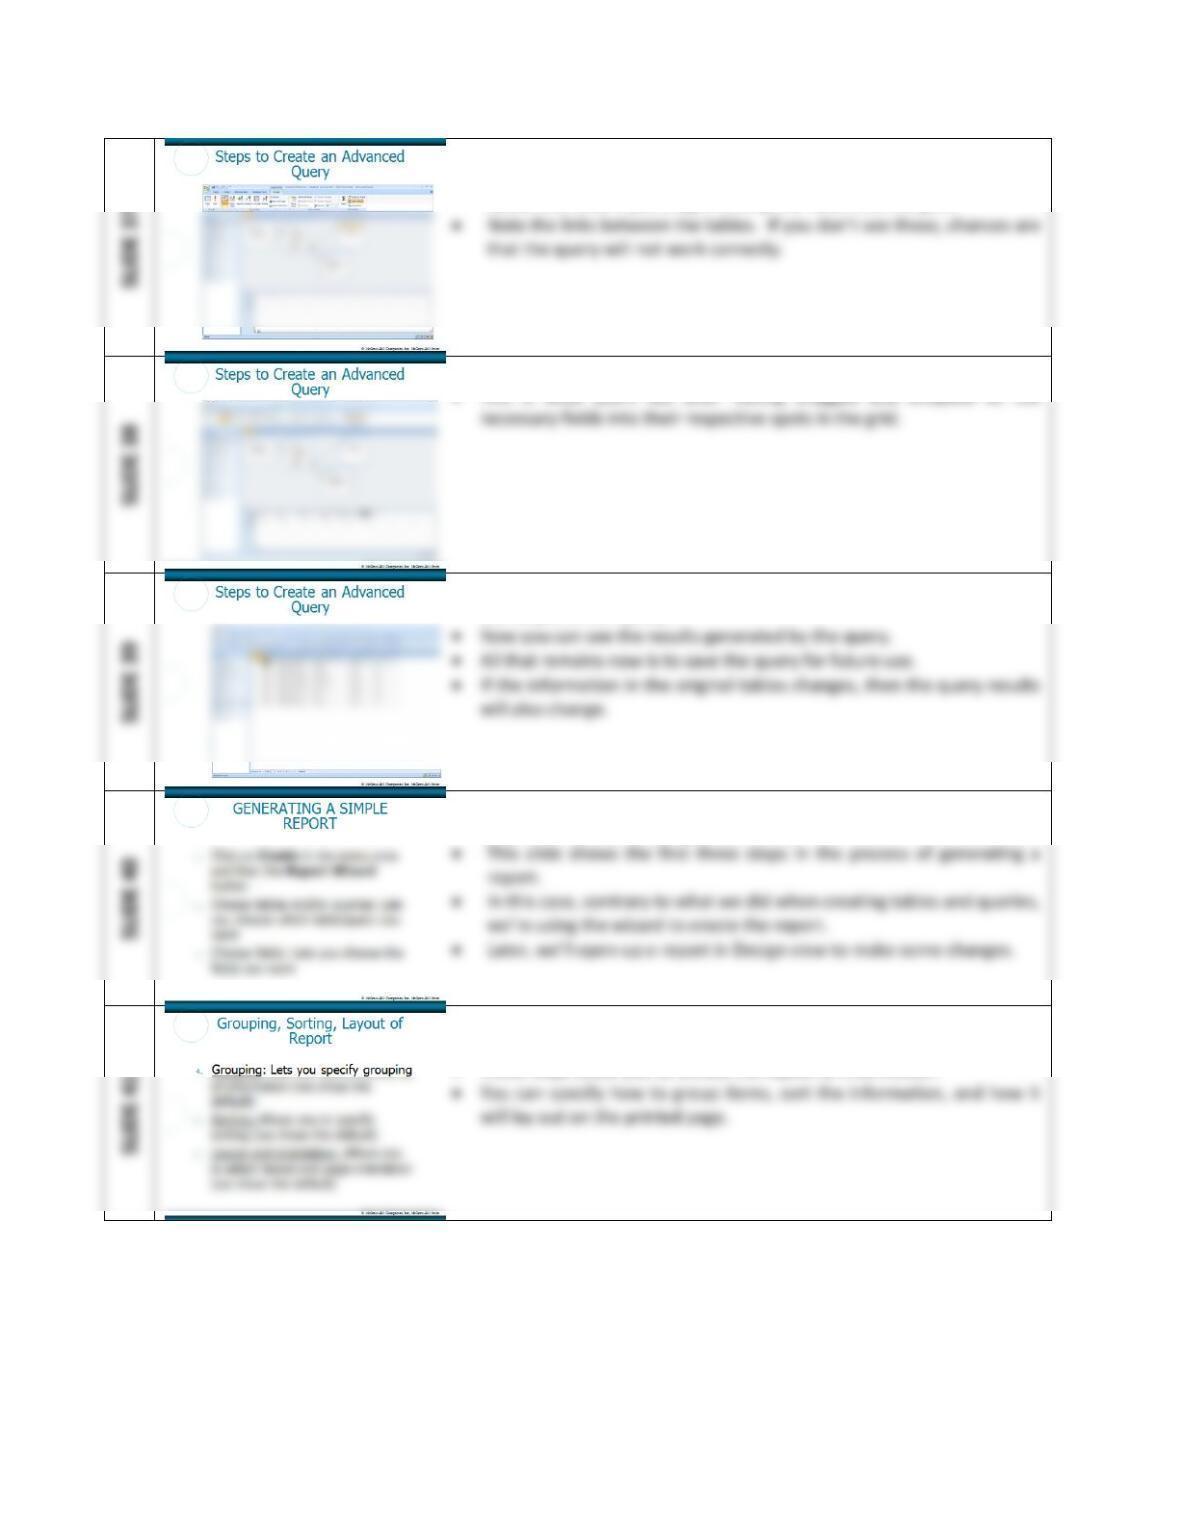
• This is the first of several slides that show how to create an advanced
query. This first slide in the series presents the first two steps.
• The beginning steps, the Queries tab and the calling up the design view
• This slide shows the third and fourth step in creating an advanced
query.
Extended Learning Module J (Office 2007 Version) – Implementing a Database with Microsoft Access
Mod J Web-11
• This slide shows the first screen in Figure J.18 on page J.22.
• This is how the query window should look after you’ve chosen the
tables and before you drag and drop the fields into the grid.
• This slide shows the second screen in Figure J.18 on page J.22.
• This is what you’ll see after having dragged and dropped all the
• This slide shows the last screen in Figure J.18 on page J.22 that shows
the output of our query.
• This slide is the first of seven that show how to generate a simple
report. (Student Learning Outcome #3)
• This second slide shows the 4th, 5th and 6th steps in generating a report
using the wizard.
• These steps allow you to dictate the layout of information.
Extended Learning Module J (Office 2007 Version) – Implementing a Database with Microsoft Access
Mod J Web-12
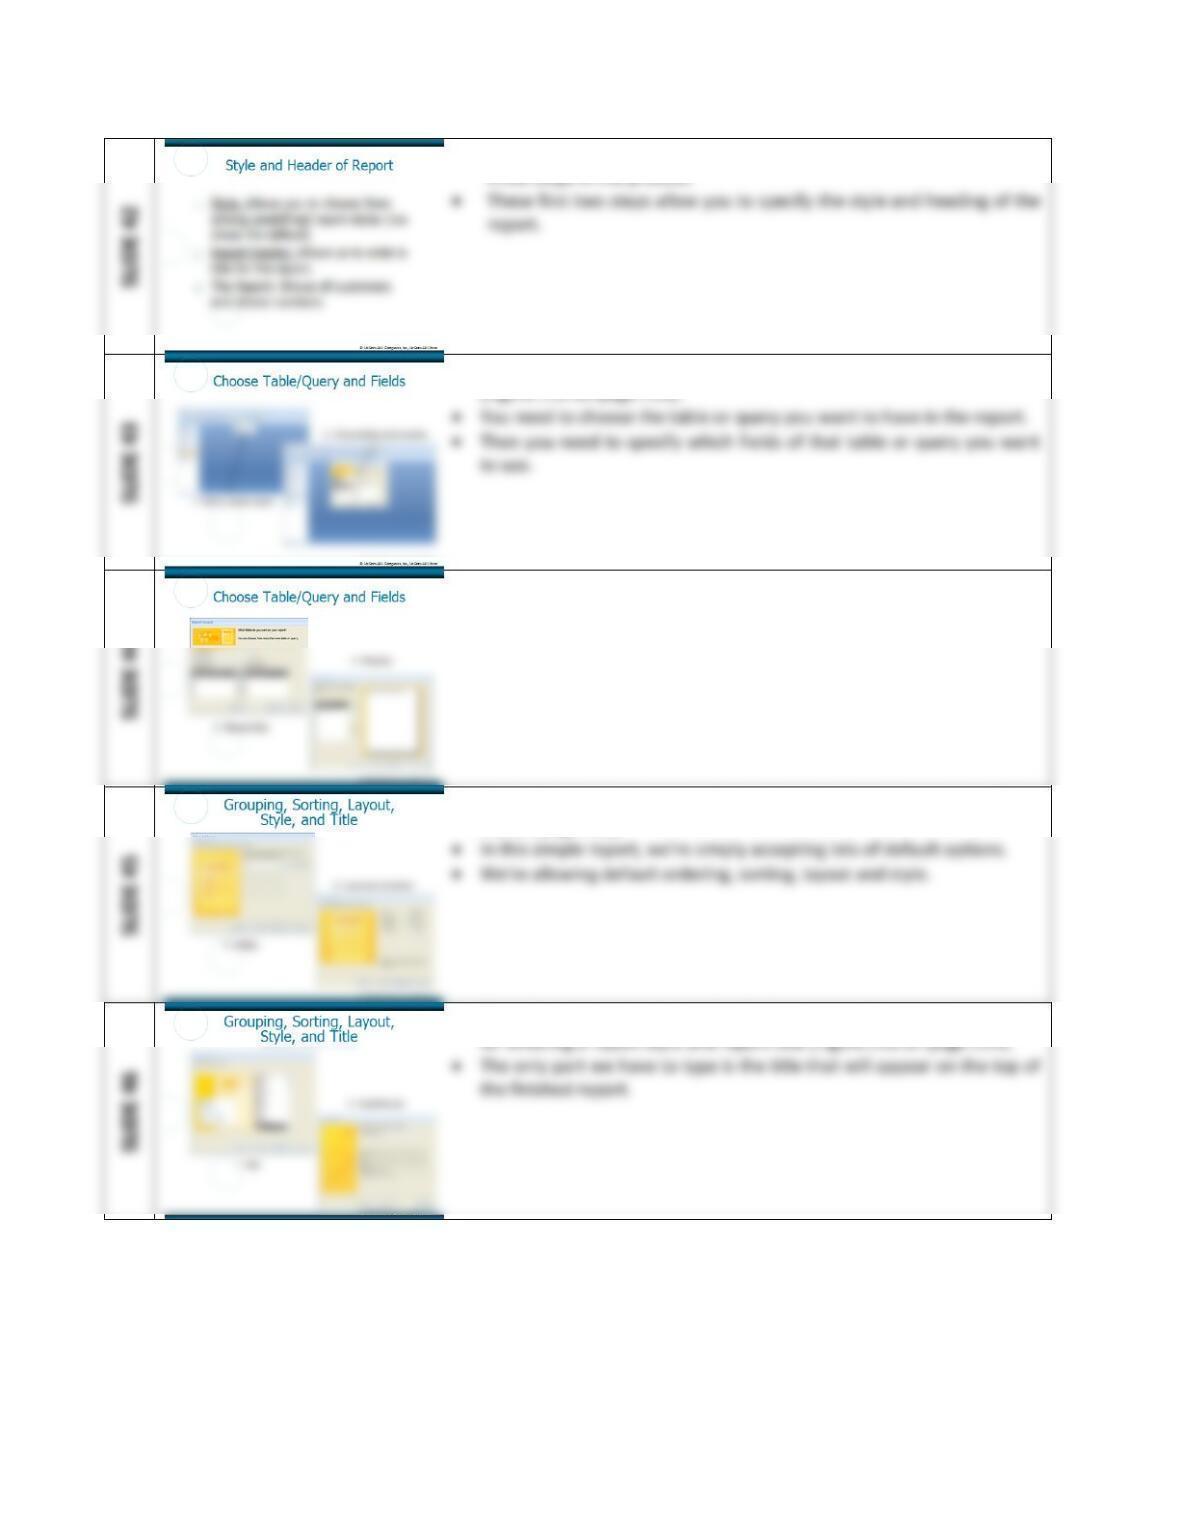
• This third slide showing the steps of creating a report has the final
• This forth slide shows the screens for the first four steps of the process
• This slide shows the screens for selecting the fields in the report and
any grouping (Figure J.19 on page J.23).
• This slide shows the choice of to add a sort order and layout (Figure
J.18 on page J.22).
• This slide shows the choice of default values and the window you get
Extended Learning Module J (Office 2007 Version) – Implementing a Database with Microsoft Access
Mod J Web-13
• This slide shows the final report (the last screen in Figure J.21 on page
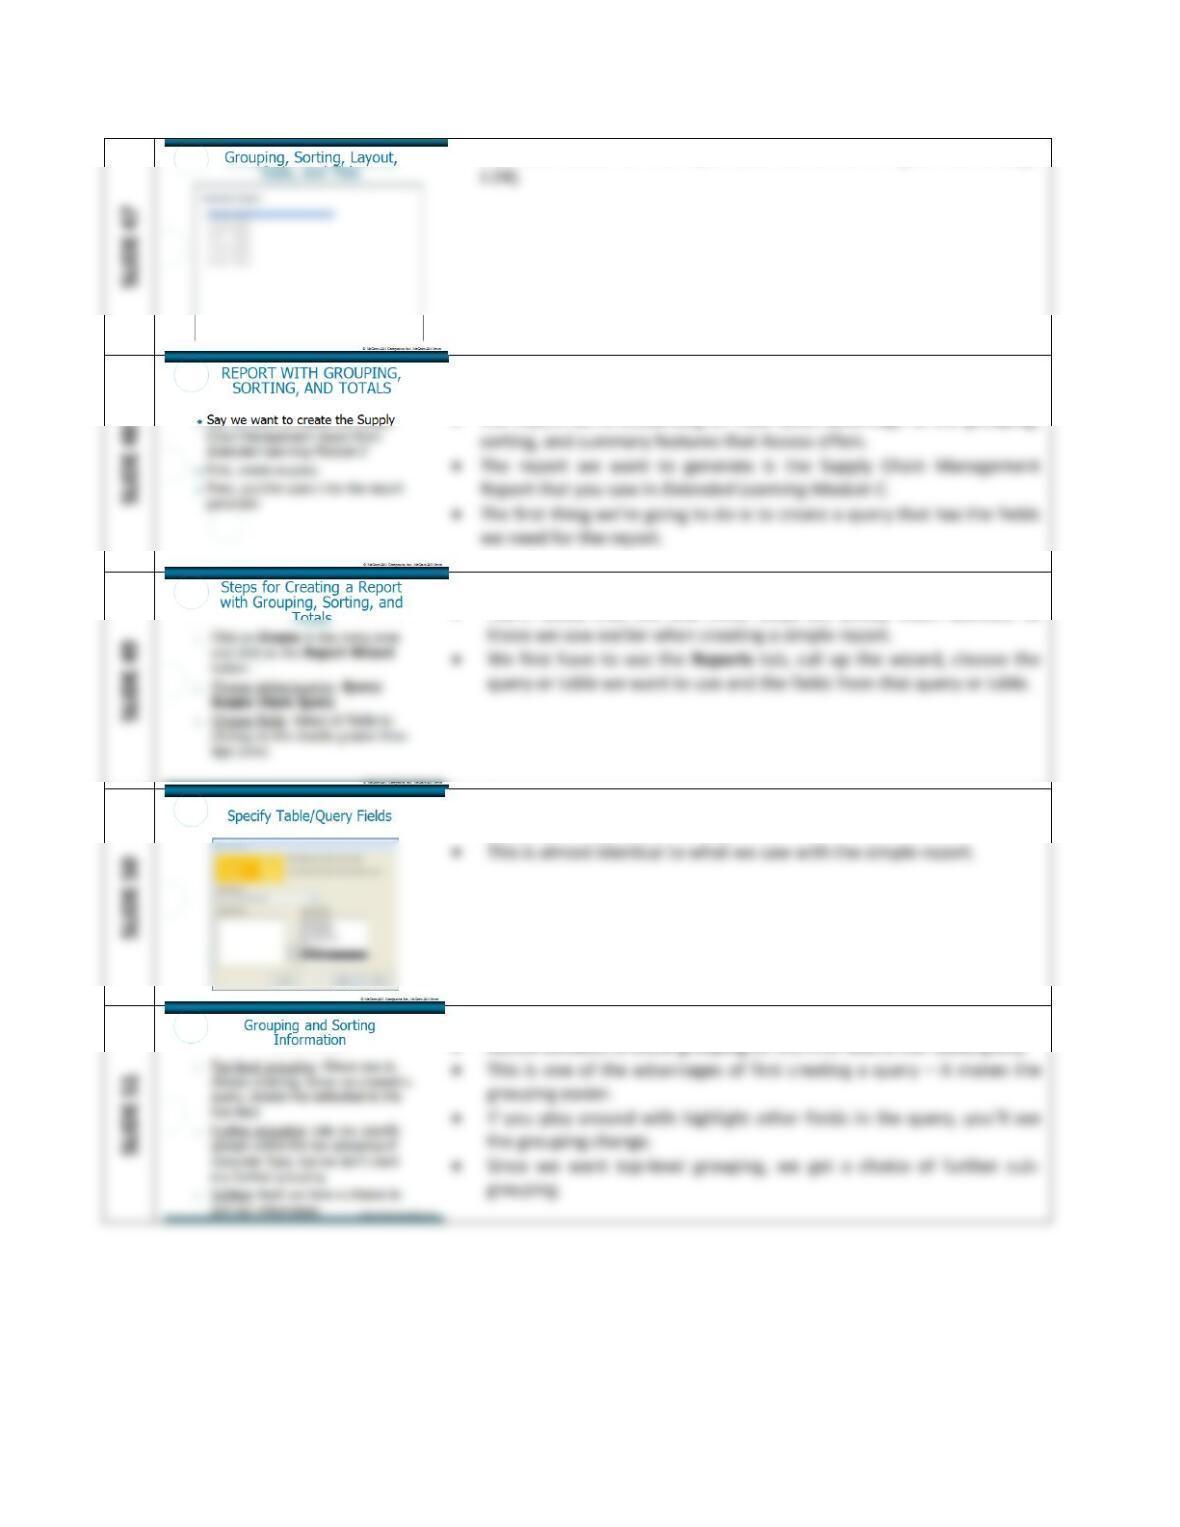
• This slide is the first of eleven that show that steps necessary to
generate a report that’s a little more complex than the previous one.
• The report we’re embarking on now takes advantage of the grouping,
• This slide shows the first three steps in the report creation process.
• You’ll notice that the first three steps are pretty much identical to
• This slide shows the screens we see which take the first four steps of
the process (Figure J.22 on page J.26).
• This slide shows the 4th, 5th and 6th steps in the process.
Extended Learning Module J (Office 2007 Version) – Implementing a Database with Microsoft Access
Mod J Web-14
• This slide shows two grouping windows (Figure J.22 on page J.26).
SLIDE 53
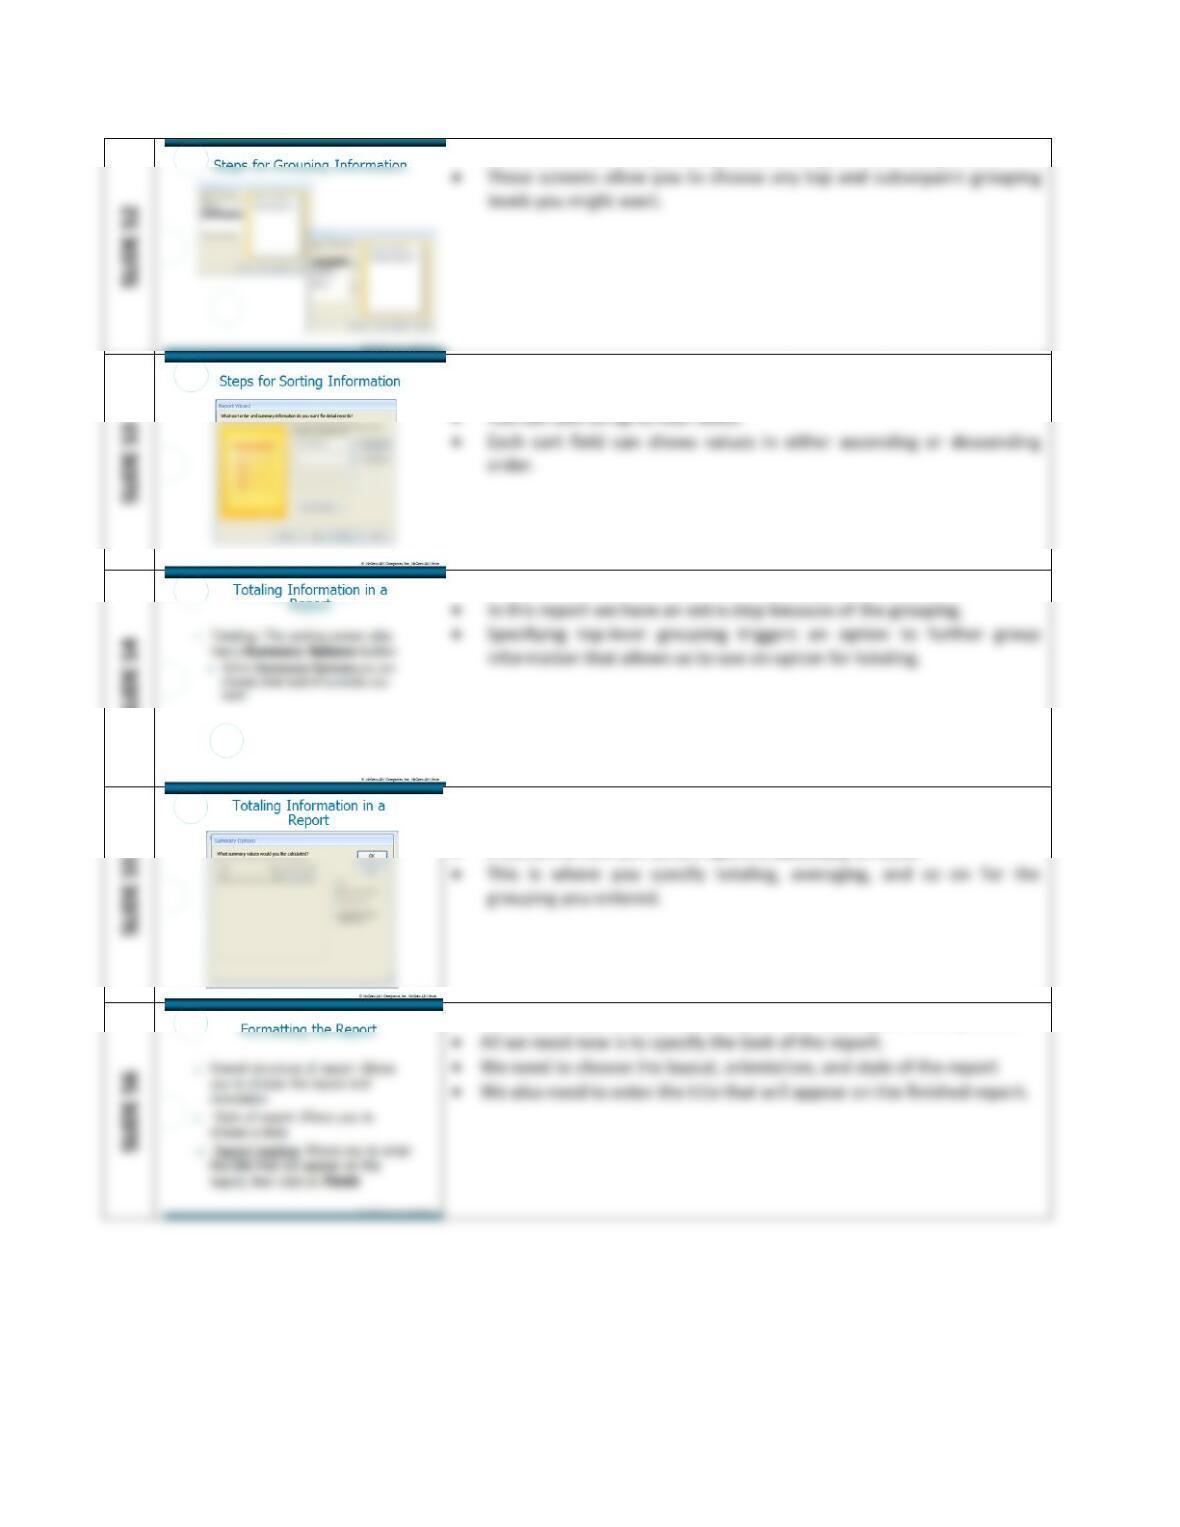
• This slide shows the screen for sorting information (Figure J.22 on
page J.26).
SLIDE 54
• This slide shows the 7th step in the report generation process.
• This slide shows the summary option screen (first screen in Figure J.23
on page J.27).
• A button on the sort screen opens a Summary window.
• This slide shows the last three steps in the report generation process.
SLIDE 52
Mod J Web-15
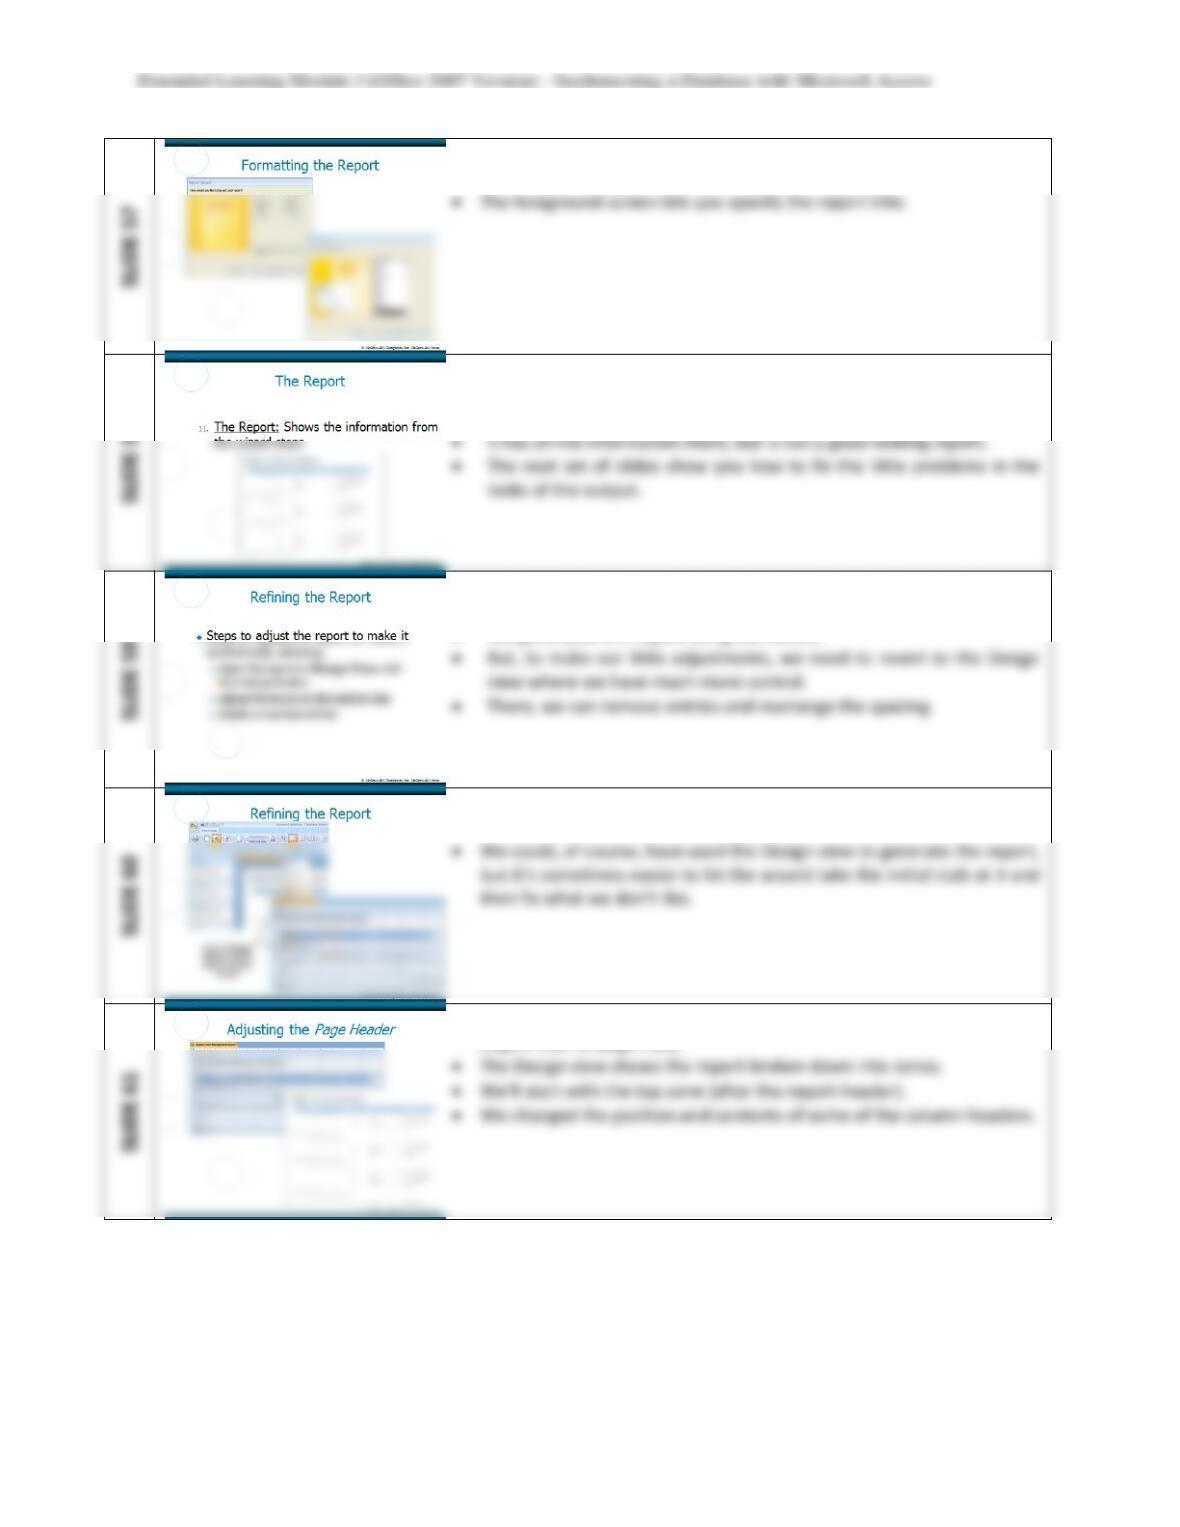
• This slide shows the options for formatting the report.
• The background screen lets you specify the layout and orientation.
• This slide shows the final report as generated by the previous steps
(Figure J.23 on page J.27).
• This is the report that we just generated.
• This slide gives general directions for adjusting the report to your
liking.
• We generated this report using the wizard.
• This slide shows the screens in Figure J.25 on page J.28.
• We can view the results of the report or how the report is structured.
• This slide shows what we adjusted and how the new version looks
(Figure J.26 on page J.29).
Extended Learning Module J (Office 2007 Version) – Implementing a Database with Microsoft Access
Mod J Web-16
• Again, this slide shows what we adjusted for the grouping header and
how the new version looks (Figure J.27 on page J.29).
• One more time, this slide shows what we adjusted for the detail
section and how the new version looks (Figure J.28 on page J.30).
• And again, this slide shows what we adjusted for the detail section
and how the new version looks (Figure J.29 on page J.30).
• This slide shows the result of all the changes we made (Figure J.30 on
page J.31).
• To finish off the report, we deleted the grand total (report total) since
• The last four tutorial slides show how to create an input form.
• You create an input form so that people who don’t have a knowledge
of Access can enter information into tables.
Extended Learning Module J (Office 2007 Version) – Implementing a Database with Microsoft Access
Mod J Web-17
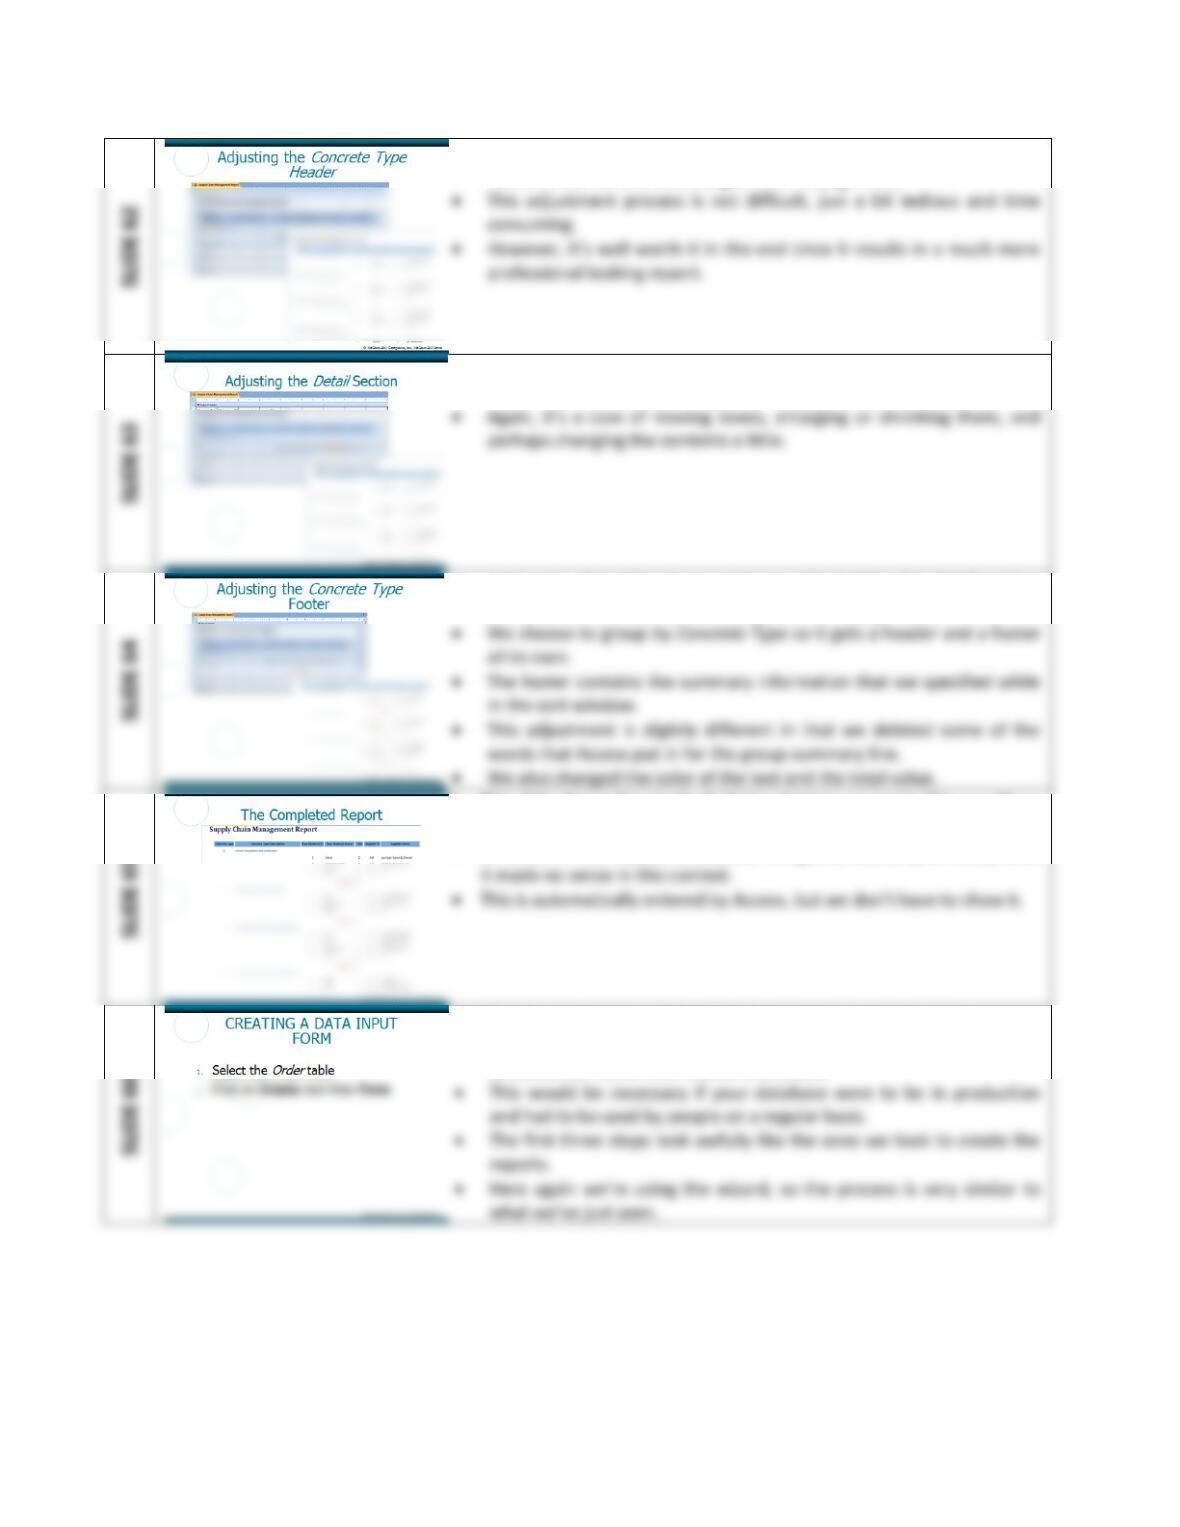
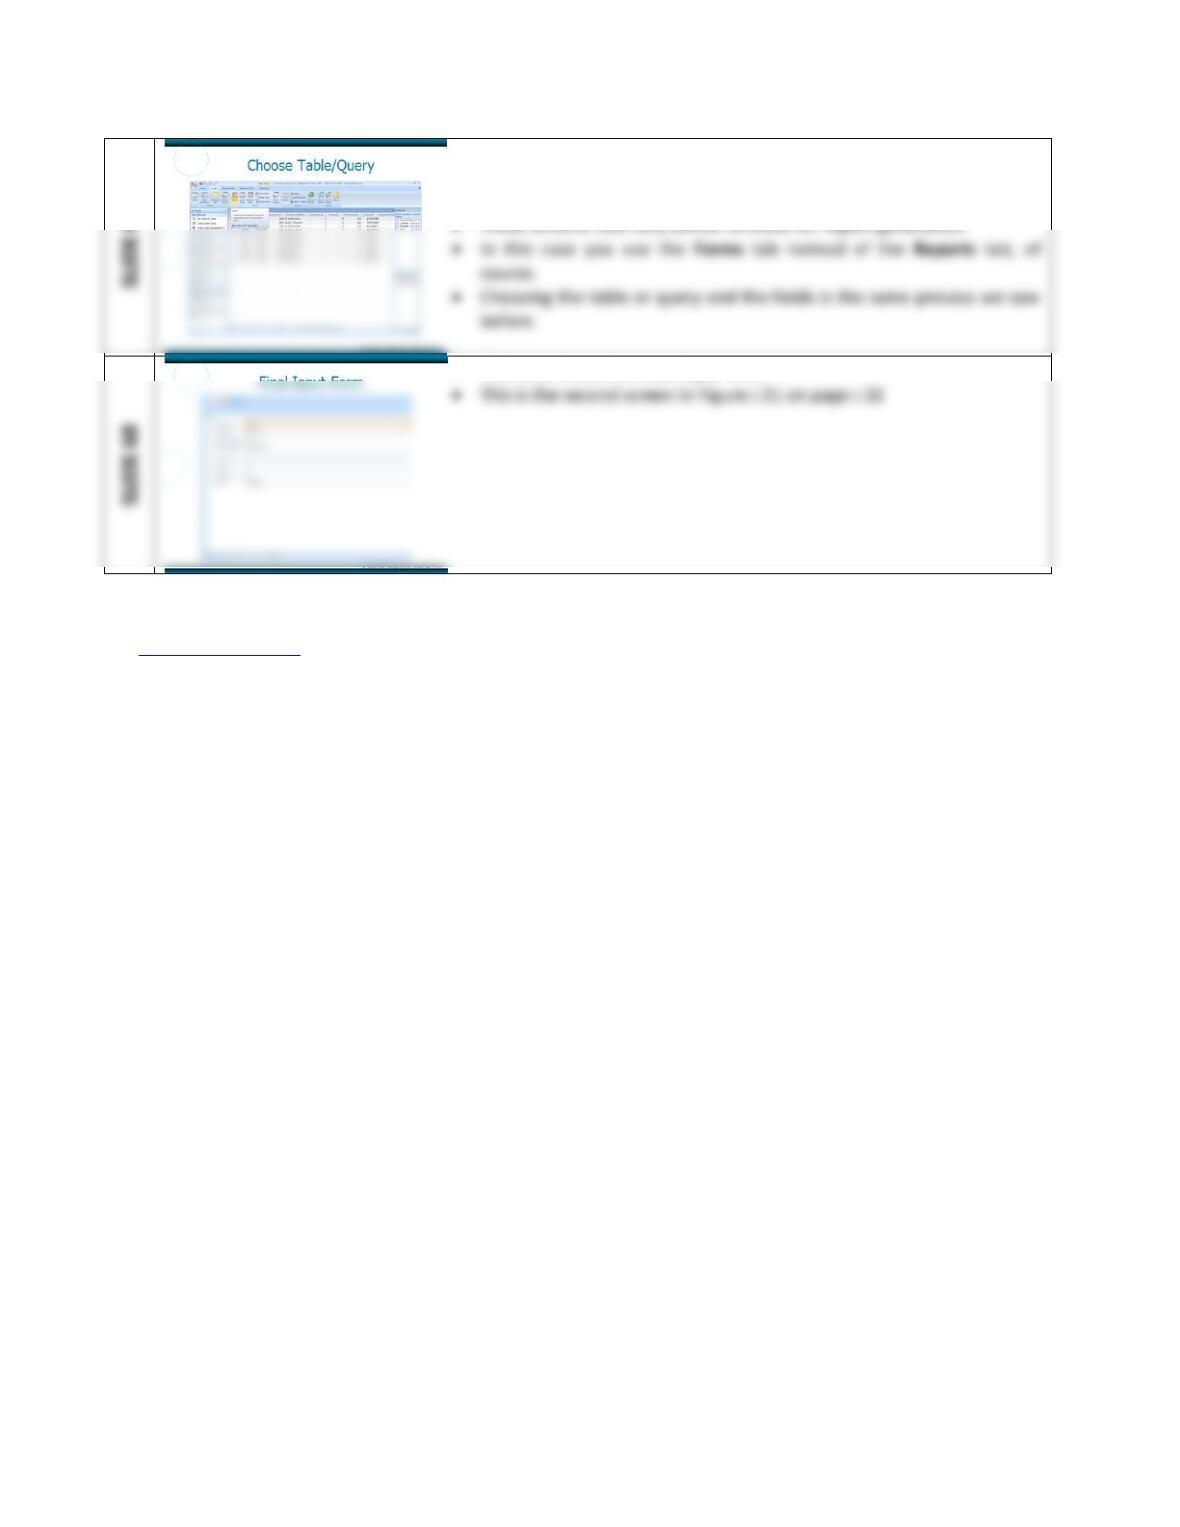
• This slide shows the windows you get for choosing the tables or
queries and fields that you want on the input form (the first screen in
Figure J.31 on page J.32).
• This slide shows the final input form.
Back to Jump List
Extended Learning Module J (Office 2007 Version) – Implementing a Database with Microsoft Access
Mod J Web-18
ASSIGNMENTS & EXERCISES (p. J.34)
1. Enter new employee information. It’s likely that Solomon Enterprises would need to enter
the information for a new employee. Create a new input form to enter Employee ID,
Employee Last Name, Employee First Name, and Date of Hire. Design the form so that the
information appears in tabular form, and has Sandstone background.
DISCUSSION
2. What are the ingredients for premier marble concrete? Write a query to show how many
units of each raw material are in concrete type 4. Print out the name of the concrete type,
its ID, the name of the raw material (not its ID), and the number of units of each of the raw
materials.
DISCUSSION:
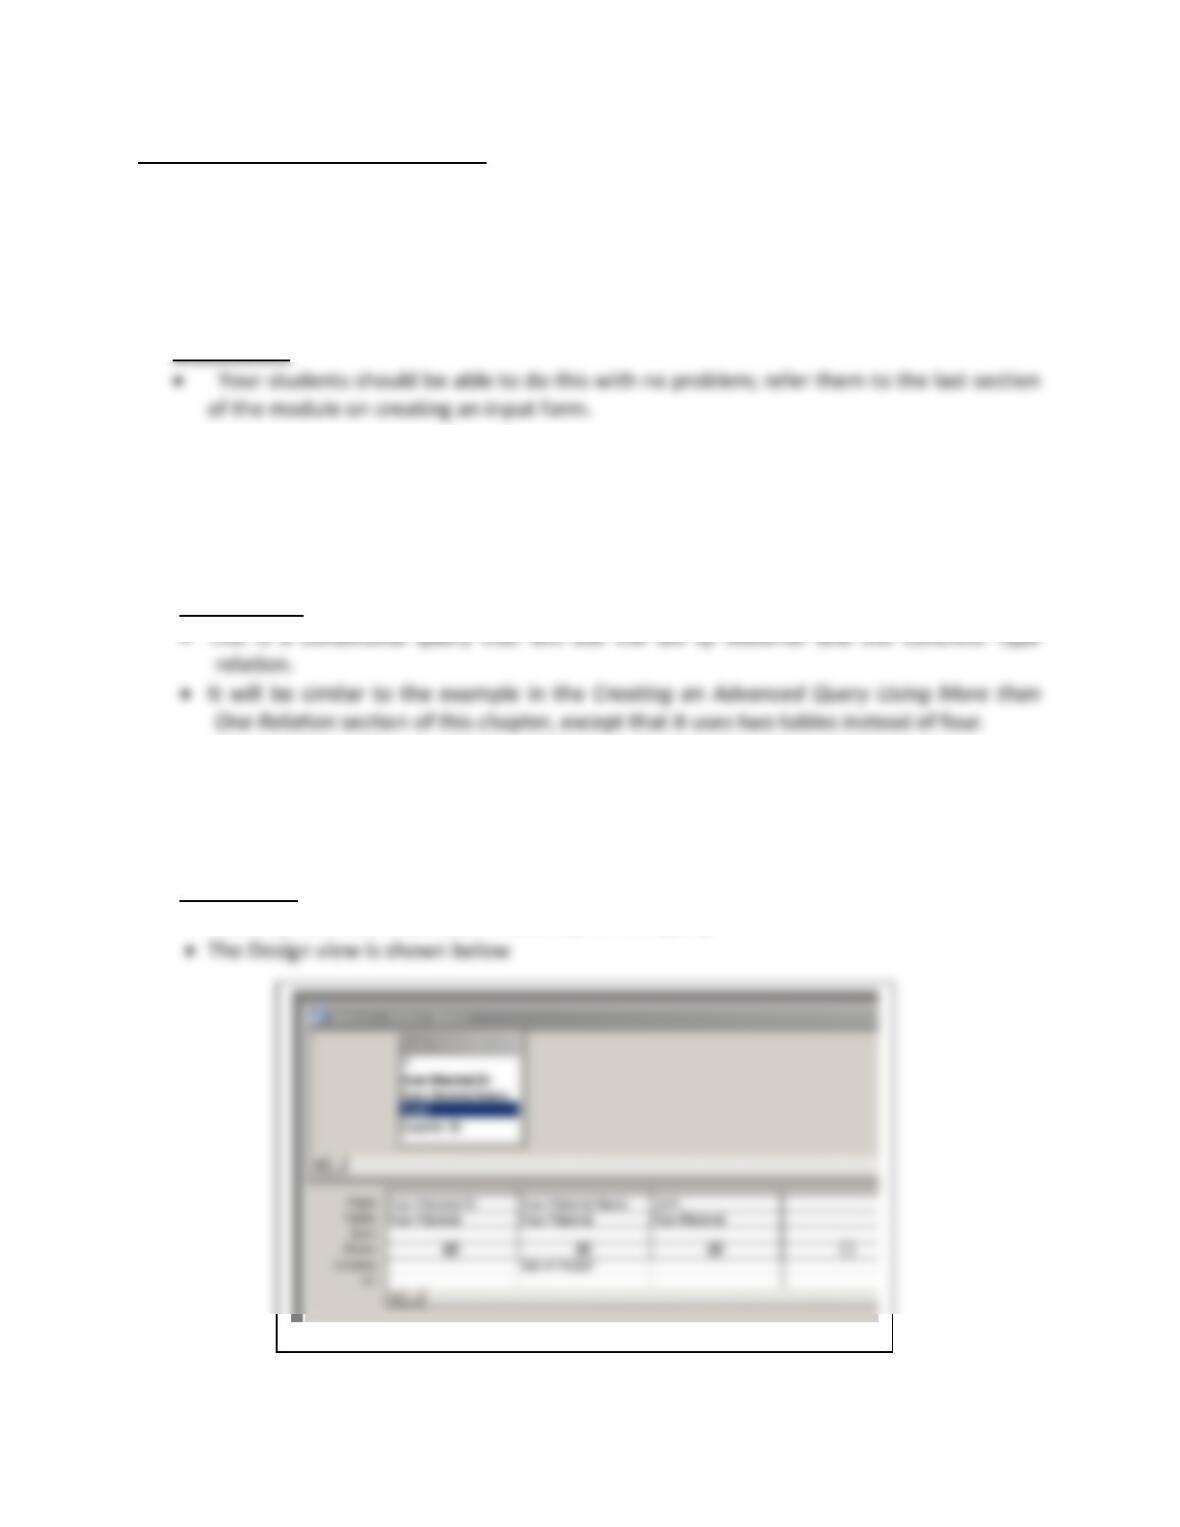
3. Inventory report. Create a report that shows how many units Solomon Enterprises has of
each of the raw materials. Don’t include water (hint: you want all Raw Material fields that
do not equal water). Choose your own layout and page orientation.
DISCUSSION
• You only need one table (Raw Material) for this query.
Mod J Web-19
4. Sort query information. The datasheet view of a query allows you to sort the information
in that query. Try this out with the Order relation. Download the Solomon Enterprises
database from the Web site that supports this text www.mhhe.com/haag. (Select XLM/J.
The name of the file is XLMJ_Solomon_Enterprises.mdb.) Click on the Queries tab and
open the Order relation in datasheet view. Sort the table alphabetically on Employee Last
Name. Place your cursor anywhere in the column you want to sort by (in this case Employee
Last Name), and click on the sort-ascending button. It has an “A” above a “Z” with an arrow
pointing downwards.
DISCUSSION
5. Filter query information. You can request Access to show you any other occurrences of a
data item that is in the same column. Use the same file you needed for question #6 above.
You can download it from the Web site for this text www.mhhe.com/haag. (Select XLM/J.
The name of the file is XLMJ_Solomon_Enterprises.mdb.) Filter the information so that only
those records in which the truck is a Ford. To do this click in the Truck Type column on any
one of the occurrences of Ford. Then, click on the Filter by Selection button (that’s the
button in the button bar with the funnel and a lightning strike). You will instantly see only
the three records where the truck is a Ford. To return the data to its previous state, click on
Remove Filter button (that’s the button that has the funnel without any other symbol). If
you click on this button again, it will reapply the filter.
DISCUSSION
Back to Jump List