TEACH Lesson Plan
IANNUCCI AND HOWERTON: Dental Radiography: Principles and Techniques, 5th Edition
Module 6 Film Mounting, Normal
Anatomy, and Interpretation Basics
CHAPTER 28: FILM MOUNTING AND VIEWING
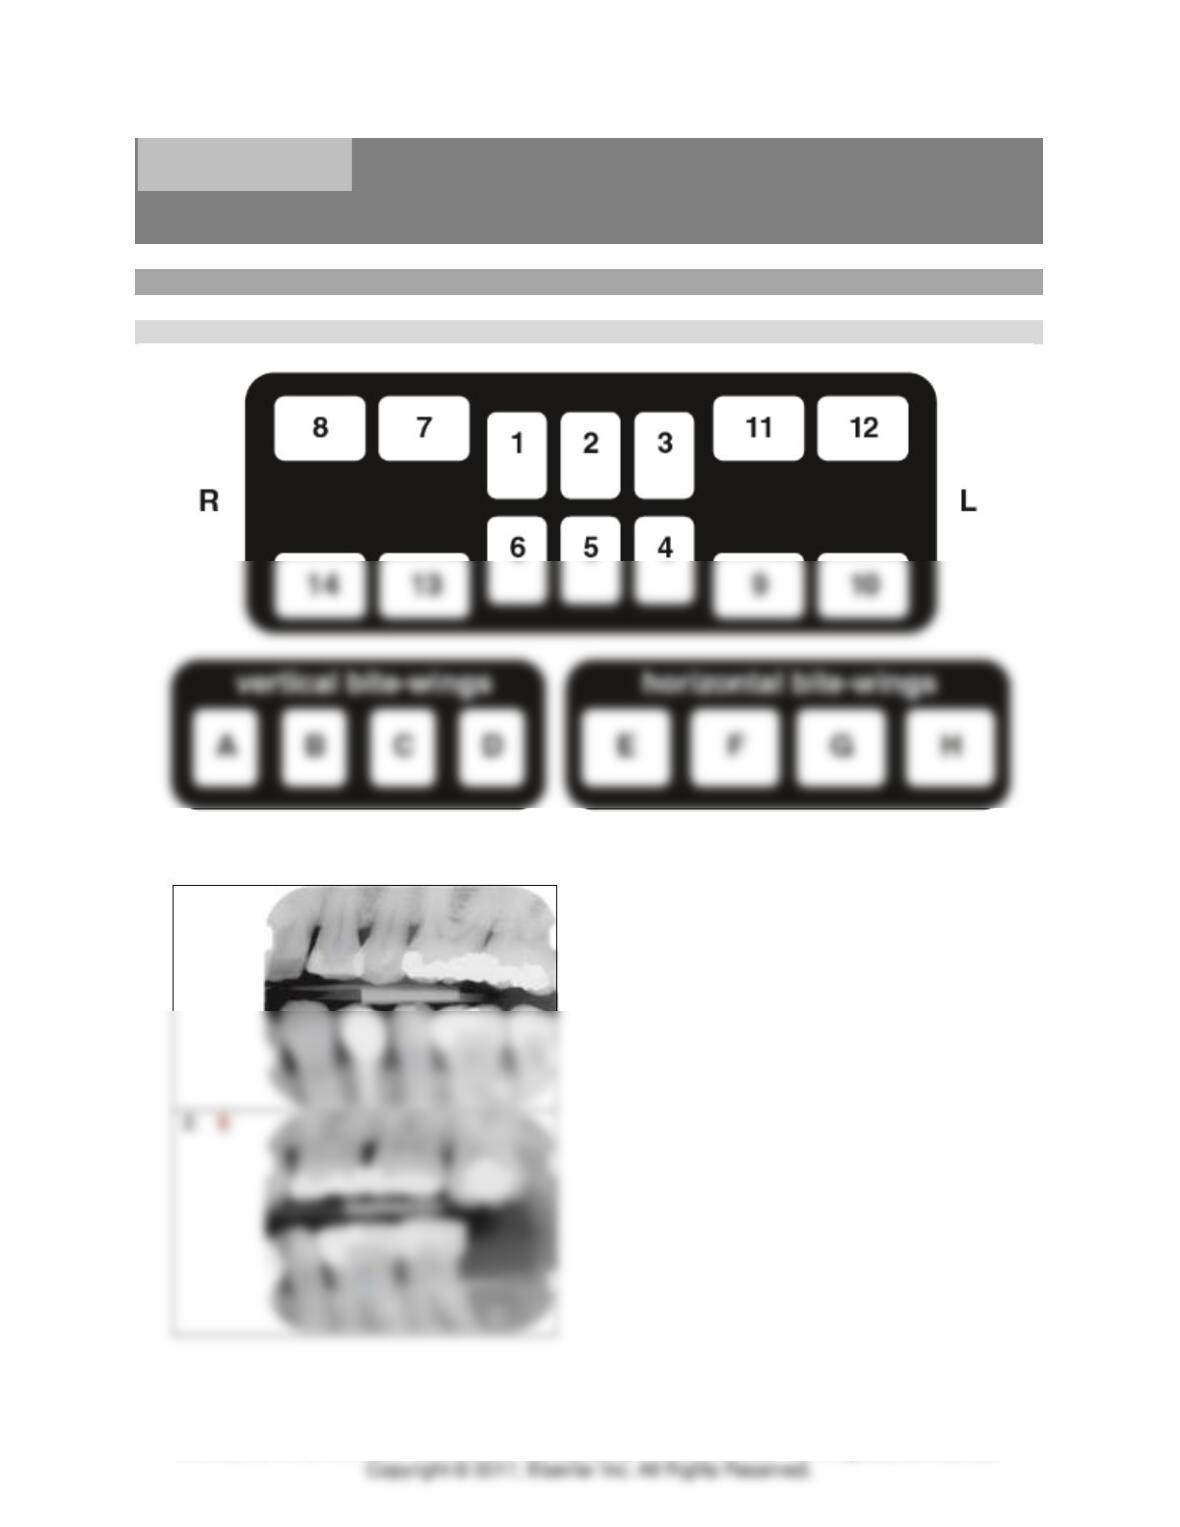
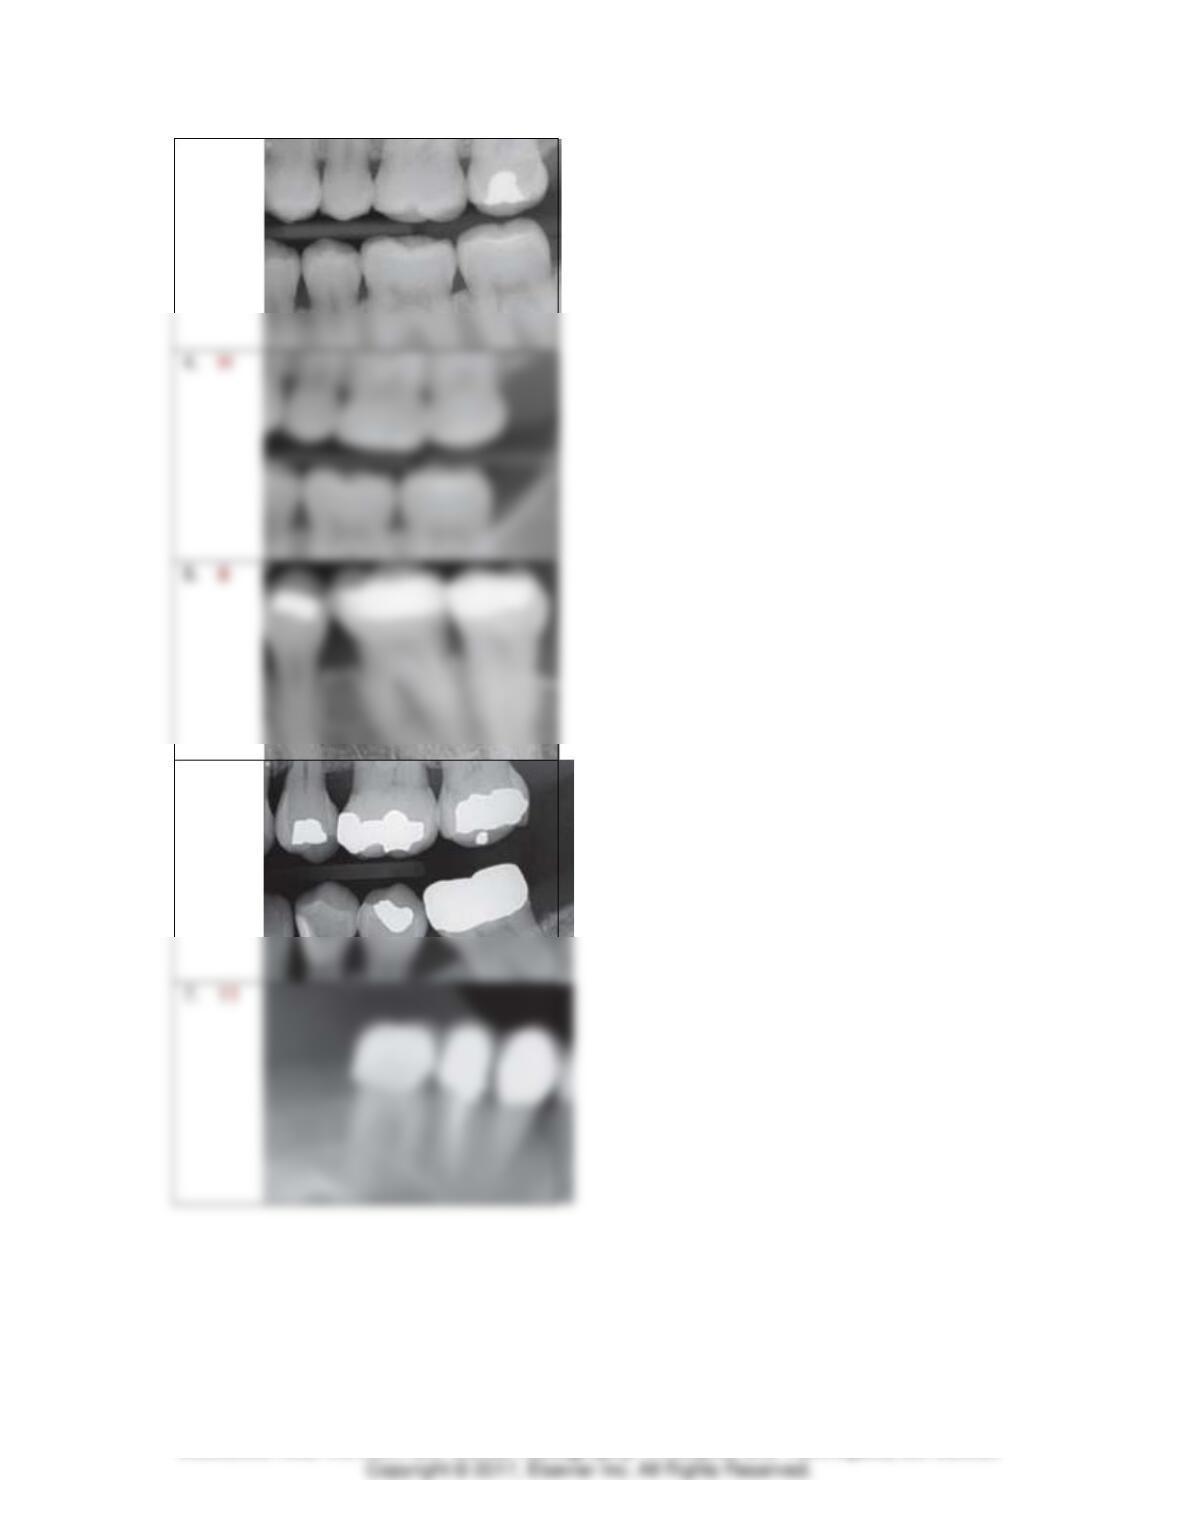
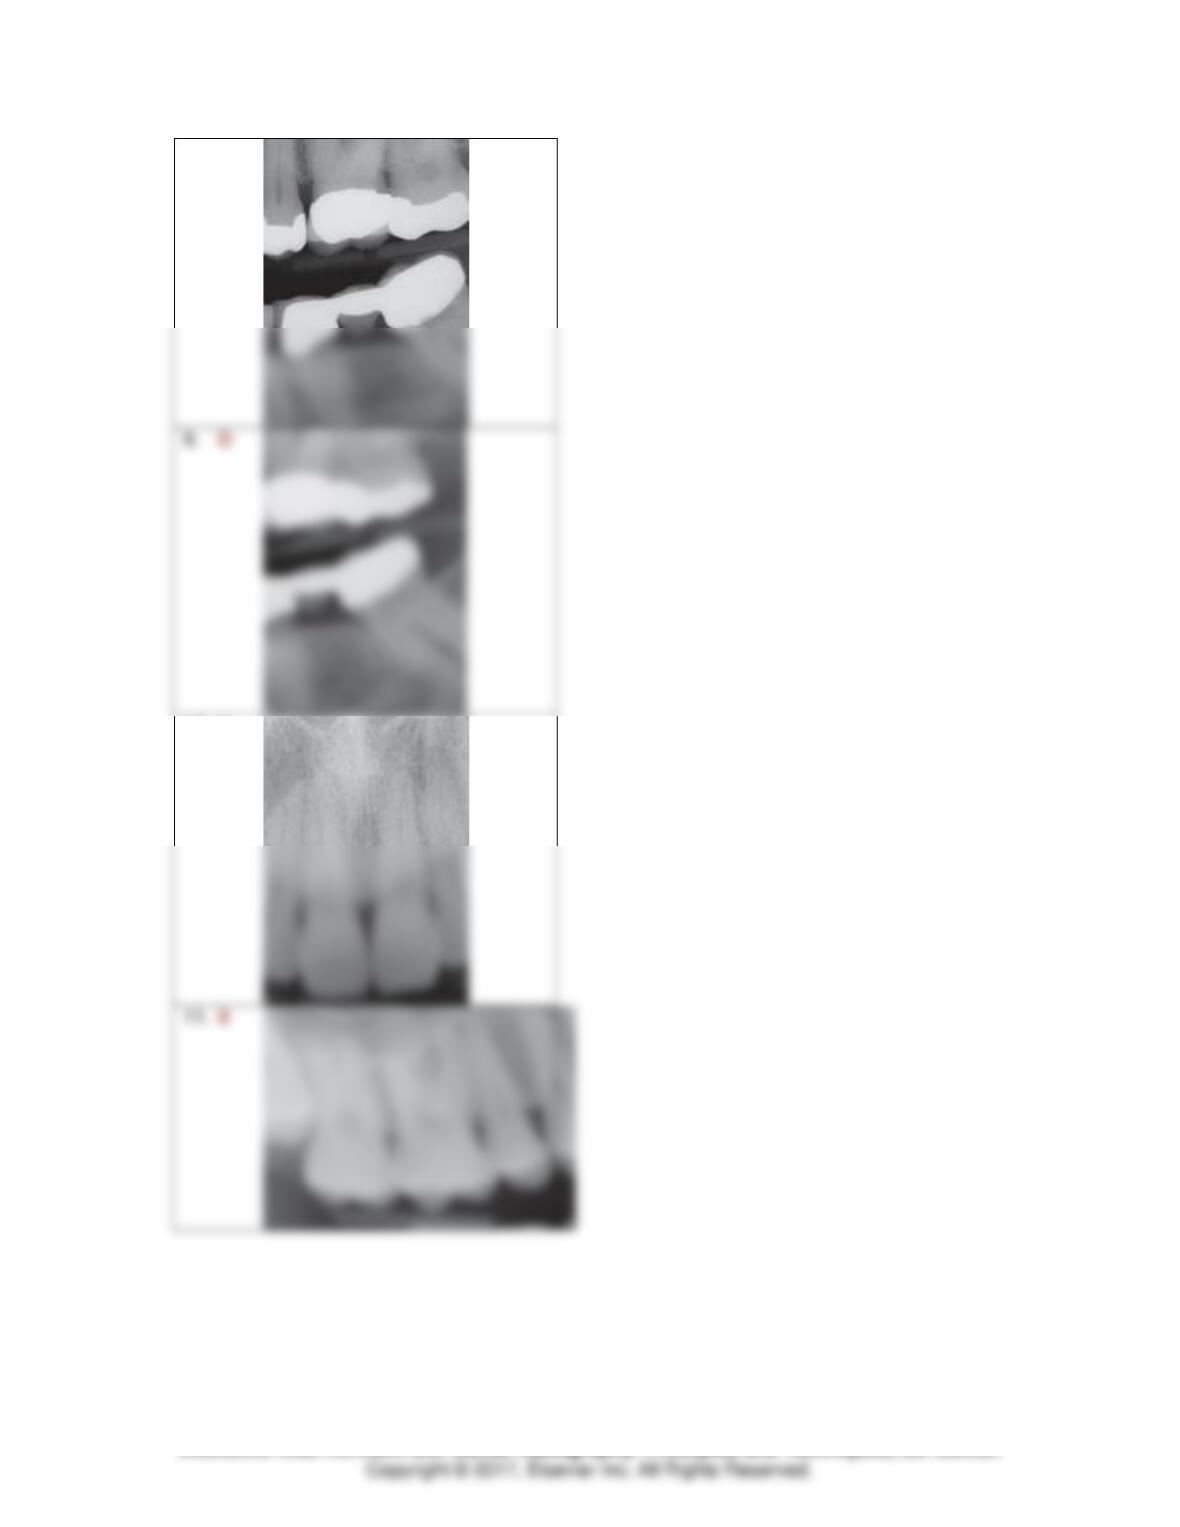
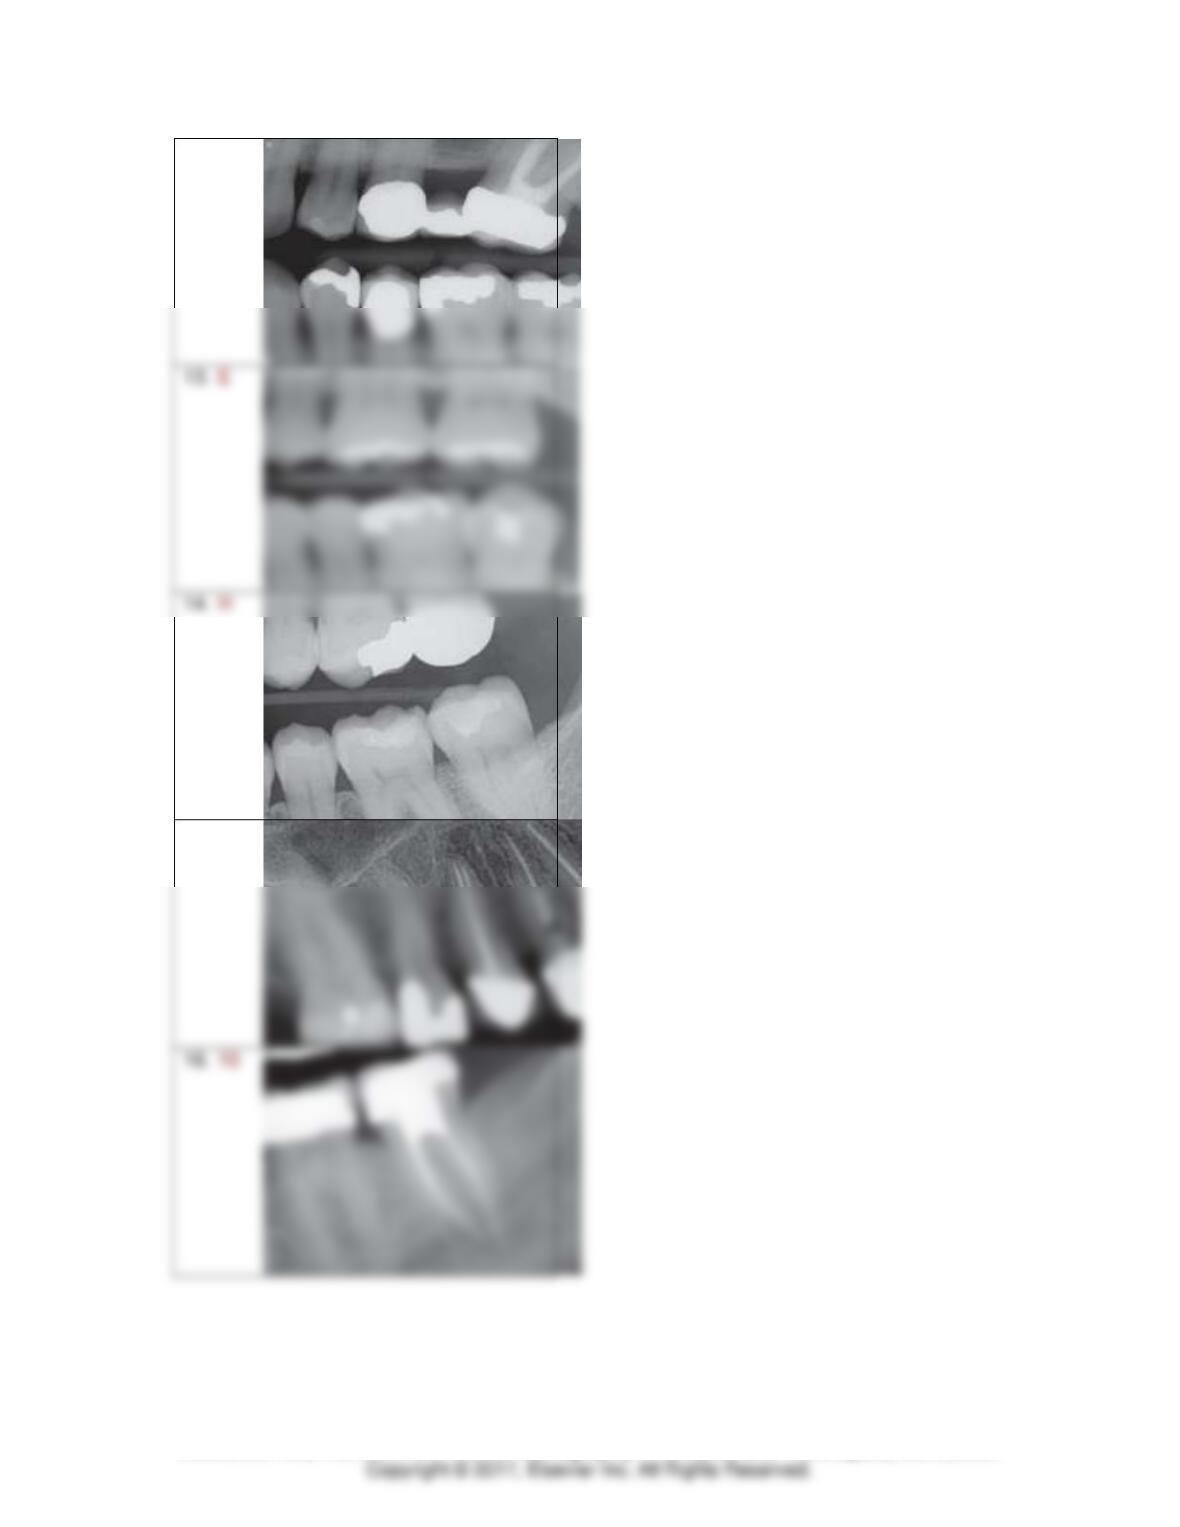
Image Mounting Exercises
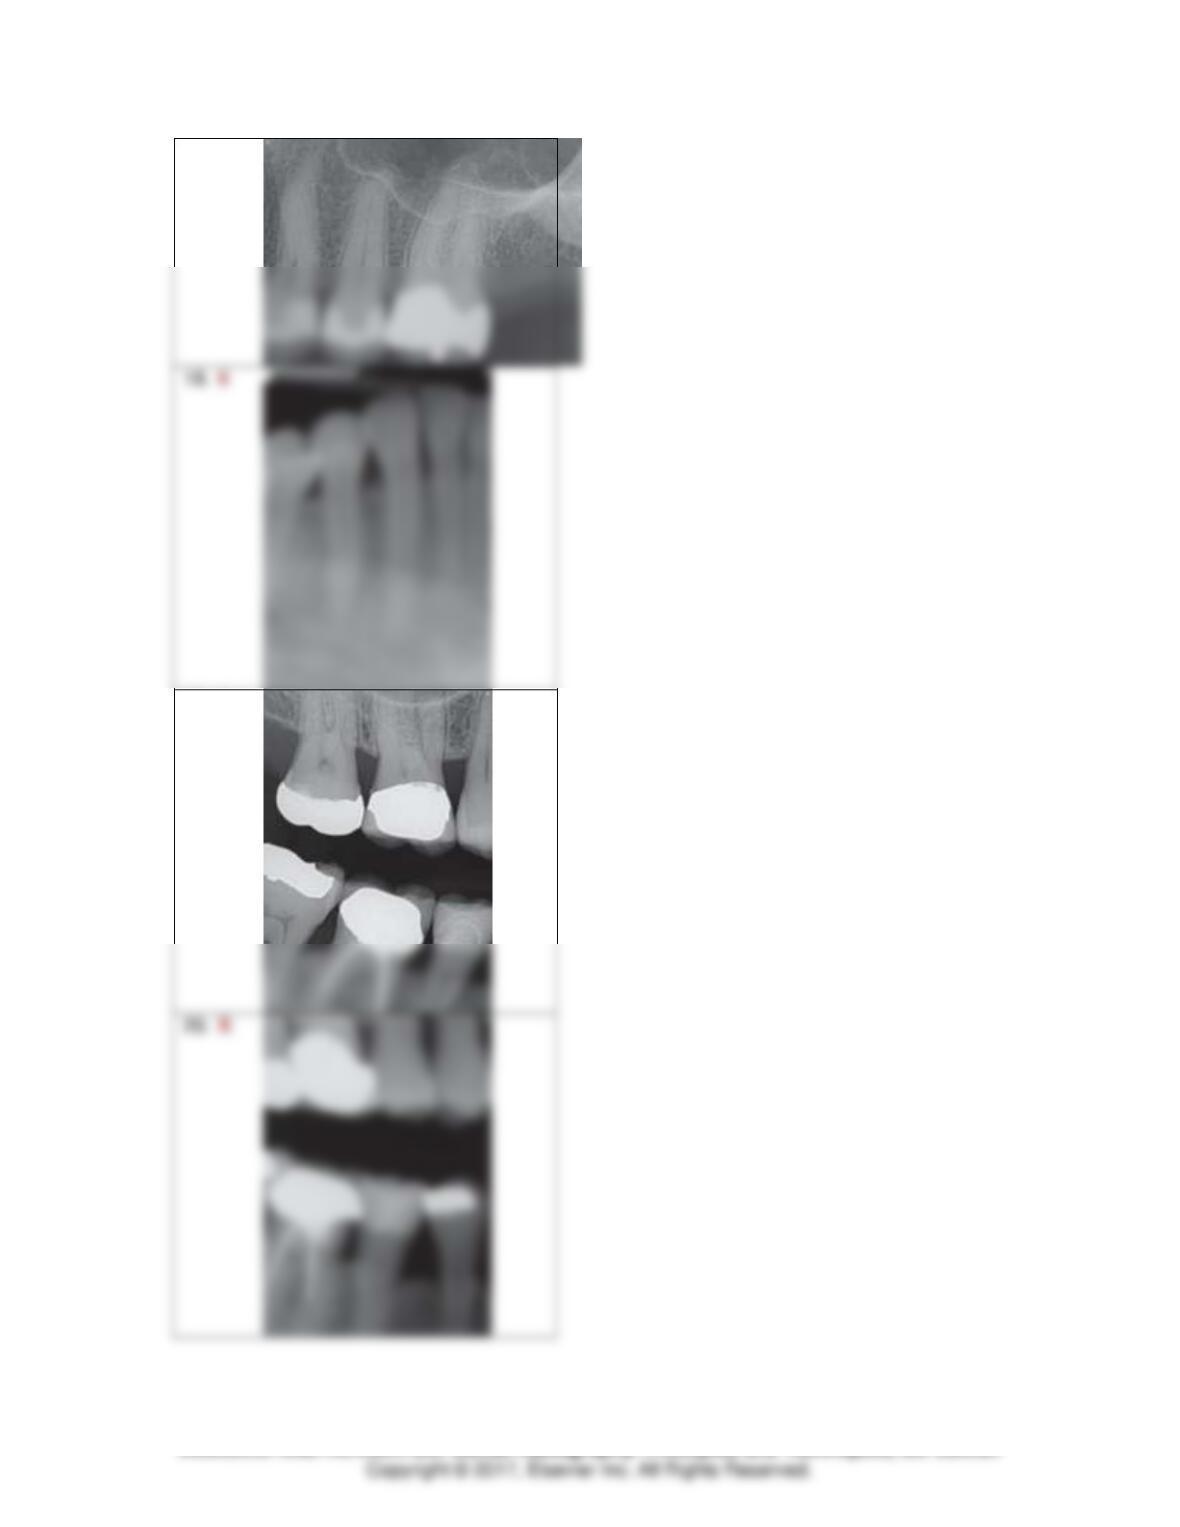
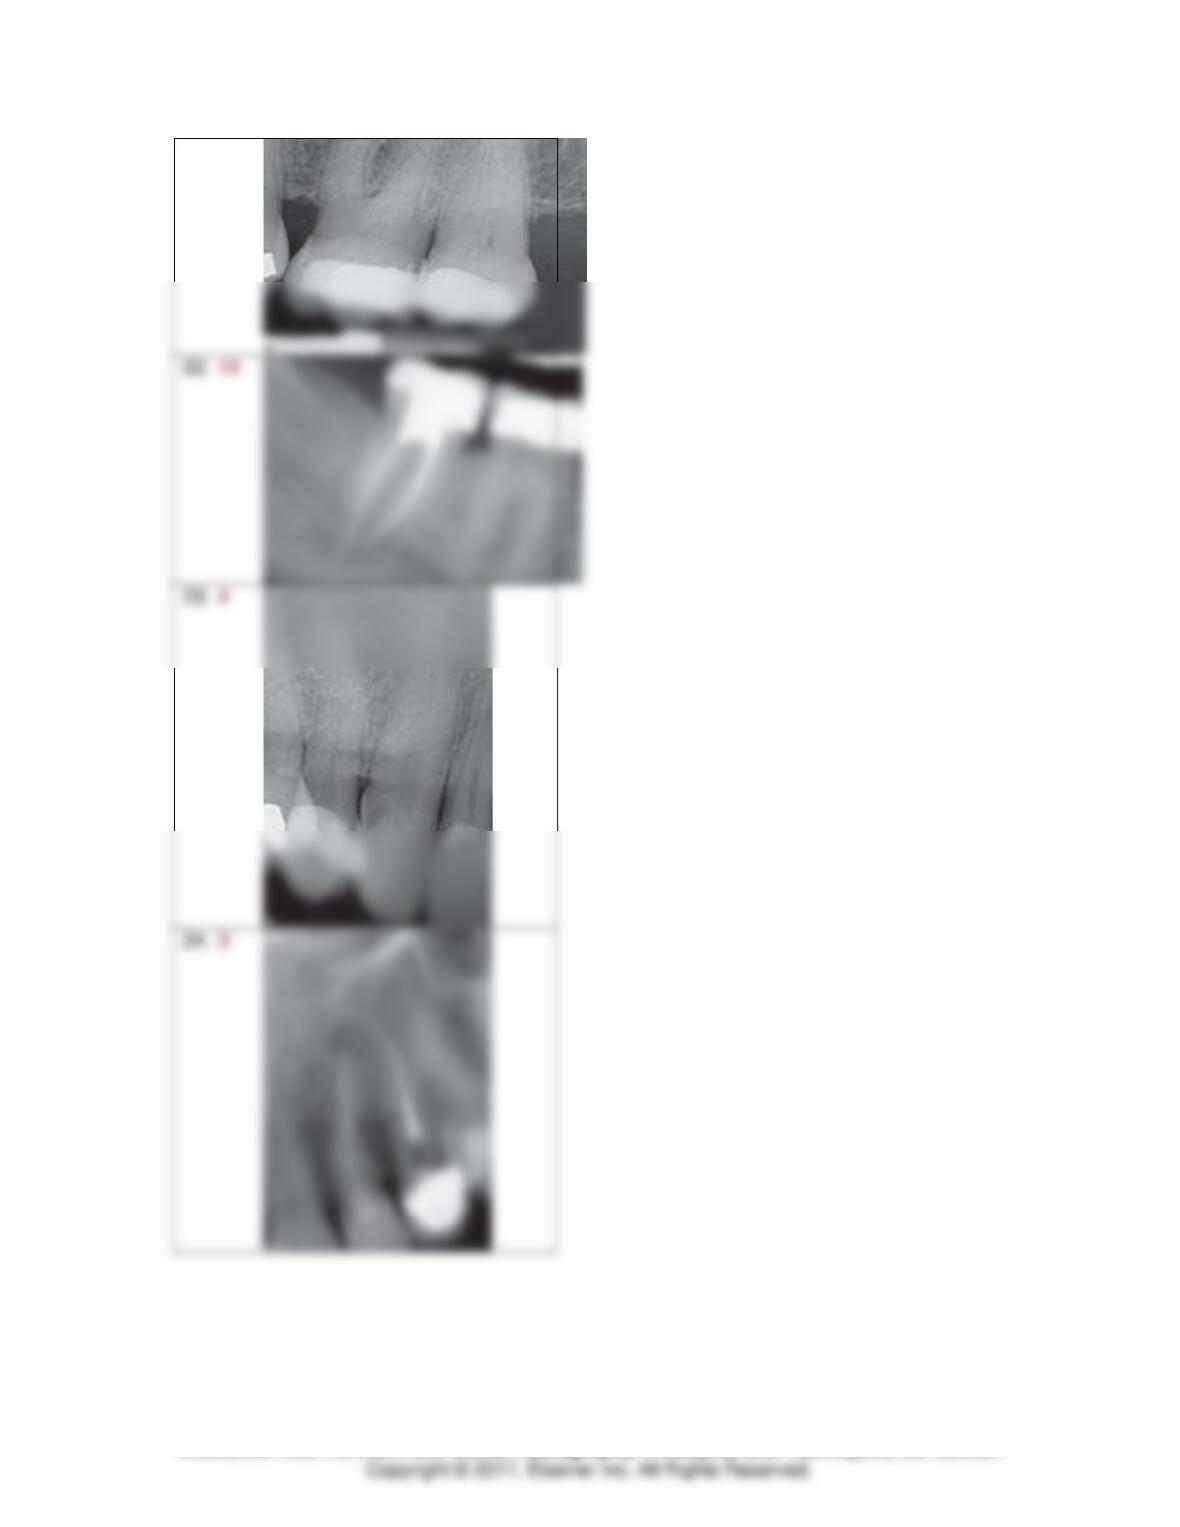
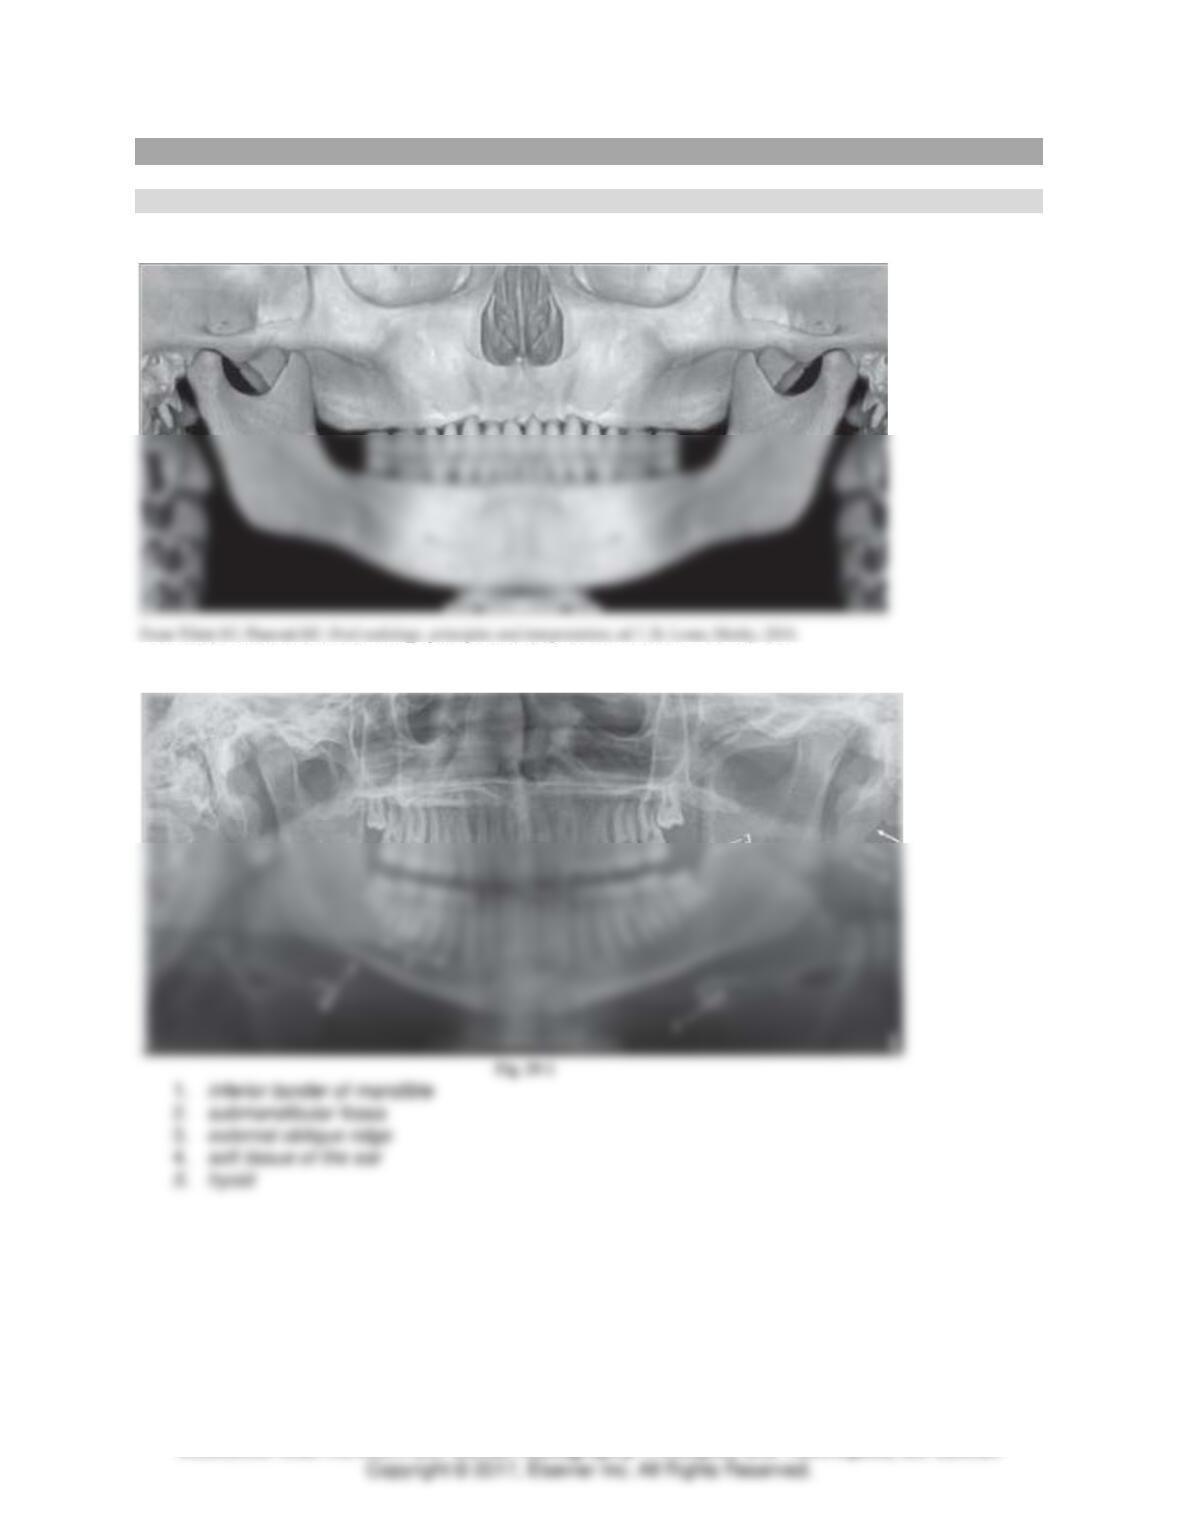
Using the labeled templates above, identify where each of the following images should be mounted.
Please note that some images may appear upside down. Use normal anatomic landmarks to help you
orient each image.
1. F
Module 6: Film Mounting, Normal Anatomy, and Interpretation Basics 2
TEACH Lesson Plan
IANNUCCI AND HOWERTON: Dental Radiography: Principles and Techniques, 5th Edition
3. G
6. G
Module 6: Film Mounting, Normal Anatomy, and Interpretation Basics 3
TEACH Lesson Plan
IANNUCCI AND HOWERTON: Dental Radiography: Principles and Techniques, 5th Edition
8. C
10. 2
Module 6: Film Mounting, Normal Anatomy, and Interpretation Basics 4
TEACH Lesson Plan
IANNUCCI AND HOWERTON: Dental Radiography: Principles and Techniques, 5th Edition
12. F
15. 7
Module 6: Film Mounting, Normal Anatomy, and Interpretation Basics 5
TEACH Lesson Plan
IANNUCCI AND HOWERTON: Dental Radiography: Principles and Techniques, 5th Edition
17. 11
19. A
Module 6: Film Mounting, Normal Anatomy, and Interpretation Basics 6
TEACH Lesson Plan
IANNUCCI AND HOWERTON: Dental Radiography: Principles and Techniques, 5th Edition
21. 12
Module 6: Film Mounting, Normal Anatomy, and Interpretation Basics 7
TEACH Lesson Plan
IANNUCCI AND HOWERTON: Dental Radiography: Principles and Techniques, 5th Edition
CHAPTER 29: NORMAL ANATOMY: PANORAMIC IMAGES
Identification
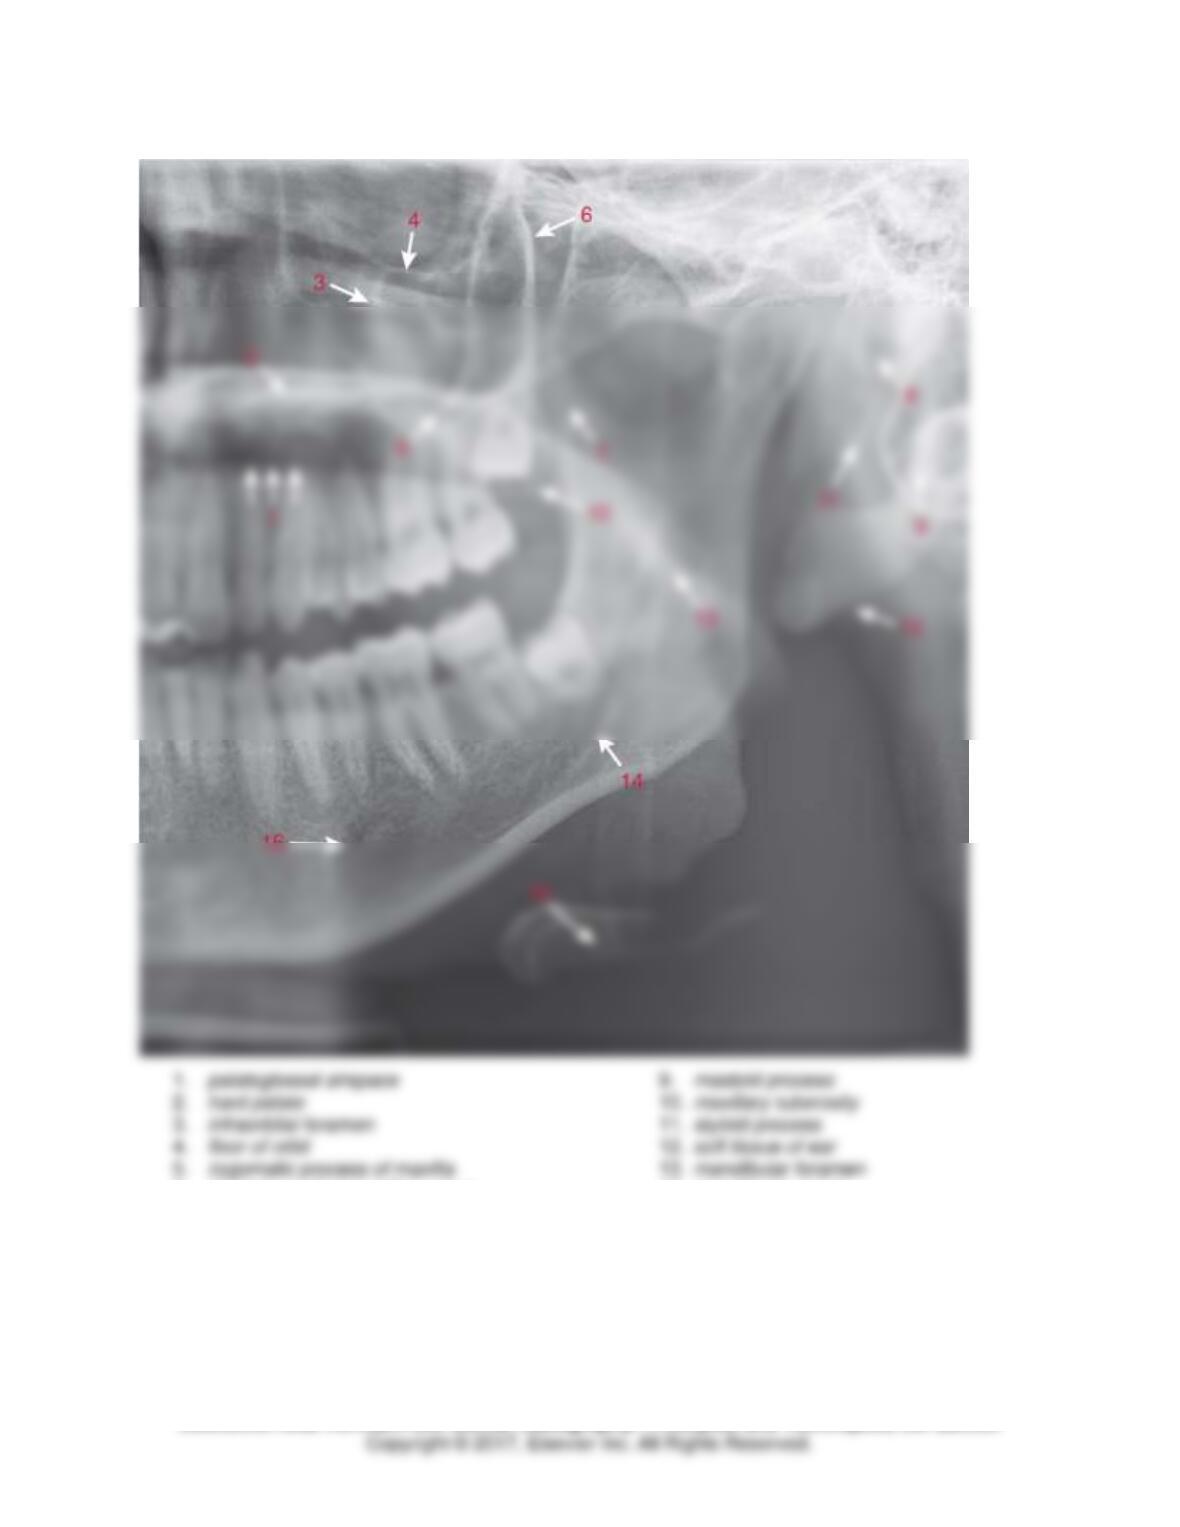
As you complete the following exercises, when viewing a panoramic image, picture the skull as illustrated
below.
Normal Anatomic Landmarks
Identify each area labeled 1-5 in Figure 29-1.
Module 6: Film Mounting, Normal Anatomy, and Interpretation Basics 8
TEACH Lesson Plan
IANNUCCI AND HOWERTON: Dental Radiography: Principles and Techniques, 5th Edition
Identify each area labeled 1-16 in Figure 29-2.
6. posterior wall of maxillary sinus
7. coronoid process
8. external auditory meatus
14. mandibular canal
15. hyoid
16. mental foramen
Module 6: Film Mounting, Normal Anatomy, and Interpretation Basics 9
TEACH Lesson Plan
IANNUCCI AND HOWERTON: Dental Radiography: Principles and Techniques, 5th Edition
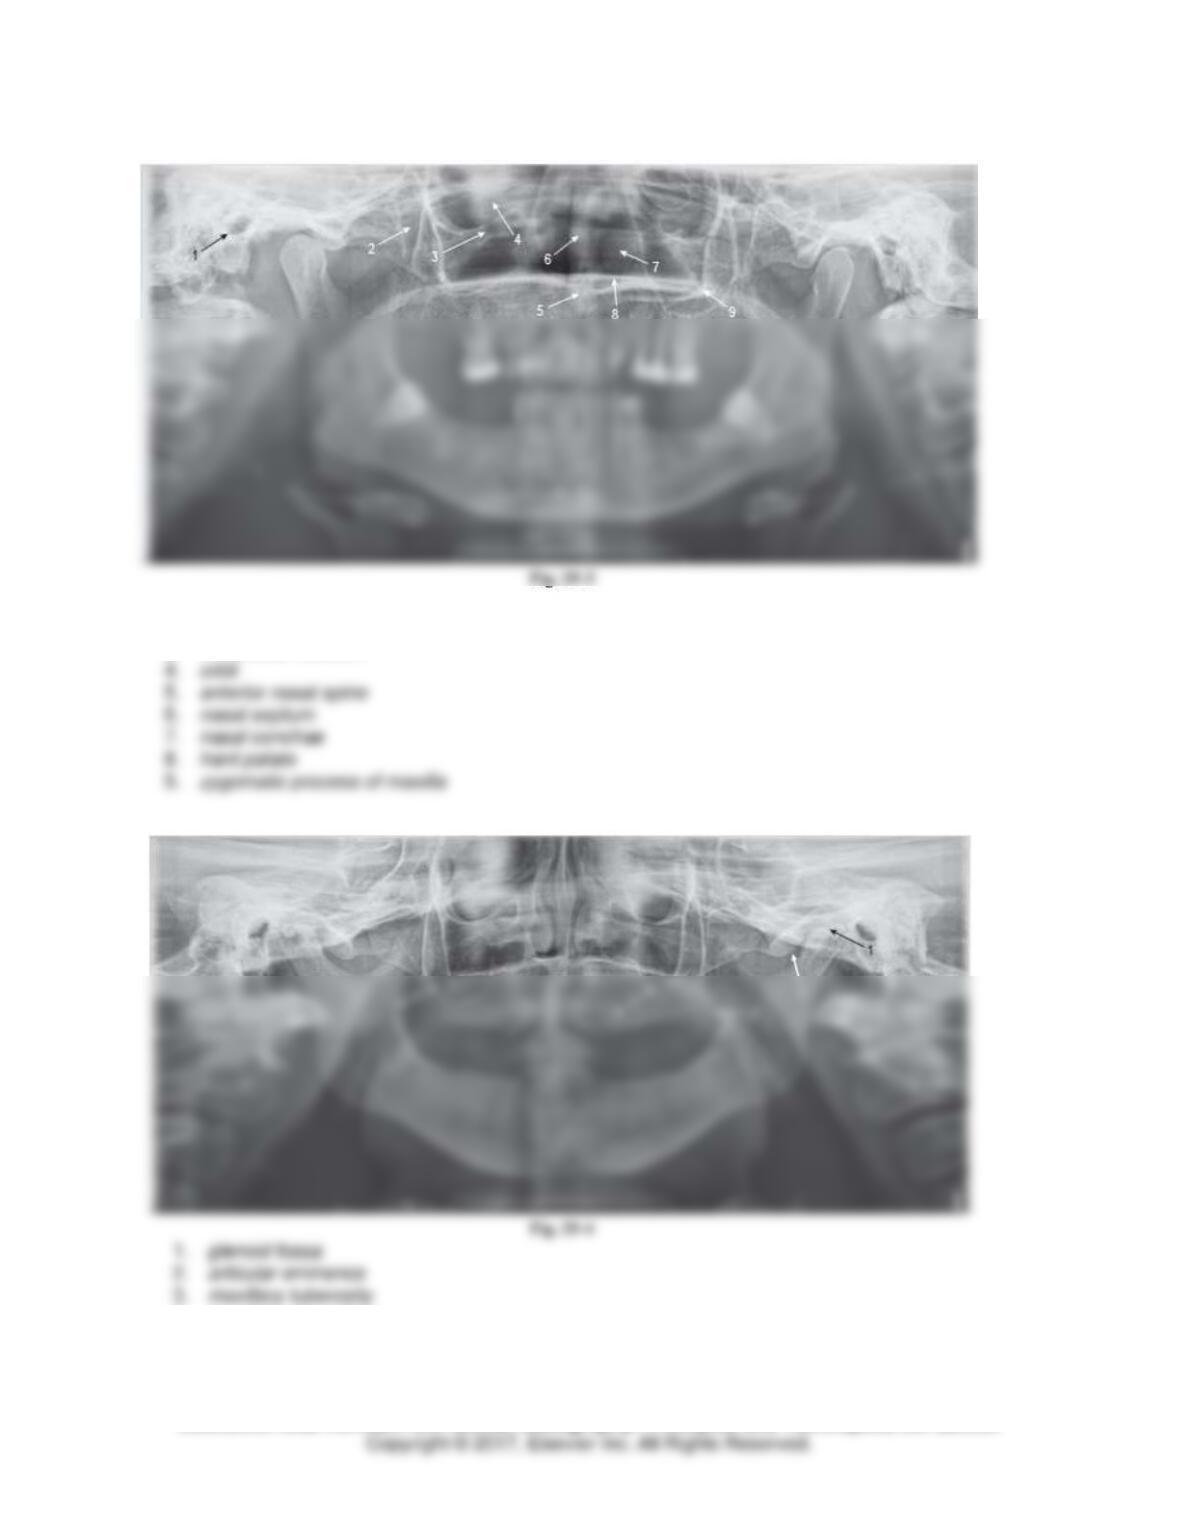
Identify each area labeled 1-9 in Figure 29–3.
1. external auditory meatus
2. pterygomaxillary fissure
3. infraorbital foramen
Identify each area labeled 1-5 in Figure 29–4.
4. maxillary sinus floor
5. zygoma
Module 6: Film Mounting, Normal Anatomy, and Interpretation Basics 10
TEACH Lesson Plan
IANNUCCI AND HOWERTON: Dental Radiography: Principles and Techniques, 5th Edition
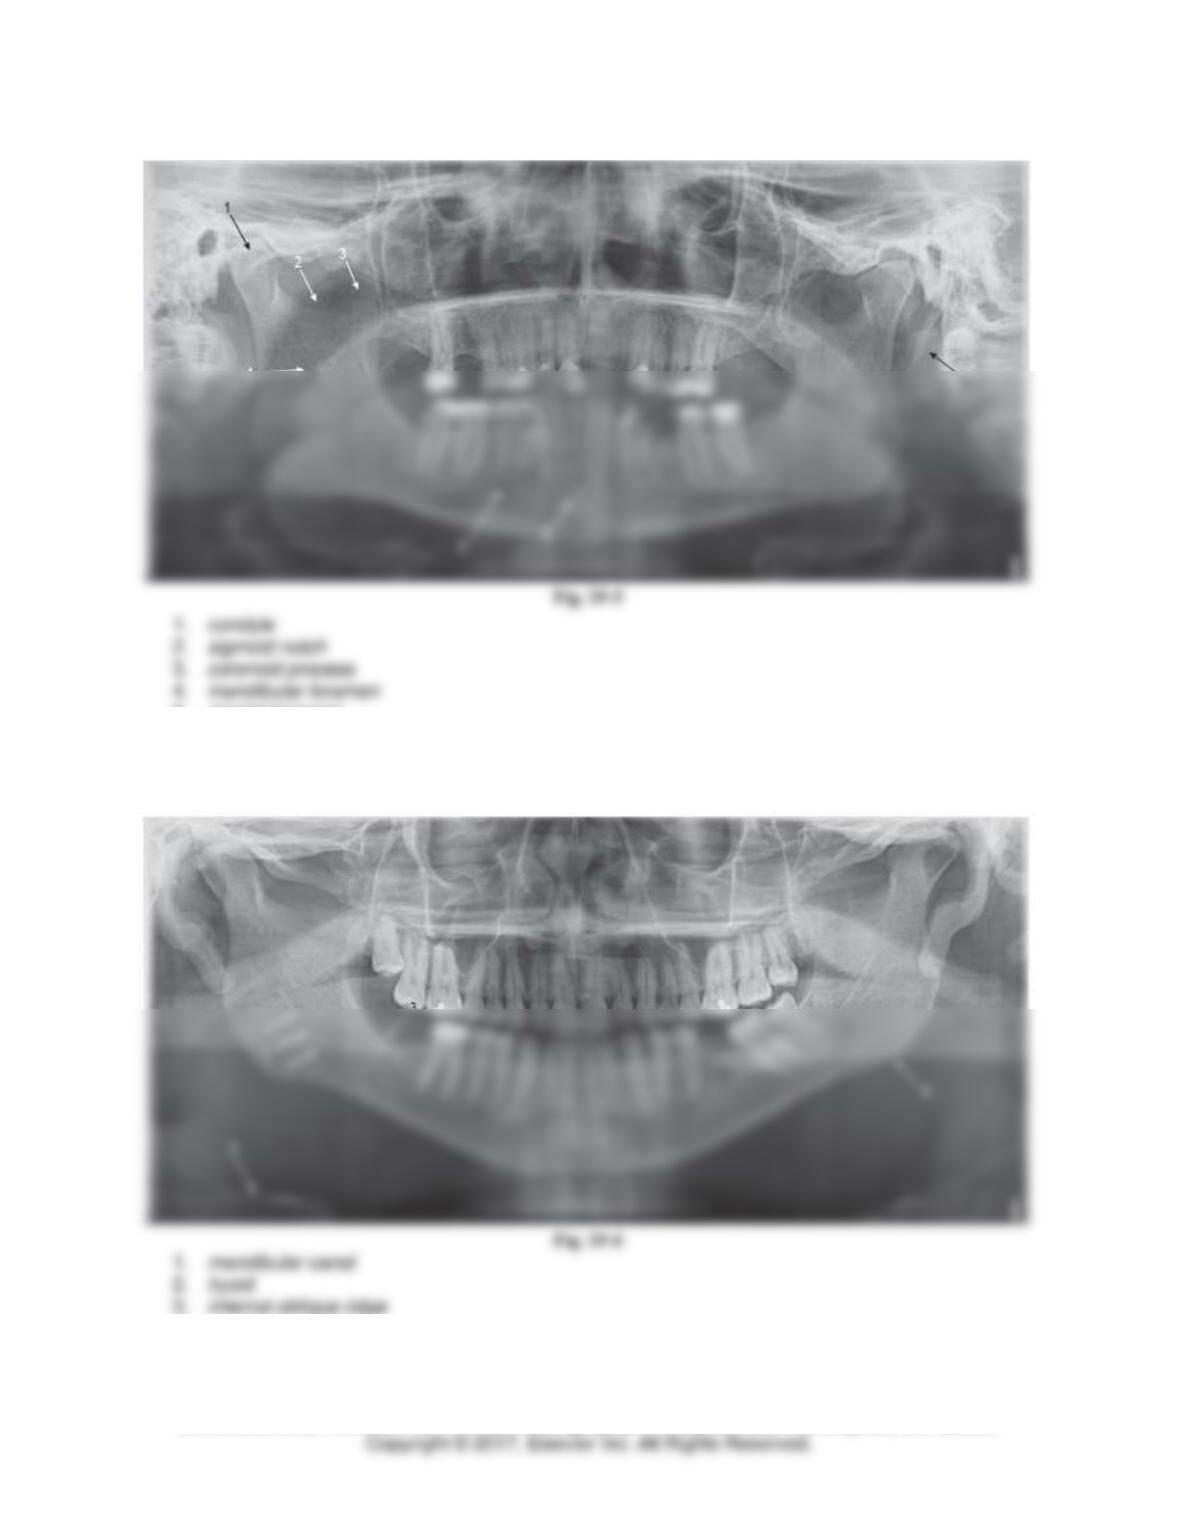
Identify each area labeled 1-7 in Figure 29-5.
5. mental foramen
6. genial tubercles
7. styloid process
Identify each area labeled 1-4 in Figure 29–6.
4. angle of mandible
Module 6: Film Mounting, Normal Anatomy, and Interpretation Basics 11
TEACH Lesson Plan
IANNUCCI AND HOWERTON: Dental Radiography: Principles and Techniques, 5th Edition
Air Spaces and Soft Tissue
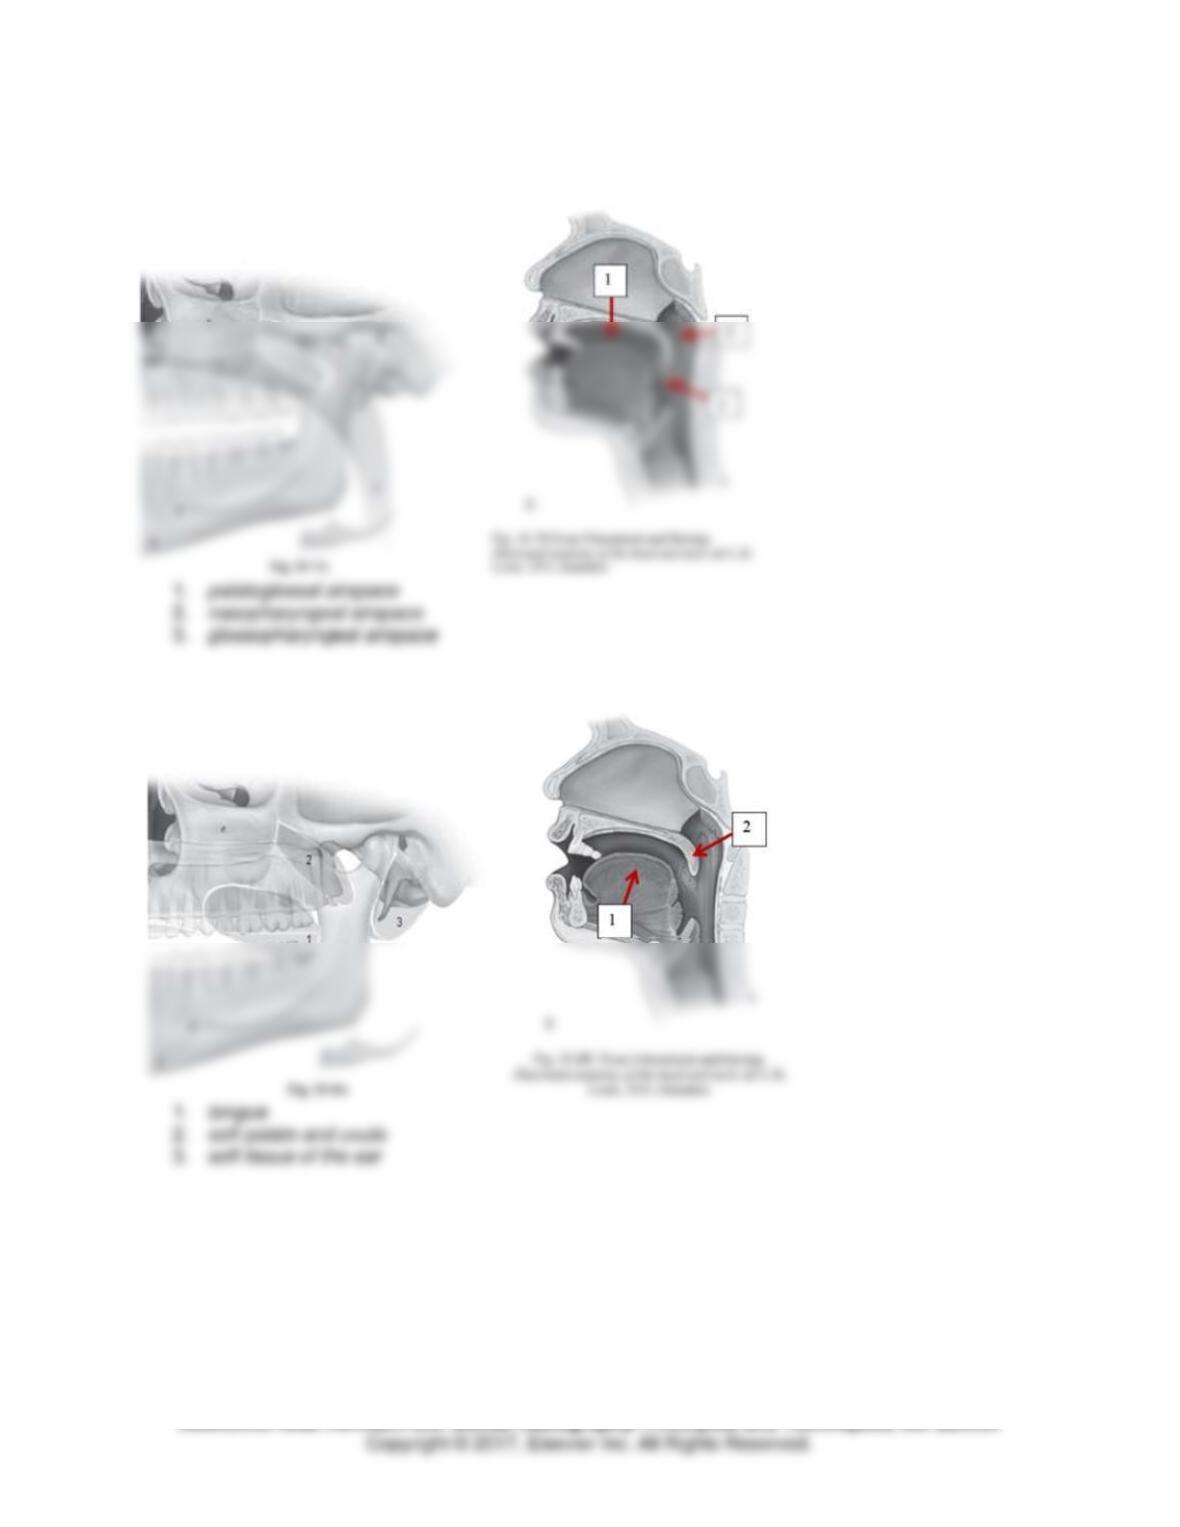
Label air spaces 1 to 3 in Figure 29-7A. Then draw arrows to identify the air spaces 1-3 on the diagram
in Figure 29-7B.
Label soft tissue areas 1 to 3 in Figure 29-8A. Then draw arrows to identify the soft tissue areas 1 to 3
on the diagram in Figure 29-8B.
Module 6: Film Mounting, Normal Anatomy, and Interpretation Basics 12
TEACH Lesson Plan
IANNUCCI AND HOWERTON: Dental Radiography: Principles and Techniques, 5th Edition
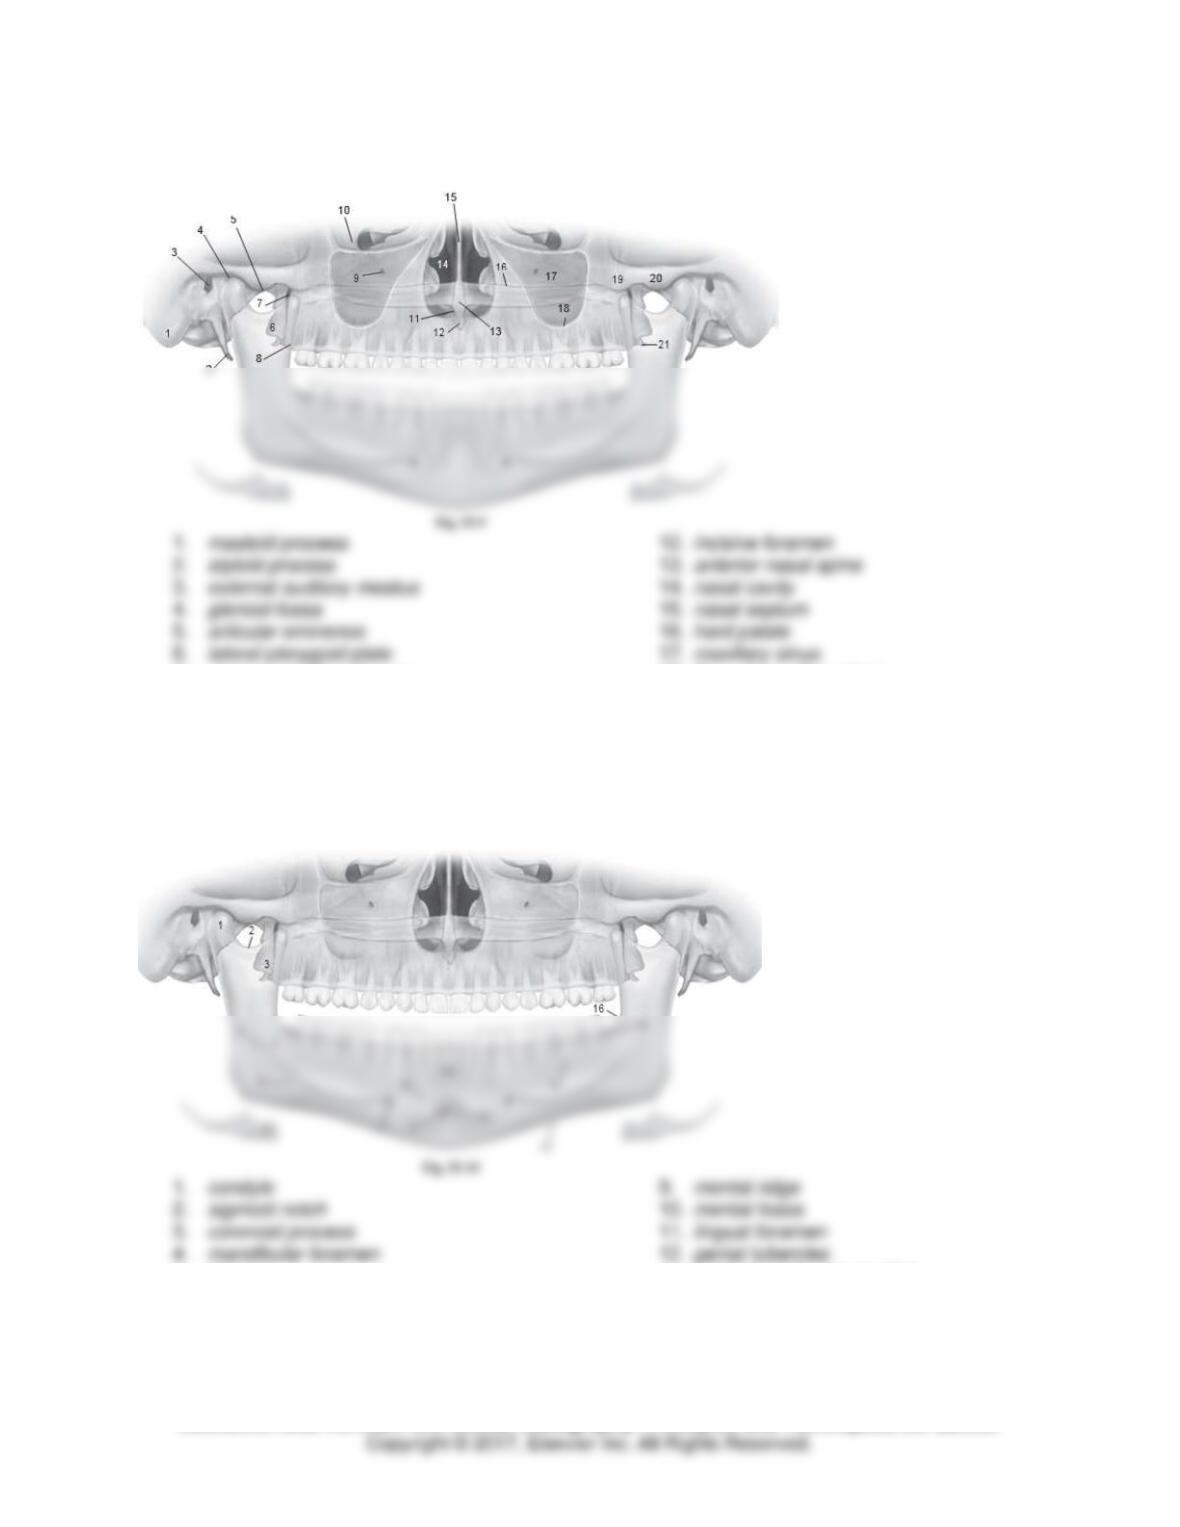
Normal Anatomy of Maxilla
Identify each structure labeled 1-21 in Figure 29–9.
7. pterygomaxillary fissure
8. maxillary tuberosity
9. infraorbital foramen
10. orbit
11. incisive canal
18. floor of maxillary sinus
19. zygomatic process
20. zygomatic arch
21. hamular process
Normal Anatomy of Mandible
Identify each structure labeled 1-16 in Figure 29-10.
5. lingula
6. mandibular canal
7. mental foramen
8. hyoid
13. inferior border of mandible
14. mylohyoid ridge
15. internal oblique ridge
16. external oblique ridge