TEACH Lesson Plan
Module 4 Technique Basics
CHAPTER 18: BISECTING TECHNIQUE
Identify and Describe
Bisecting Technique
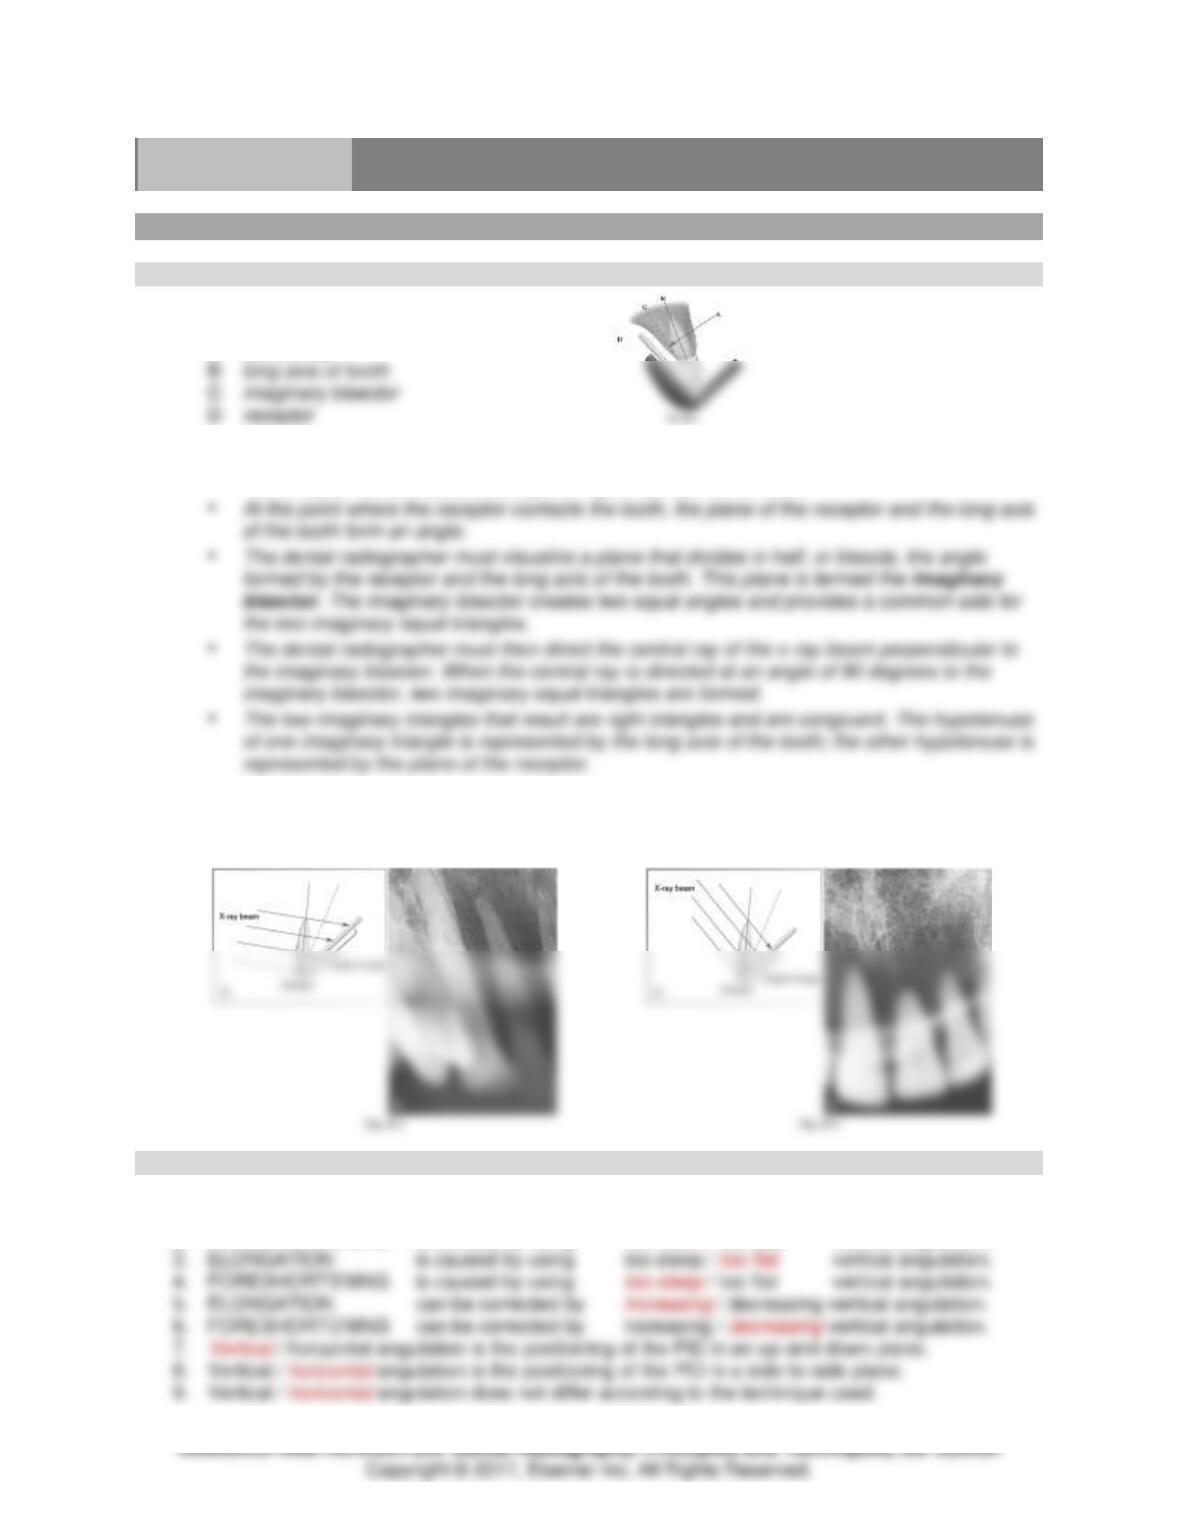
1. Identify each item labeled in the Figure 18-1.
A central ray
2. State the principles of the bisecting technique.
• The receptor must be placed along the lingual surface of the tooth.
PID Angulation
1. Identify the angulation error in Figure 18-2. elongation
2. Identify the angulation error in Figure 18-3. foreshortening
Multiple Choice
Elongation and Foreshortening
1. ELONGATION is caused by using too much / too little vertical angulation.
2. FORESHORTENING is caused by using too much / too little vertical angulation.
Module 4: Technique Basics 2
TEACH Lesson Plan
IANNUCCI AND HOWERTON: Dental Radiography: Principles and Techniques, 5th Edition
CHAPTER 19: BITE-WING TECHNIQUE
Completion
Basic Concepts
1. The bite-wing technique is used to examine the interproximalsurfaces of teeth.
2. Bite-wing images are also used to examine the level of crestalbone.
3. Describe the basic principles of the bite-wing technique (use Figure 19-1 as a guide).
• Receptor placement. The bite-wing receptor must be positioned to cover the prescribed area
of teeth to be examined.
Drawing
Horizontal Angulation
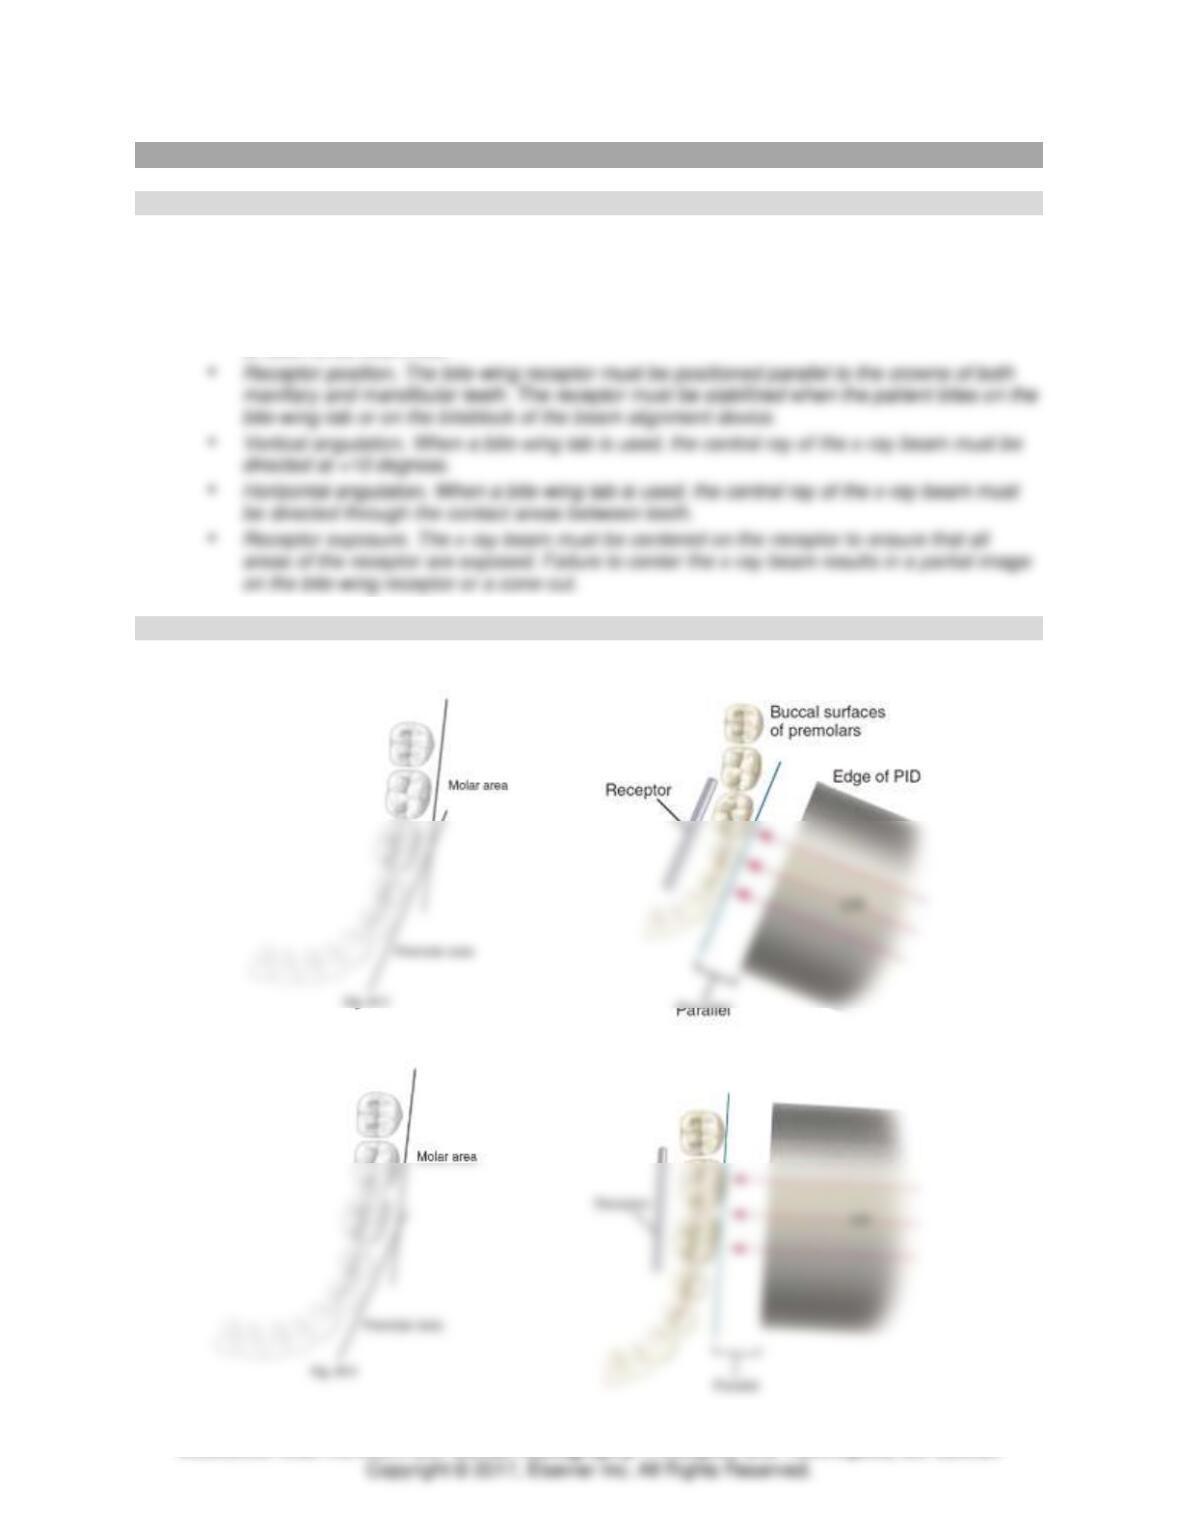
1. Using the diagram in Figure 19-2, draw the PID (edge of cone) for the PREMOLAR bite-wing.
2. Using the diagram in Figure 19-3, draw the ID (edge of cone) for the MOLAR bite–wing.
Module 4: Technique Basics 3
TEACH Lesson Plan
IANNUCCI AND HOWERTON: Dental Radiography: Principles and Techniques, 5th Edition
Receptor Placement
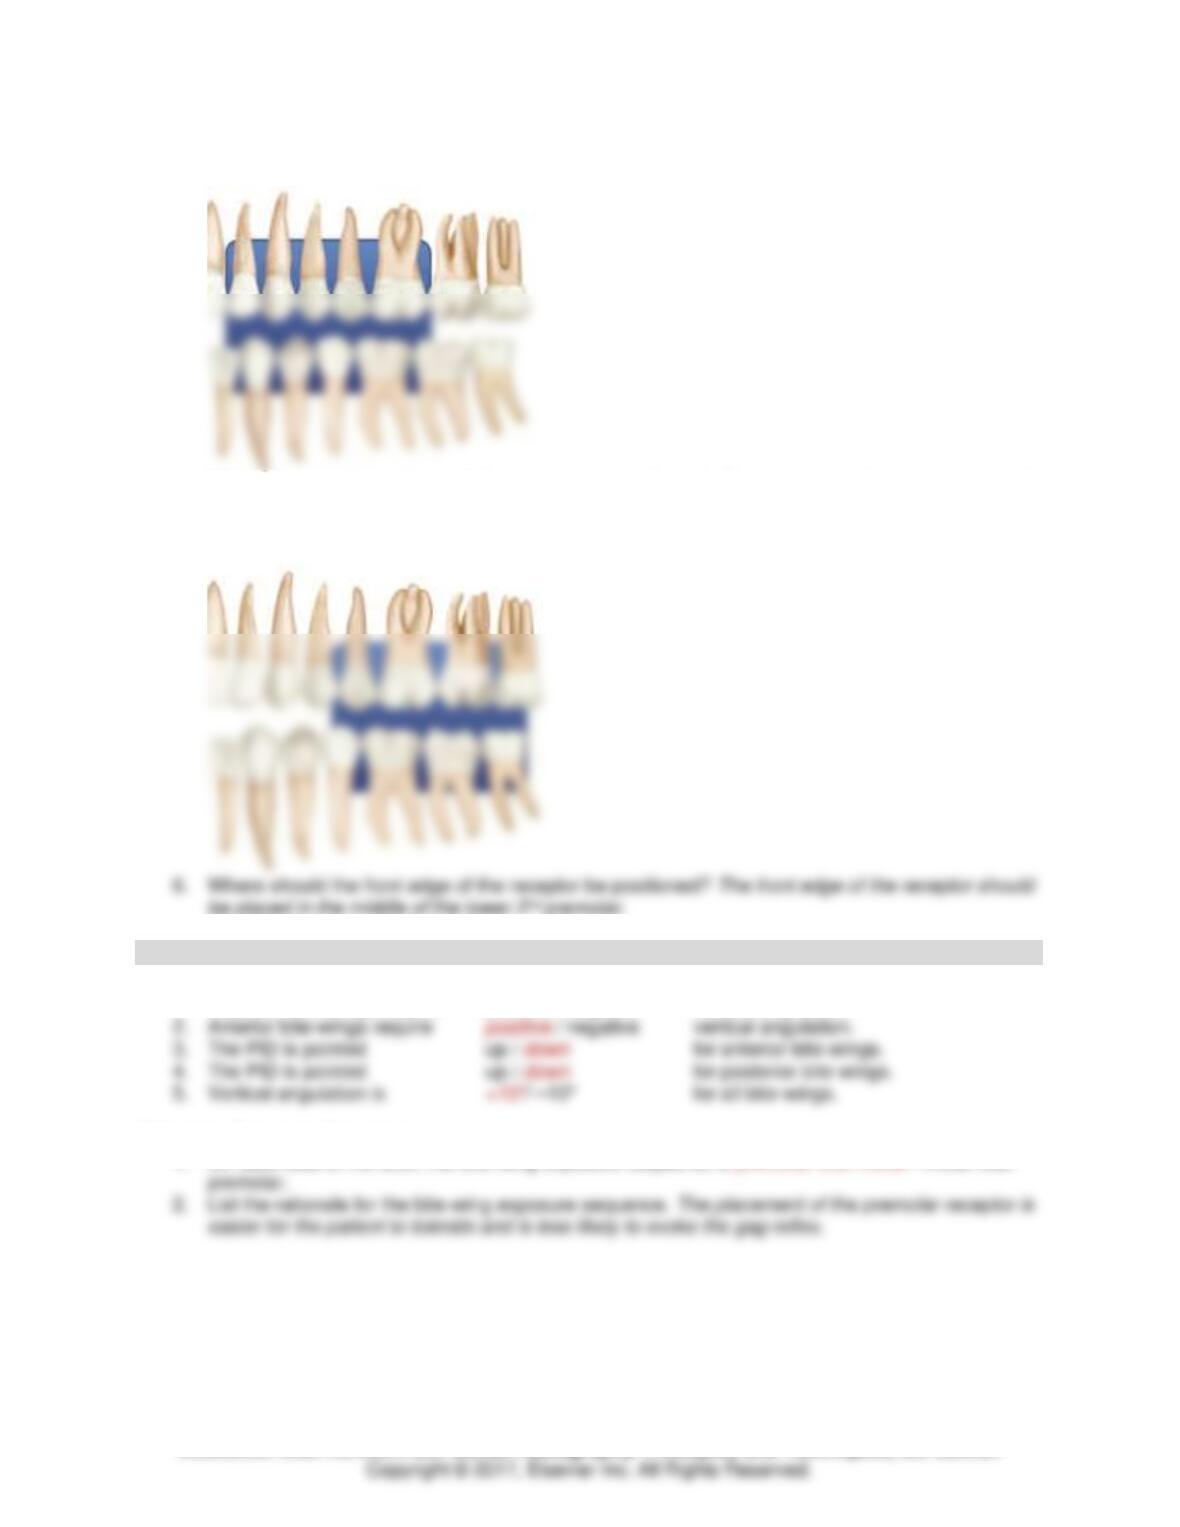
3. On Figure 19-4, draw the ideal receptor placement for the PREMOLAR bite-wing.
4. Where should the front edge of the receptor be positioned? The front edge of the receptor should
cover the lower canine.
5. On Figure 19-5, draw the ideal receptor placement for the MOLAR bite-wing.
be placed in the middle of the lower 2nd premolar.
Multiple Choice and Short Answer
Vertical Angulation
1. Posterior bite-wings require positive / negative vertical angulation.
Bite-wing Exposure Sequence
1. On each side of the arch, the bite-wing exposure sequence is premolar then molar / molar then
Module 4: Technique Basics 4
TEACH Lesson Plan
IANNUCCI AND HOWERTON: Dental Radiography: Principles and Techniques, 5th Edition
Identification and Short Answer
Bite-Wing Errors
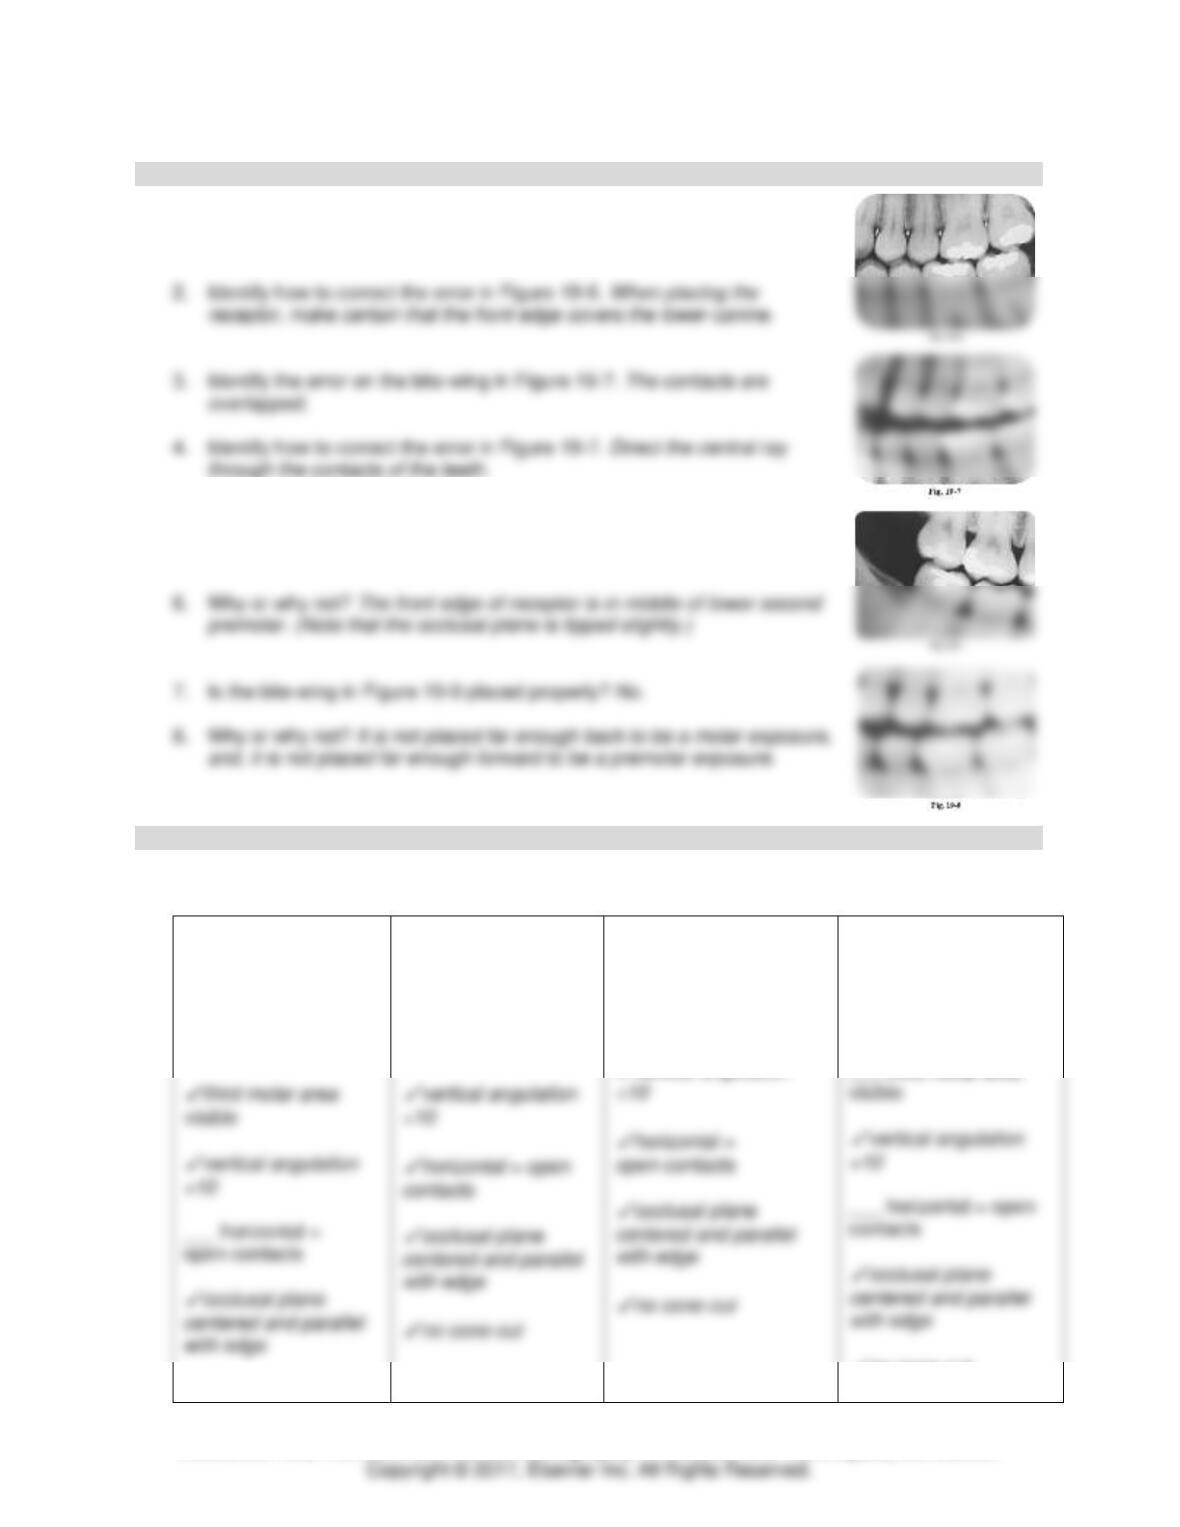
1. Identify the error on the bite-wing in Figure 19-6. The distal of the lower
canine is not visible.
5. Is the bite-wing in Figure 19-8 placed properly? Yes. It is placed properly
for a molar bite-wing.
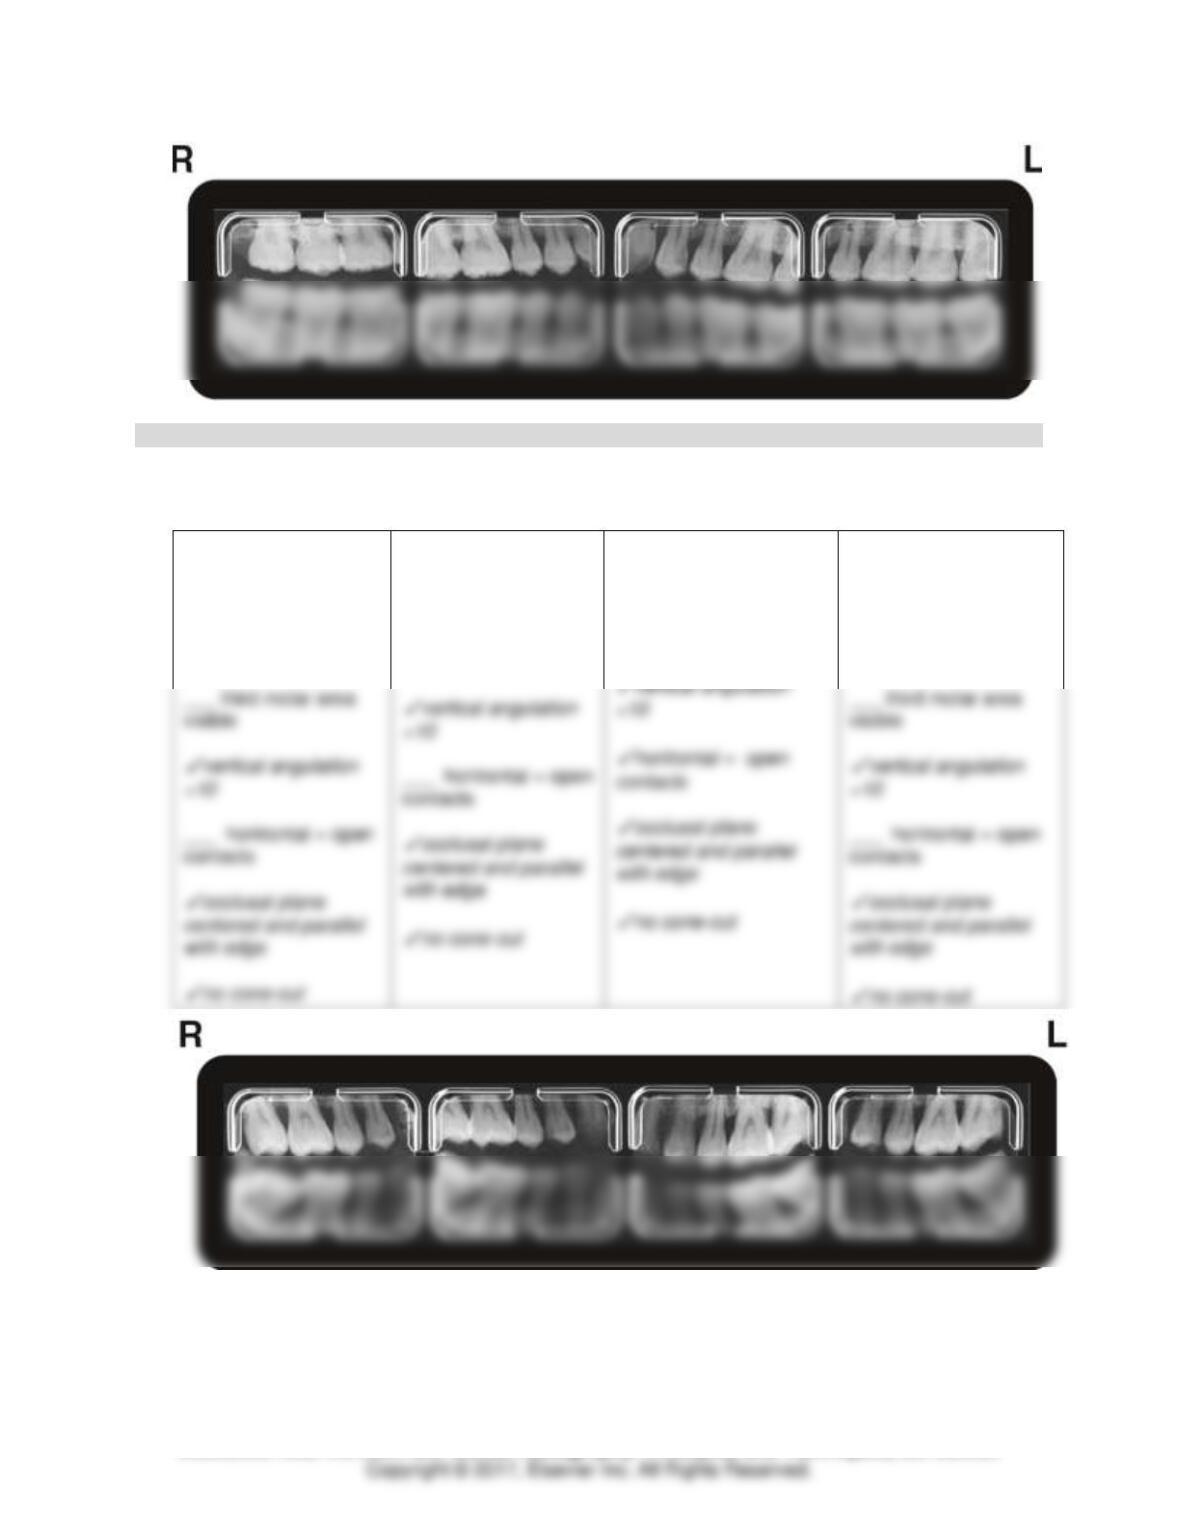
Bitewing Technique Assessment: Exercise 1
If possible, review Bite-wing Exercise 1 on the Evolve website for optimum viewing. NOTE: Instructor may
alter key to reflect what is easily seen on printed page.
Molar (right)
___ front edge in
middle of lower 2nd
premolar
✓
ALL molars visible
✓
no cone-cut
Premolar (right)
✓
front edge in middle
of lower canine
✓
ALL premolars
visible
Premolar (left)
___ front edge in middle
of lower canine
✓
ALL premolars visible
✓
vertical angulation
Molar (left)
✓
front edge in middle
of lower 2nd premolar
✓
ALL molars visible
___ third molar area
✓
no cone-cut
Module 4: Technique Basics 5
TEACH Lesson Plan
IANNUCCI AND HOWERTON: Dental Radiography: Principles and Techniques, 5th Edition
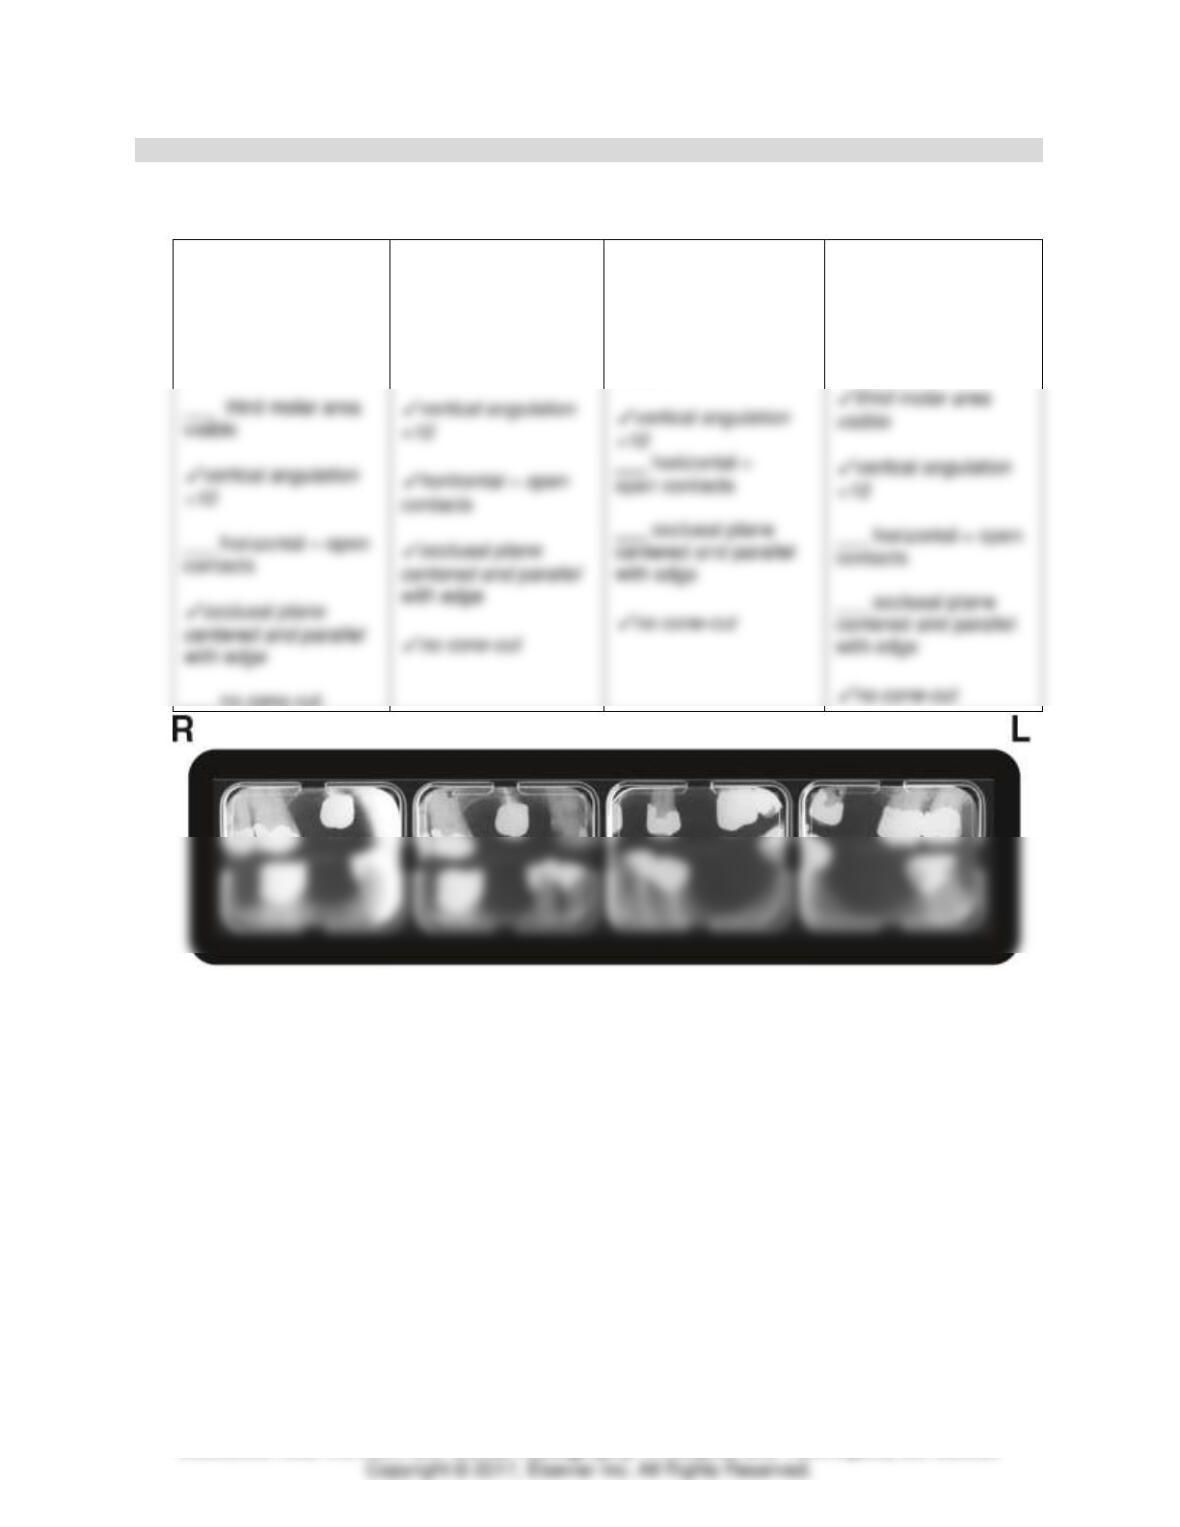
Bitewing Technique Assessment: Exercise 2
If possible, review Bite-wing Exercise 2 on the Evolve website for optimum viewing. NOTE: Instructor may
alter key to reflect what is easily seen on printed page.
Molar (right)
___ front edge in
middle of lower 2nd
premolar
___ ALL molars visible
Premolar (right)
✓
front edge in middle
of lower canine
✓
ALL premolars
visible
Premolar (left)
✓
front edge in middle of
lower canine
✓
ALL premolars visible
Molar (left)
___ front edge in
middle of lower 2nd
premolar
___ ALL molars visible
Module 4: Technique Basics 6
TEACH Lesson Plan
IANNUCCI AND HOWERTON: Dental Radiography: Principles and Techniques, 5th Edition
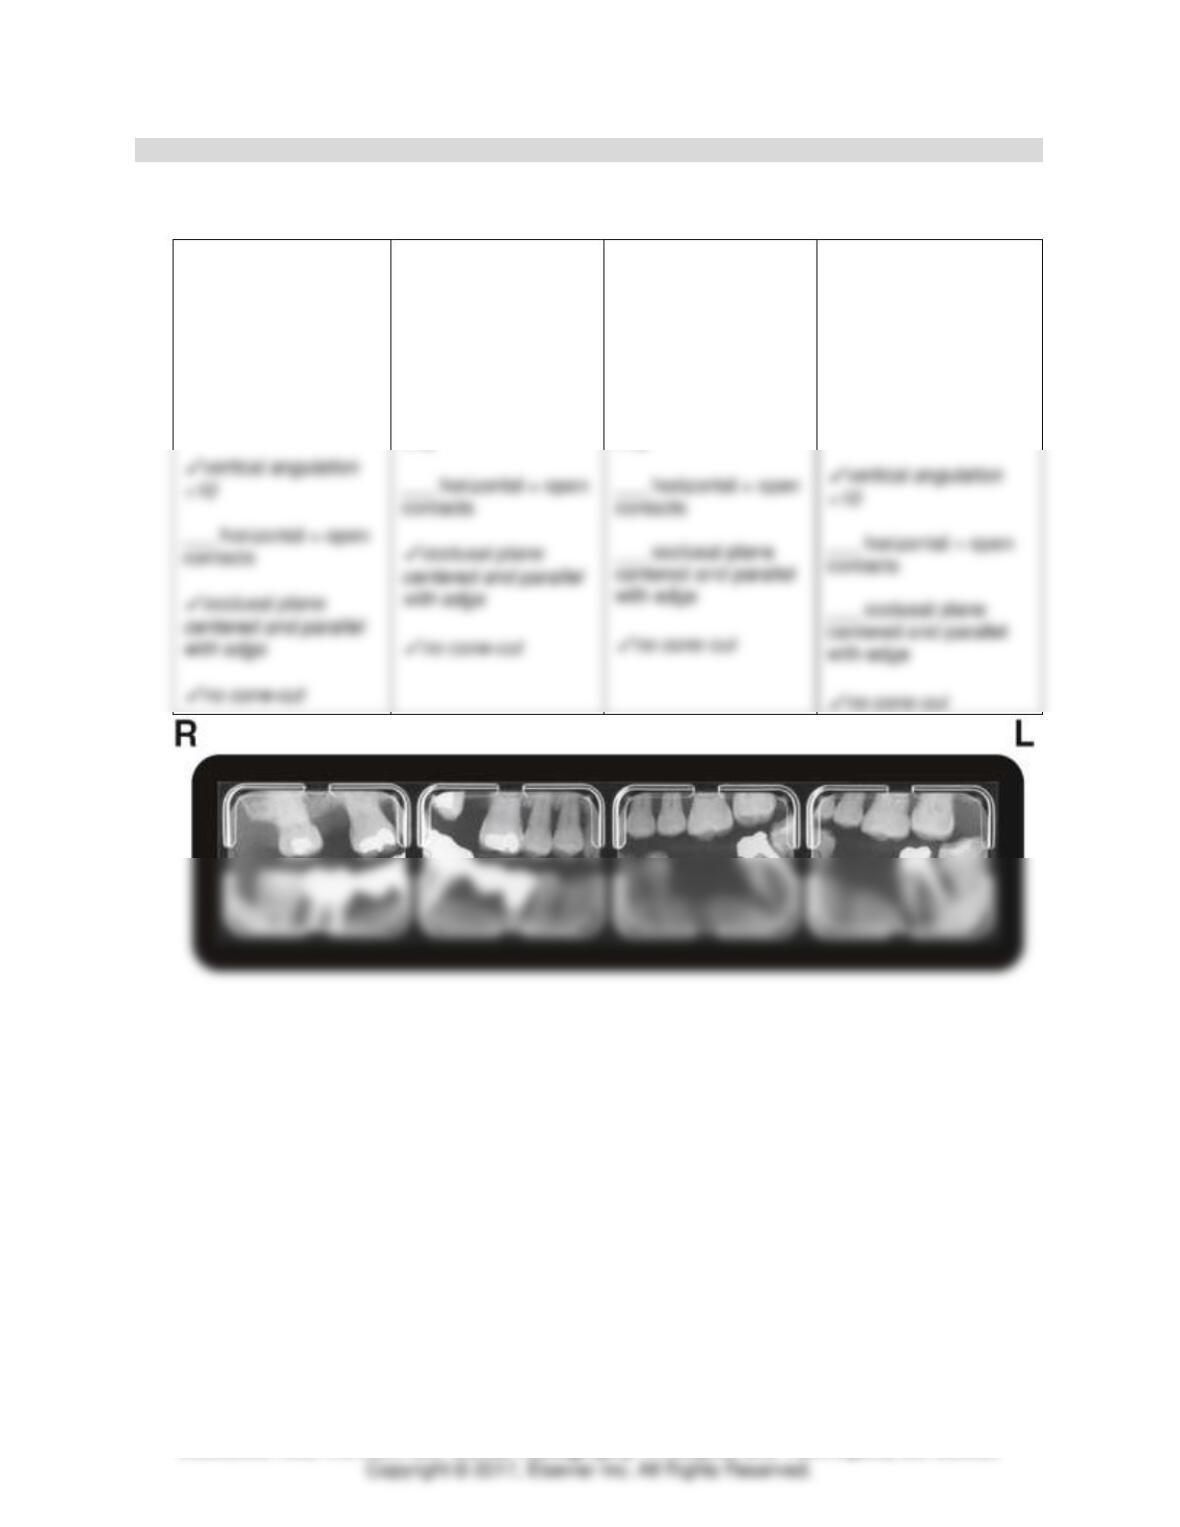
Bitewing Technique Assessment: Exercise 3
If possible, review Bite-wing Exercise 3 on the Evolve website for optimum viewing. NOTE: Instructor may
alter key to reflect what is easily seen on printed page.
Molar (right)
___ front edge in
middle of lower 2nd
premolar
___ ALL molars visible
___ no cone-cut
Premolar (right)
___ front edge in
middle of lower canine
___ ALL premolars
visible
Premolar (left)
✓
front edge in middle
of lower canine
✓
ALL premolars
visible
Molar (left)
✓
front edge in middle
of lower 2nd premolar
✓
ALL molars visible
Module 4: Technique Basics 7
TEACH Lesson Plan
IANNUCCI AND HOWERTON: Dental Radiography: Principles and Techniques, 5th Edition
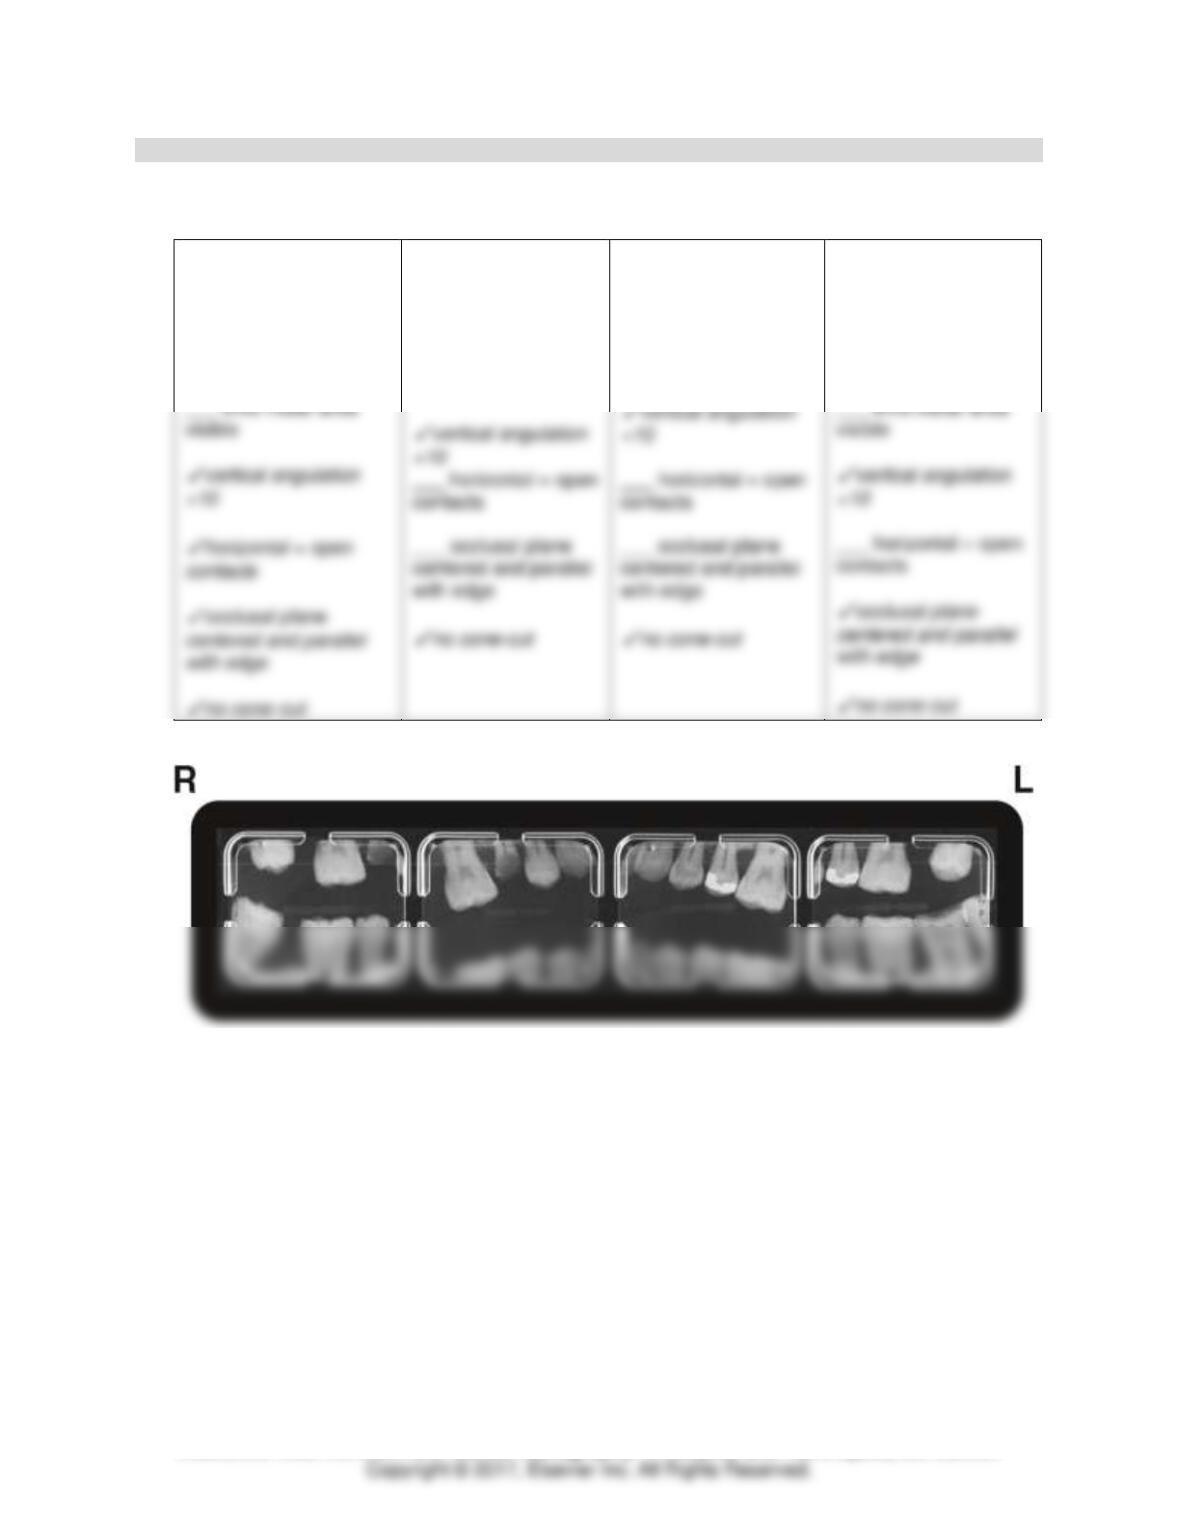
Bitewing Technique Assessment: Exercise 4
If possible, review Bite-wing Exercise 4 on the Evolve website for optimum viewing. NOTE: Instructor may
alter key to reflect what is easily seen on printed page.
Molar (right)
✓
front edge in middle
of lower 2nd premolar
✓
ALL molars visible
✓
third molar area
visible
Premolar (right)
✓
front edge in middle
of lower canine
✓
ALL premolars
visible
✓
vertical angulation
+10
Premolar (left)
✓
front edge in middle
of lower canine
✓
ALL premolars
visible
✓
vertical angulation
+10
Molar (left)
___ front edge in
middle of lower 2nd
premolar
___ ALL molars visible
___ third molar area
visible
Module 4: Technique Basics 8
TEACH Lesson Plan
IANNUCCI AND HOWERTON: Dental Radiography: Principles and Techniques, 5th Edition
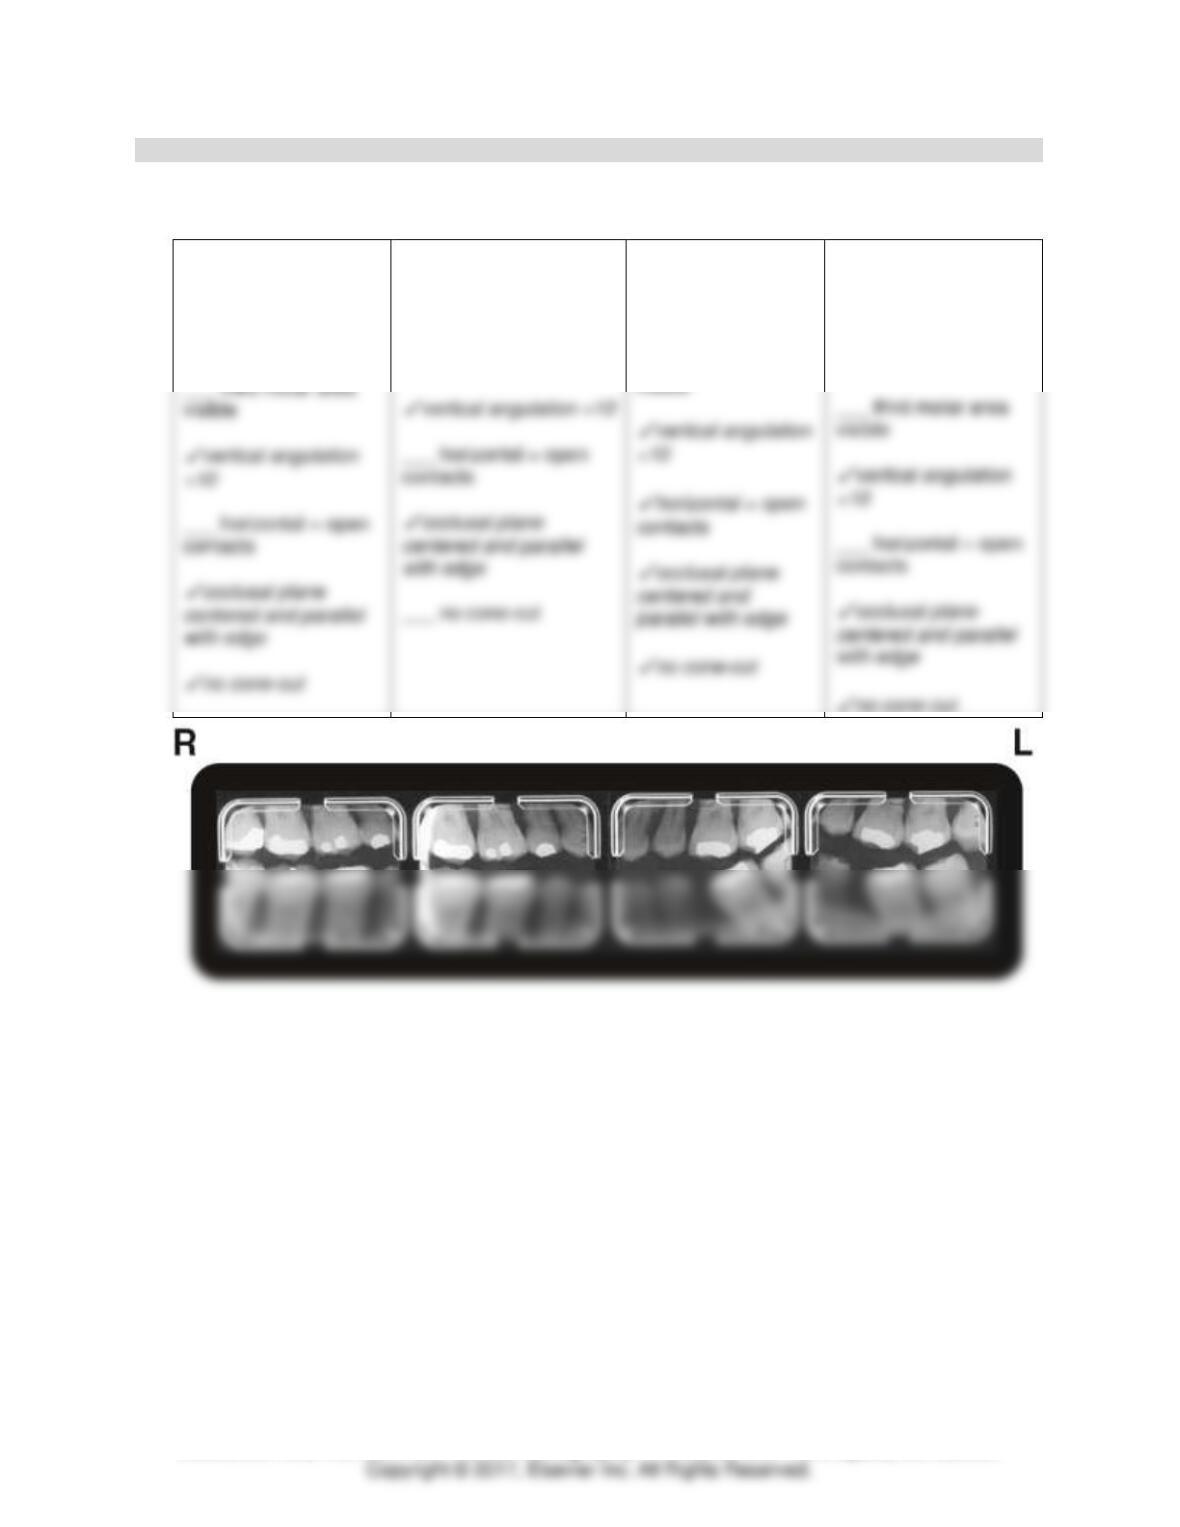
Bitewing Technique Assessment: Exercise 5
If possible, review Bite-wing Exercise 5 on the Evolve website for optimum viewing. NOTE: Instructor may
alter key to reflect what is easily seen on printed page.
NOTE: Patient is NOT biting in the following images: R premolar, R molar and L premolar.
Molar (right)
___ front edge in
middle of lower 2nd
premolar
___ ALL molars visible
Premolar (right)
✓
front edge in
middle of lower
canine
___ ALL premolars
visible
Premolar (left)
✓
front edge in middle
of lower canine
___ ALL premolars
visible
Molar (left)
___ front edge in
middle of lower 2nd
premolar
___ ALL molars visible
Module 4: Technique Basics 9
TEACH Lesson Plan
IANNUCCI AND HOWERTON: Dental Radiography: Principles and Techniques, 5th Edition
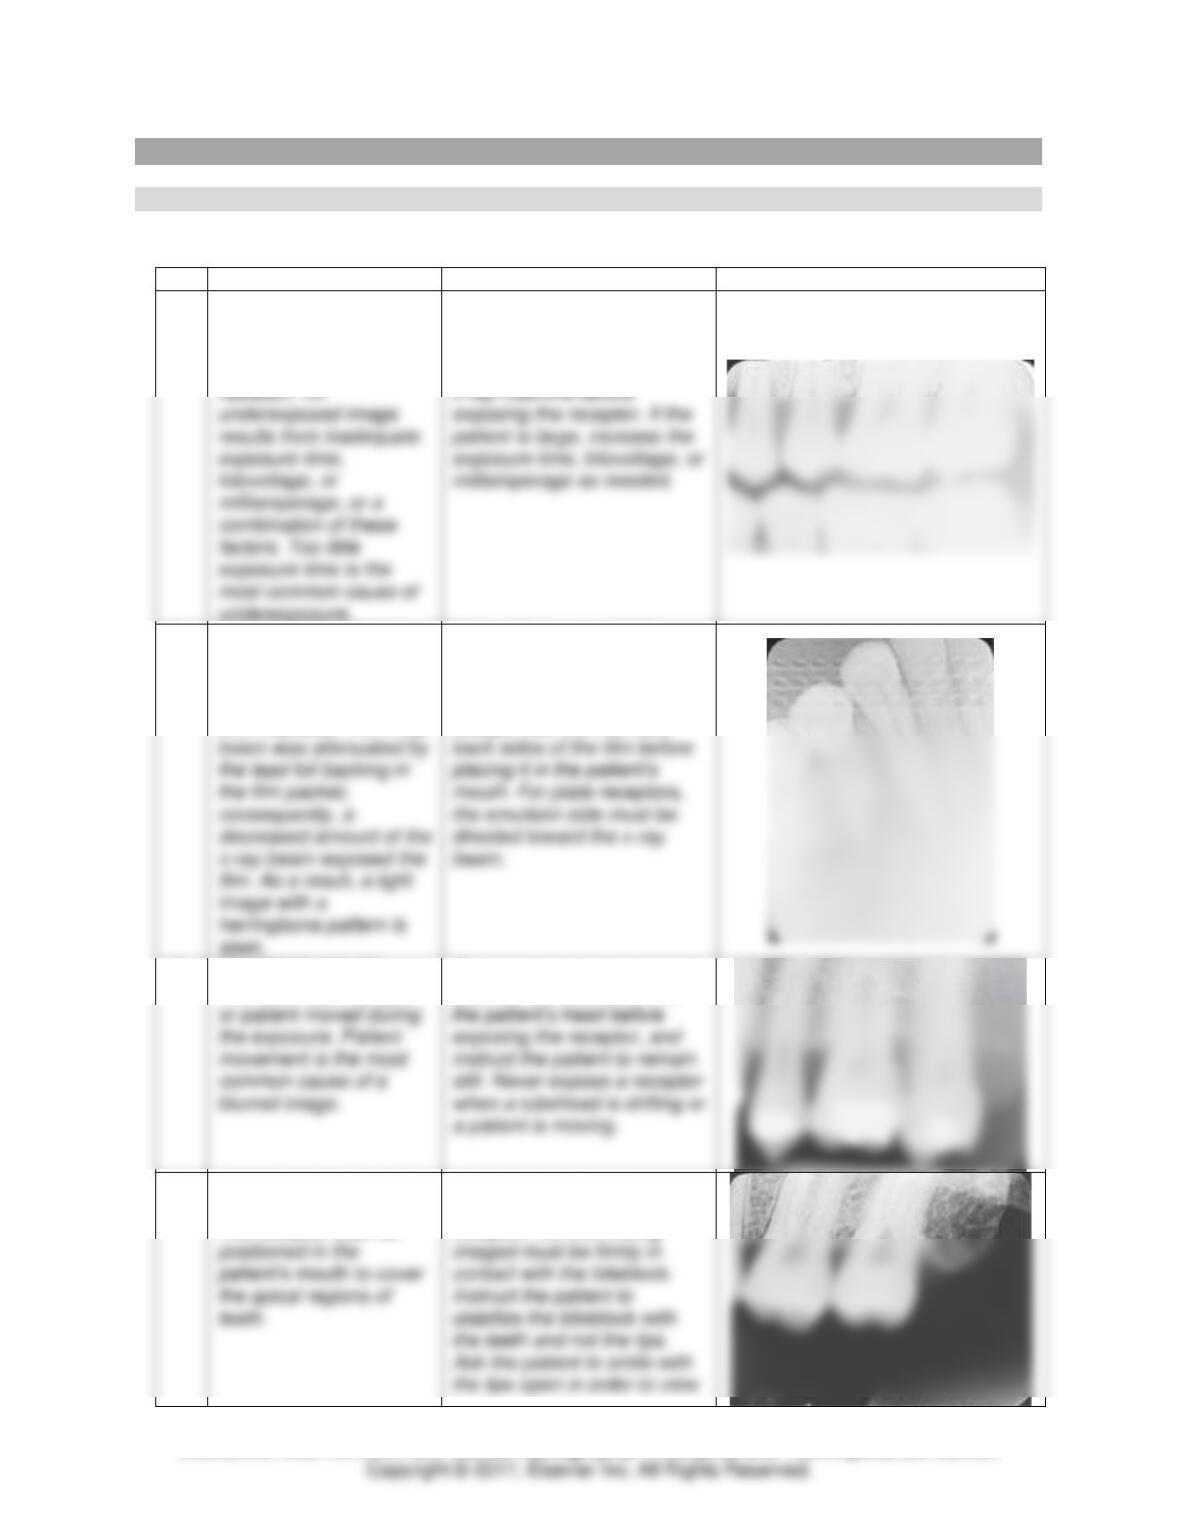
Bitewing Technique Assessment: Exercise 6
If possible, review Bite-wing Exercise 6 on the Evolve website for optimum viewing. NOTE: Instructor may
alter key to reflect what is easily seen on printed page.
Molar (right)
✓
front edge in middle
of lower 2nd premolar
___ ALL molars visible
Premolar (right)
___ front edge in middle
of lower canine
___ ALL premolars
visible
Premolar (left)
___ front edge in
middle of lower
canine
___ ALL premolars
Molar (left)
___ front edge in
middle of lower 2nd
premolar
___ ALL molars visible
Module 4: Technique Basics 10
TEACH Lesson Plan
IANNUCCI AND HOWERTON: Dental Radiography: Principles and Techniques, 5th Edition
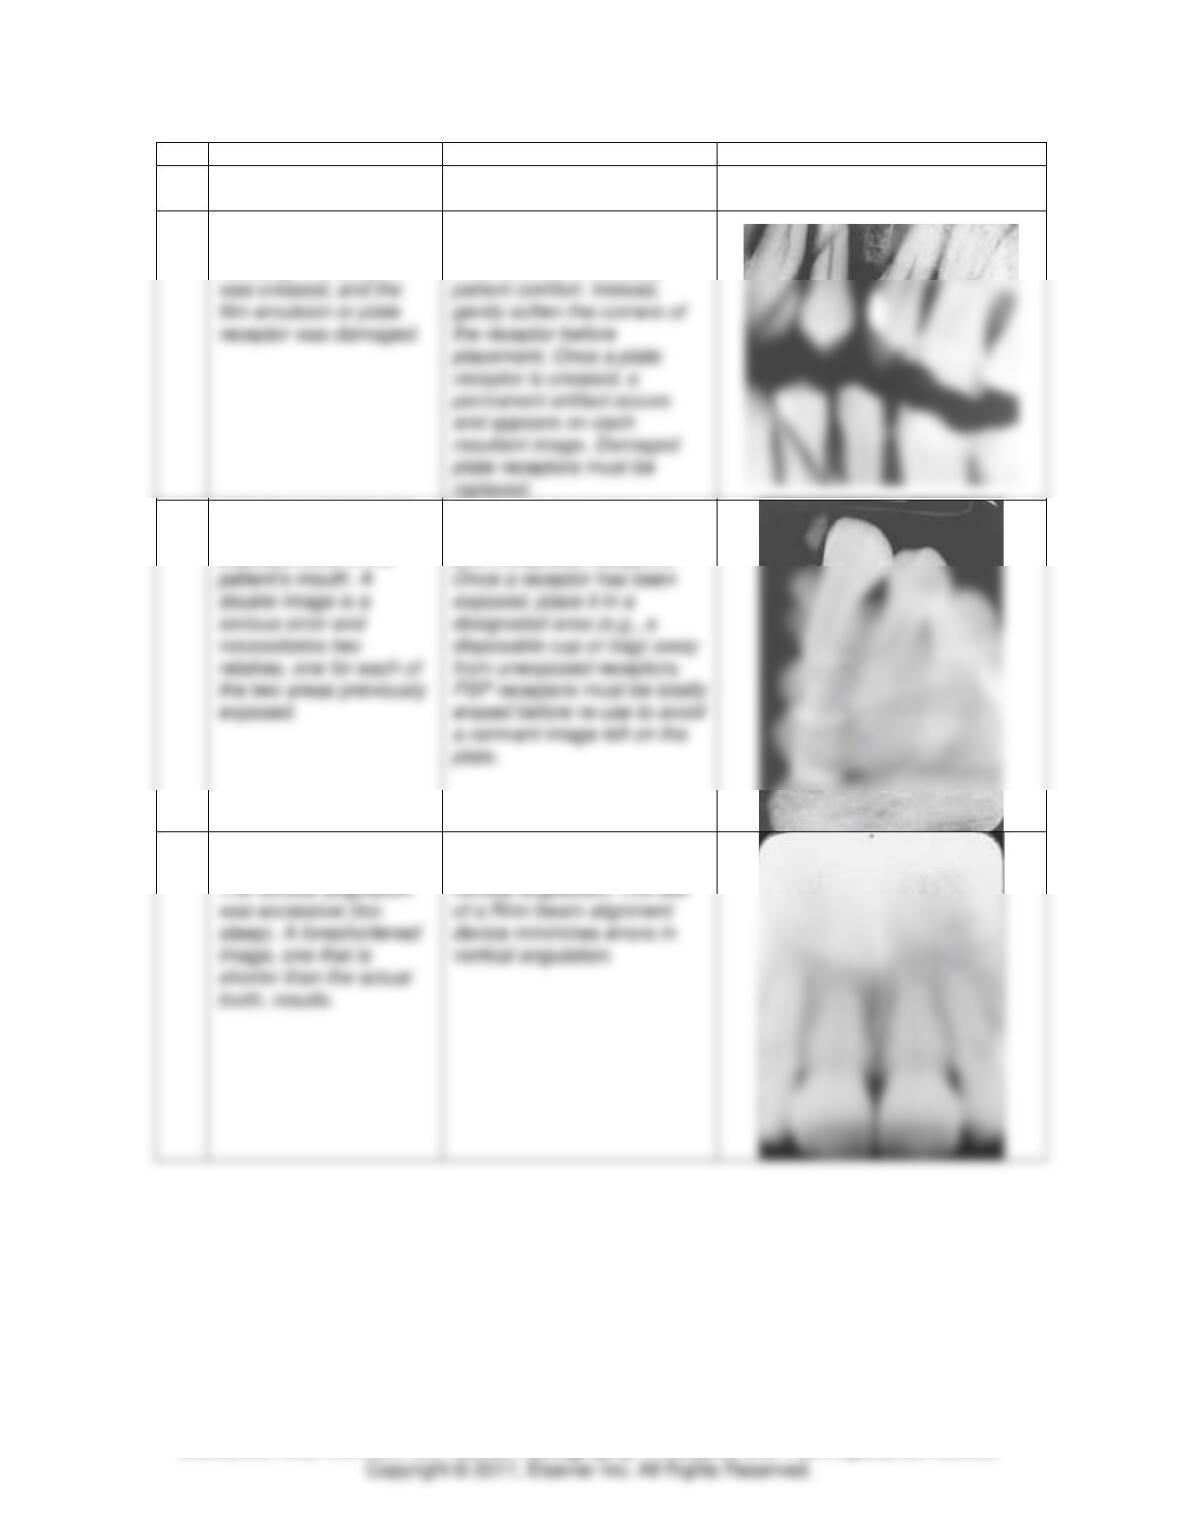
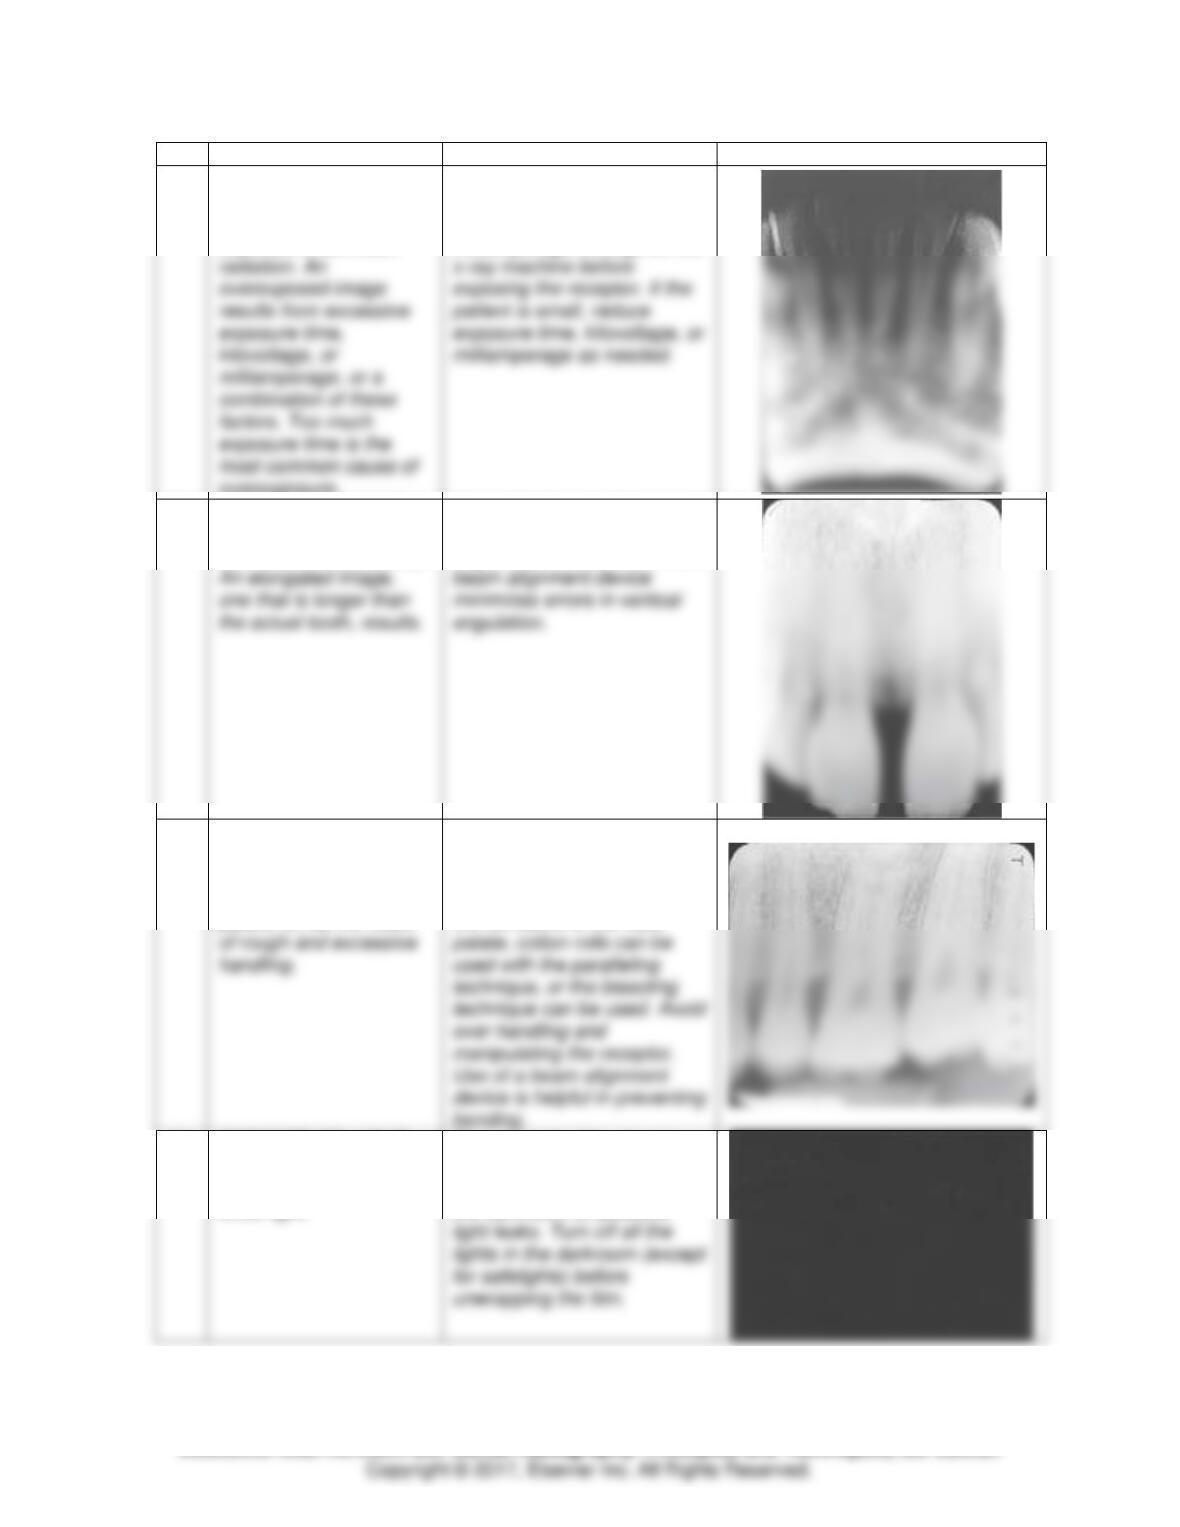
CHAPTER 20: EXPOSURE AND TECHNIQUE ERRORS
Short Answer
Explain the cause and correction for each of the exposure or technique errors in questions 1 to 12 below.
Cause
Correction
Exposure/Technique Error
1.
UNDEREXPOSED
IMAGE
The receptor was
exposed to too little
To prevent underexposure,
check the exposure time,
kilovoltage, and
milliamperage settings on the
2.
REVERSED IMAGE
With film, the receptor
was placed in the mouth
backward (reversed) and
then exposed. The x-ray
To avoid a reversed film,
always place the white side
of the packet adjacent to the
teeth (“white in sight”).
Always note the front and
3.
BLURRED IMAGE
The tubehead, receptor
To prevent movement errors,
stabilize the tubehead and
4.
ABSENCE OF APICAL
STRUCTURES
The receptor was not
To ensure that apical
structures appear on the
receptor, the teeth being
Module 4: Technique Basics 11
TEACH Lesson Plan
IANNUCCI AND HOWERTON: Dental Radiography: Principles and Techniques, 5th Edition
Cause
Correction
Exposure/Technique Error
the teeth in contact with
biteblock.
5.
CREASED RECEPTOR
During improper
handling, the receptor
To avoid creasing, do not
over manipulate the receptor
in an attempt to increase
6.
DOUBLE EXPOSURE
The same receptor was
exposed twice in the
To avoid a double image,
always separate exposed
and unexposed receptors.
7.
FORESHORTENED
IMAGE
To avoid foreshortened
images, do not use a steep
Module 4: Technique Basics 12
TEACH Lesson Plan
IANNUCCI AND HOWERTON: Dental Radiography: Principles and Techniques, 5th Edition
Cause
Correction
Exposure/Technique Error
8.
OVEREXPOSED
IMAGE
The receptor was
exposed to too much
overexposure.
To prevent overexposure,
check the exposure time,
kilovoltage, and
milliamperage settings on the
9.
ELONGATED IMAGE
The vertical angulation
was insufficient (too flat).
To avoid elongated images,
do not use a flat vertical
angulation. The use of a Rinn
10.
BENT IMAGE
A receptor may be bent
because of the curvature
of the patient’s hard
palate, or, as the result
To avoid bending, always
check receptor placement
before exposure. If the
receptor is bent because of
the curvature of the hard
11.
EXPOSED TO LIGHT
The film was
accidentally exposed to
white light.
To protect the film, do not
unwrap the film packet in a
room with white light. Check
the darkroom for possible