Database Storage & Design Appendix B Appendix Getting Started With Oracle Database Will First Import The Table Then

subject Type Homework Help
subject Pages 9
subject Words 1867
subject Authors David Auer, David M. Kroenke, Robert Yoder, Scott L. Vandenberg

Unlock document.

This document is partially blurred.
Unlock all pages and 1 million more documents.
Get Access
page-pf1
Appendix B - Getting Started with Oracle Database XE
We will first import the table then create foreign keys in the new table linking it to COMPUTER
and to EMPLOYEE. We will use the following column characteristics, which reflect Access data
types and are copied from Figure A-65:
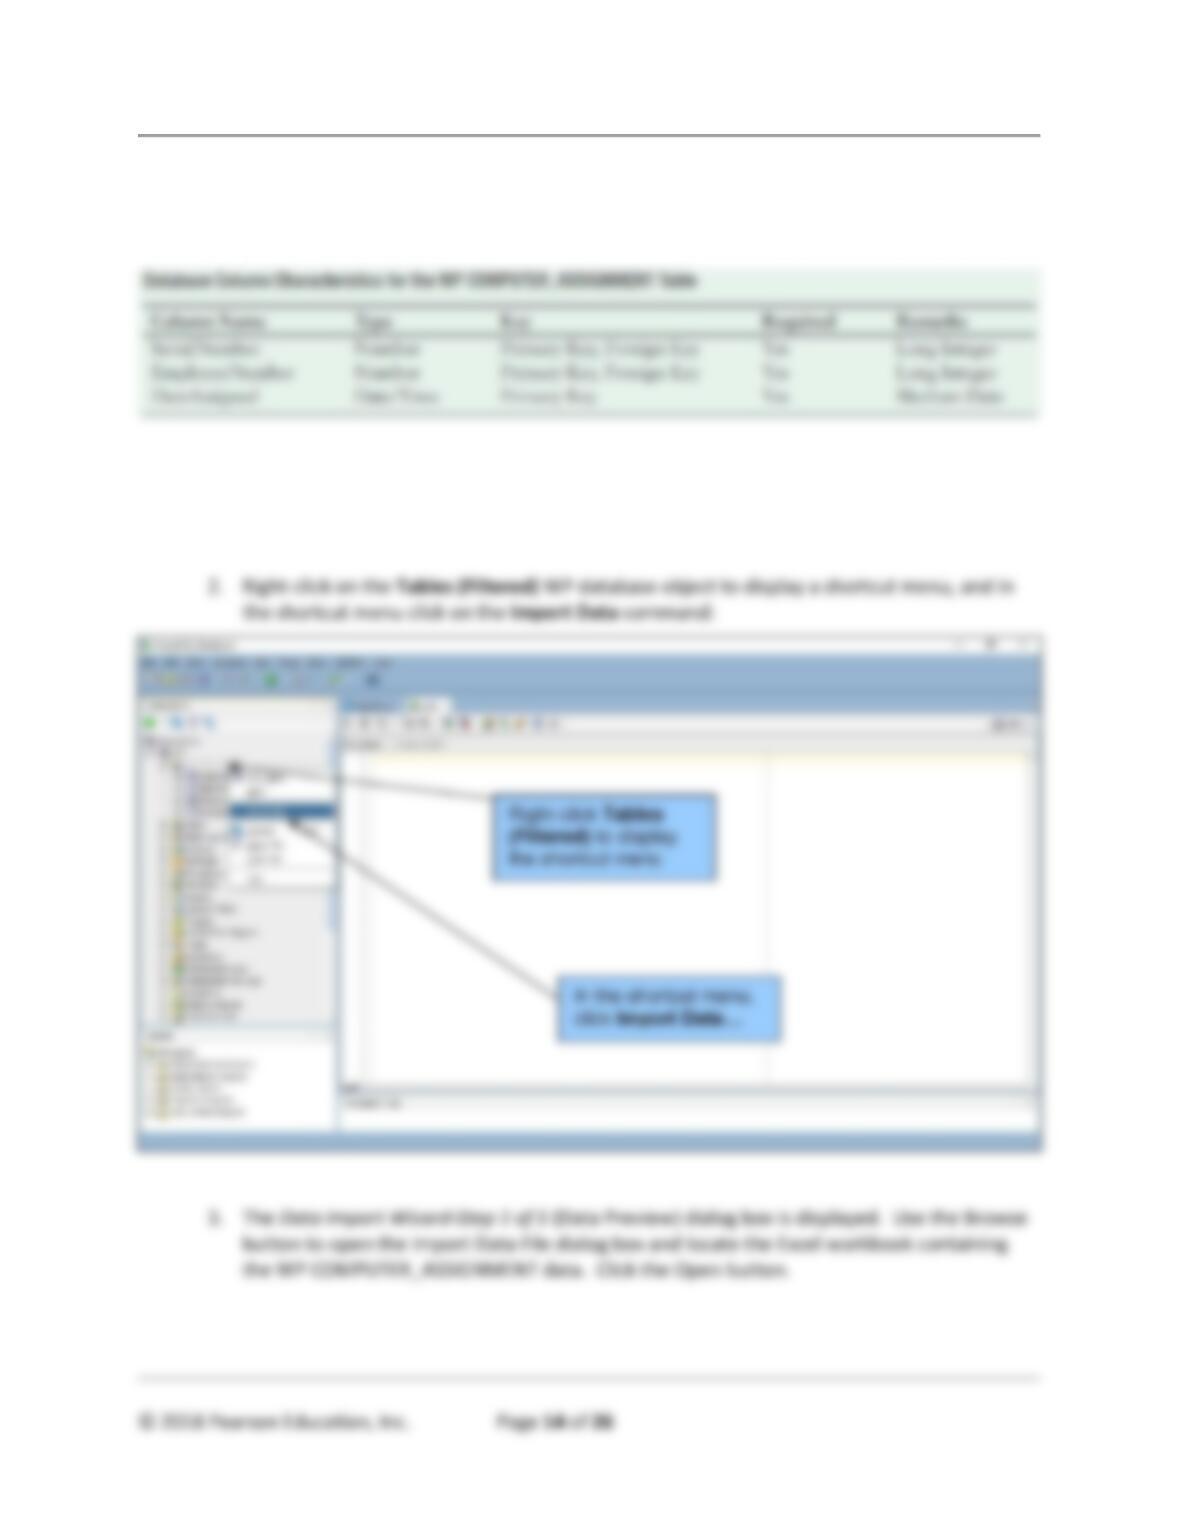
To Import the COMPUTER_ASSIGNMENT table:
1. In Oracle SQL Developer, expand the WP Database.
page-pf2
Appendix B - Getting Started with Oracle Database XE
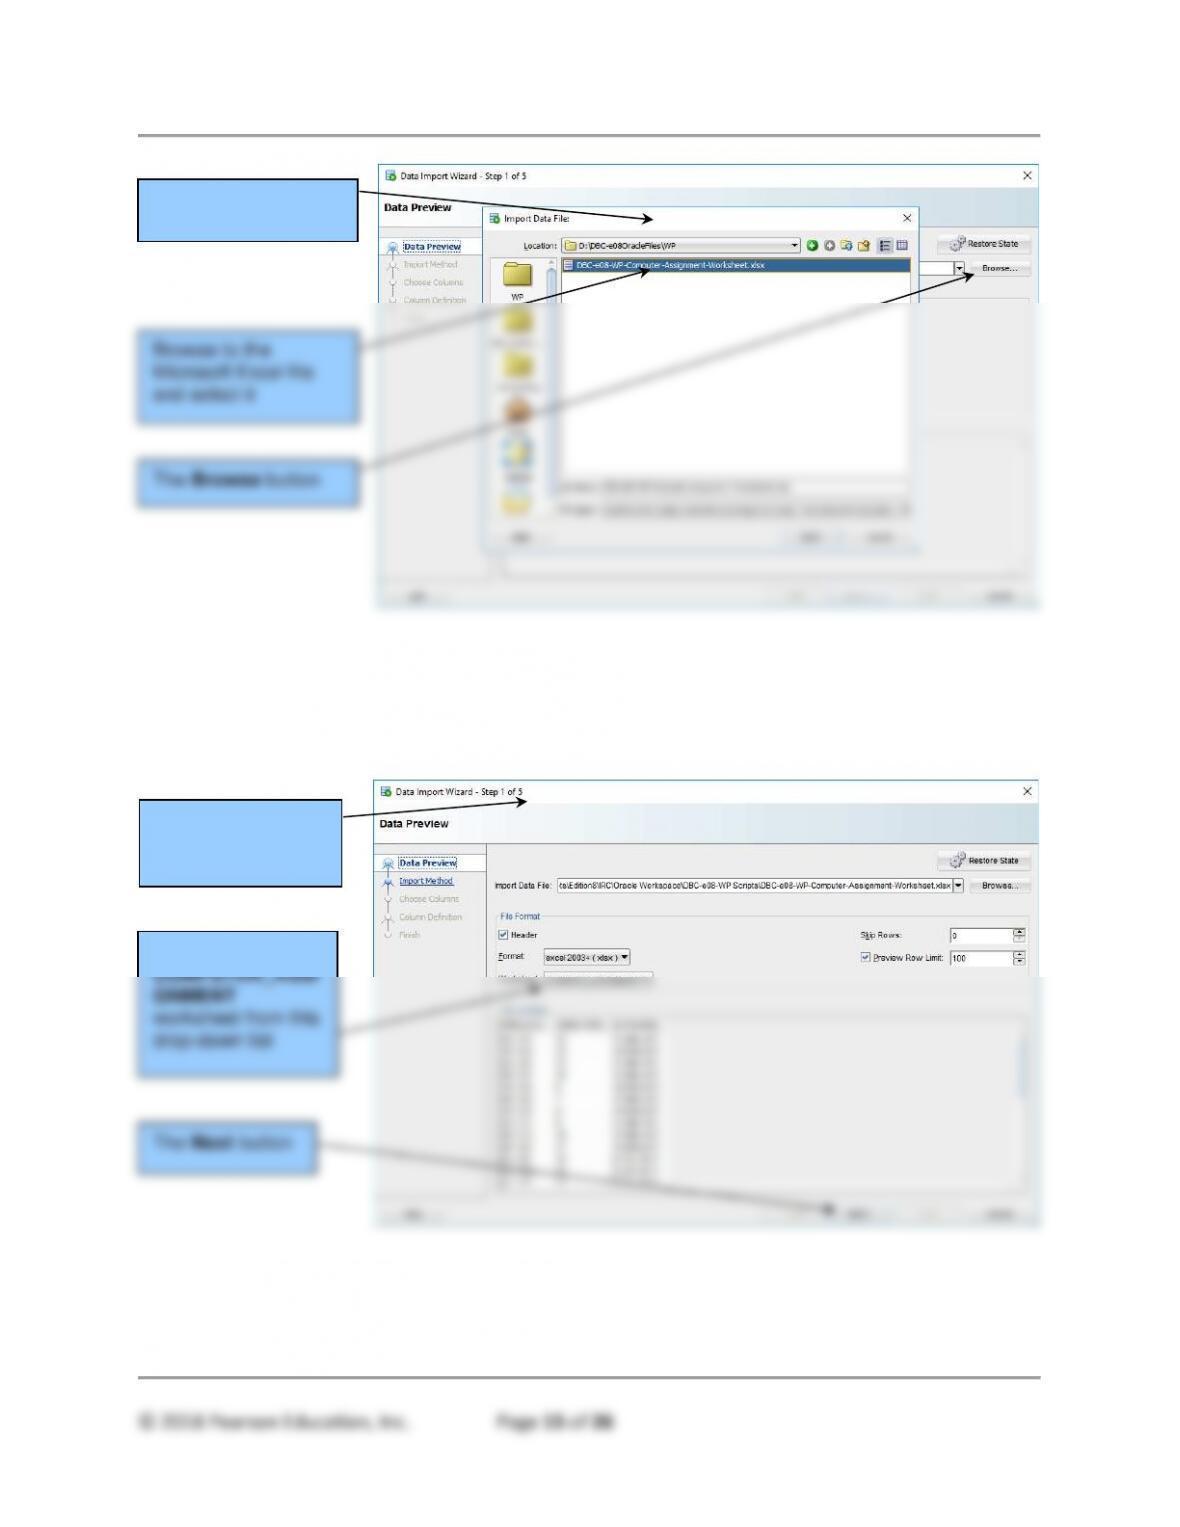
4.
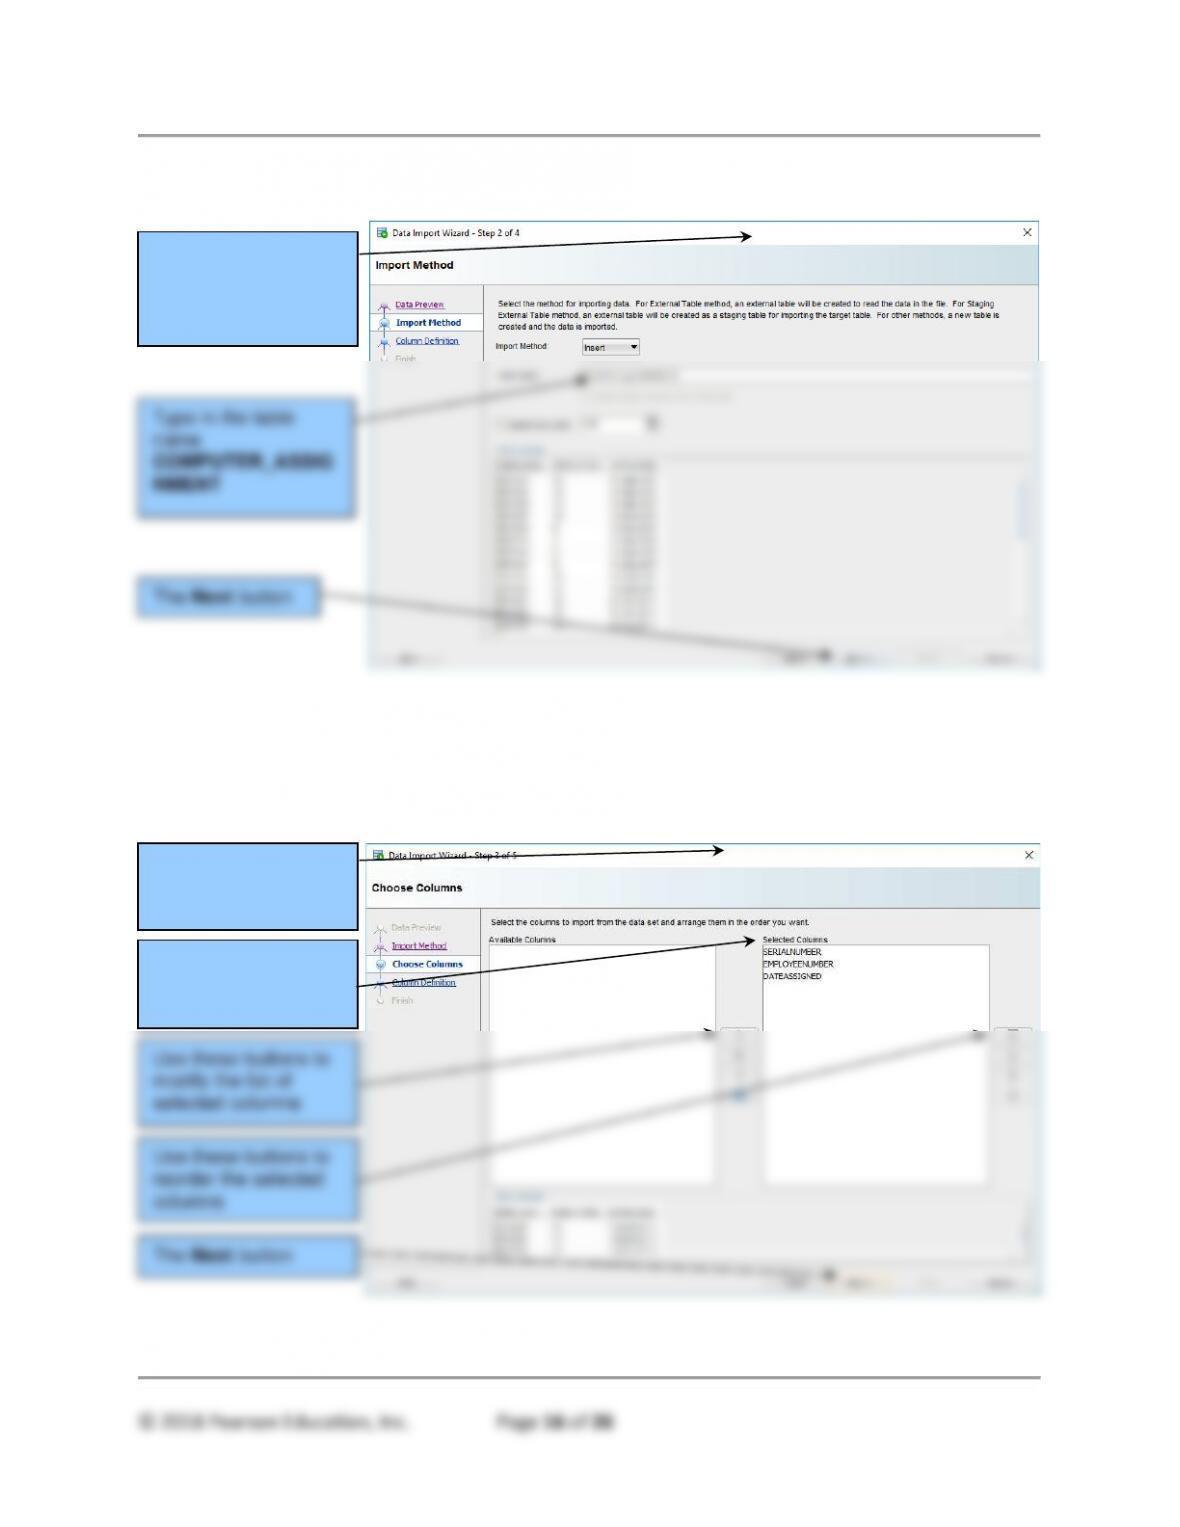
4. The Data Preview dialog box is redisplayed, this time with information from the Excel
workbook. Select the COMPUTER_ASSIGNMENT worksheet from the Worksheet drop-down
list as shown below. Also, make sure the Header checkbox is checked and that the Excel
2003+ (xlsx) format is selected from the Format drop-down list.
5. Click the Next button as shown above. The Data Import Wizard Step 2 of 5 (Import
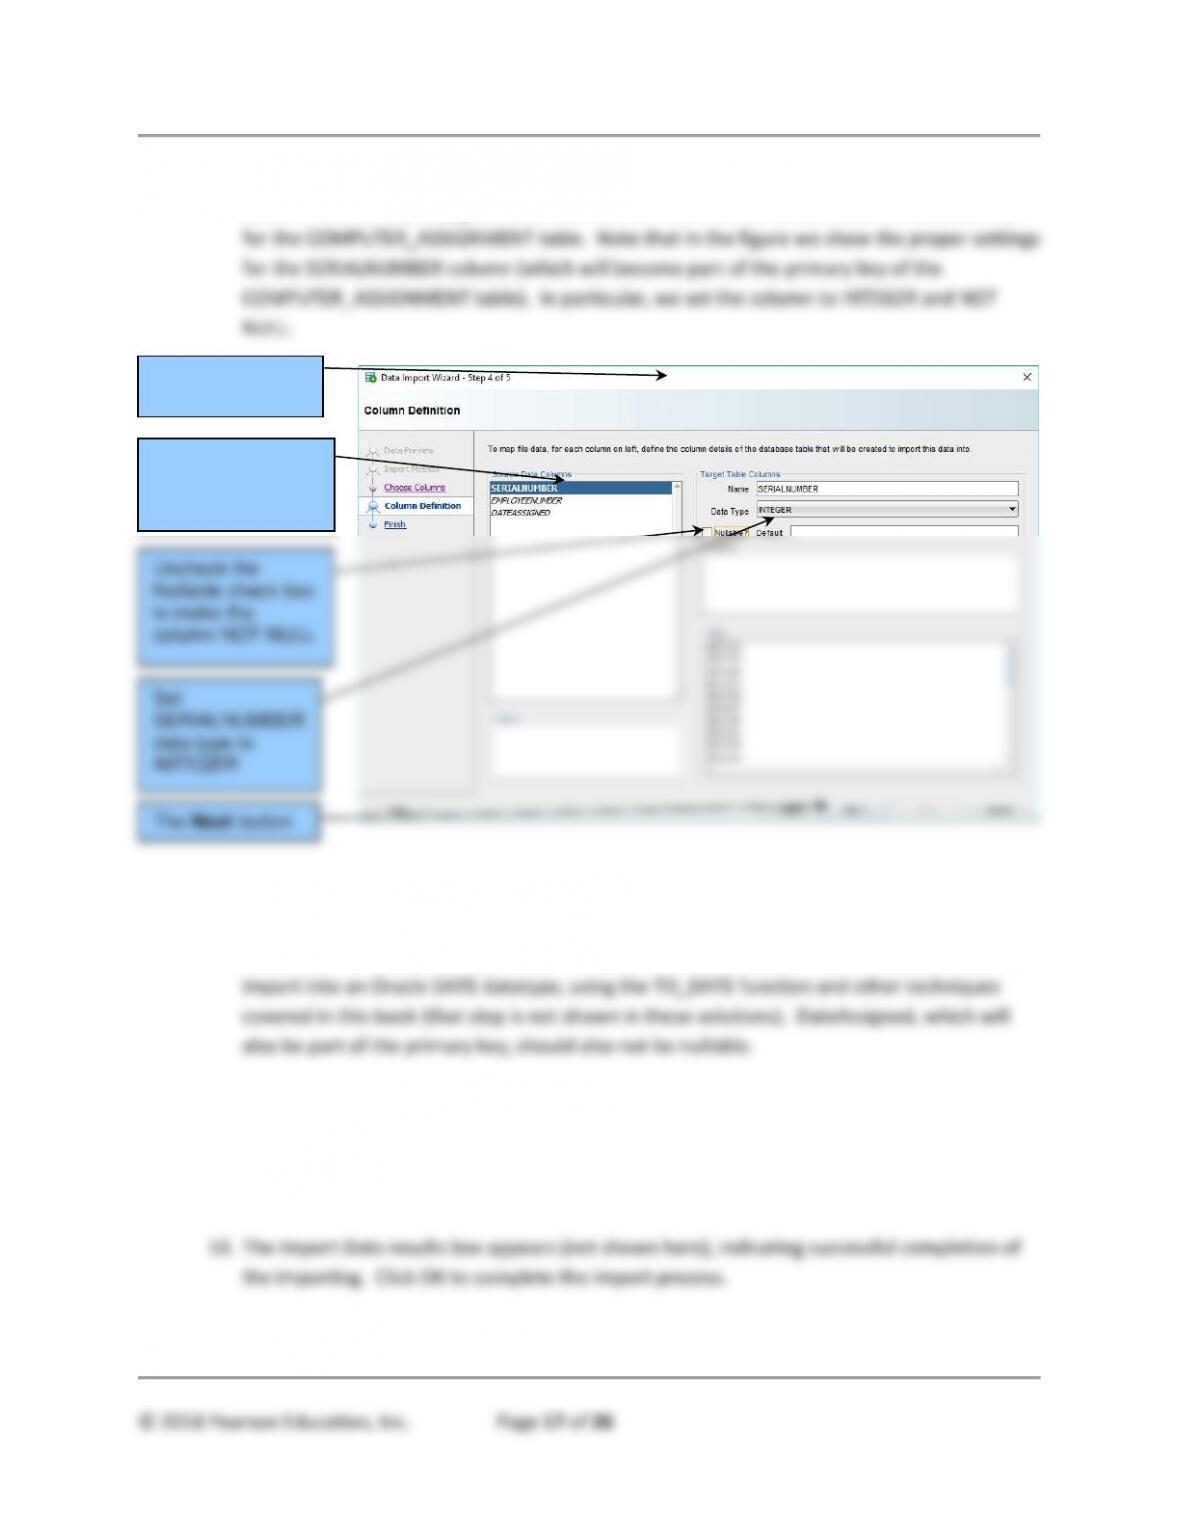
Method) dialog box is displayed (and mislabeled as Step 2 of 4). Type in the Table Name
COMPUTER_ASSIGNMENT and leave the rest of the settings as they are:
The Import Data File
dialog box
Data Import
Wizard Step 1 of
5 dialog box
The Next button
Select the
COMPUTER_ASSI
GNMENT
worksheet from this
drop-down list
page-pf3
Appendix B - Getting Started with Oracle Database XE
6. Click the Next button as shown above. The Data Import Wizard Step 3 of 5 (Choose
Columns) dialog box is displayed as shown below. This step allows us to choose which
spreadsheet columns to import. Note that all are currently selected, and that is what we
want, so no changes are made.
Data Import Wizard
Step 2 of 5 dialog
box (note the mislabel
“2 of 4”)
Type in the table
name
COMPUTER_ASSIG
NMENT
Data Import Wizard
Step 3 of 5 dialog
box
All columns in the
worksheet are
selected by default
The Next button
Use these buttons to
modify the list of
selected columns
Use these buttons to
reorder the selected
columns
page-pf4
Appendix B - Getting Started with Oracle Database XE
7. Click the Next button as shown above to display the Data Import Wizard Step 4 of 5
(Column Definition) dialog box as shown below. Here we can select column characteristics
8. Complete the specifications for the EmployeeNumber and DateAssigned columns as follows:
EmployeeNumber, like SerialNumber, should be type INTEGER and not nullable.
DateAssigned should be imported as VARCHAR2(11). If desired, it can be transformed after
9. The Data Import Wizard Step 5 of 5 (Finish) dialog box is displayed (not shown here). This
window allows you to examine the choices made during the import dialogs and to save the
settings to a file for future use (perhaps with another, similar table or spreadsheet). Click
the Finish button.
page-pf5
Appendix B - Getting Started with Oracle Database XE
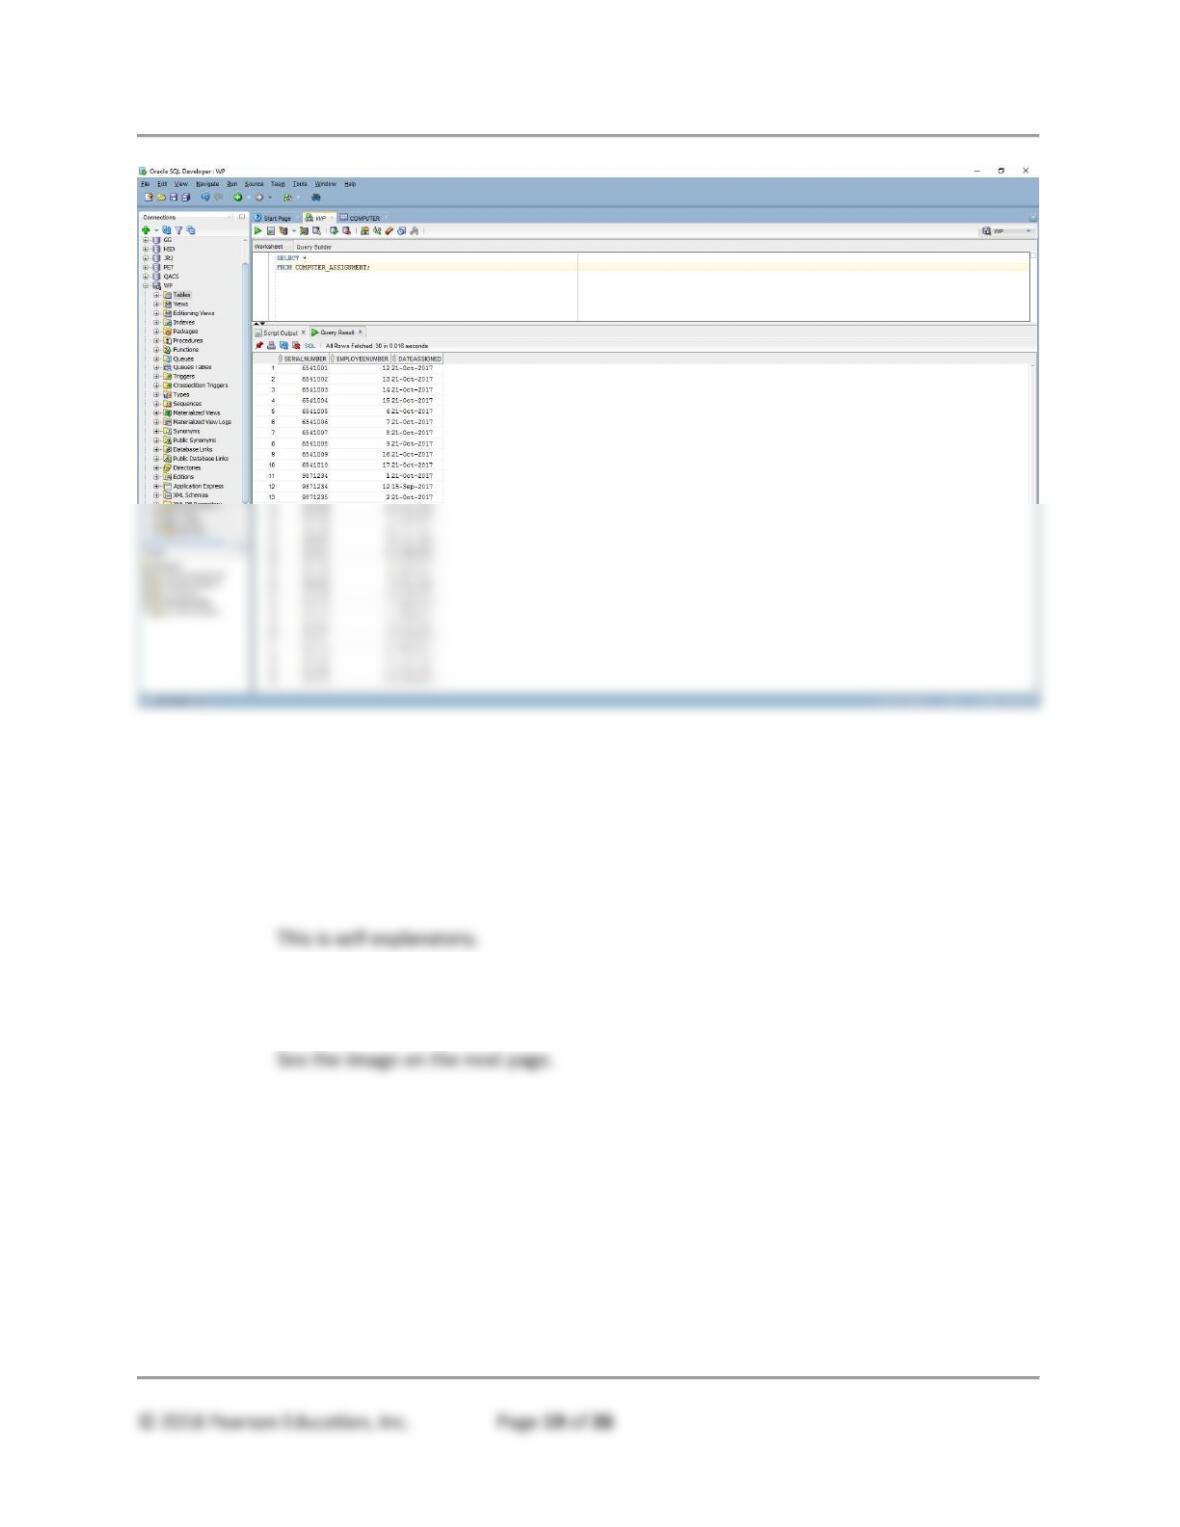
11. In the WP SQL Worksheet window, type and run the following SQL query to verify the
proper importing of the COMPUTER_ASSIGNMENT data:
12. Next we need to create the foreign keys using SQL ALTER TABLE statements. Note that we
link to both the EMPLOYEE table using EmployeeNumber and to the COMPUTER table using
SerialNumber. What referential integrity constraints should we use? For EMPLOYEE,
EmployeeNumber is a surrogate key and is never updated. Further, WP never drops
employee records because of record keeping requirements. Therefore, we will never
cascade updates or deletes for this primary key. FOR COMPUTER, SerialNumber never
changes. However, when we remove a computer from the WP computer inventory, we do
not need to keep historical records of having had that computer. Therefore, while we do not
cascade updates, we will cascade deletions for this primary key. The SQL for this is covered
in Appendix E in more detail:
13. The one remaining task for the COMPUTER_ASSIGNMENT table is to set the primary key.
The ALTER TABLE syntax for accomplishing this will be covered in Appendix E, but here is the
solution:
14. We can verify correct importing by running an SQL query, whose results are shown below:
page-pf6
Appendix B - Getting Started with Oracle Database XE
© 2018 Pearson Education, Inc. Page 19 of 26
B.30 Create a Microsoft Access 2016 database named WPIS_CO.accdb where CO stands
for “computer-only.” This database will be an application for the Oracle Database XE WP
database which will allow users to read, query, and alter the data in the WP database
COMPUTER table but will provide no access to other WP database tables. Once you
have created the database:
1. If you have not completed exercise B.28, do so now.
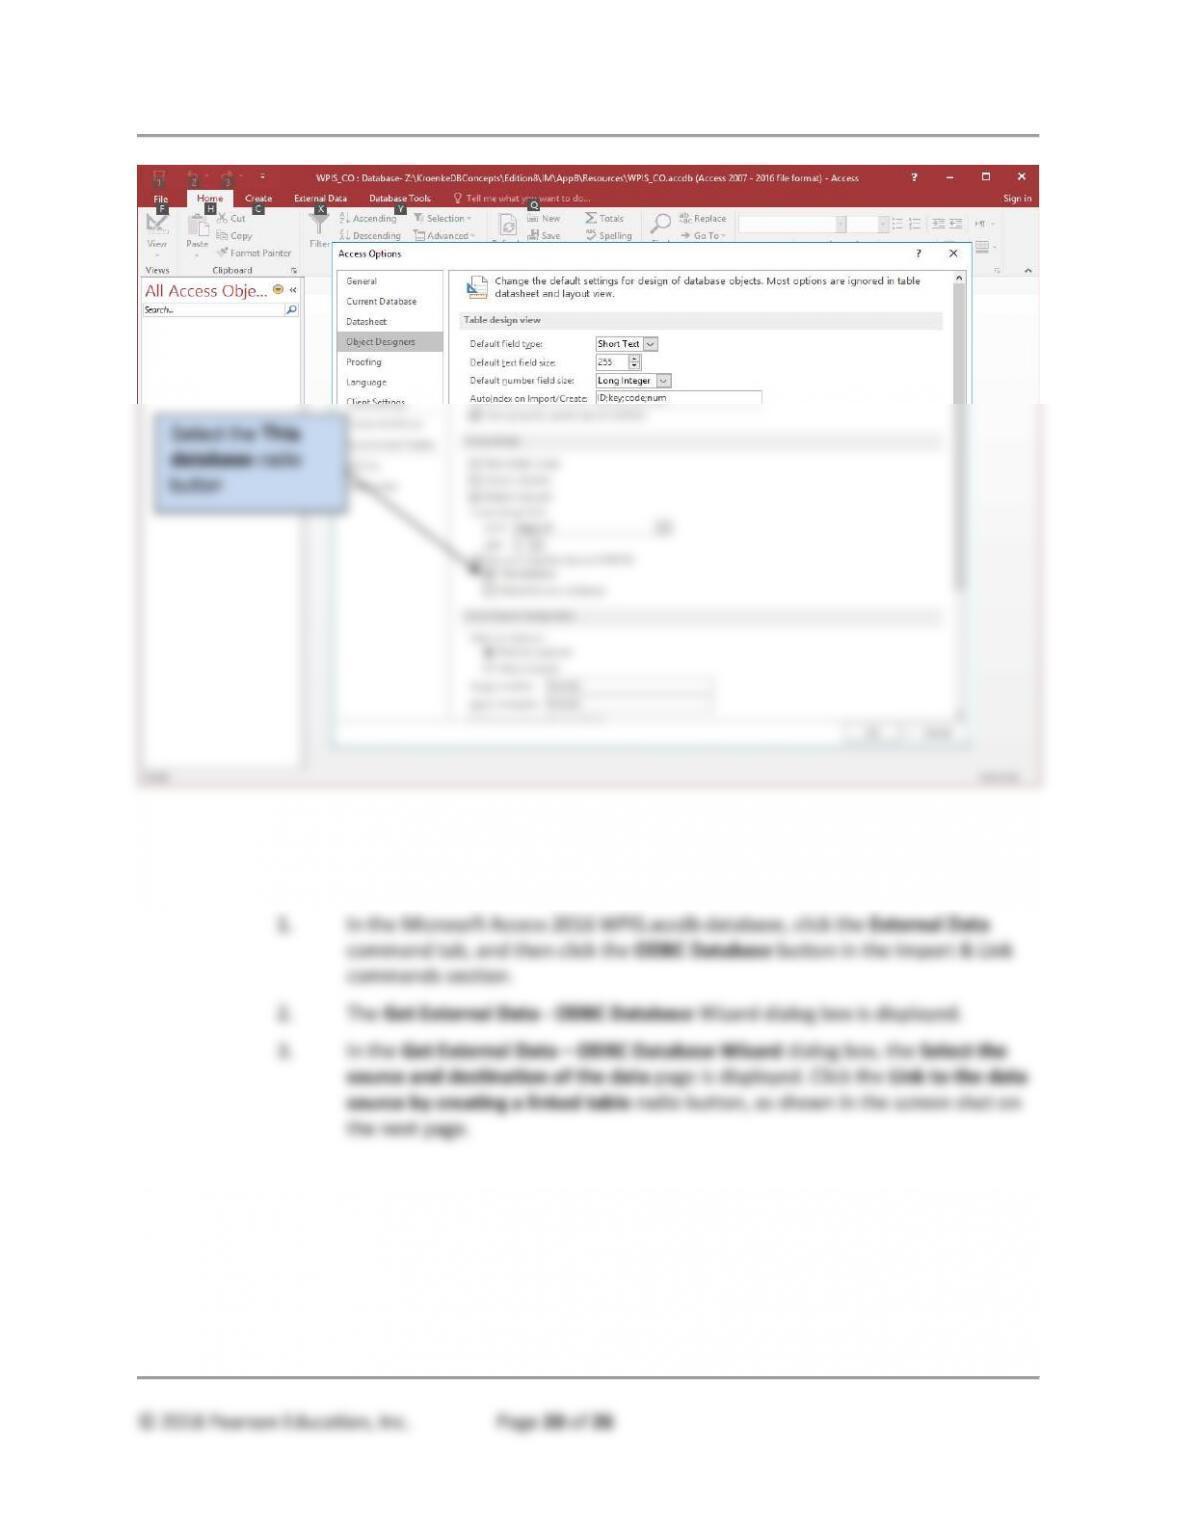
2. Set the WPIS_CO.accdb database to use SQL Server Compatible Syntax
(ANSI 92).
page-pf7
Appendix B - Getting Started with Oracle Database XE
3. Link the WPIS_CO.accdb database to the Oracle Database XE WP database
using ODBC. When you create your File Data Source DSN, name it WPCO, and
use the same WP_USER account for Oracle Database XE authentication.
Select the This
database radio
button
page-pf8
Appendix B - Getting Started with Oracle Database XE
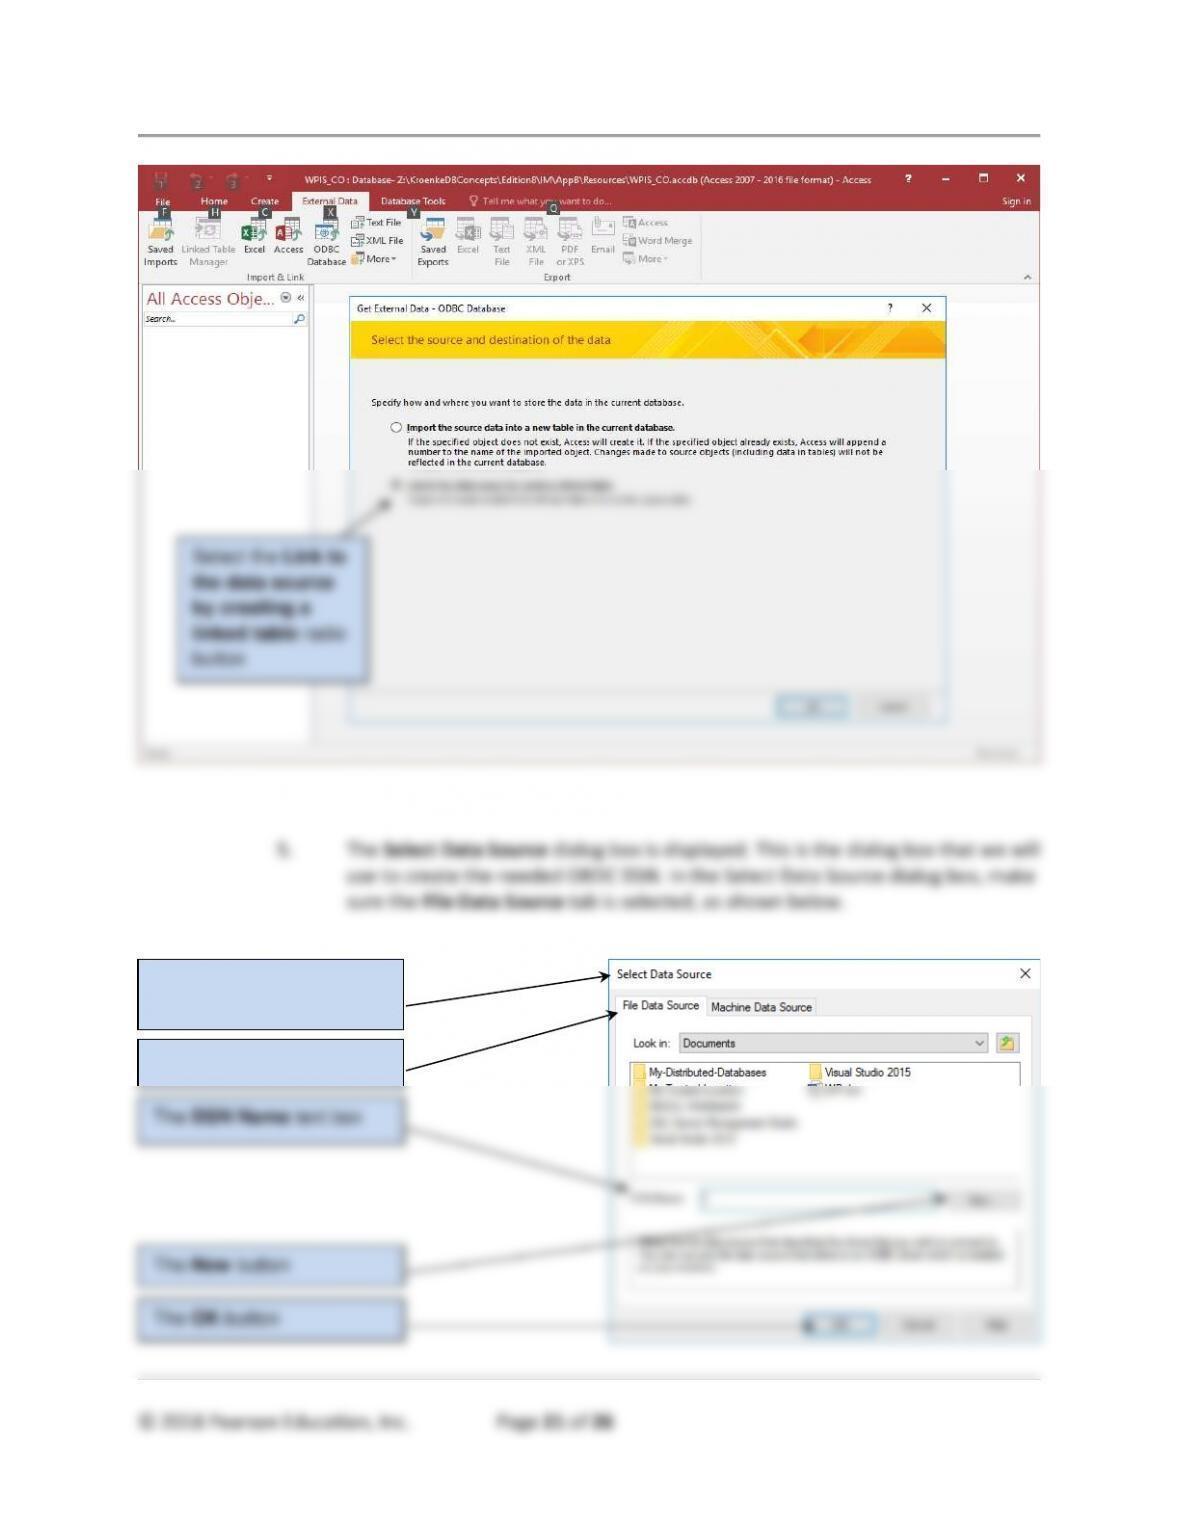
4. Click the OK button.
Select the Link to
the data source
by creating a
linked table radio
button
page-pf9
Appendix B - Getting Started with Oracle Database XE
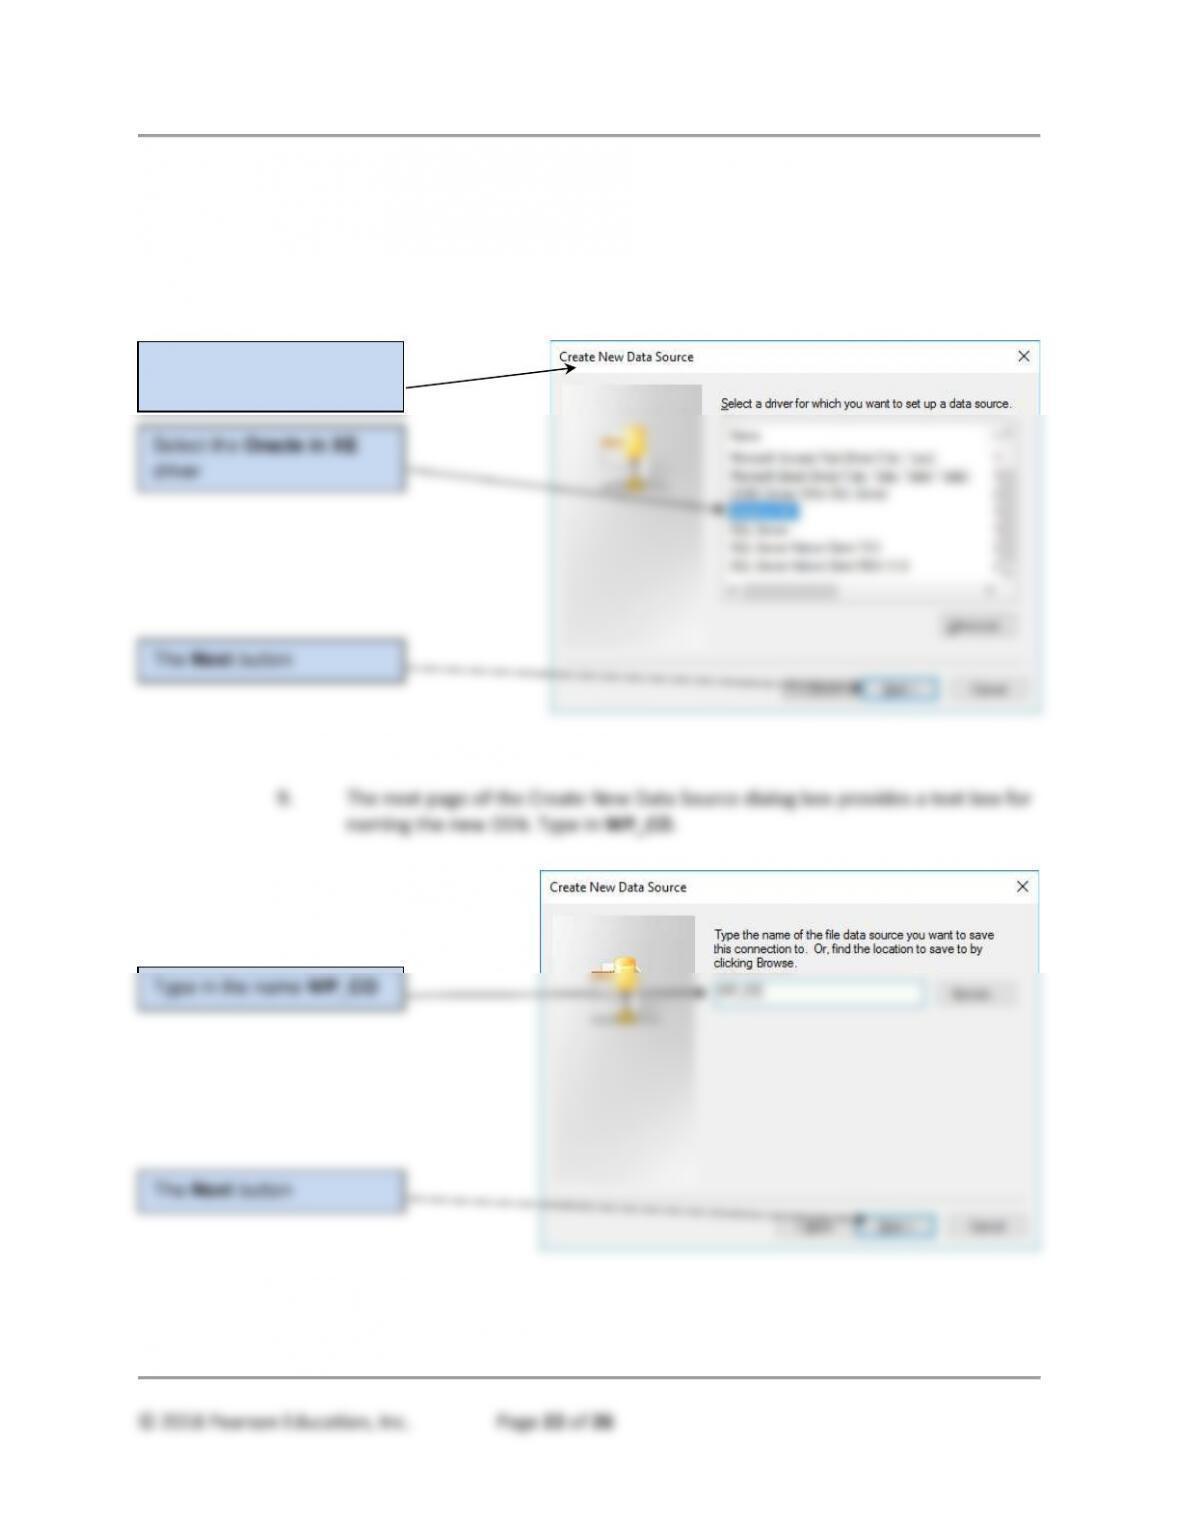
6. Click the New button to display the Create New Data Source dialog box.
7. In the Create New Data Source dialog box, scroll down through the list of drivers
until you can see the driver named Oracle in XE. Click this driver name to select
it.
8. Click the Next button.
10. Click the Next button.
The Create New Data
Source dialog box
The Next button
Select the Oracle in XE
driver
page-pfa
Appendix B - Getting Started with Oracle Database XE
11. The next page of the Create New Data Source dialog box provides a summary of
the settings that will be used to create the new DSN.
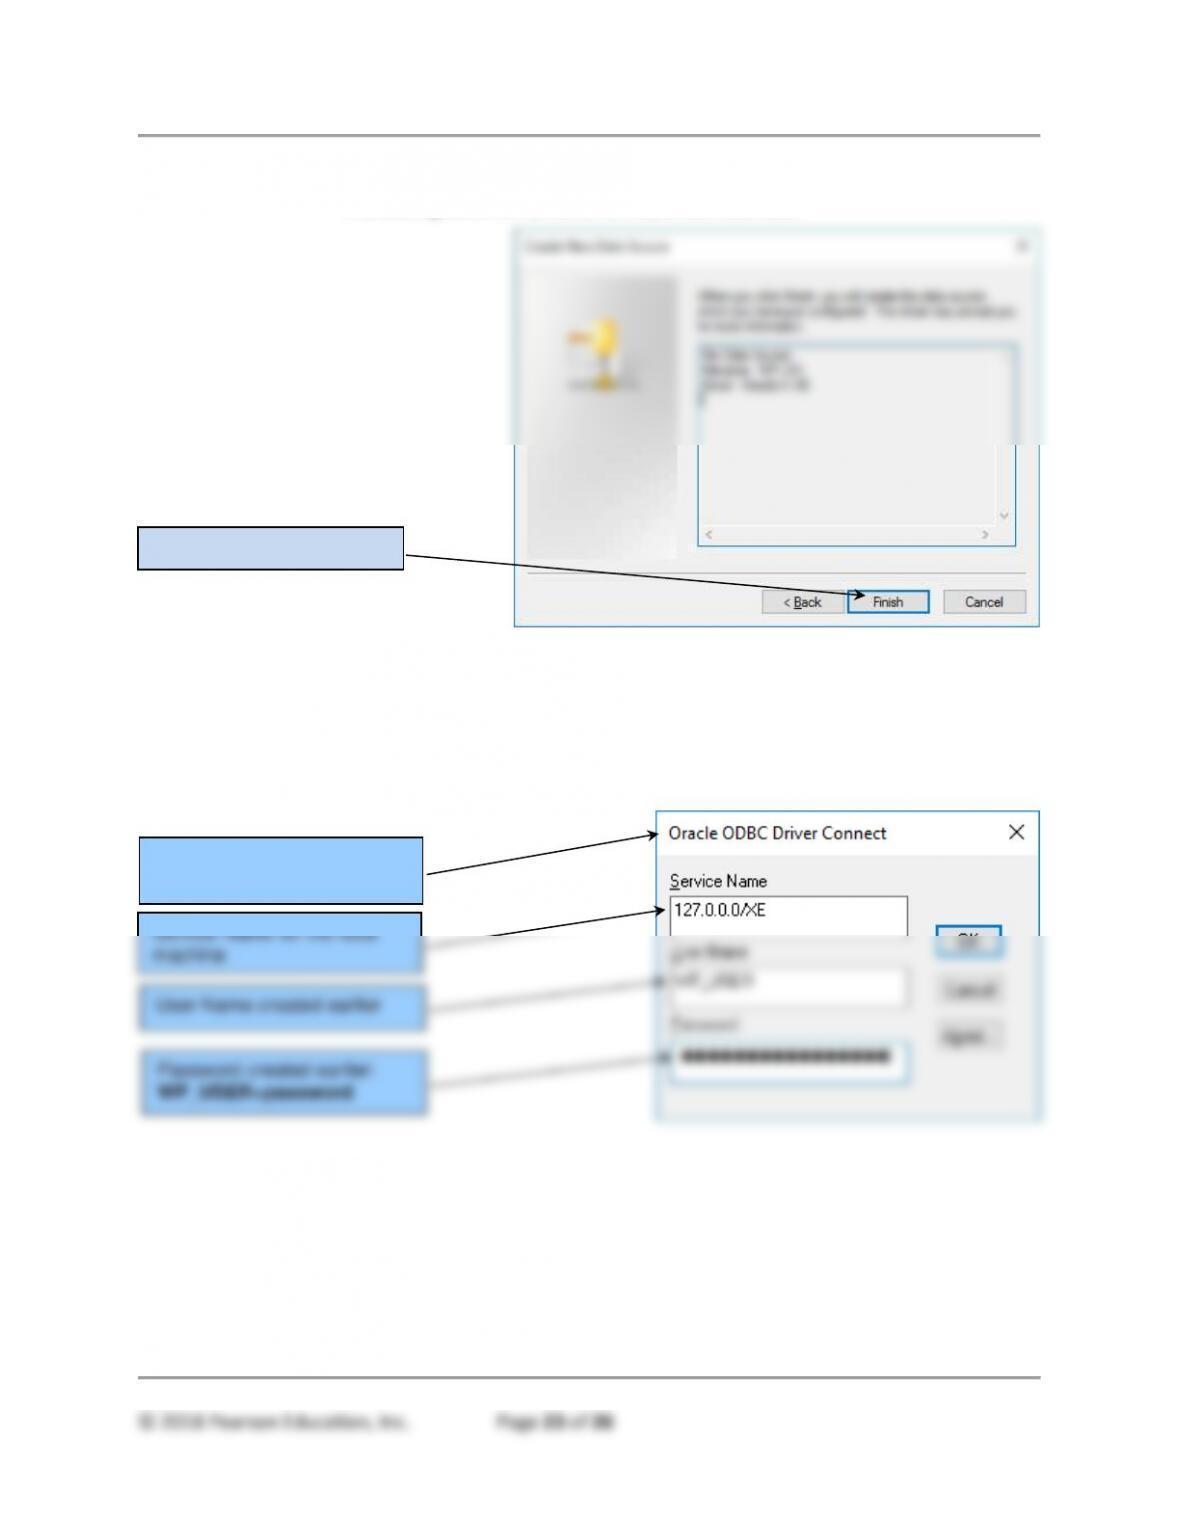
10. Click the Finish button.
11. The Oracle ODBC Driver Connect dialog box is displayed, as shown below. Enter
the Service Name, User Name, and Password as shown in the figure (the User
Name and Password were created earlier in this appendix). Click the OK button.
12. The WP DSN file data source is created and displayed in the Select Data Source
dialog box as shown on the next page. Now that the DSN is completed, we can
finish linking the Microsoft Access 2016 database to the Oracle Database XE
database.
The Finish button
The Oracle ODBC Driver
Connect Dialog Box
Service Name for the local
machine
User Name created earlier
Password created earlier:
WP_USER+password
page-pfb
Appendix B - Getting Started with Oracle Database XE
© 2018 Pearson Education, Inc. Page 24 of 26
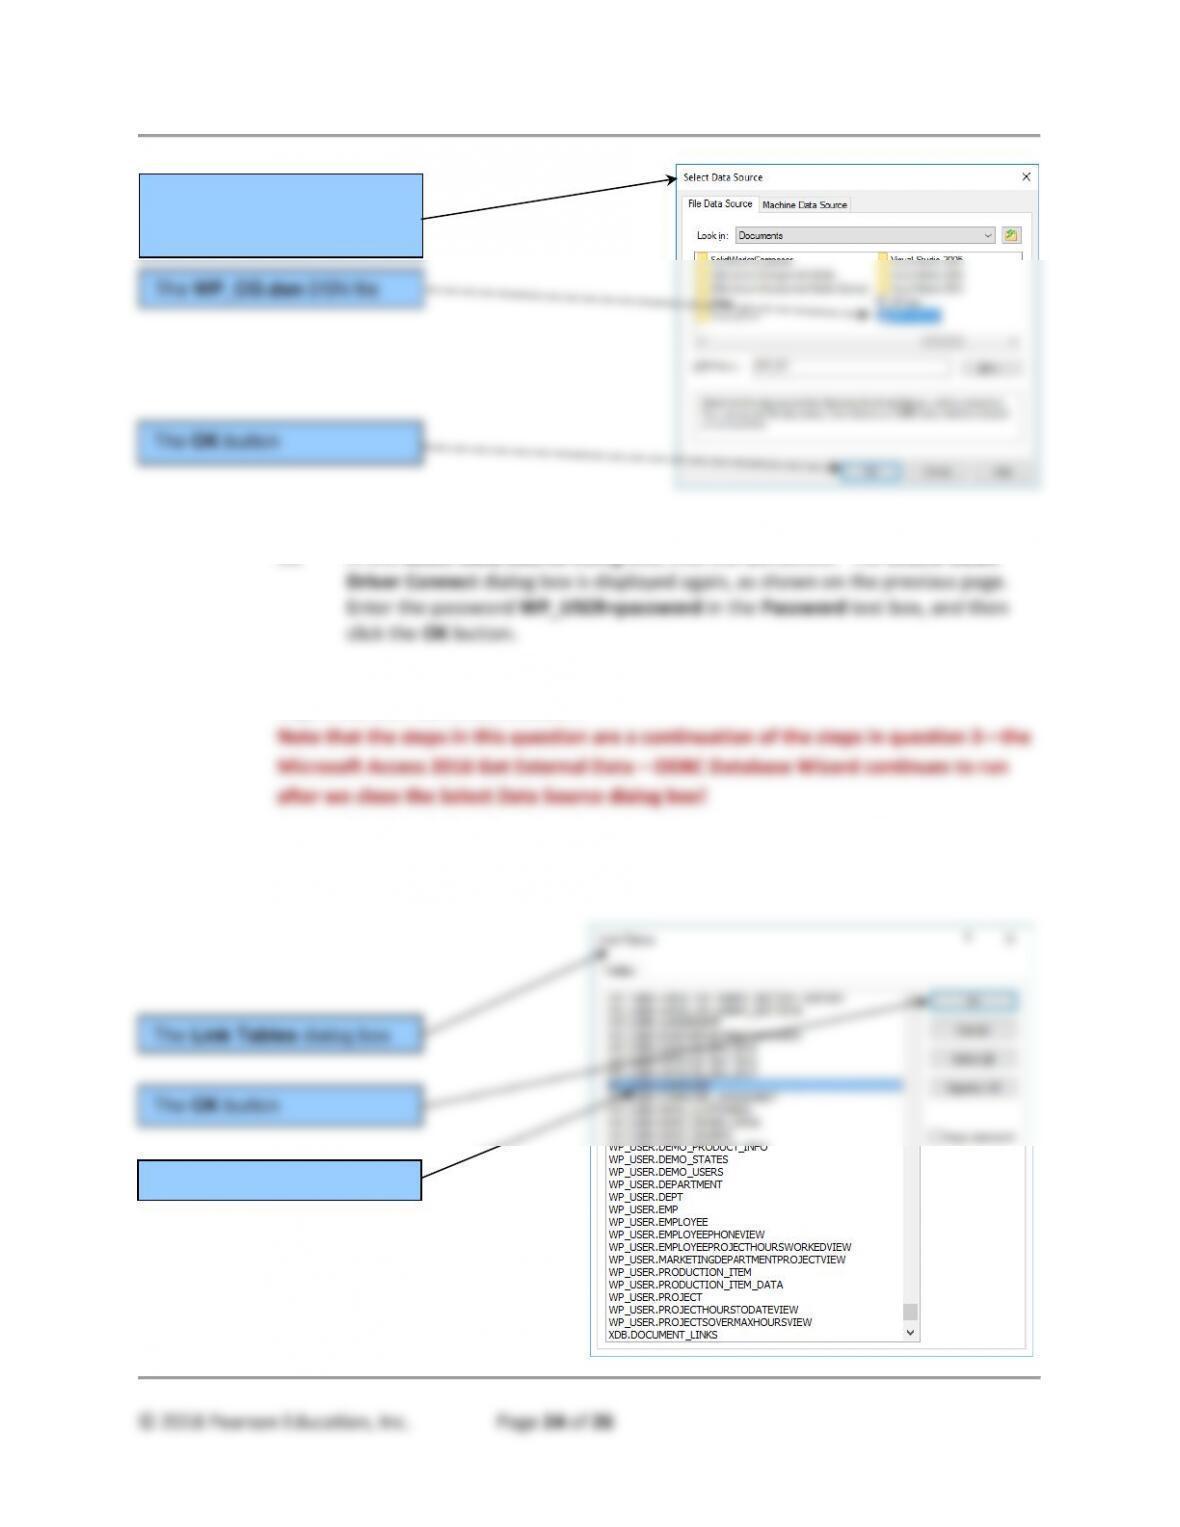
13. In the Select Data Source dialog box, click the OK button. The Oracle ODBC
4. Import the COMPUTER table. You may be asked by Access to specify a primary
key; if so, use SERIALNUMBER.
1. The Link Tables dialog box is displayed, as shown below. Scroll down until you
find the WP_USER.COMPUTER table. To select this table, click on it.
The Select Data Source
Dialog Box
The WP_CO.dsn DSN file
The OK button
The Link Tables dialog box
The OK button
The selected table
page-pfc
Appendix B - Getting Started with Oracle Database XE
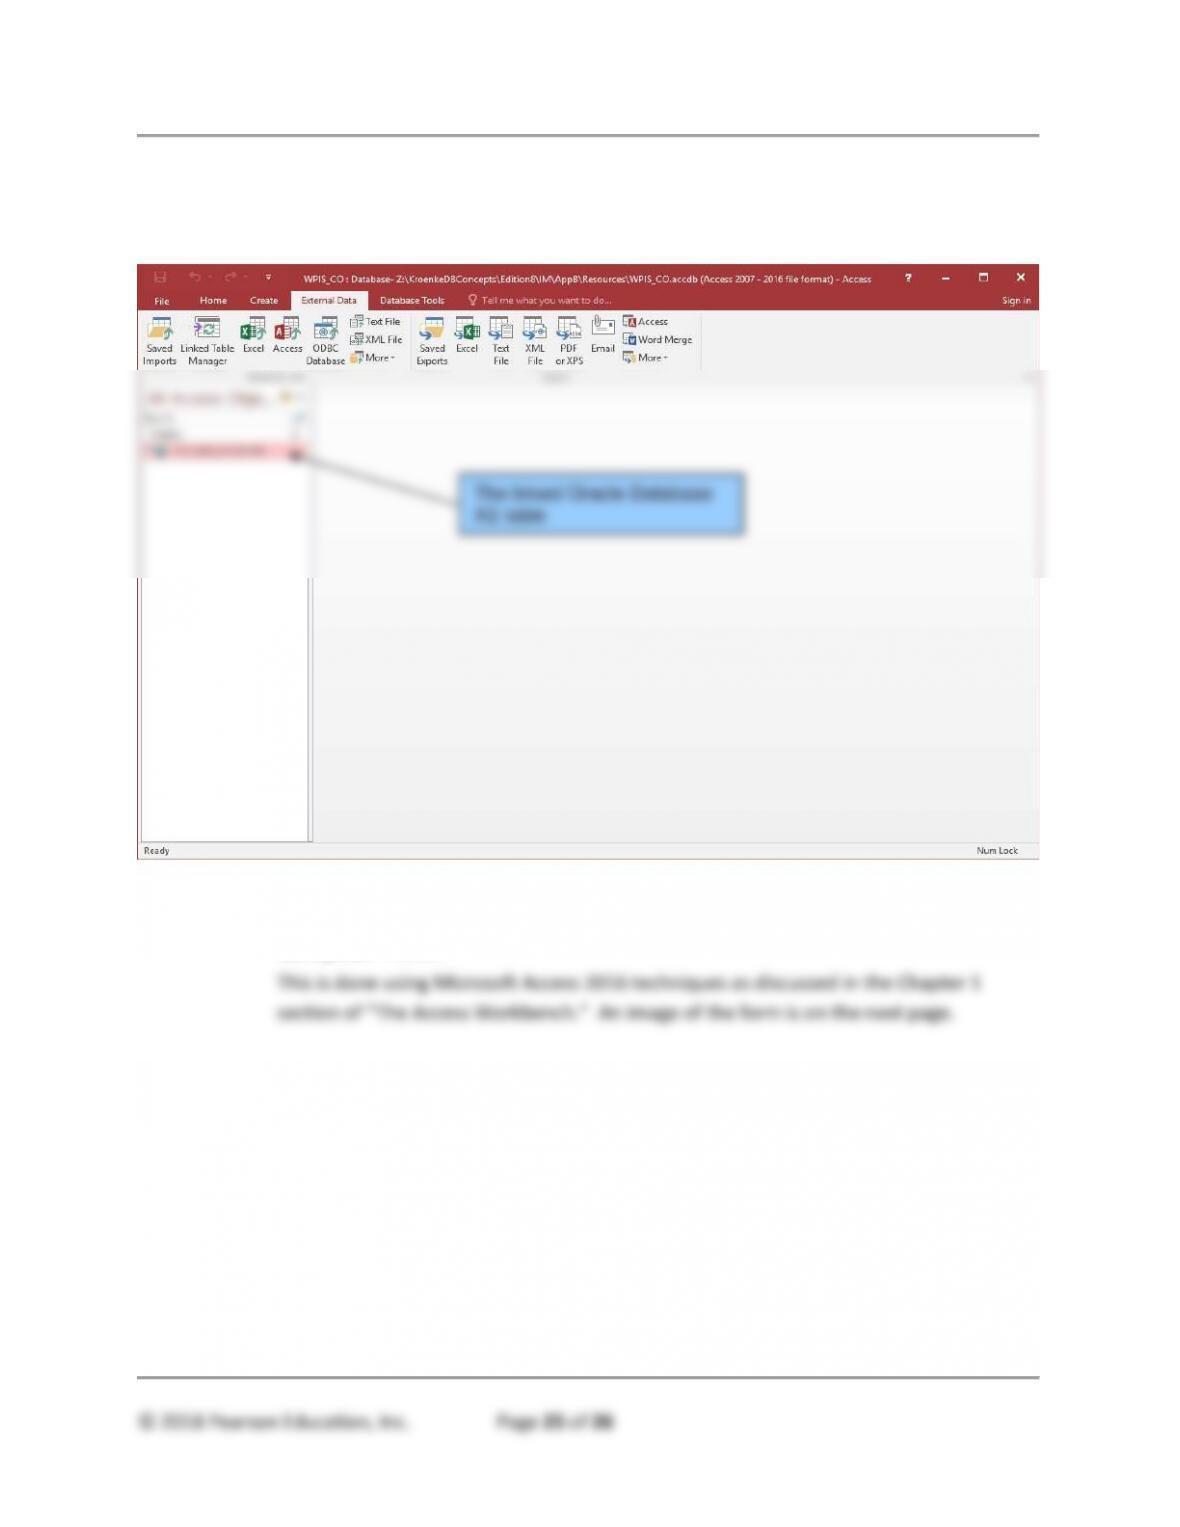
2. Click the OK button. The ODBC links between the WP.accdb Microsoft Access
2016 database and the WP database in Oracle Database XE are completed, as
shown below.
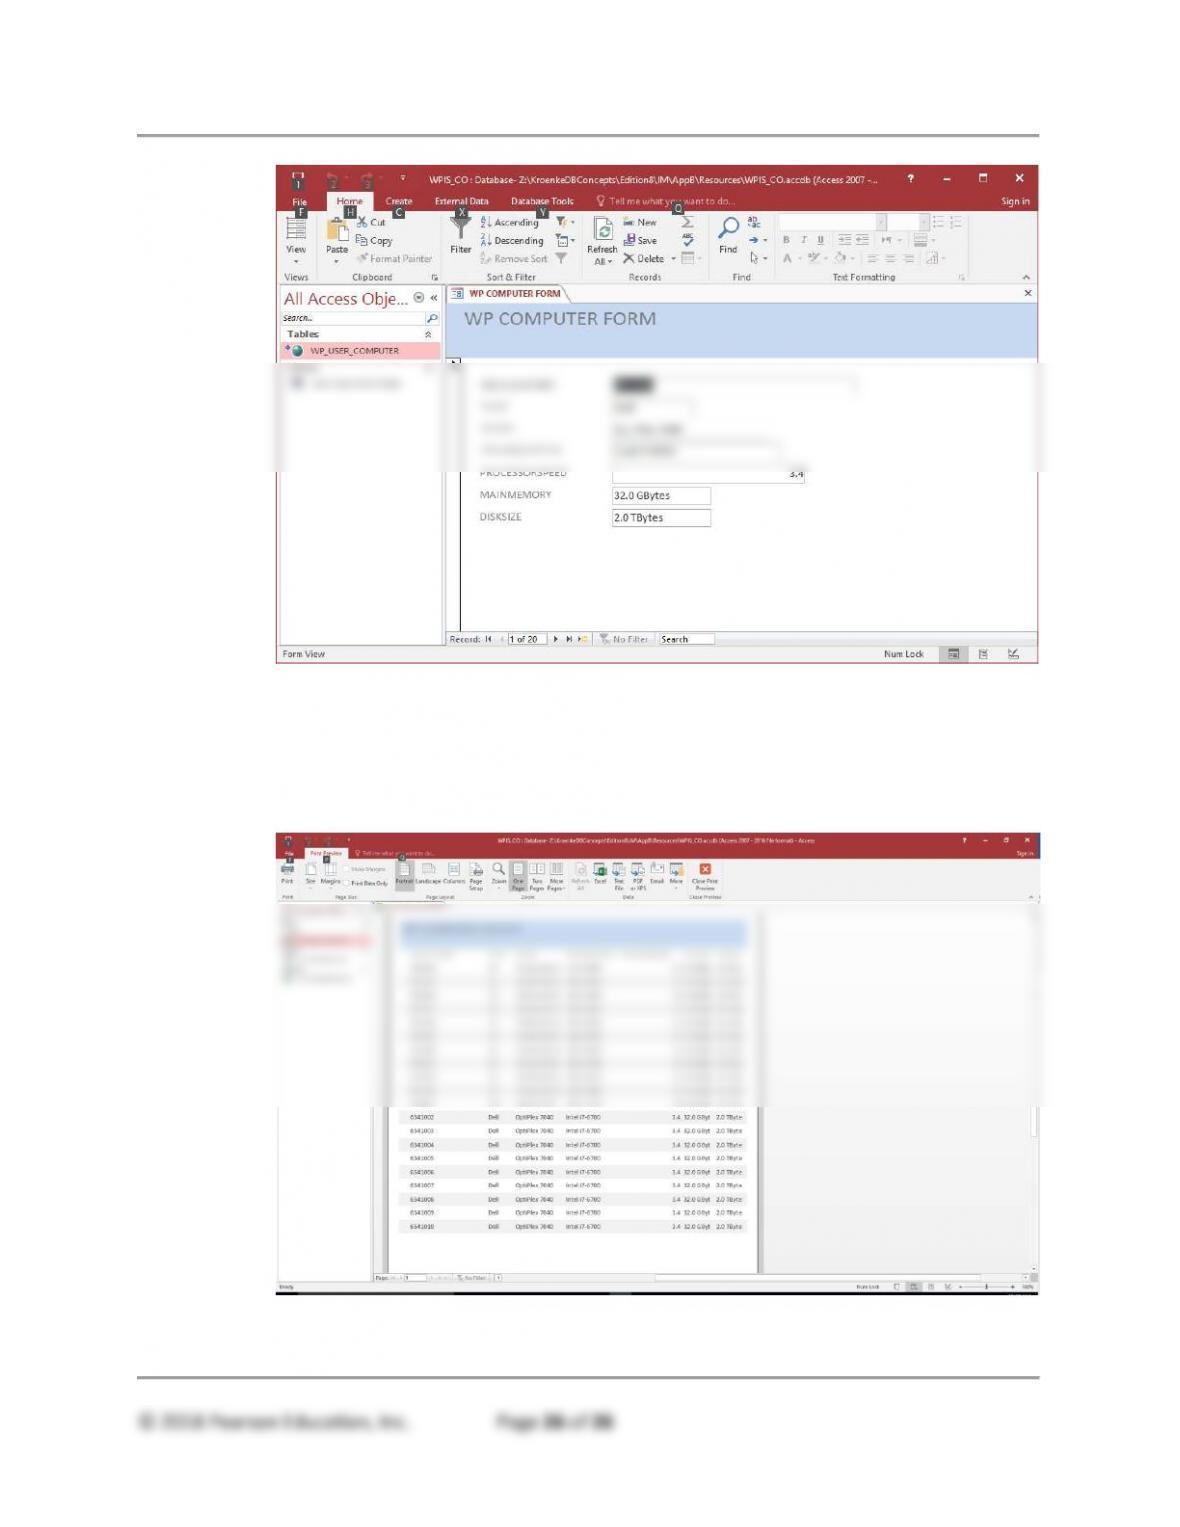
5. Create a form to show all the data in the COMPUTER table named WP
Computer Form.
The linked Oracle Database
XE table
page-pfd
Appendix B - Getting Started with Oracle Database XE
6. Create a report to show all the data in the COMPUTER table named WP
Computer Report.
This is done using Microsoft Access 2016 techniques as discussed in the Chapter 4
section of “The Access Workbench.” An image of the report is shown below.

Trusted by Thousands of
Students

Here are what students say about us.

Copyright ©2022 All rights reserved. | CoursePaper is not sponsored or endorsed by any college or university.