Appendix A – Getting Started with Microsoft SQL Server 2016
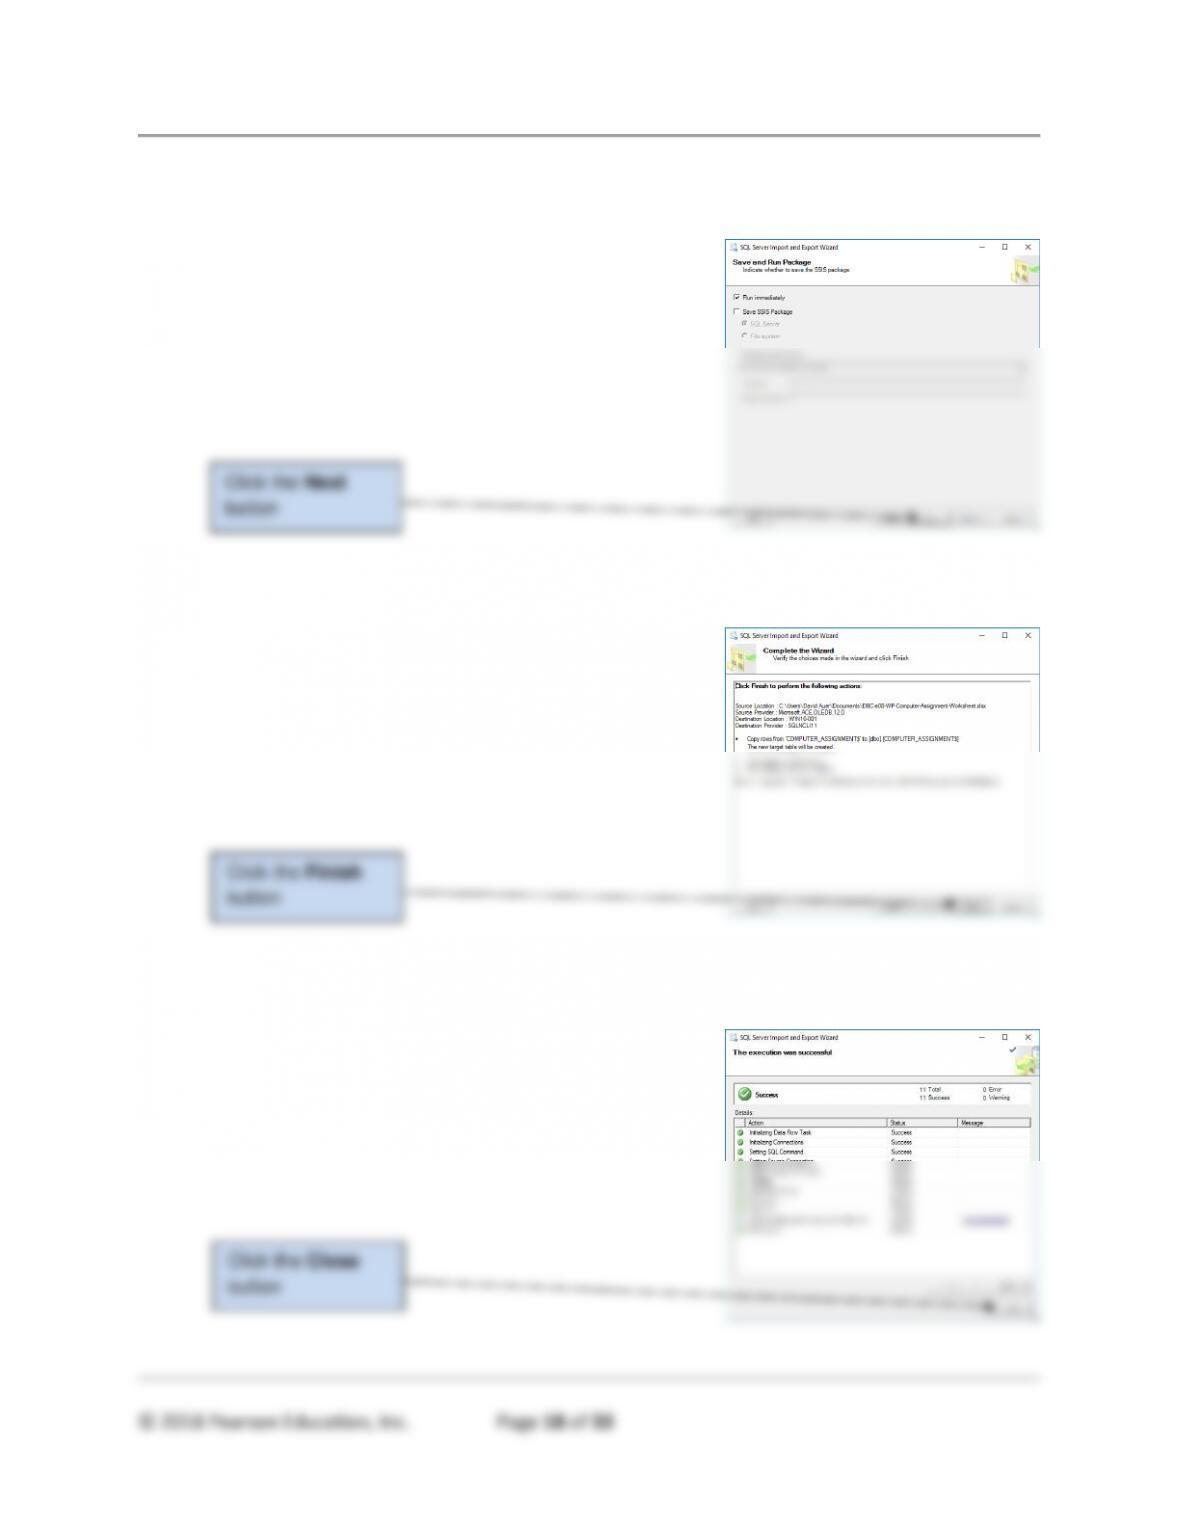
10. Click the Next button to display the Save and Run Package page. The defaults are
correct.
11. Click the Next button to display the Complete the Wizard page. This is a summary page.
Click the Finish button.
12. The SQL Server Import and Export Wizard runs the actual import, and then displays the
The execution was successful page. Note that there are no errors in the process. Click
the Close button to close the Wizard.
Click the Next
button
Click the Finish
button
Click the Close
button
Appendix A – Getting Started with Microsoft SQL Server 2016
Now we created the actual COMPUTER_ASSIGNMENT table and copy the data to it.
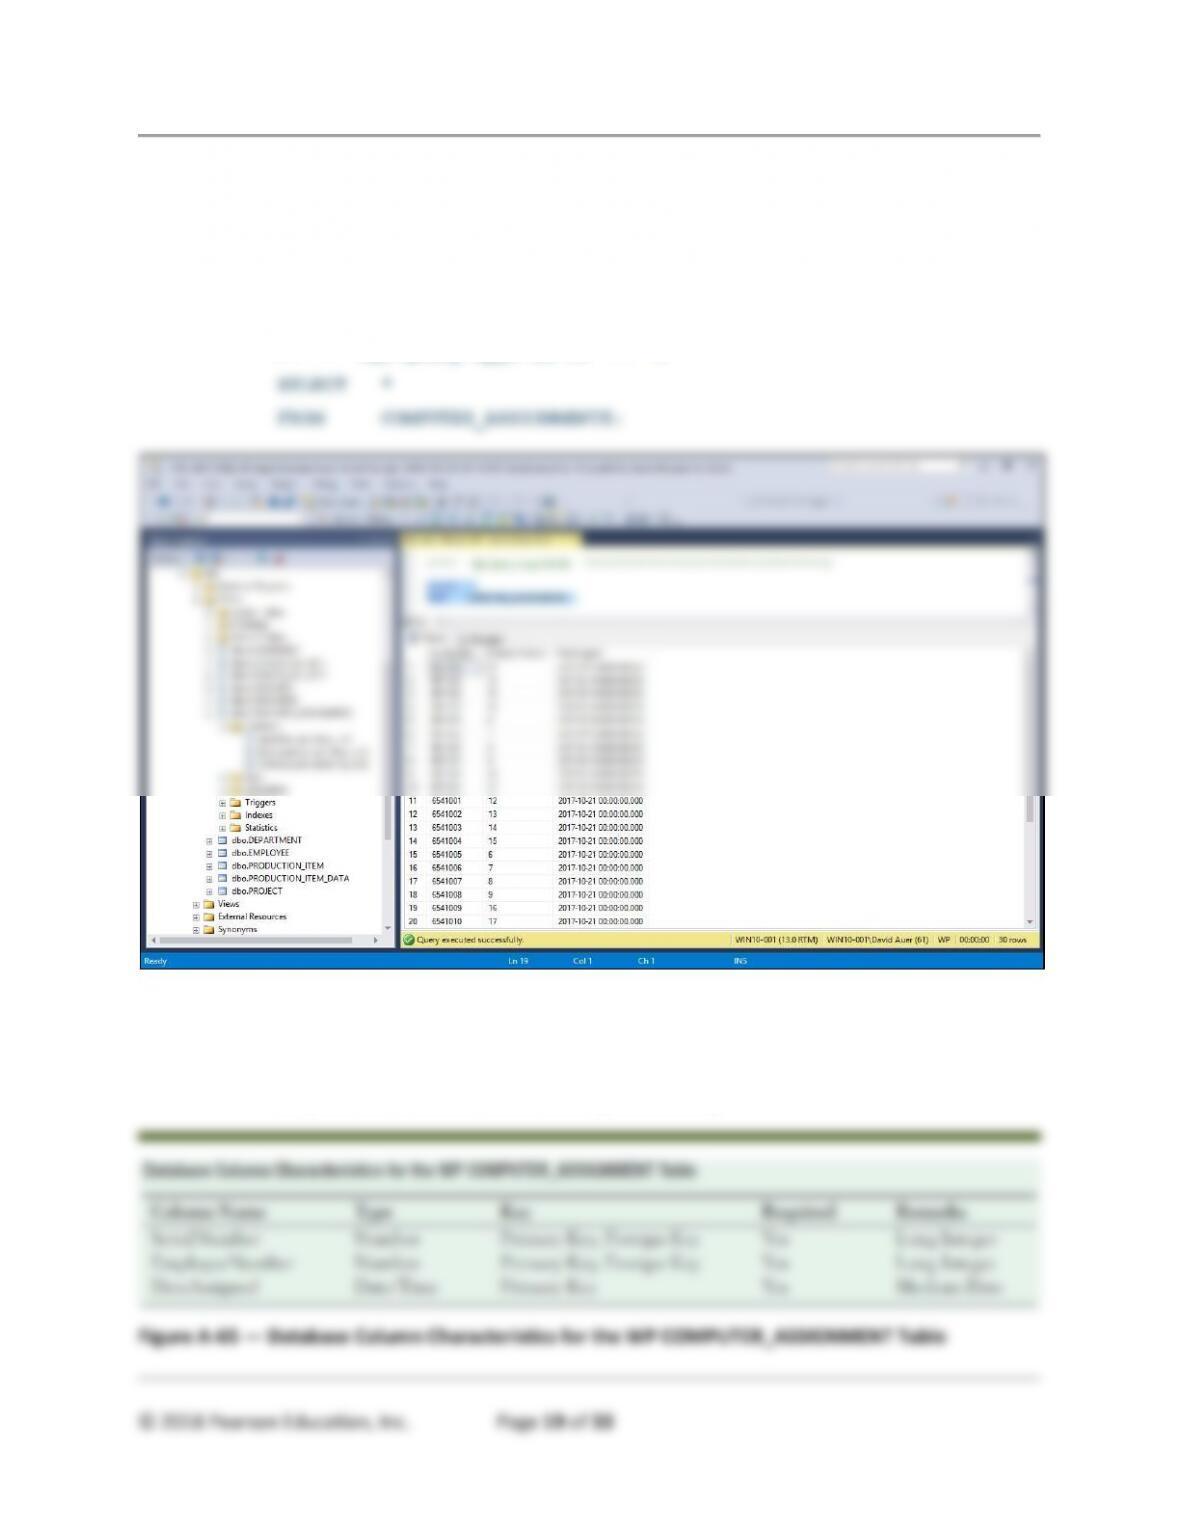
1. In SQL Server Management Studio, refresh the WP database. In Object Explorer, expand
the WP database, then expand the Tables object, then expand the
dbo.COMPUTER_ASSIGNMENT$ object, and finally expand the Columns object.
2. Open a New Query window, and run SQL-Query-AppA-EX-01:
/* *** SQL-Query-AppA-EX-01 *** */
3. Now we have to create the final COMPUTER_ASSIGNMENT table in the WP database. In
the Microsoft SQL Server Management Studio, write the SQL CREATE TABLE statement
for the COMPUTER_ASSIGNMENT table based on the column characteristics in Figure A-
65 (these are Microsoft Access 2016 specifications).

Appendix A – Getting Started with Microsoft SQL Server 2016
© 2018 Pearson Education, Inc. Page 20 of 33
One important consideration here is foreign key constraints. Note that we link to both
the EMPLOYEE table using EmployeeNumber and to the COMPUTER table using
SerialNumber. What referential integrity constraints should we use?
For EMPLOYEE, EmployeeNumber is a surrogate key and is never updated. Further, WP
never drops employee records because of record keeping requirements. Therefore, we
will never cascade updates or deletes for this primary key.
FOR COMPUTER, SerialNumber never changes. However, when we remove a computer
from the WP computer inventory, we do not need to keep historical records of having
had that computer. Therefore, while we do not cascade updates, we will cascade
deletions for this primary key.
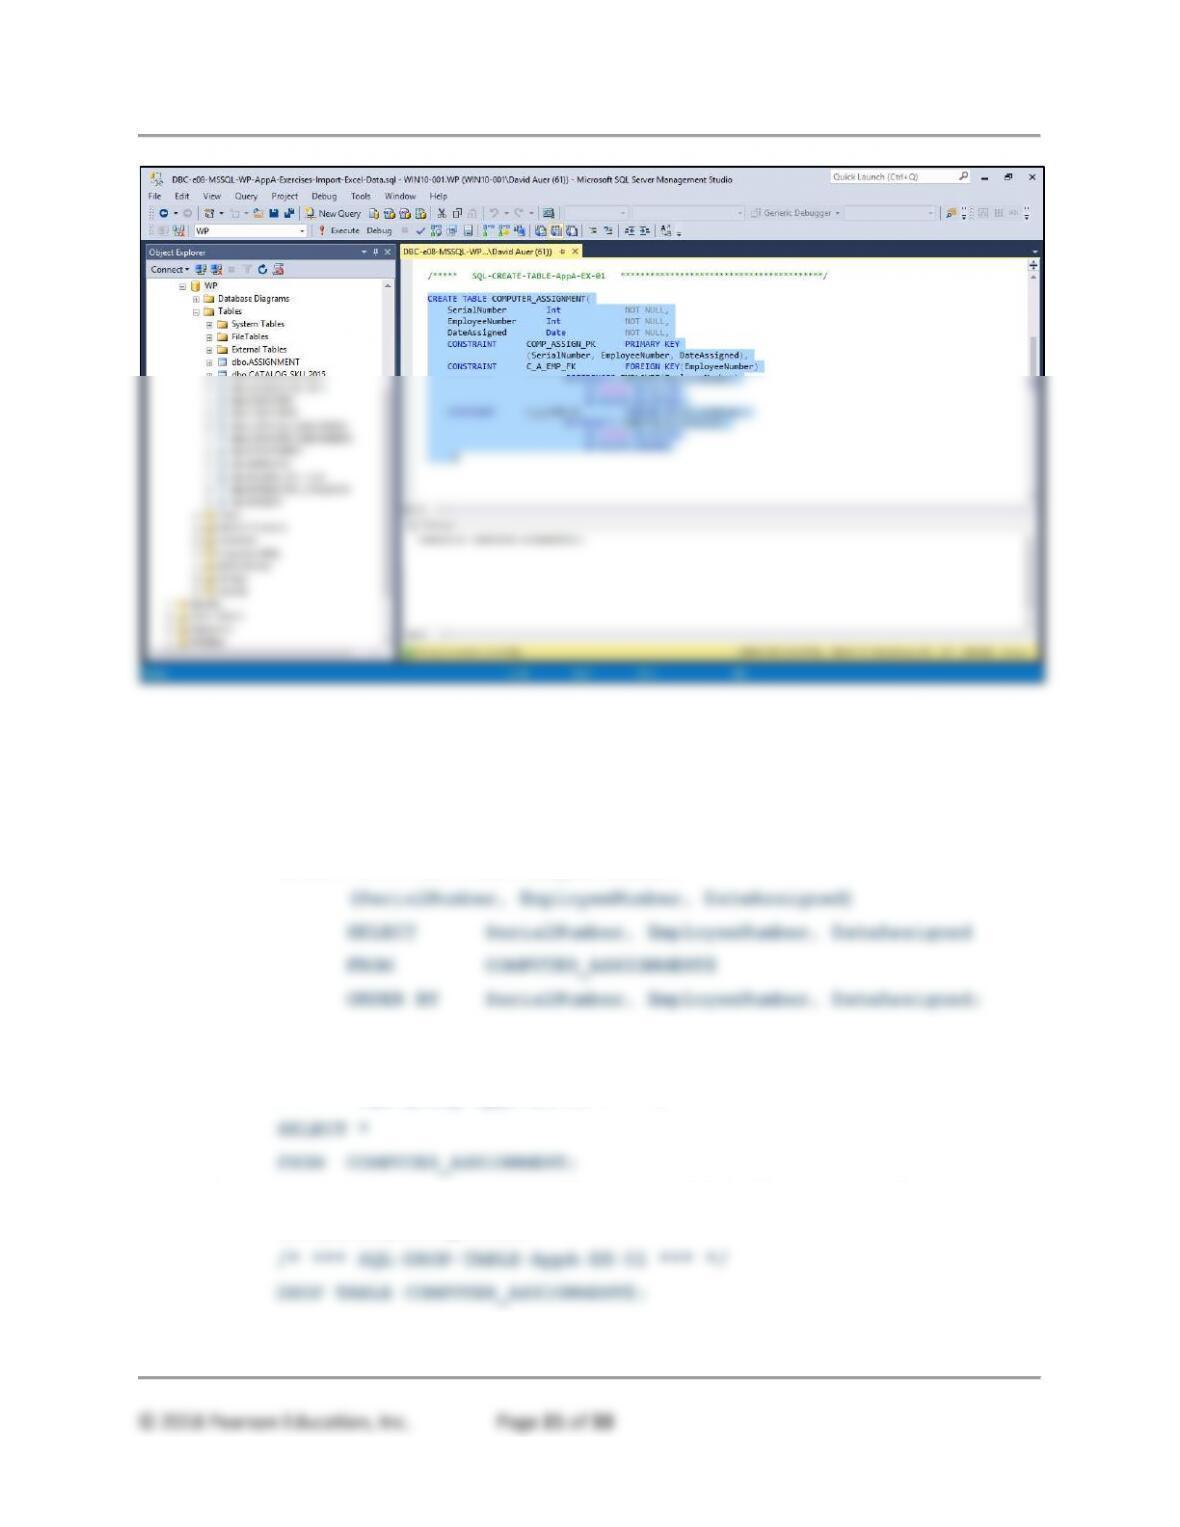
Here is the final SQL statement to create the COMPUTER_ASSIGNMENT table:
/* *** SQL-CREATE-TABLE-AppA-EX-01 *** */
CREATE TABLE COMPUTER_ASSIGNMENT(
SerialNumber Int NOT NULL,
EmployeeNumber Int NOT NULL,
4. Run the SQL-CREATE-TABLE-AppA–EX-01 statement. The result is shown in the screen
shot on the next page.
Appendix A – Getting Started with Microsoft SQL Server 2016
© 2018 Pearson Education, Inc. Page 21 of 33
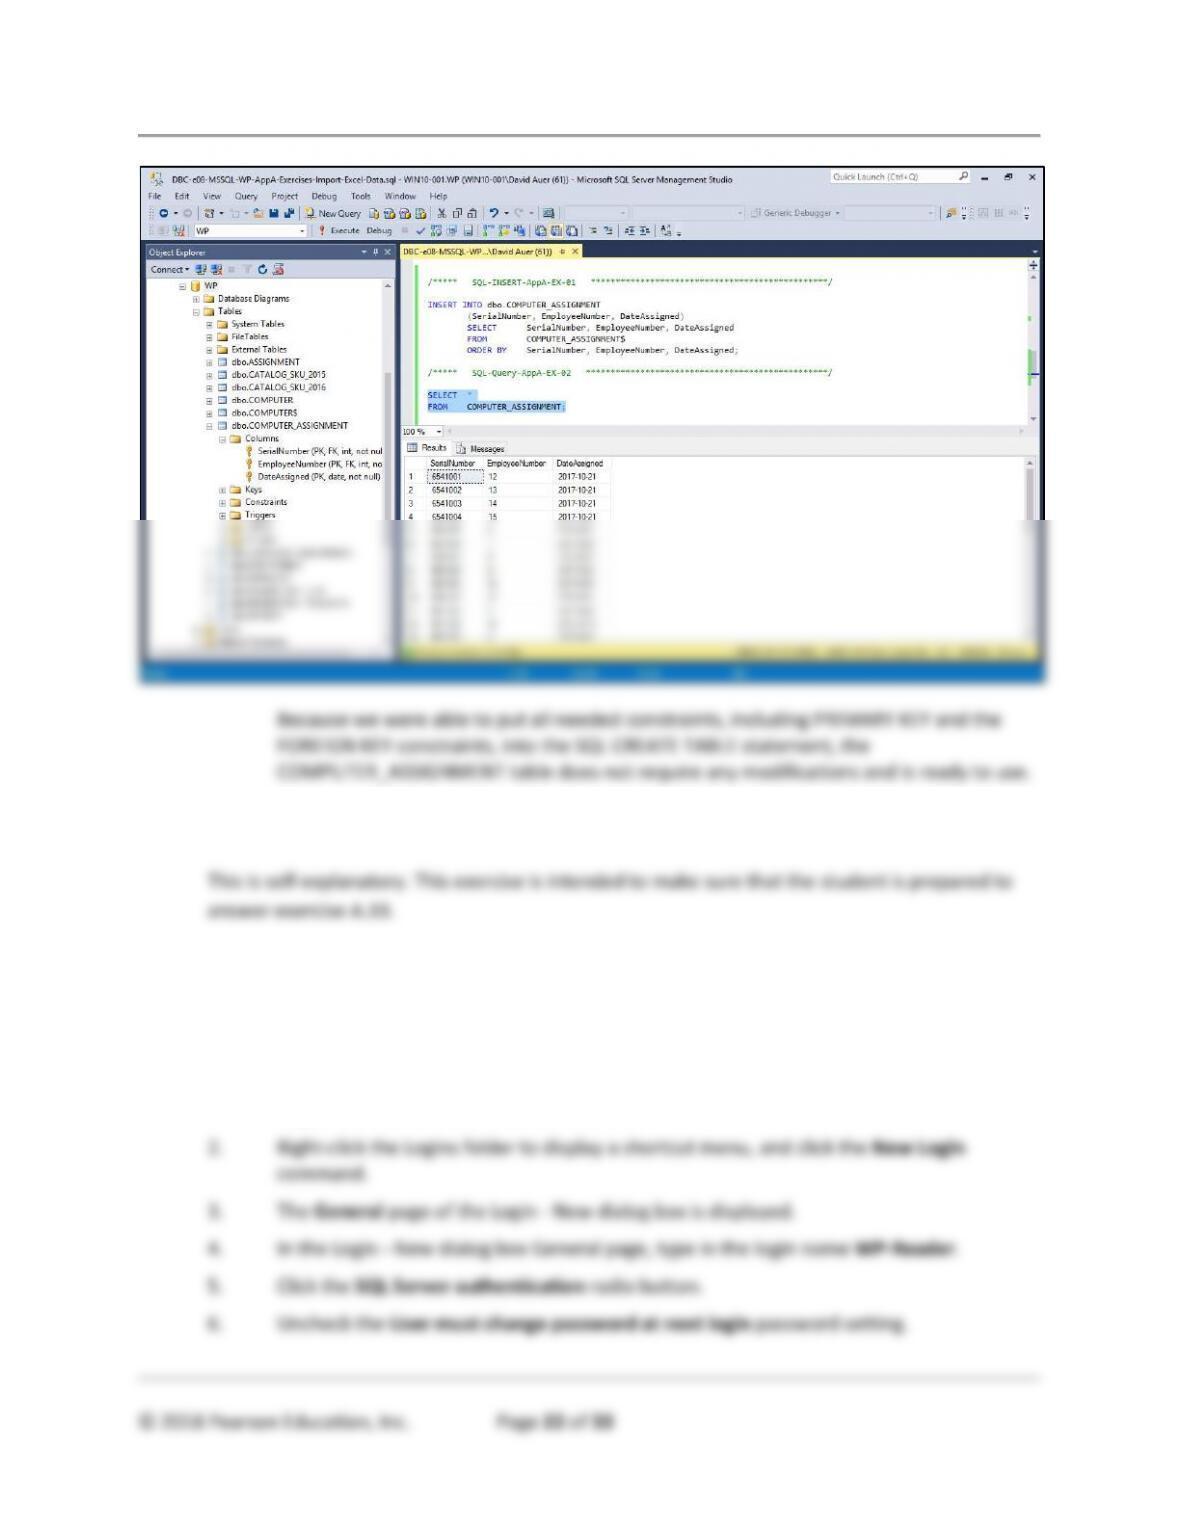
5. To copy the imported data from the temporary COMPUTER_ASSIGNMENT$ table to the
final COMPUTER_ASSIGNMENT table, use the SQL bulk INSERT statement
SQL-INSERT-AppA–EX-01. Note that we use an ORDER BY clause in the SELECT statement
to order the data inserted into the COMPUTER_ASSIGNMENT table:
/* *** SQL-INSERT-AppA-EX-01 *** */
INSERT INTO dbo.COMPUTER_ASSIGNMENT
6. After running the SQL-INSERT-AppA–EX-01 statement, run SQL-Query-AppA–EX-02. The
result is shown in the screen shot on the next page.
/* *** SQL-Query-AppA-EX-02 *** */
7. Dropping the temporary COMPUTER_ASSIGNMENT$ table is optional—if you drop it, be
sure you drop the right table!
Appendix A – Getting Started with Microsoft SQL Server 2016
© 2018 Pearson Education, Inc. Page 22 of 33
Because we were able to put all needed constraints, including PRIMARY KEY and the
FOREIGN KEY constraints, into the SQL CREATE TABLE statement, the
COMPUTER_ASSIGNMENT table does not require any modifications and is ready to use.
A.32 If you have not already done so, create the WP-User user account and associated
permissions in the SQL Server 2016 WP database as explained in the text.
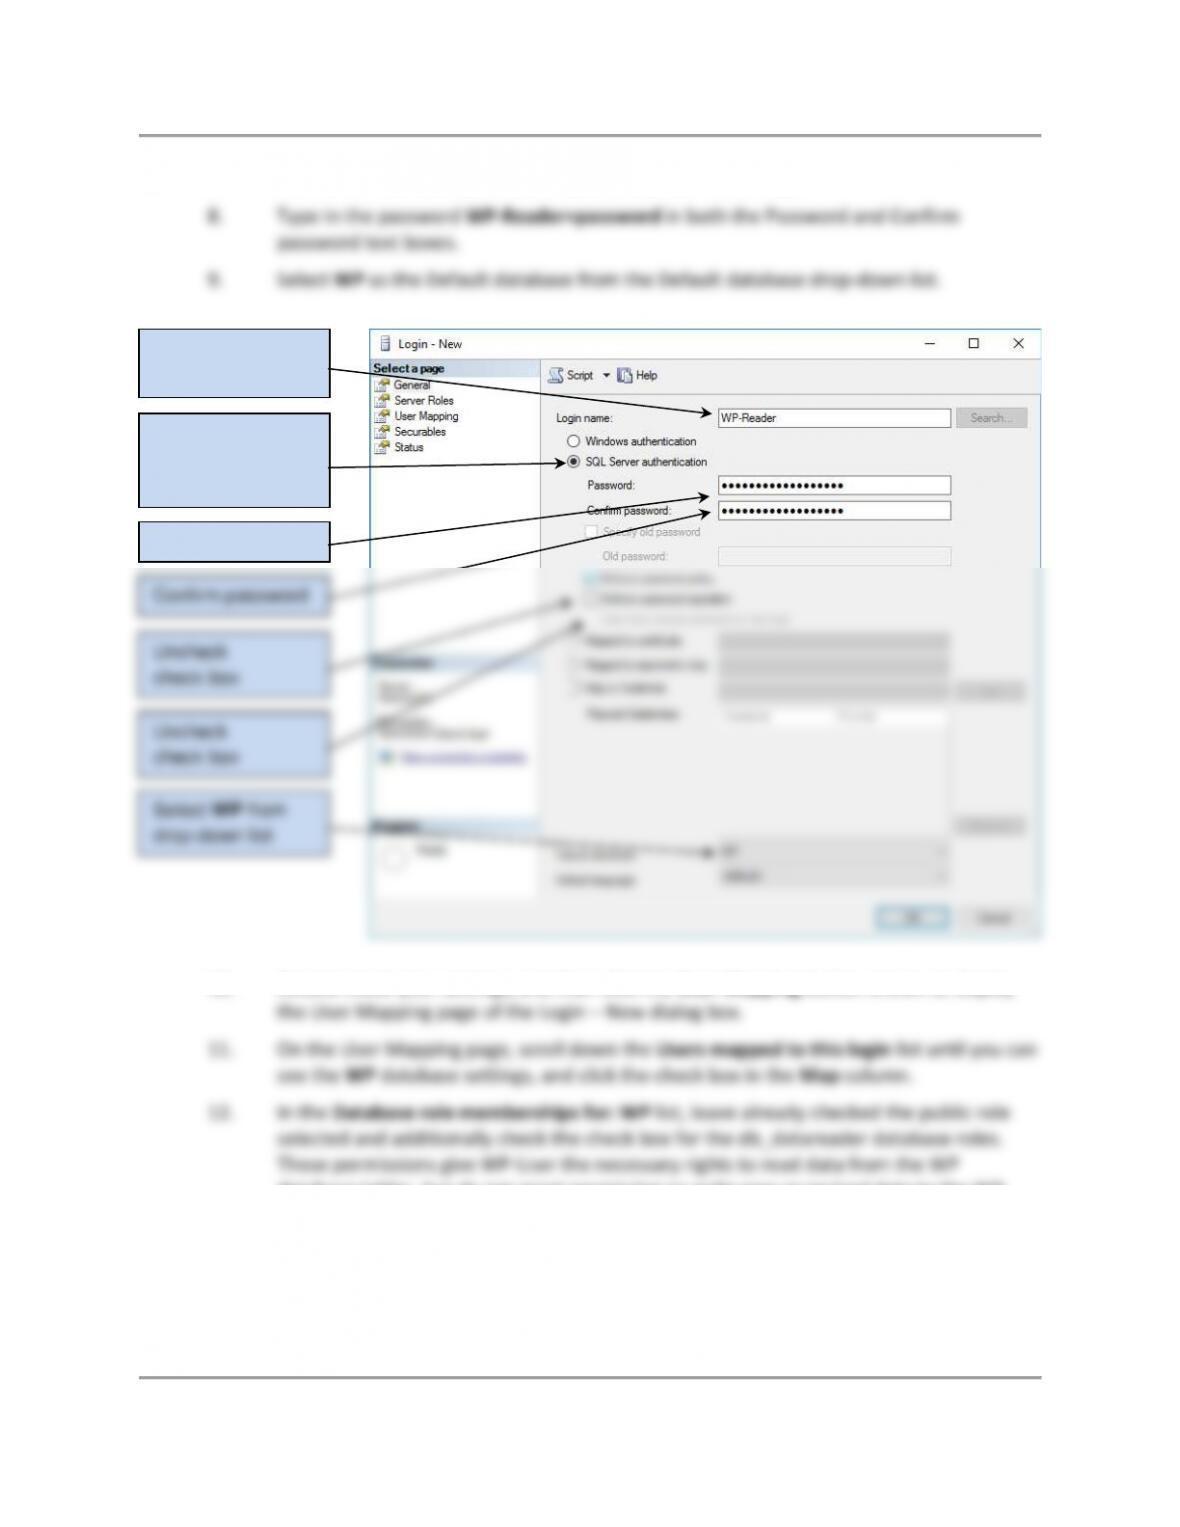
A.33 Create a user account in the SQL Server 2016 WP database named WP-Reader. Give
this user SQL Server authentication with the password of WP-Reader+password and
with other password settings to match those shown in Figure A-44. Give WP-Reader a
user mapping to the WP database with public and db_datareader permissions only.
1. In the Microsoft SQL Server Management Studio, expand the Security folder so that the
Logins folder and its contents are visible.
Appendix A – Getting Started with Microsoft SQL Server 2016
© 2018 Pearson Education, Inc. Page 23 of 33
7. Uncheck the Enforce password expiration password setting.
10. Double check your settings, and then click the User Mapping button shown to display
database tables, but do not grant permission to write new or revised data to the WP
database tables.
Enter login name
WP-Reader
Select SQL
Server
authentication
Enter password
Confirm password
Uncheck
check box
Uncheck
check box
Select WP from
drop-down list

Appendix A – Getting Started with Microsoft SQL Server 2016
13. Double check your settings, and then click the OK button.
14. The new user login WP-Reader is created, and assigned the specified set of permissions
to the WP database.
The User
Mapping page
Check the WP
check box
Check the
db_datareader
check box
Click the OK
button
Appendix A – Getting Started with Microsoft SQL Server 2016
A.34 Create a Microsoft Access 2016 database named WPIS_RO.accdb where RO stands
for “read–only.” This database will be a read-only application for the SQL Server 2016
WP database, which will allow users to read and query the data in the WP database but
not to make any updates to the data or to insert new data. Then:
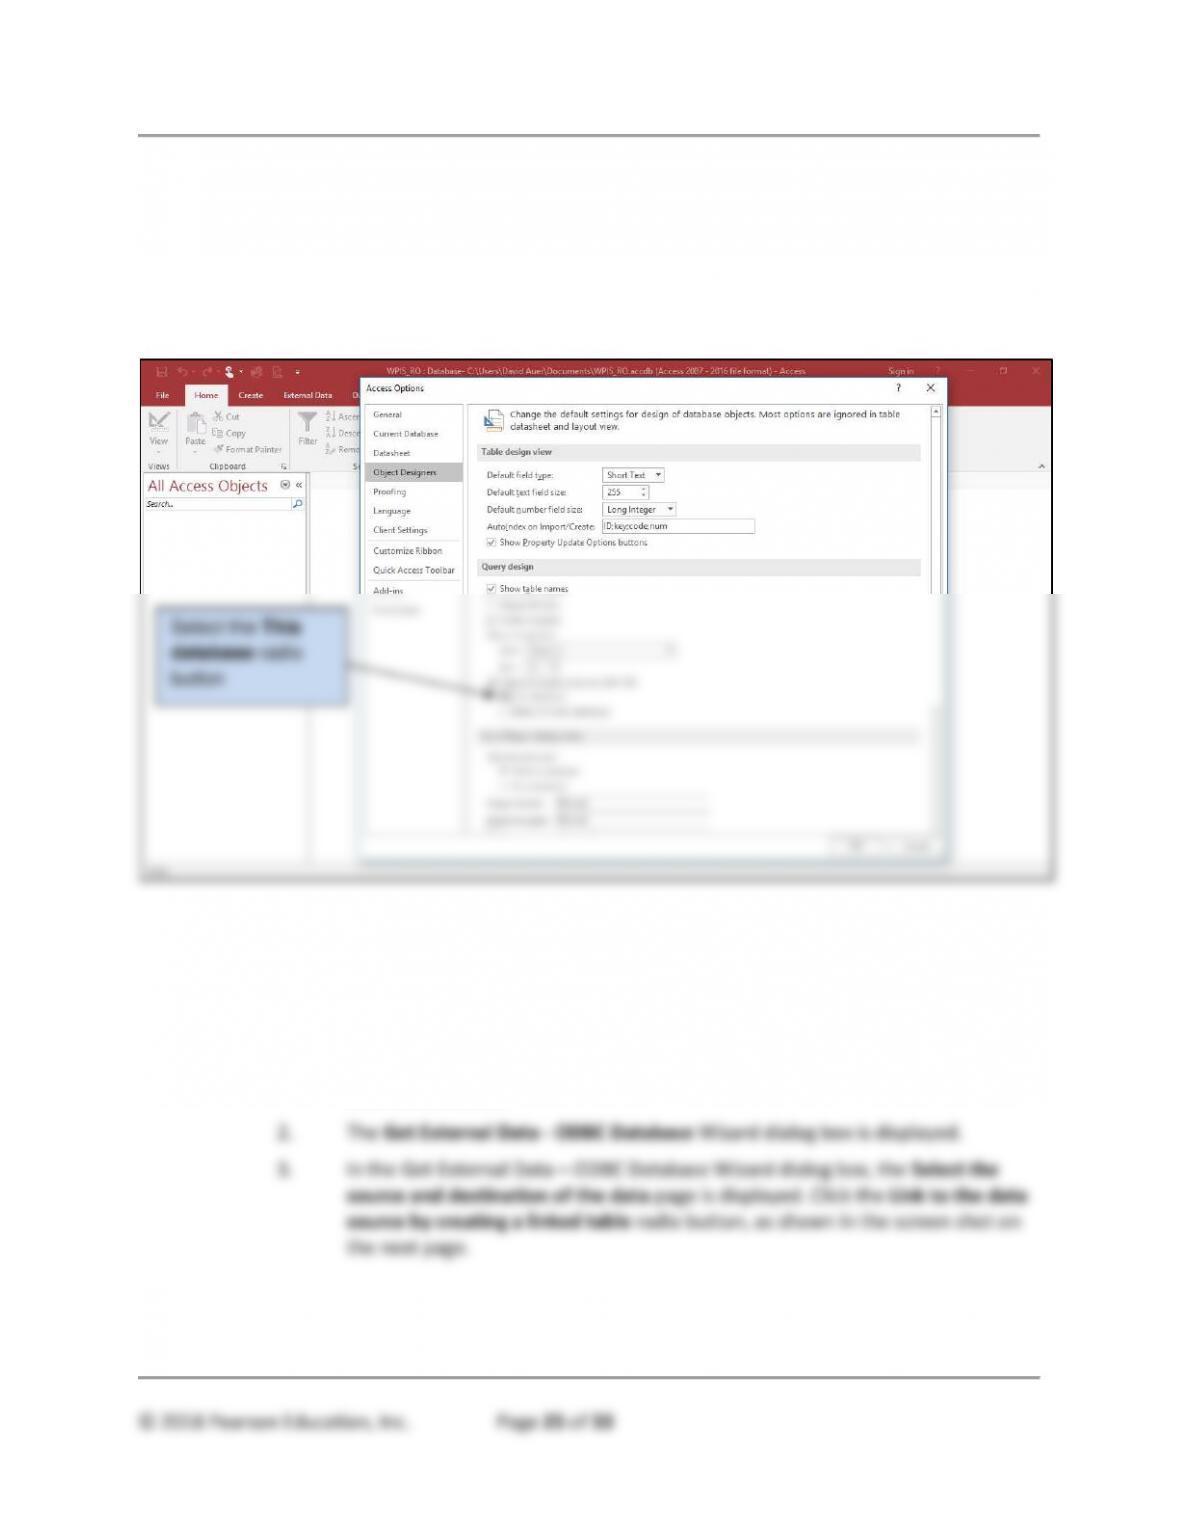
1. Set the WPIS_RO.accdb database to use SQL Server Compatible Syntax
(ANSI 92).
2. Link the WPIS_RO.accdb database to the SQL Server 2016 WP database. When
you create your File Data Source DSN, name the DSN WPRO, and use the WP-
Reader user account (as detailed in Exercise A.33) for SQL Server
authentication.
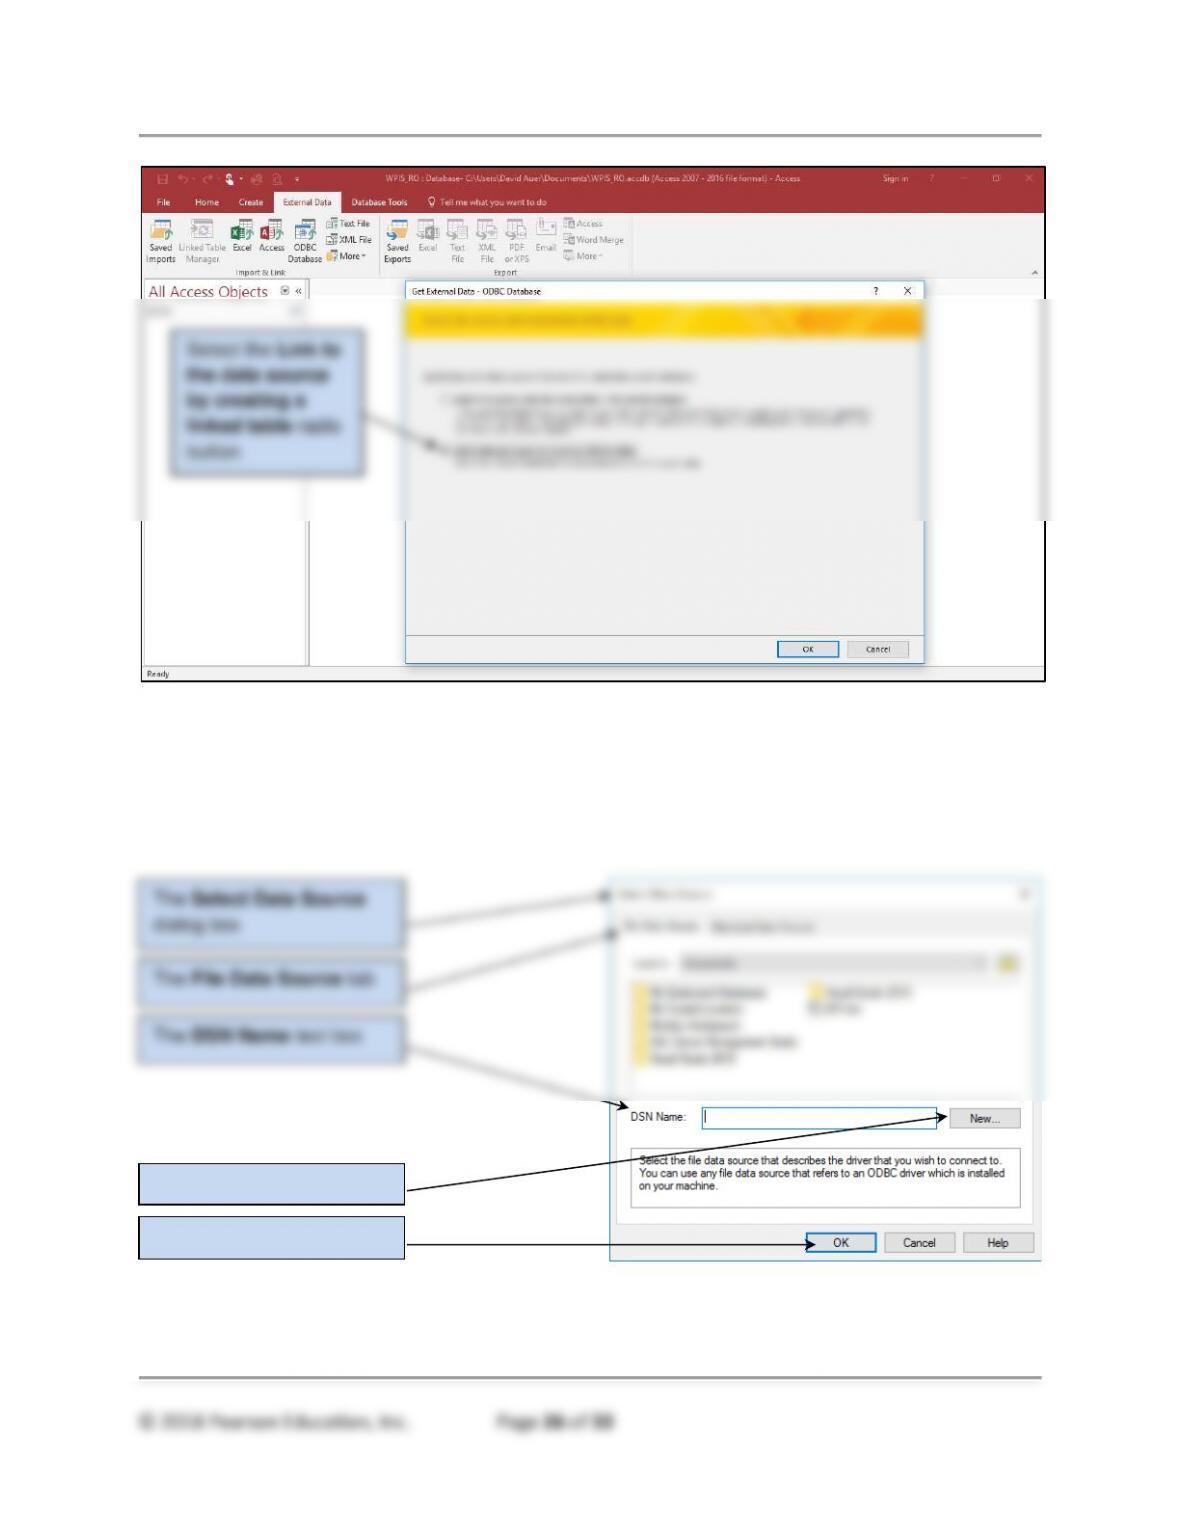
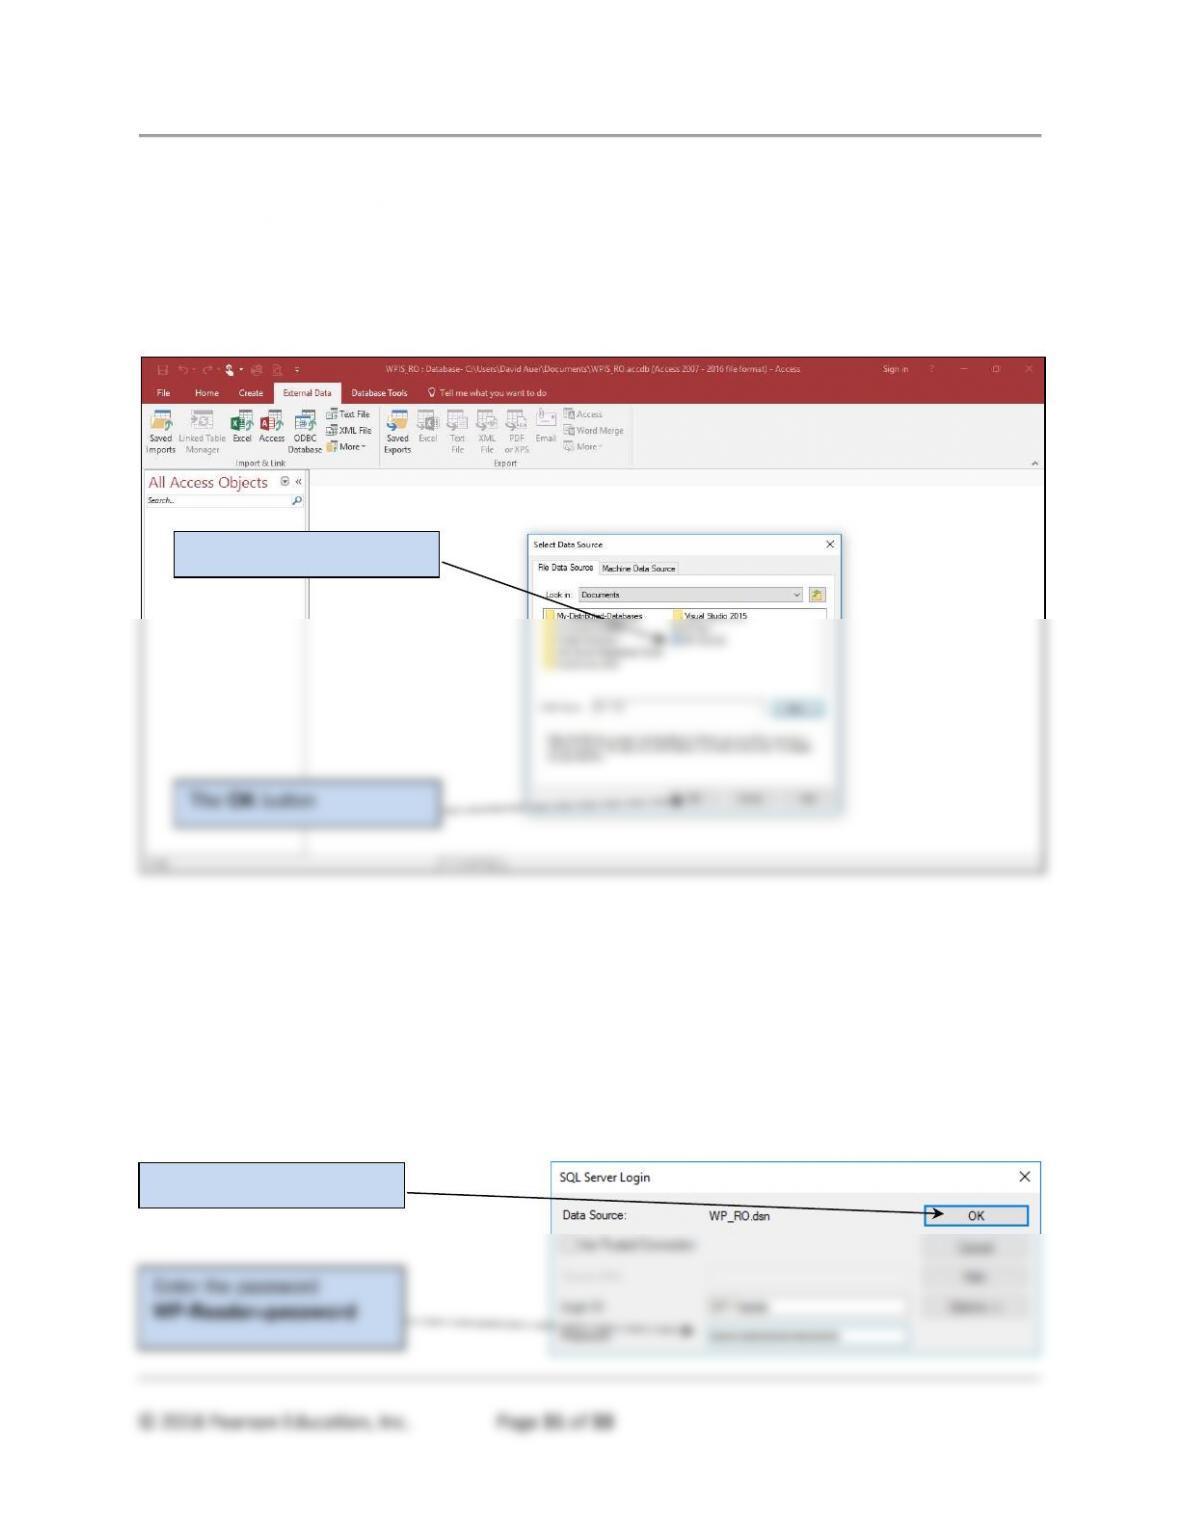
1. In the Microsoft Access 2016 WPIS.accdb database, click the External Data
command tab, and then click the ODBC Database button in the Import & Link
commands section.
Select the This
database radio
button
Appendix A – Getting Started with Microsoft SQL Server 2016
4. Click the OK button.
5. The Select Data Source dialog box is displayed. This is the dialog box that we will
use to create the needed OBDC DSN. In the Select Data Source dialog box, make
sure the File Data Source tab is selected.
Select the Link to
the data source
by creating a
linked table radio
button
The Select Data Source
dialog box
The File Data Source tab
The DSN Name text box
The New button
The OK button
Appendix A – Getting Started with Microsoft SQL Server 2016
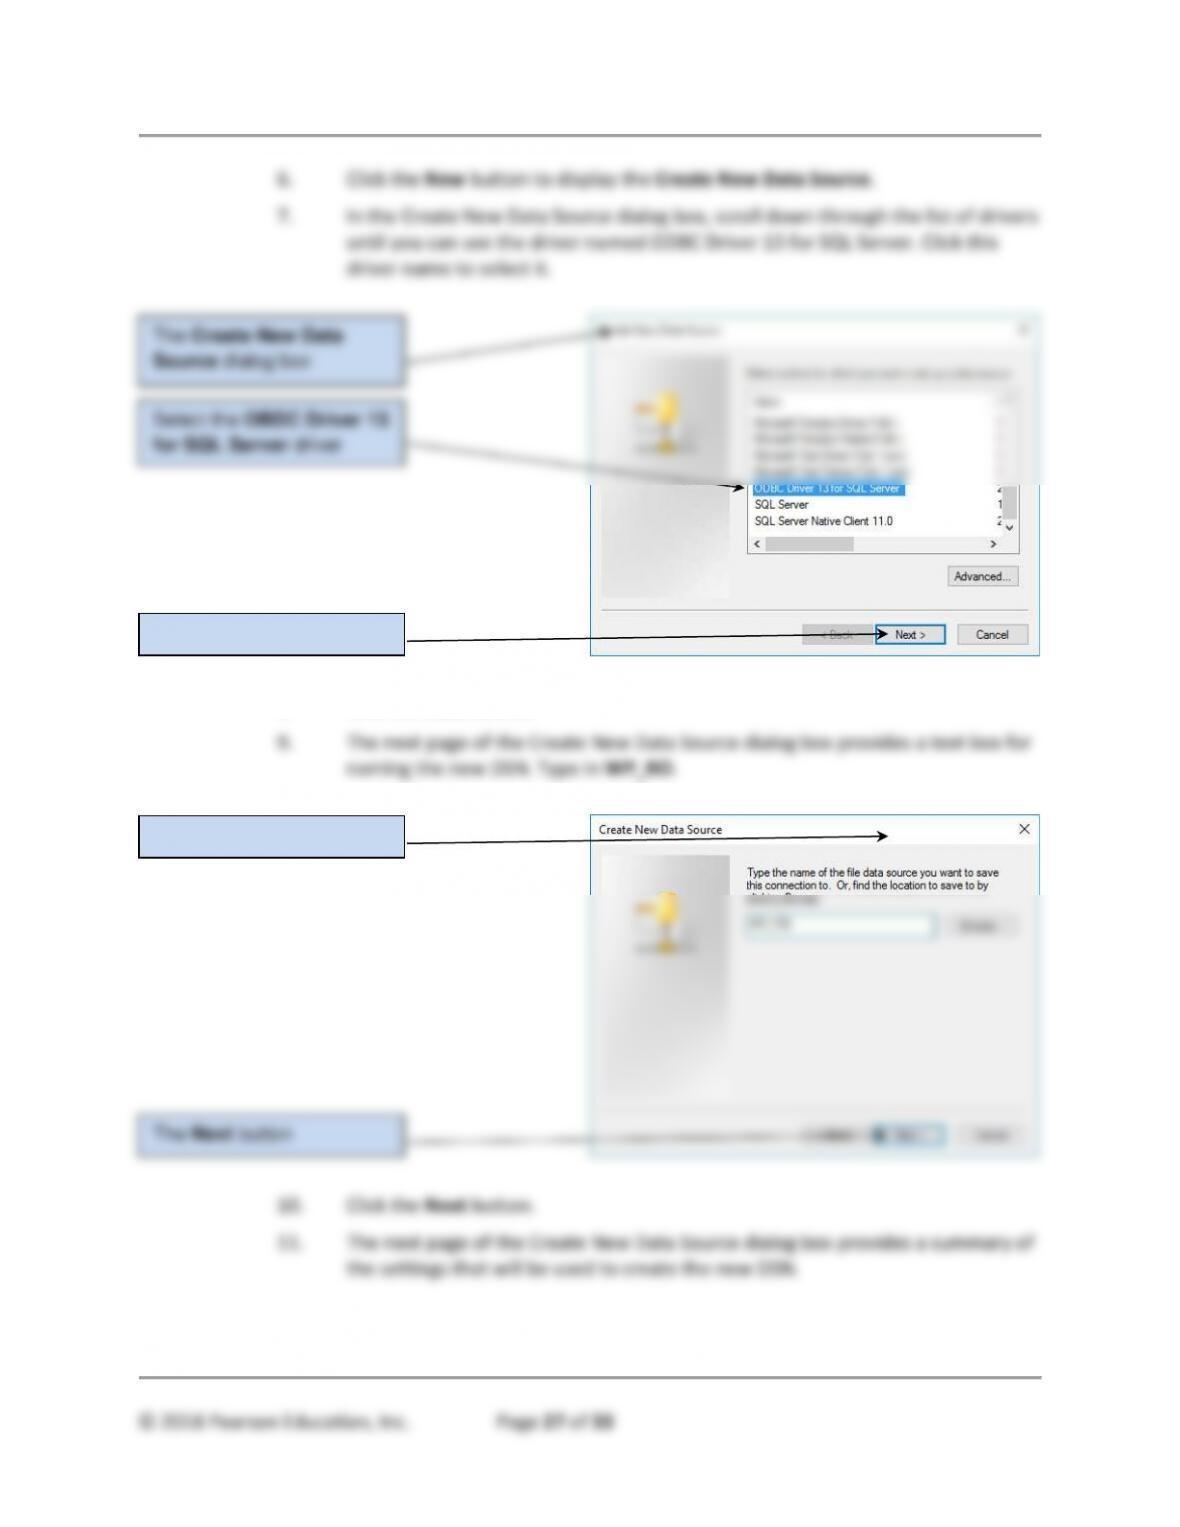
6. Click the New button to display the Create New Data Source.
7. In the Create New Data Source dialog box, scroll down through the list of drivers
until you can see the driver named ODBC Driver 13 for SQL Server. Click this
driver name to select it.
8. Click the Next button.
The Create New Data
Source dialog box
The Next button
Select the OBDC Driver 13
for SQL Server driver
Type in the name WP_RO
Appendix A – Getting Started with Microsoft SQL Server 2016
© 2018 Pearson Education, Inc. Page 28 of 33
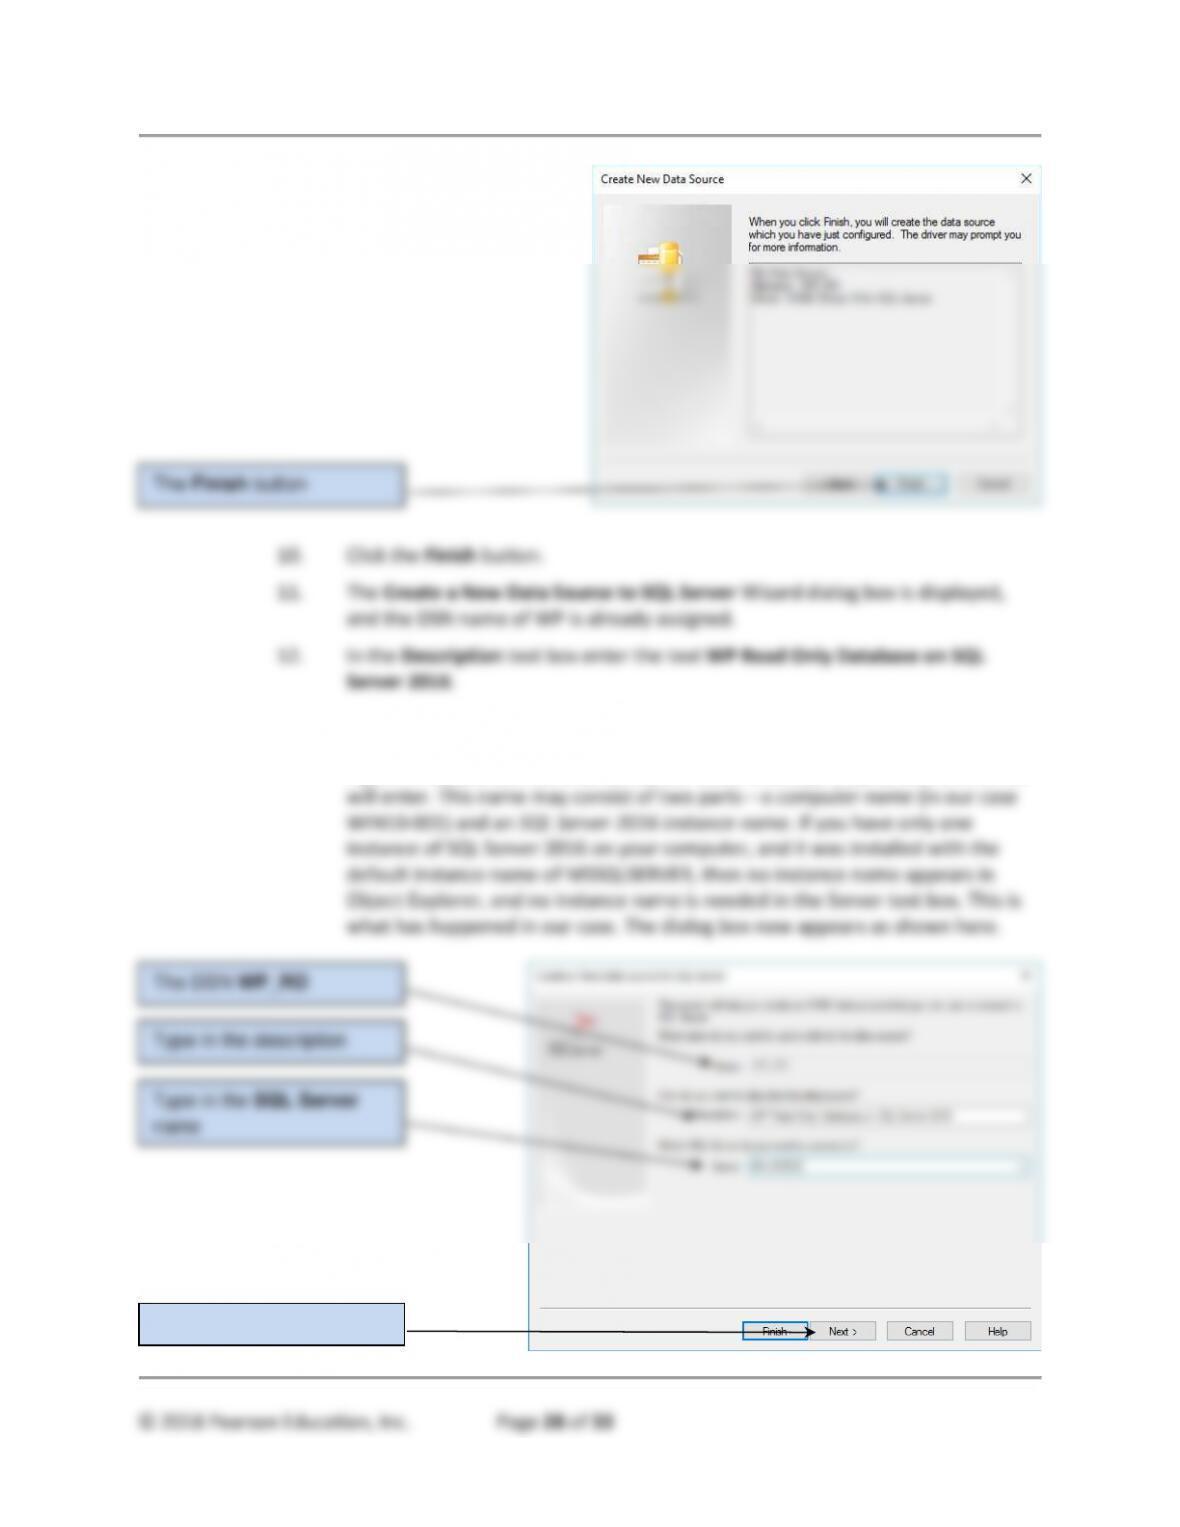
10. Click the Finish button.
11. The Create a New Data Source to SQL Server Wizard dialog box is displayed,
and the DSN name of WP is already assigned.
12. In the Description text box enter the text WP Read Only Database on SQL
Server 2016.
13. In the Server text box, type in the SQL Server name exactly as it appears at the
top of the Object Explorer window in the SQL Server Management Studio. In
Figure A-42, you can see that our server name is WIN10-001, so this is what we
The Finish button
The Next button
The DSN WP_RO
Type in the description
Type in the SQL Server
name
Appendix A – Getting Started with Microsoft SQL Server 2016
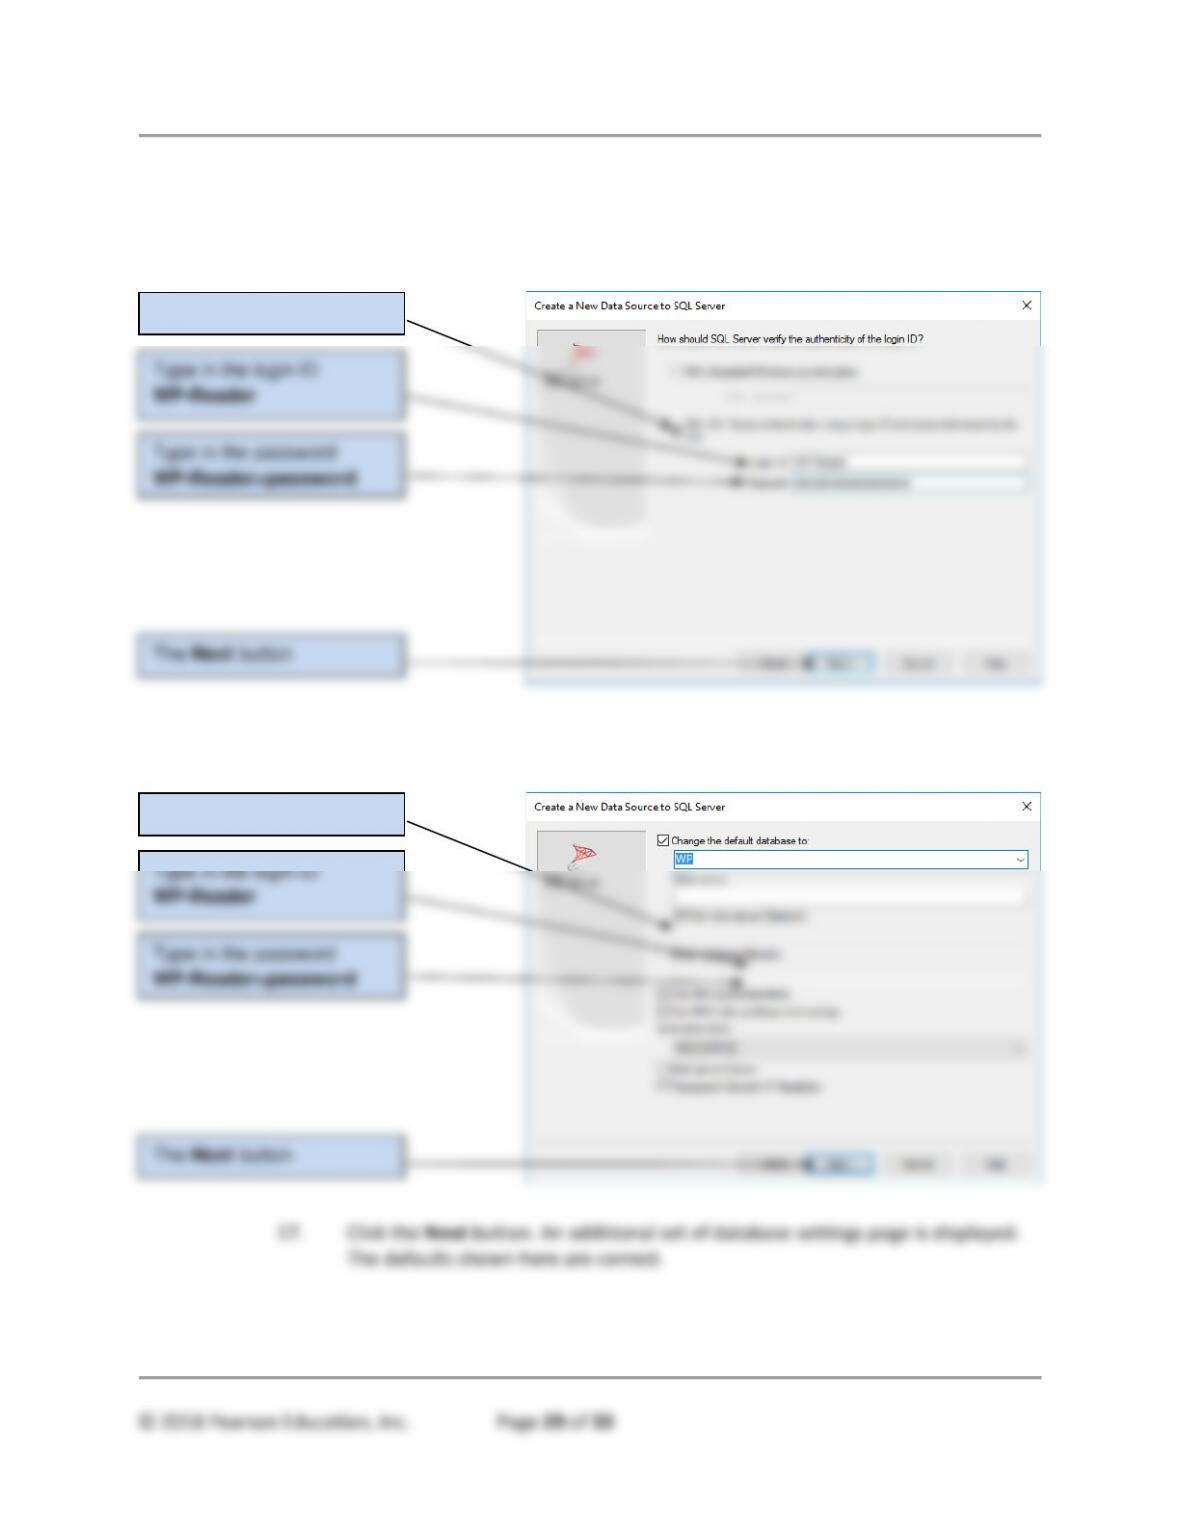
14. Click the Next button. The Login settings page is displayed. Click the With SQL
Server authentication using a login ID and password entered by the user radio
button, and then enter the login ID WP-Reader and the password WP–
Reader+password.
15. Click the Next button. A database settings page is displayed. Set the default
database to WP, but leave all the other setting as they are.
The Next button
Select this radio button
Type in the login ID
WP-Reader
Type in the password
WP-Reader+password
The Next button
Select this radio button
Type in the login ID
WP-Reader
Type in the password
WP-Reader+password
Appendix A – Getting Started with Microsoft SQL Server 2016
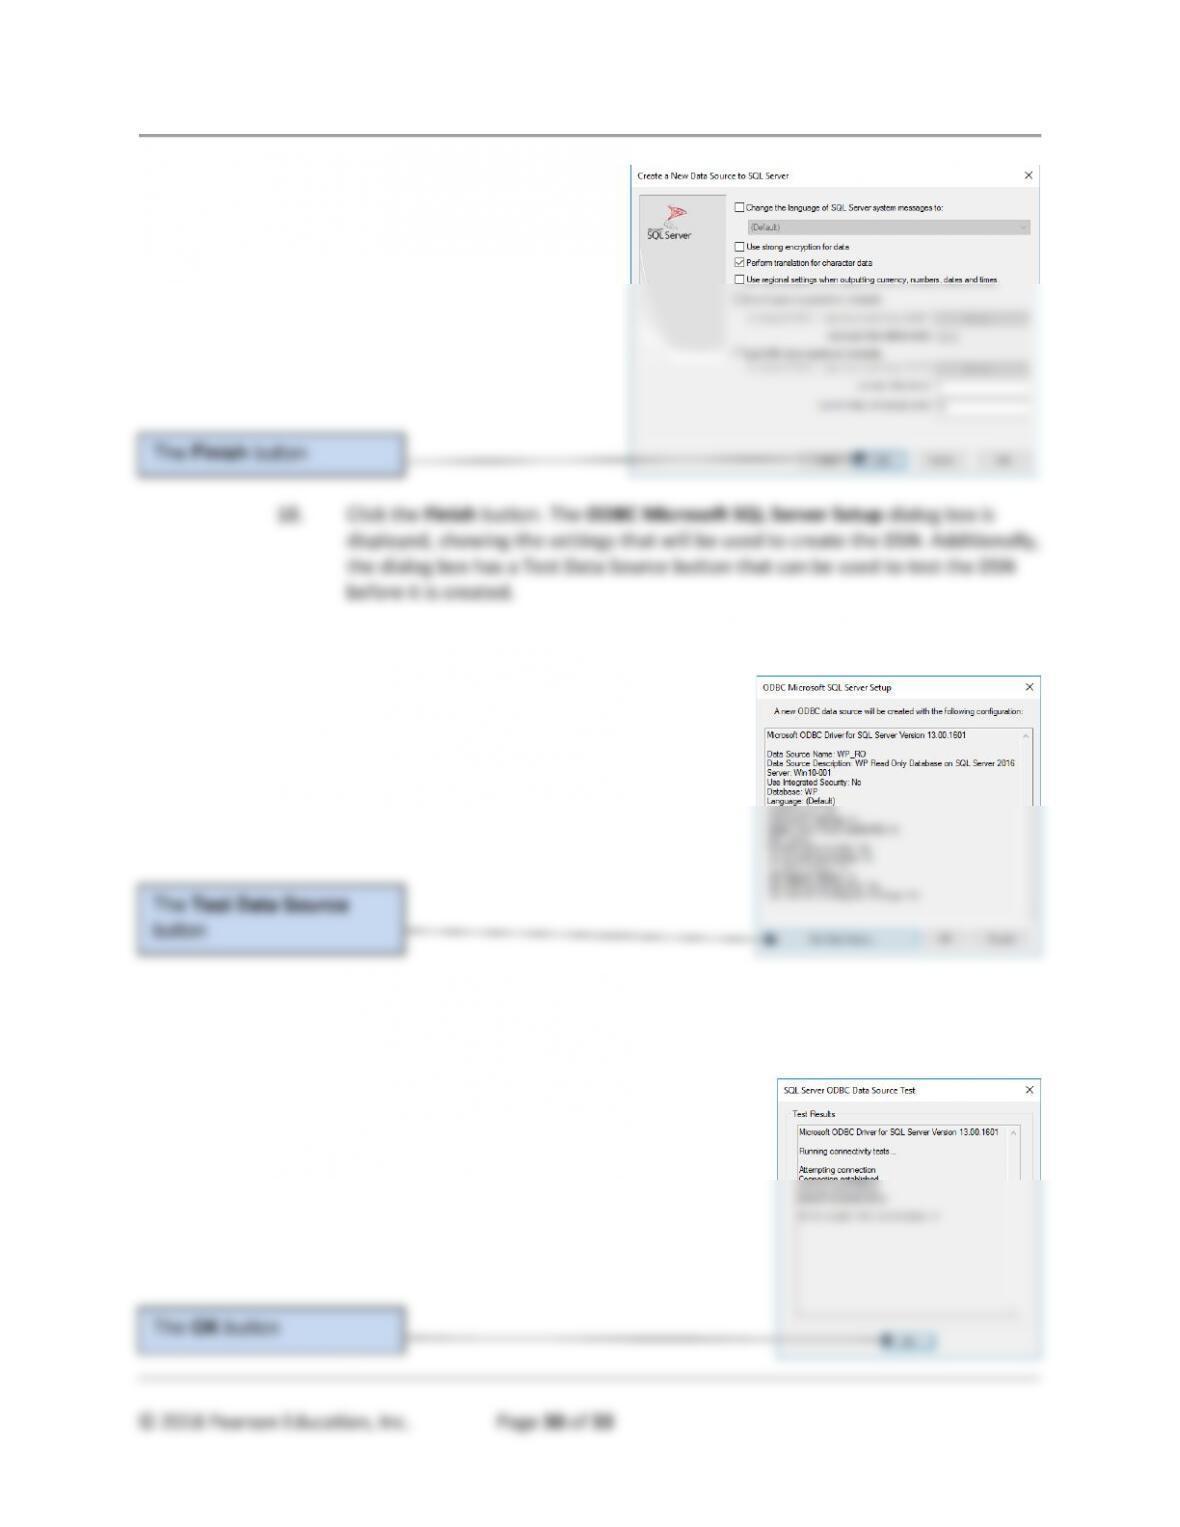
18. Click the Finish button. The ODBC Microsoft SQL Server Setup dialog box is
displayed, showing the settings that will be used to create the DSN. Additionally,
the dialog box has a Test Data Source button that can be used to test the DSN
before it is created.
19. Click the Test Data Source button.
20. If all the settings are correct, the SQL Server ODBC Data Source Test dialog box
is displayed with the message “TESTS COMPLETED SUCCESSFULLY”. In the SQL
Server ODBC Data Source Test dialog box, click the OK button.
The Finish button
The Test Data Source
button
The OK button
Appendix A – Getting Started with Microsoft SQL Server 2016
21. The ODBC Microsoft SQL Server Setup dialog box is displayed. Click the OK
button.
22. The WP_RO DSN file data source is created and displayed in the Select Data
Source. Now that the DSN is completed, we can finish linking the Microsoft
Access 2016 database to the SQL Server database. In the Select Data Source
dialog box, click the OK button.
3. Import all existing tables (including the COMPUTER and
COMPUTER_AUTHENTICATION tables if they have been imported as detailed
in Exercises A.30 and A.31).
Note that the steps in this question are a continuation of the steps in question 2—the
Microsoft Access 2016 Get External Data – ODBC Database Wizard continues to run
after we close the Select Data Source dialog box!
1. The SQL Server Login dialog box is displayed. Enter the password
WP-Reader+password in the Password text box, and then click the OK button.
The OK button
The WP_RO DSN
The OK button
Enter the password
WP-Reader+password
Appendix A – Getting Started with Microsoft SQL Server 2016
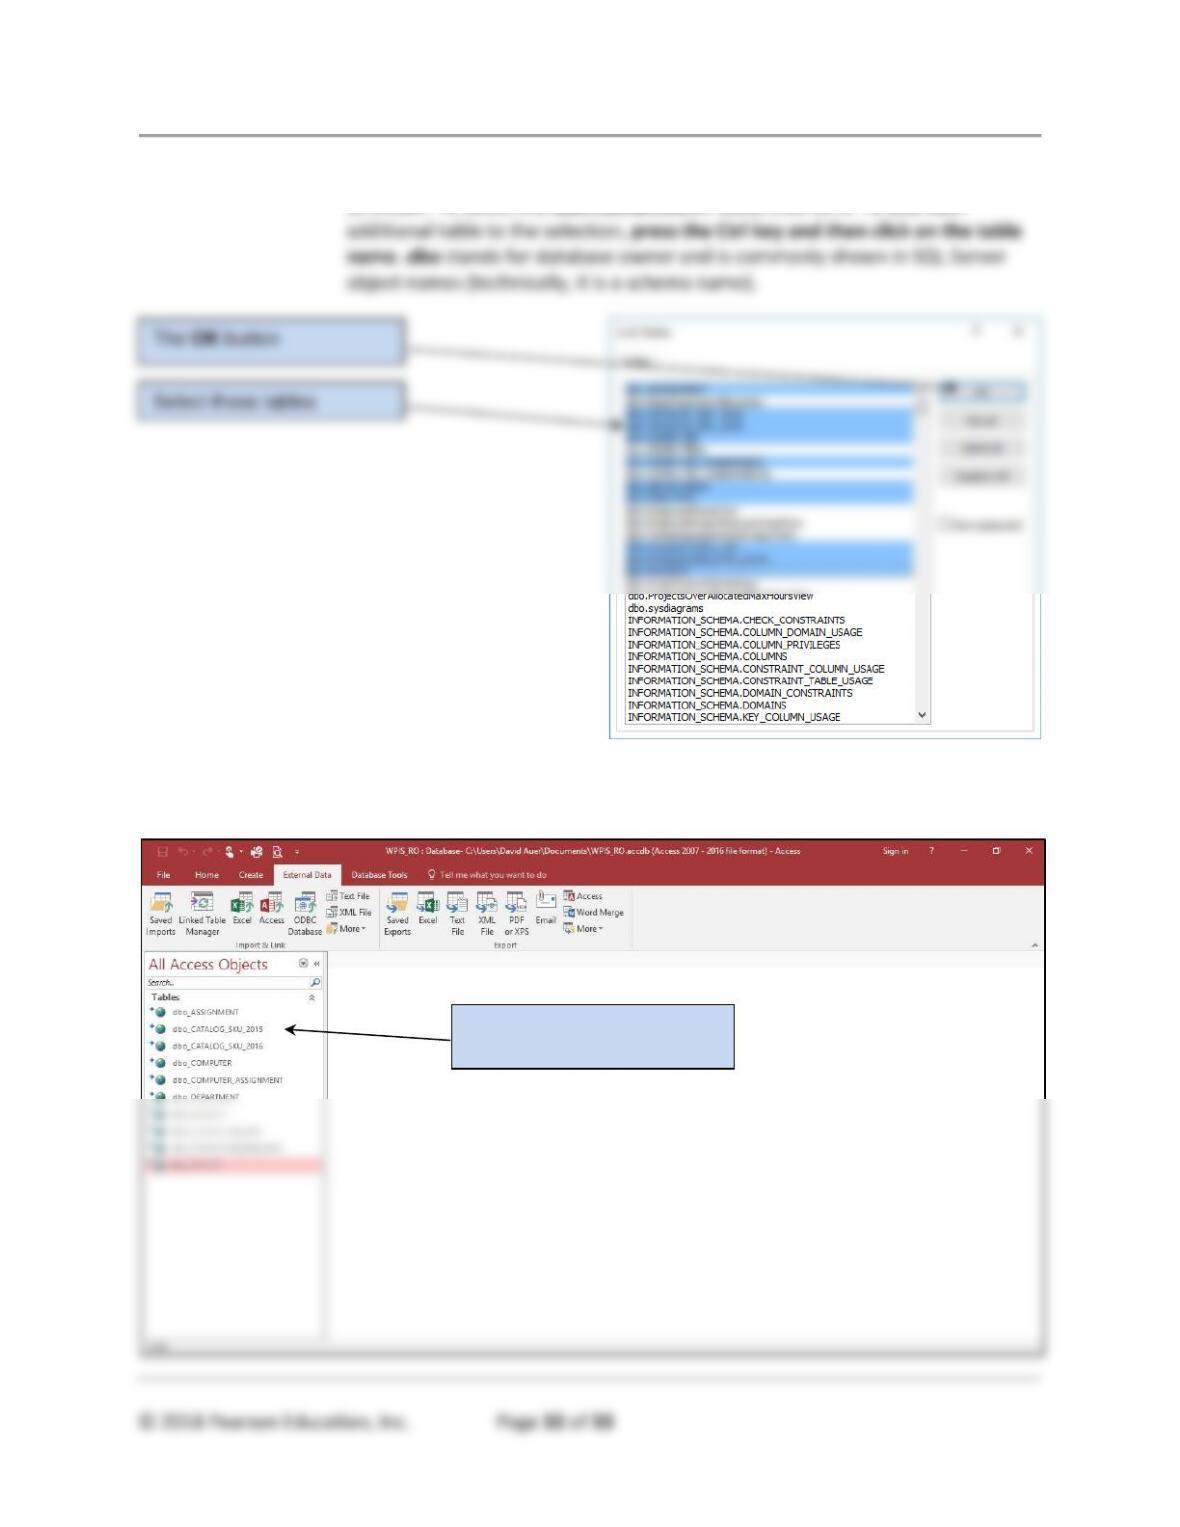
2. The Link Tables dialog box is displayed. Select the ten tables in the WP database
as shown. To select the dbo.ASSIGNMENT table, click on it. To add each
3. Click the OK button. The ODBC links between the WP_RO.accdb Microsoft
Access 2016 and the WP database in SQL Server 2016 are completed.
The OK button
Select these tables
The linked SQL Server 2016
tables
Appendix A – Getting Started with Microsoft SQL Server 2016
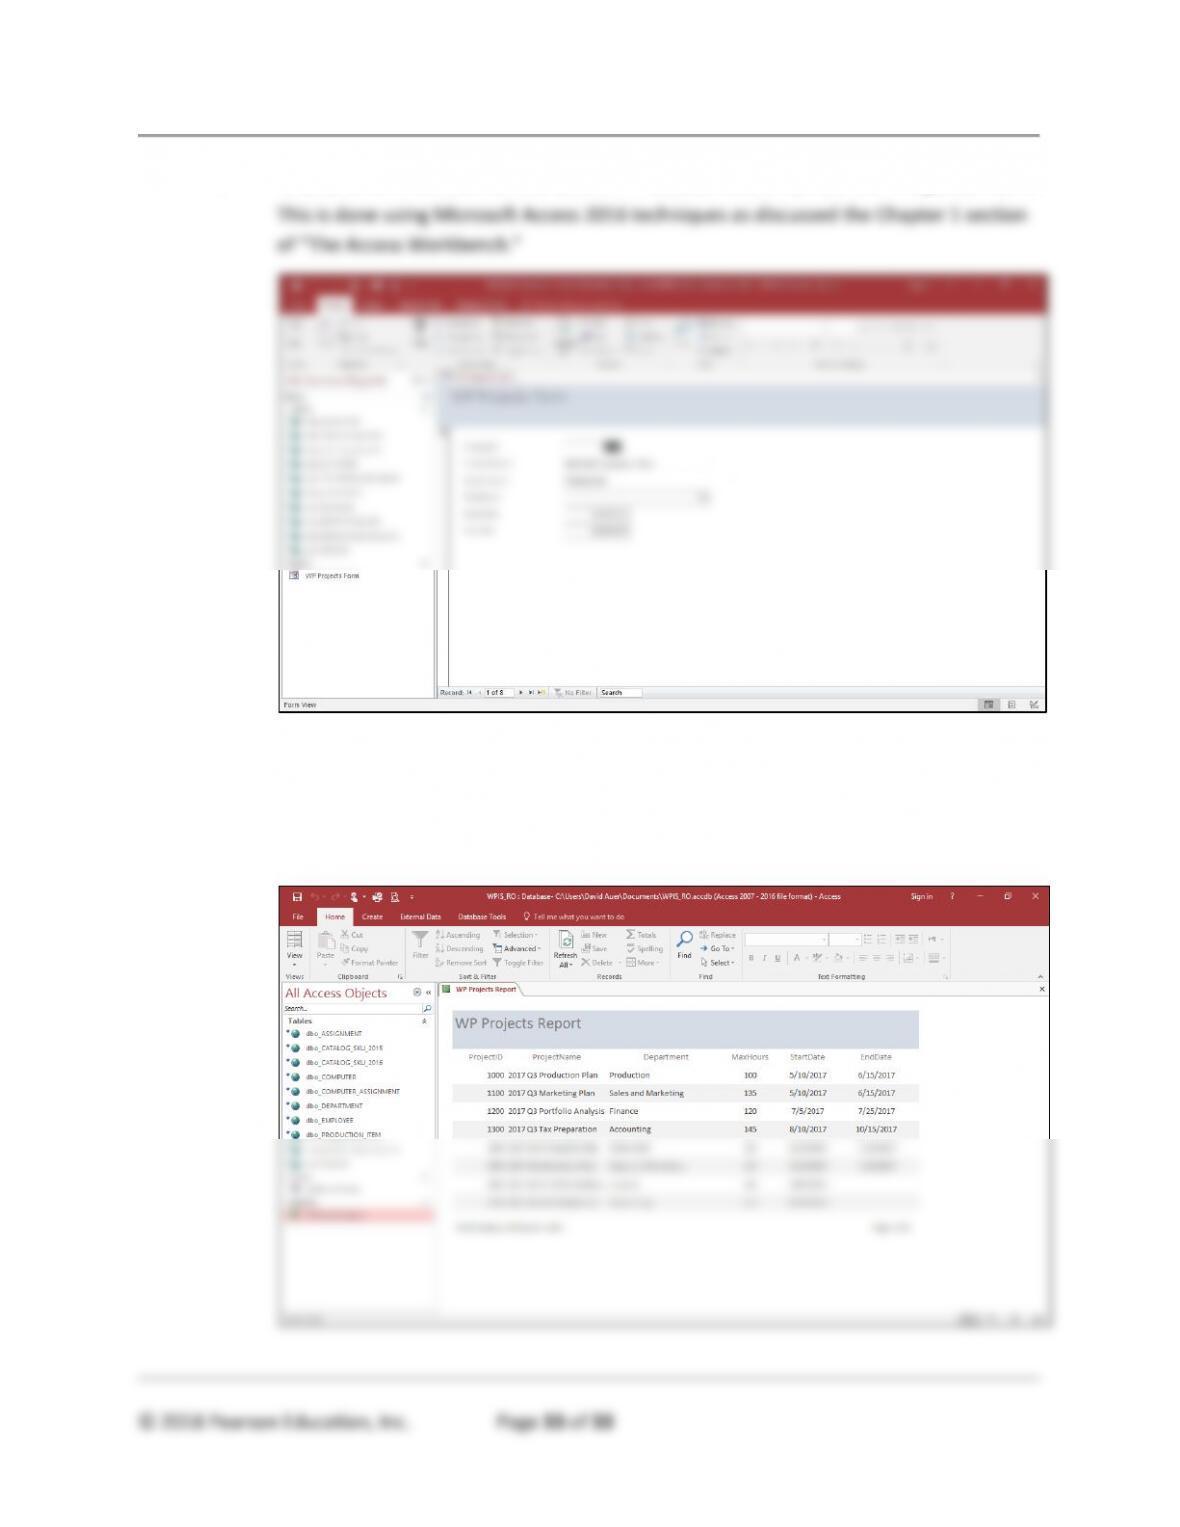
4. Create a form to show all the data in PROJECT table named WP Projects Form.
5. Create a report to show all the data in the PROJECT table named WP Projects
Report.
This is done using Microsoft Access 2016 techniques as discussed in the Chapter 4
section of “The Access Workbench.”