
159
Exercise 39
Container Plant Installation
OBJECTIVE
The objective of this exercise is the installation of 1 gallon
TEXTBOOK REFERENCE
Information related to this activity can be found in the
INTRODUCTION
A basic task of most landscape projects is the installa-
Excavating Planting Holes
Excavating a good planting hole is as essential to plant
survival as selecting a quality plant. Often the failure of
• Set the plant(s) in the desired location on the site.
• If the plant is small (less than 1 gallon), use spray
paint to mark a circle around the container. If the
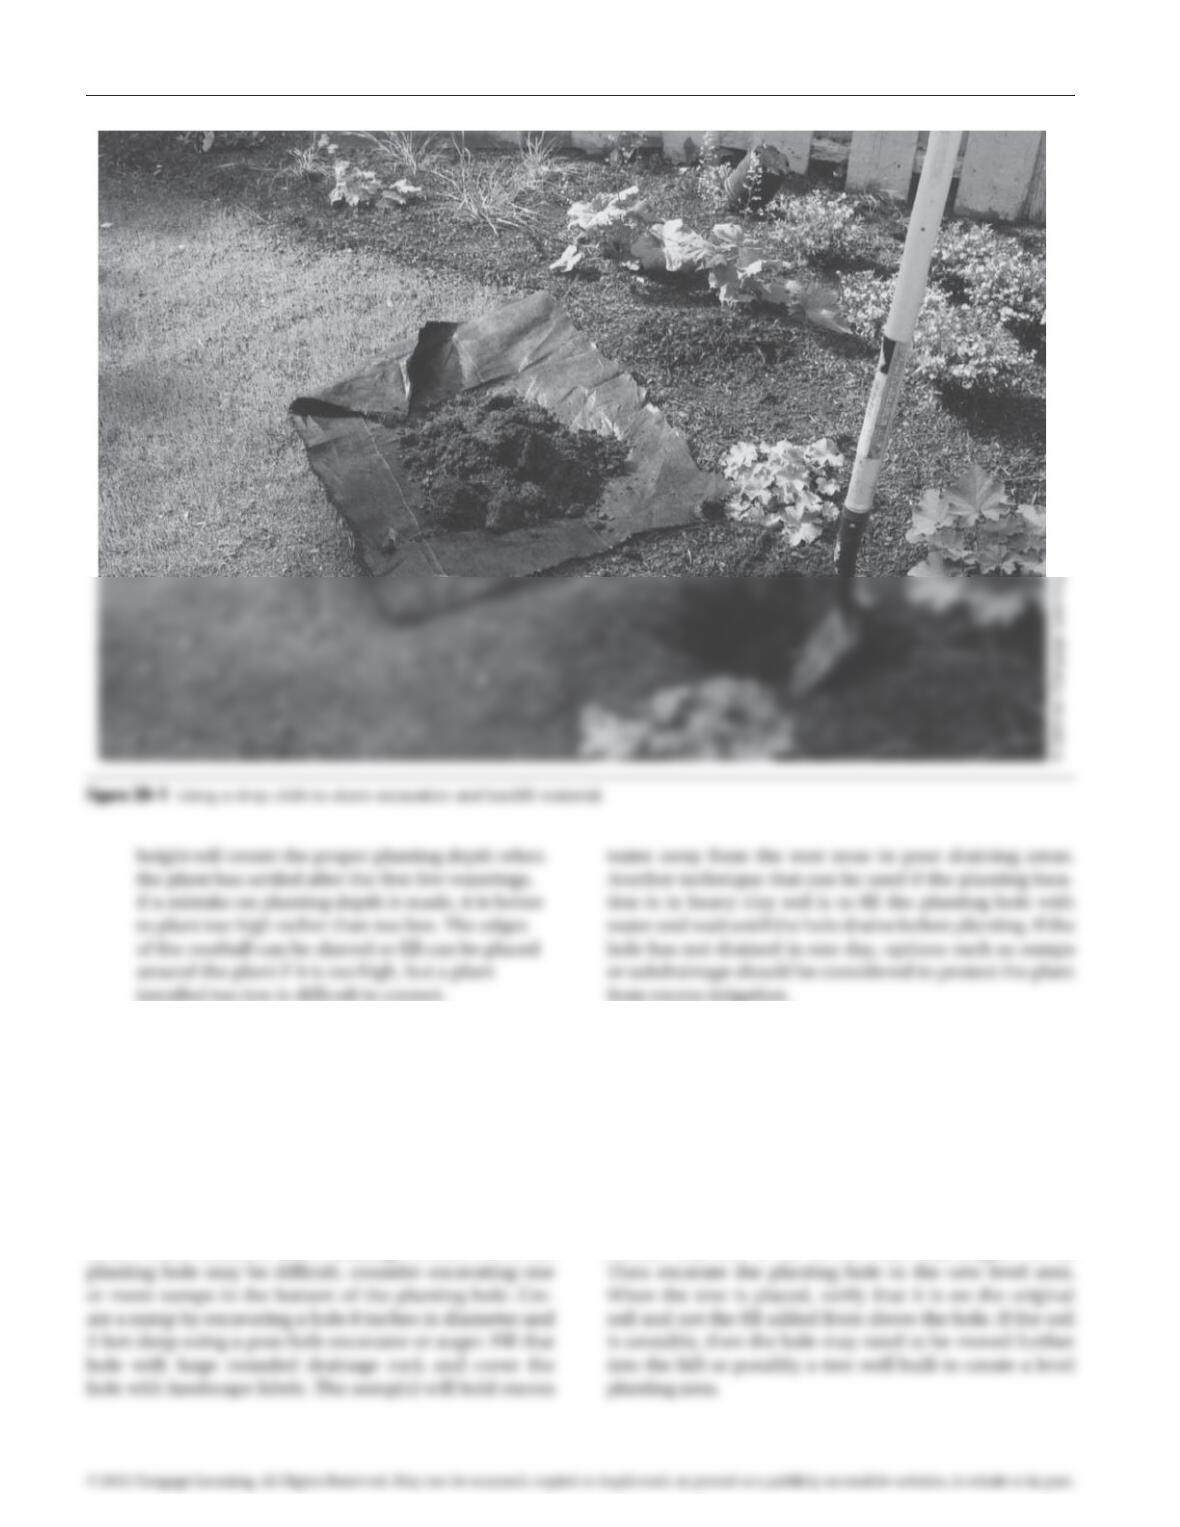
excavated soil and mix backfill (Figure 39–1).
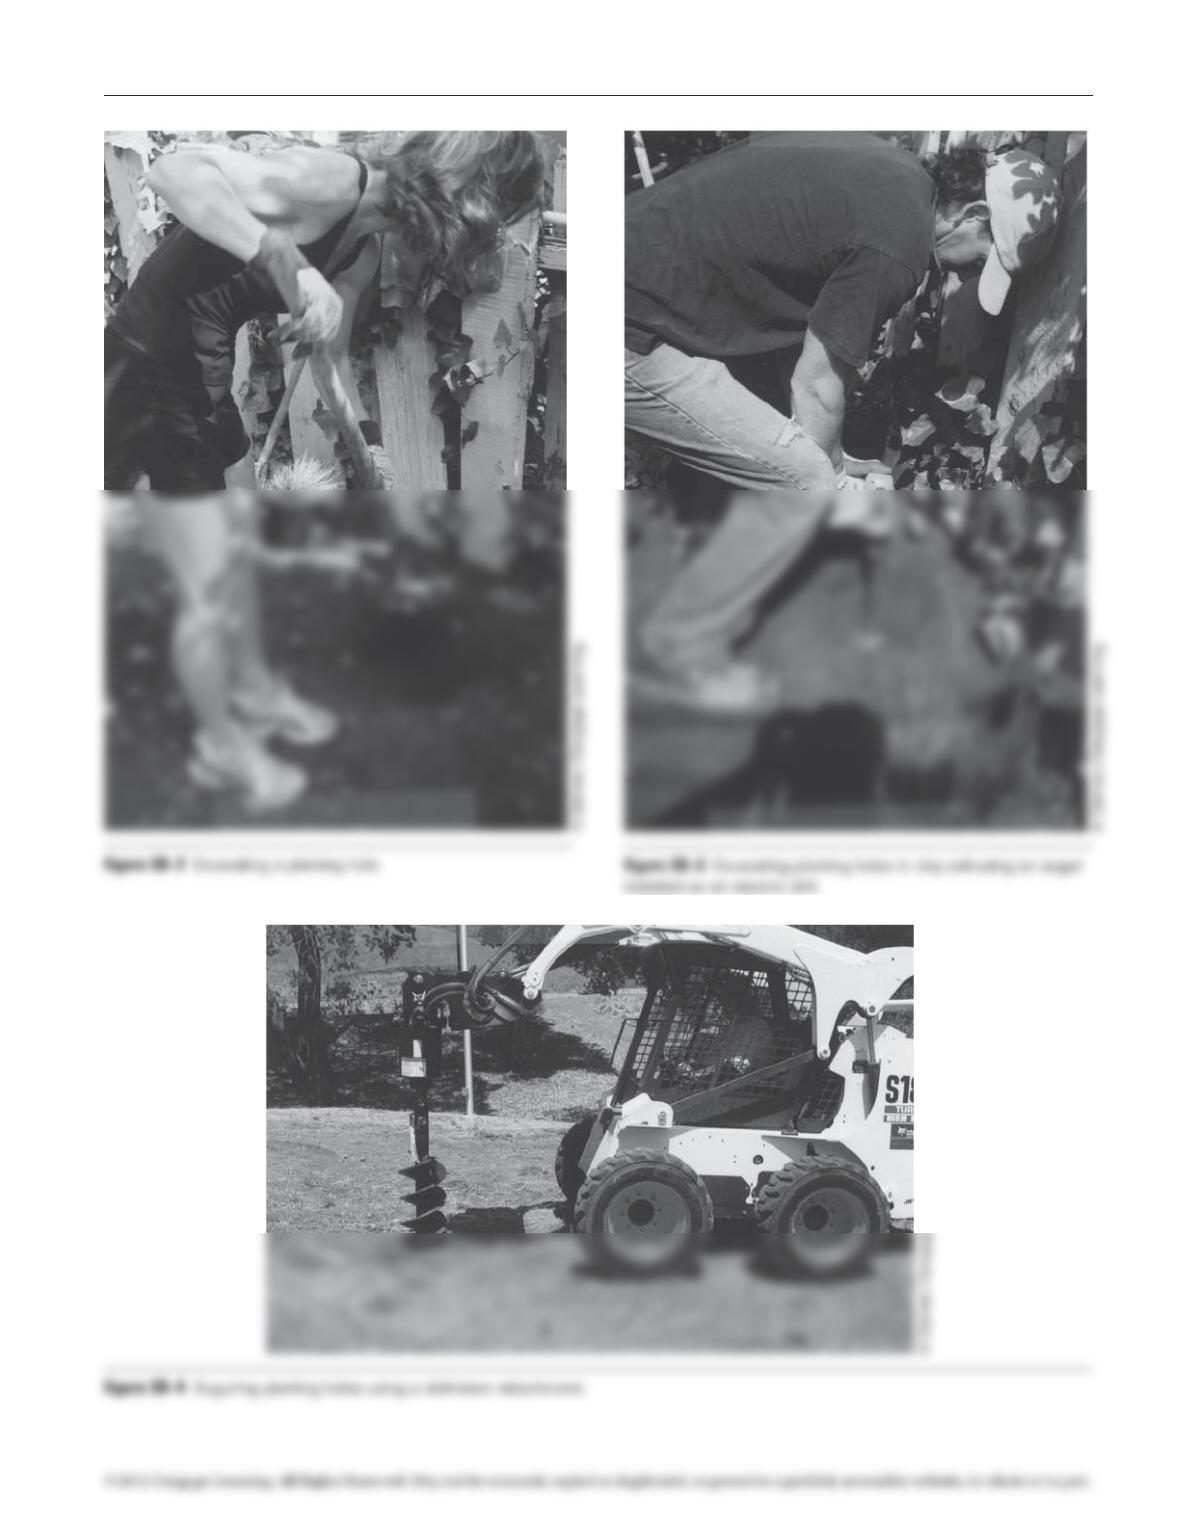
• Dig the hole to the proper diameter using a shovel,
auger, or backhoe (Figures 39–2 and 39–3). To
whereas boxed and balled and burlapped holes
should be 2 feet wider that than the rootball. Boxed
• Once the hole is excavated, examine the sides
of the hole for glazing. If the sides have been
smoothed and compacted by excavation, use a
mattock to scarify the surface.
97171_39_ch39_p159-164.indd 159 14/06/10 9:13 PM
160 Exercise 39 Container Plant Installation
Other situations can arise in a plant installation opera-
tion that require special techniques. One such situation
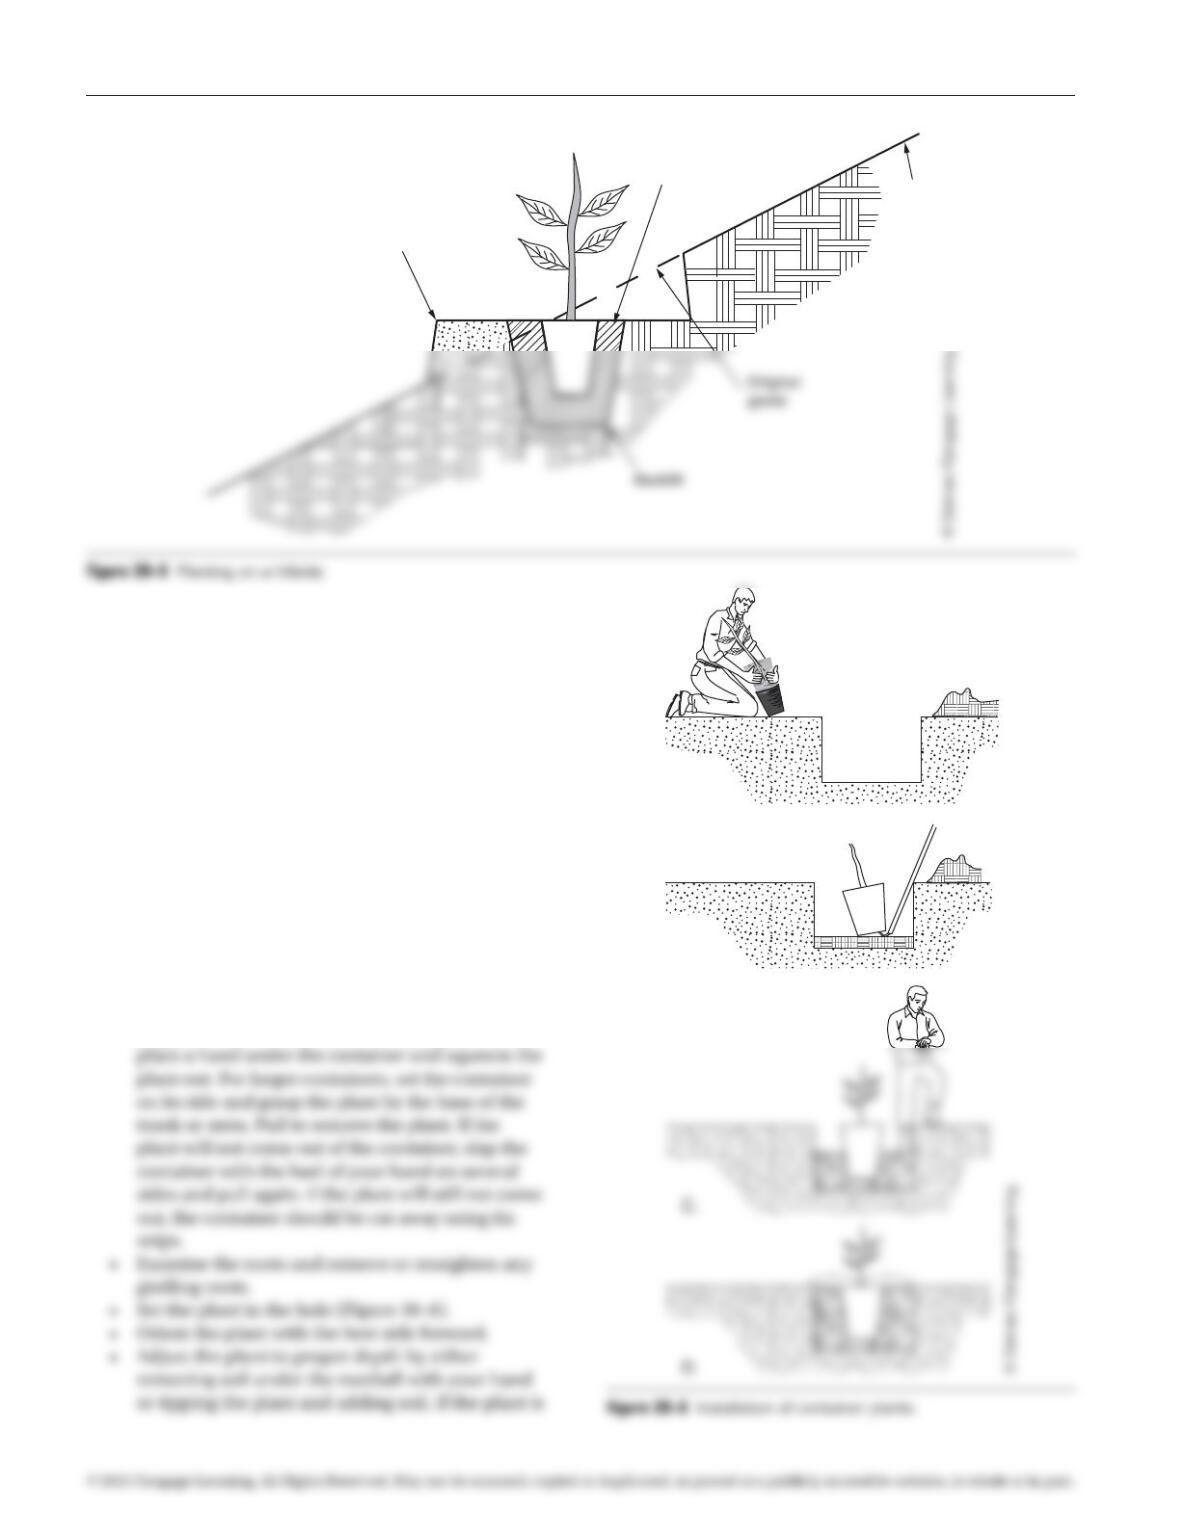
is planting on a hillside. While shrubs and smaller plants
are planted with the slope of the hillside, trees will appear
out of plumb if similarly planted. In order to plant trees on
a hillside and maintain the trunk in a vertical position, the
area where the planting hole is placed is benched prior
to digging the hole. Benching requires a minor cut and
fill operation above and below the center of the planting
hole. Excavate on the back half of the planting area and
transfer that soil to fill on the front half (Figure 39–5).
For difficult soils, a breaker bar or jackhammer with a
spade bit can be used to break through the soil surface
and commence digging, if the digging is to be done by
hand. In larger projects, it is not uncommon to use a
skid-steer mounted auger to excavate planting holes
(Figure 39–4). Larger plant material (4-inch caliper or
larger, 36-inch box or larger) will benefit from the use of a
backhoe to excavate the planting hole.
If planting is done in heavy clay soil, an urban loca-
tion, or other situation where drainage of water out of the
97171_39_ch39_p159-164.indd 160 14/06/10 9:13 PM
Exercise 39 Container Plant Installation 161
97171_39_ch39_p159-164.indd 161 14/06/10 9:13 PM
162 Exercise 39 Container Plant Installation
Installation of Container Plants
Container grown plant material has come to domi-
nate the landscape industry. Container stock is popular
for several reasons: growing mediums are consistent,
weights can be more easily predicted for shipping, and
transplanting is easy. Container stock now accounts for
the vast majority of plants installed in landscapes. A wide
variety of containers can be found, ranging from 2-inch
square “cells” in a growing flat to nursery containers of
up to 45 gallons.
To install container grown stock, use the following
steps (Figure 39–6):
• Excavate the planting hole.
• Place the plant near the planting hole.
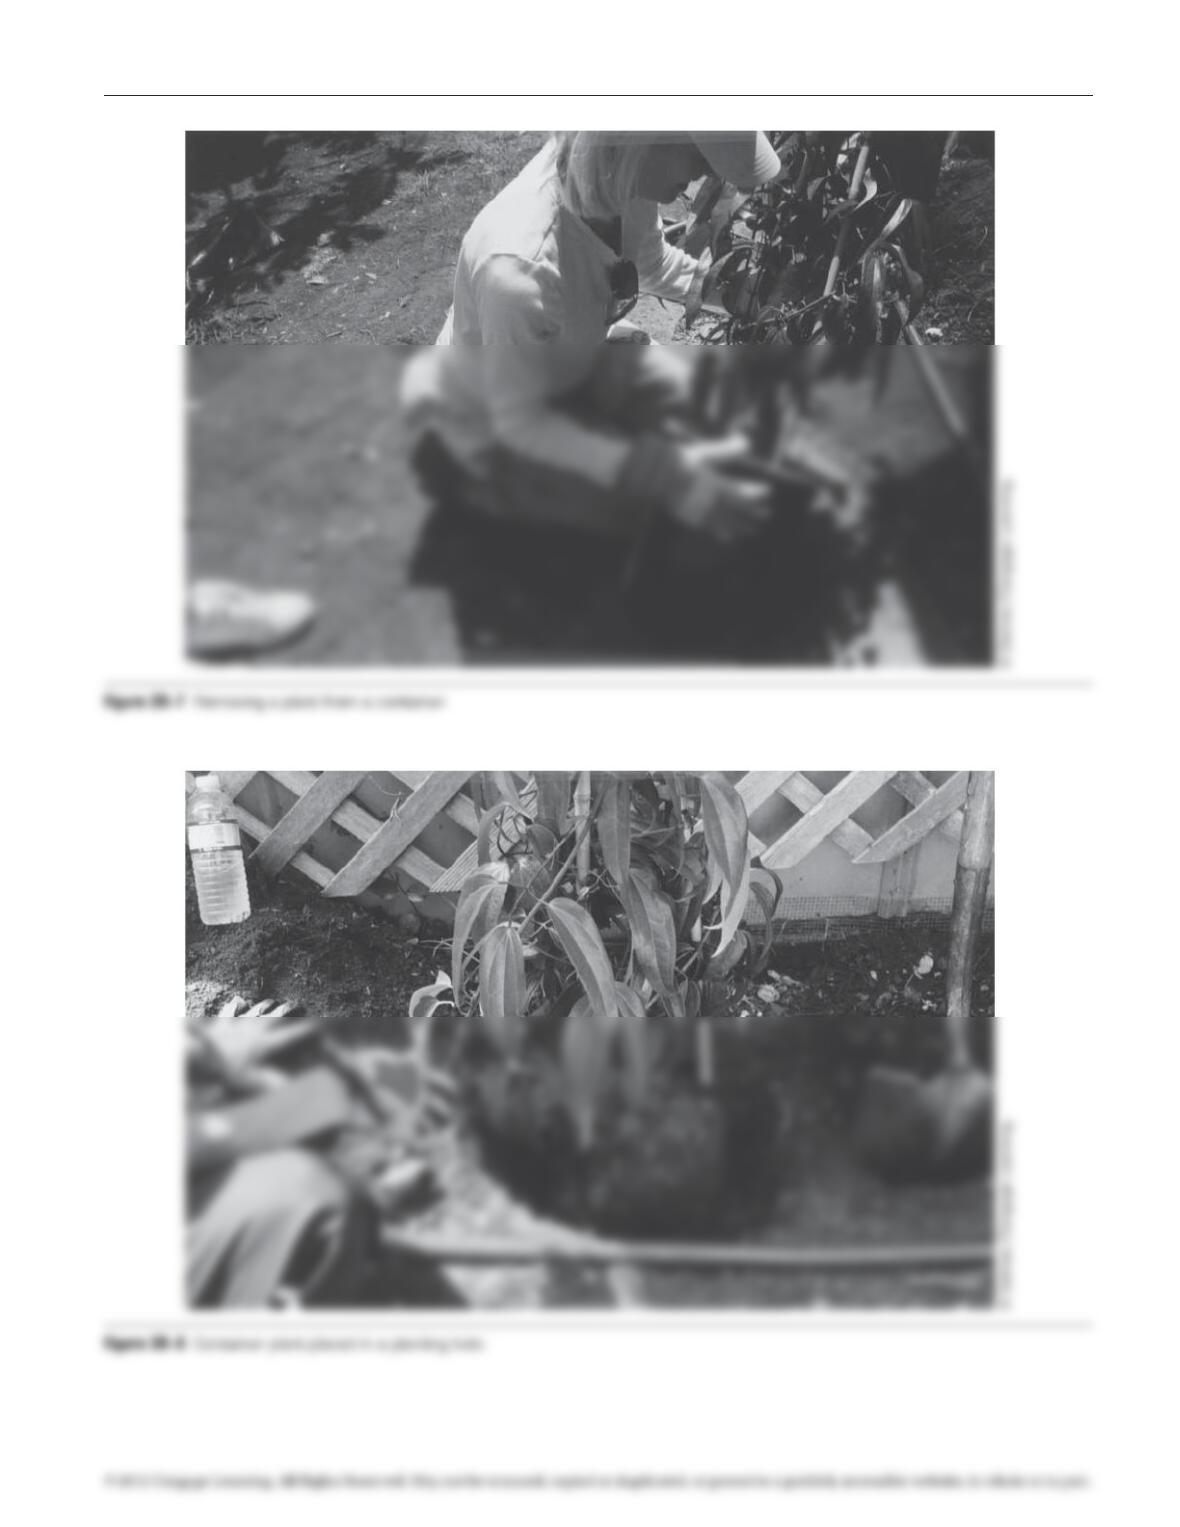
• Carefully remove the plant from the container
(Figure 39–7). For small containers (up to 4 inch),
Fill
area
Plant Cut
area
New
grade
A.
B.
97171_39_ch39_p159-164.indd 162 14/06/10 9:13 PM
Exercise 39 Container Plant Installation 163
97171_39_ch39_p159-164.indd 163 14/06/10 9:13 PM
164 Exercise 39 Container Plant Installation
large, it may require several adjustments to raise
or lower the plant and maintain proper orientation
and plumb.
PREREQUISITE EXERCISES
Students should have successfully completed Exercise5,
Tool Operation and Construction Techniques before
beginning this exercise.
MATERIALS REQUIRED
• An area in which to plant, approximately 20 feet ×
20 feet, clear of objects and utilities
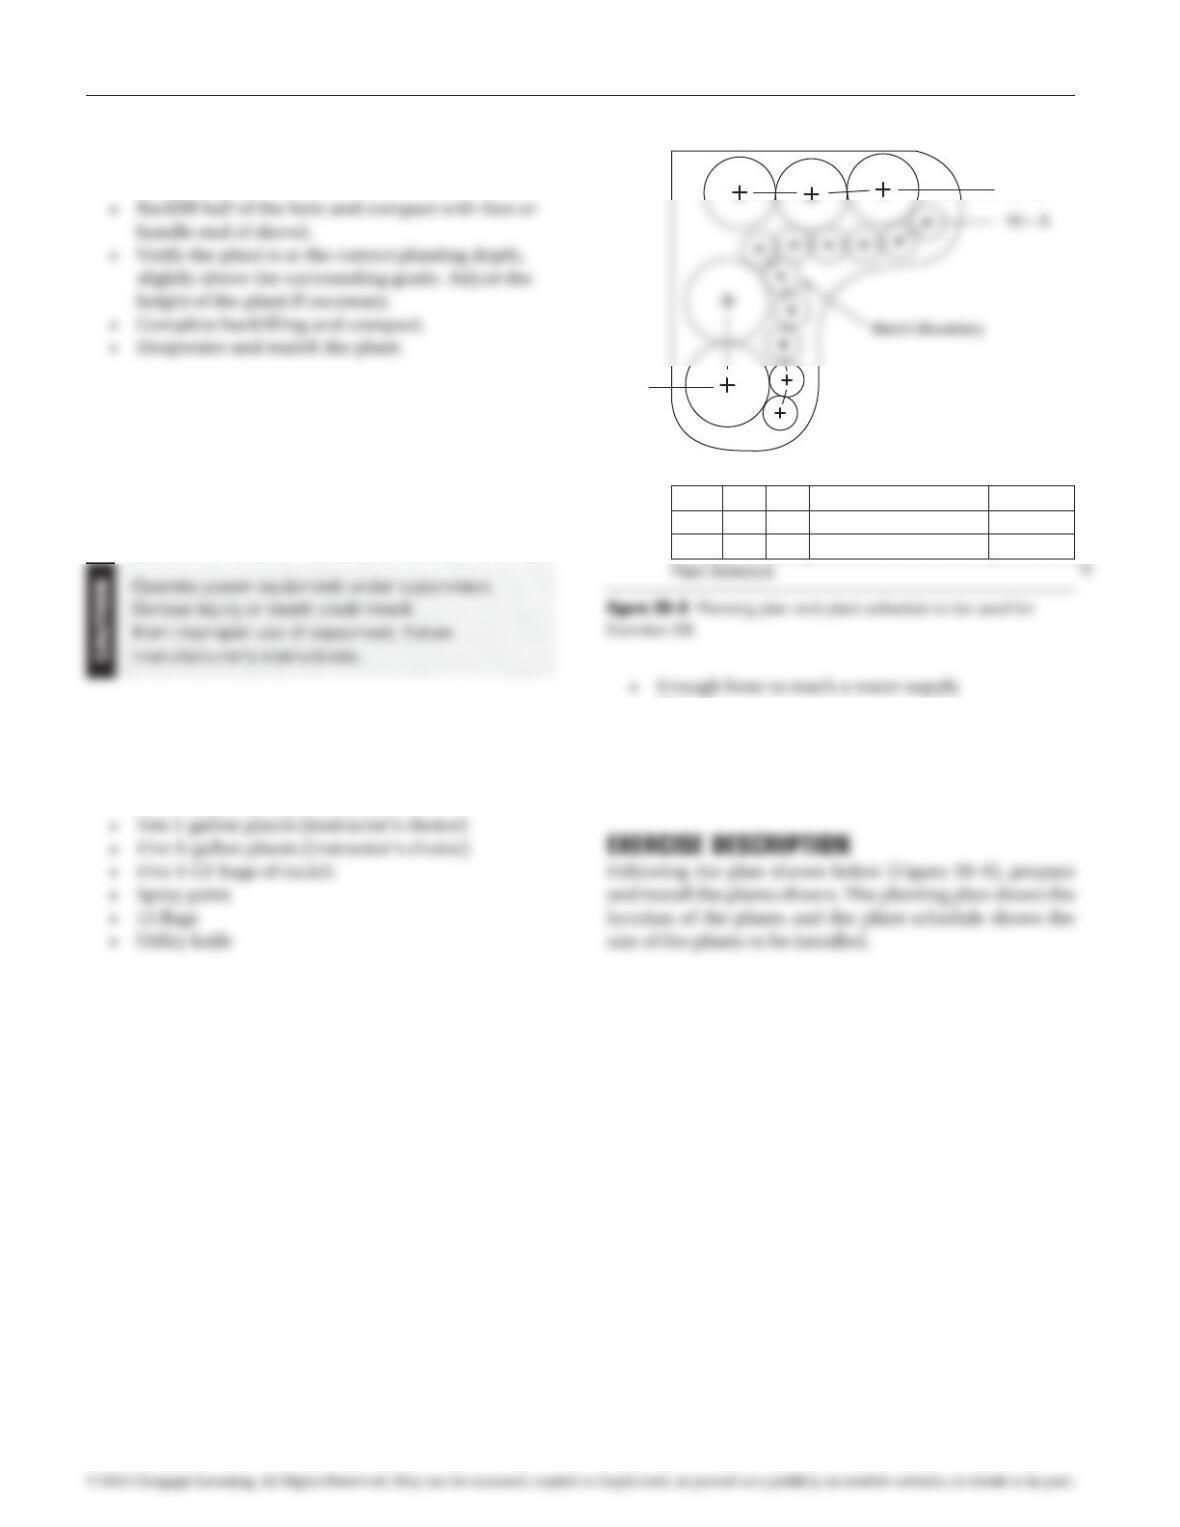
Walk or Wall
3 – B
2 – B
Planting Plan
Key Qty Size Plant Name Remarks
A 10 1 Gal (Selected by Instructor) Remarks
B 5 5 Gal (Selected by Instructor) Remarks
• Shovels
• Breaker bars
• Other excavation equipment is optional, including
jackhammer or bobcat with auger
97171_39_ch39_p159-164.indd 164 14/06/10 9:13 PM