LABORATORY MANUAL AND WORKBOOK FOR BIOLOGICAL
ANTHROPOLOGY INSTRUCTOR’S MANUAL
Lab 14: Identifying the Human Lineage
ANSWERS TO LAB 14 CONCEPT REVIEW QUESTIONS
1. When studying the brains of our fossil relatives, we rely on indirect evidence (cranial
2. No; tool use is not unique to members of our own human lineage. It is also seen in
3. C. Occasional bipedalism is the kind of bipedalism practiced by a living chimpanzee
(not random, habitual, or obligate bipedalism).
6. A human pelvis differs from the pelvis of a nonbipedal primate in that humans have
IM14-2
7. Bipedal adaptations that can be found in the human femur include the femur angles
8. The savanna hypothesis is an explanation for the evolution of bipedalism that
mya, or 9 mya to 6.5 mya).
GUIDE & ANSWERS TO LAB 14 EXERCISES
Exercise 1: Bipedal Adaptations of the Cranium (10 minutes)
For this exercise, you could use your own materials to supplement or replace the images
1. Which mystery primate is a biped?
2. Describe one adaptation seen in this primate’s cranium that indicates bipedal locomotion.
3. How does this adaptation help the primate to move bipedally?
Exercise 2: Bipedal Adaptations of the Vertebral Column (5 to 10 minutes)
For this exercise, you could use your own materials to supplement or replace the images
provided in the Image Library of the articulated vertebral columns from (A) a human and (B) a
nonhuman primate (such as the baboon depicted).
Examine the skeletal material provided (or the photos in the Lab 14 Exercise Image Library on p.
421).
1. Which mystery primate is a biped?
2. Describe two adaptations seen in this primate’s vertebral column that indicate bipedal
locomotion.
3. How do these adaptations help the primate to move bipedally?
IM14-4
Exercise 3: Bipedal Adaptations of the Pelvis (5 to 10 minutes)
For this exercise, you could use your own materials to supplement or replace the images
422).
1. Which mystery primate is a biped?
3. How do these adaptations help the primate to move bipedally?
Exercise 4: The Bipedal Gait (45 minutes)
In this exercise, students will test the hypothesis that: longer legs result in longer strides, so
someone may cover a greater distance in fewer steps. Students will measure their leg length and
compare it to their average stride length. To help students understand the relationship, it is
important that they have these data from at least 10 different individuals. If you have a small
class, all the students could work together and be measured. If you have a large class, the class
could be broken into smaller groups of 10 to 15 individuals to complete the activity. Even in a

IM14-5
small class, you may want students to work in smaller groups to do the measuring and then
compile all the information for the class as a whole.
Each student group will need these supplies: a standard measuring tape or stick (for
measuring leg length and individual stride lengths) and a long measuring tape (if you want
students to see the 15-foot distance for Step 2); a precut length of paper (such as butcher paper)
at least 15 feet long; a shallow basin (such as a paint tray) filled partway with water; towels with
which students can dry their feet; and calculators.
[Note: Remind students to limit the amount of water they apply to their feet and to walk
carefully because of the wet surface. Also, encourage students to be prepared to measure the
footprints right away before the water dries and the footprints are lost. Instead of water, this
activity could be completed with students setting their feet in washable paint (such as children’s
finger paint) before walking.]
[Note: The student’s raw data for leg length and average stride length will vary
depending on the people measured, but their general conclusions should be as follows.]
In this lab, you learned that bipeds have elongated legs. In this exercise, we will examine this
trait and why it might have evolved.
STEPS 1, 2, and 3: Collect leg length and stride length data and tabulate the data. On a separate
sheet of paper, create a list or chart for your data that shows the two sets of data for each person
(leg length and average stride length). For example, you can re-create the lab manual chart on p.
413.
STEP 4: Interpretation

IM14-6
2. Based on the data you collected, is the hypothesis supported or rejected? Why?
The hypothesis longer legs result in longer strides, so someone may cover
2. In thinking about the evolution of bipedalism, describe at least one advantage that
longer legs may have provided to our ancestors.
Exercise 5: Bipedal Adaptations of the Femur (5 to 10 minutes)
For this exercise, you could use your own materials to supplement or replace the images
provided in the Image Library of the articulated pelvis and femur from (A) a nonbipedal primate
(such as the gibbon depicted) and (B) a human. [Note: In the images provided in the Image
Library, the left side is shown.]

IM14-7
Examine the skeletal material provided (or the photos in the Lab 14 Exercise Image Library on p.
422).
1. Which mystery primate is a biped?
2. Describe one adaptation seen in this primate’s femur that indicates bipedal locomotion.
3. How does this adaptation help the primate to move bipedally?
Exercise 6: Bipedal Adaptations of the Foot (5 to 10 minutes)
For this exercise, you could use your own materials to supplement or replace the images
provided in the Image Library of articulated feet from (A) a nonbipedal primate (such as the
gibbon depicted) and (B) a human. [Note: In the images provided in the lab Image Library, A
shows a left foot, and B shows a right foot.]
Examine the skeletal material provided (or the photos in the Lab 14 Exercise Image Library on p.
423).
1. Which mystery primate is a biped?
2. Describe two adaptations seen in this primate’s foot that indicate bipedal locomotion.
IM14-8
3. How do these adaptations help the primate to move bipedally?
Exercise 7: The Pre-Australopiths (5 to 10 minutes)
For Part B of this exercise, you could use your own materials to supplement or replace the
images provided.
PART A: Match each of the pre-australopiths named below to its corresponding description.
Sahelanthropus tchadensis = 2 (lived about 7–6 mya in central Africa; had a small cranial
capacity, a large brow ridge, and an anteriorly positioned foramen magnum)
Orrorin tugenensis = 1 (lived about 6 mya in eastern Africa; femurs had long necks with
grooves for obturator externus muscles)
Ardipithecus ramidus = 3 (lived about 4.4 mya in eastern Africa; had long arms and fingers
and a relatively short, broad pelvis)
PART B: Anterior view of reconstructed pelvis from Ardipithecus ramidus.
What adaptations for bipedalism are seen in this Ardipithecus ramidus pelvis?

IM14-9
PART C: The pre-australopith fossils are especially significant because they challenge some of
the long-standing explanations of our evolutionary history. Describe two reasons the pre-
australopiths force us to rethink the savanna hypothesis in particular. (Hint: Think about the
anatomical traits of the pre-australopiths and the environmental and temporal context in which
they lived.)
Exercise 8: The Evolution of Bipedalism: Thermoregulation (10 to 15 minutes)
For this exercise, you will need to provide students with a lamp and a doll. We recommend using
a desk lamp that can be adjusted and positioned such that the bulb faces down directly over the
table surface. Any doll can be used, although it should be relatively flexible and capable of being
positioned both upright and all fours. A paper doll or toy animal could be used such that the
object could be held upright or bent over as needed.
STEP 1. Position the lamp so it is above the doll and facing directly downward.
STEP 2: Position the doll so that it is on all fours under the lamp.
STEP 3: Position the doll so that it is standing on two legs under the lamp.
STEP 4: Answer the following discussion questions:
1. In which position did the doll have the least sun exposure?
2. Why might having less sun exposure be an advantage in a warm environment?
IM14–10
3. In which position do you think the doll has the most exposure to wind and air circulation?
4. Why might having more exposure to the wind be an advantage in a warm environment?
5. Based on this test, do you think the thermoregulation hypothesis might provide a valid
explanation for the evolution of bipedalism? Is it challenged by the pre-australopith
finds?
Exercise 9: The Evolution of Bipedalism: Postural Feeding (15 minutes)
STEP 1: Review the data provided in the table.
STEP 2: Analyze the data and look for patterns.
1. In general, which primates engage in more suspensory arm-hanging: the baboon or the
apes?
2. Which two primates engage in the most suspensory arm-hanging? What environment do

IM14–11
they live in?
3. Which primate engages in the most bipedal standing? What environment does it live in?
4. Which two primates engage in the most bipedal walking? What environment do they live
in?
STEP 3: Interpret the data.
5. Based on the patterns you identified above, do you think the ape lineage was more likely
to become bipedal than the other primates? Why or why not?
6. Based on the patterns you identified above, is an open forest (or savanna) environment
necessary for the evolution of bipedalism? Why or why not?
7. Do the data presented here support the postural feeding hypothesis? Why or why not?

IM14–12
ANSWERS TO LAB 14 CRITICAL THINKING QUESTIONS
1. Students are to list the three types of bipedalism, describe the frequency with which it is
used and the extent of bipedal adaptations, and should provide an example of a primate
who practices this type of bipedalism and why.
• Occasional bipedalism: Bipedalism is practiced rarely; no specific bipedal
adaptations; seen in all apes and many monkeys. This form of bipedalism is
• Habitual bipedalism: Bipedalism is practiced regularly, but is not the only form of
locomotion; some bipedal adaptations are present; seen in many human ancestors,
• Obligate bipedalism: Bipedalism is practiced all the time, and there are no other
realistic locomotor alternatives; many bipedal adaptations are present; seen in
humans and some of our recent ancestors (see also the next question). This form
of bipedalism is used by species that cannot feasibly move another way. The same
IM14–13
2. Answers identifying a living nonprimate animal that is also a biped and comparing its
bipedalism to our bipedalism, considering how it moves and some of its possible
adaptations (such as limb length), will vary, depending on animal chosen. Two examples
are provided here.
• Ostriches: Ostriches are also bipedal. Their bipedalism is less efficient than ours
(their gait is not so smooth). They are more top-heavy than us (their center of gravity
is higher), and their legs are not as robust as ours (though they are relatively robust
3. Students are to analyze anterior and superior views of a fossilized pelvis and provide two
traits to support their opinion on whether the species was bipedal. Students should
recognize that this pelvis is intermediate between a human and something similar to a
chimpanzee. The ilia are relatively short and broad and the pelvis is slightly bowl-shaped.
Although it is not identical to a human pelvis, it shows traits more similar to a human
than a nonhuman. Therefore, it is bipedal.
IM14–14
4. Students are to examine the picture of Laetoli footprints; compare that footprint to their
own from Exercise 4; and describe two of the bipedal adaptations visible. The footprint
shows that the toes were short. It also shows that the hallux is larger and relatively in line
5. Students are to state what foot traits and corresponding functions seen in other primates
have been lost in our feet, and why would we have lost such helpful features. We no
6. Students are to hypothesize why they think bipedalism evolved in our lineage. Answers
should describe some of the advantages of bipedalism (considering the risk of predation,

IM14–15
food availability, environment, etc.), any disadvantages, and why bipedalism might have
evolved.
• Advantages: Answers will vary, but may include things such as these: Bipedalism
helps to free the individual’s arms for tools, carrying food, wielding weapons,
• Disadvantages: Answers will vary, but may include things such as these:
Bipedalism makes it easier for predators to see an individual; bipedalism makes
• Why bipedalism evolved: Answers will vary, but students should justify their
explanation by highlighting an important advantage.
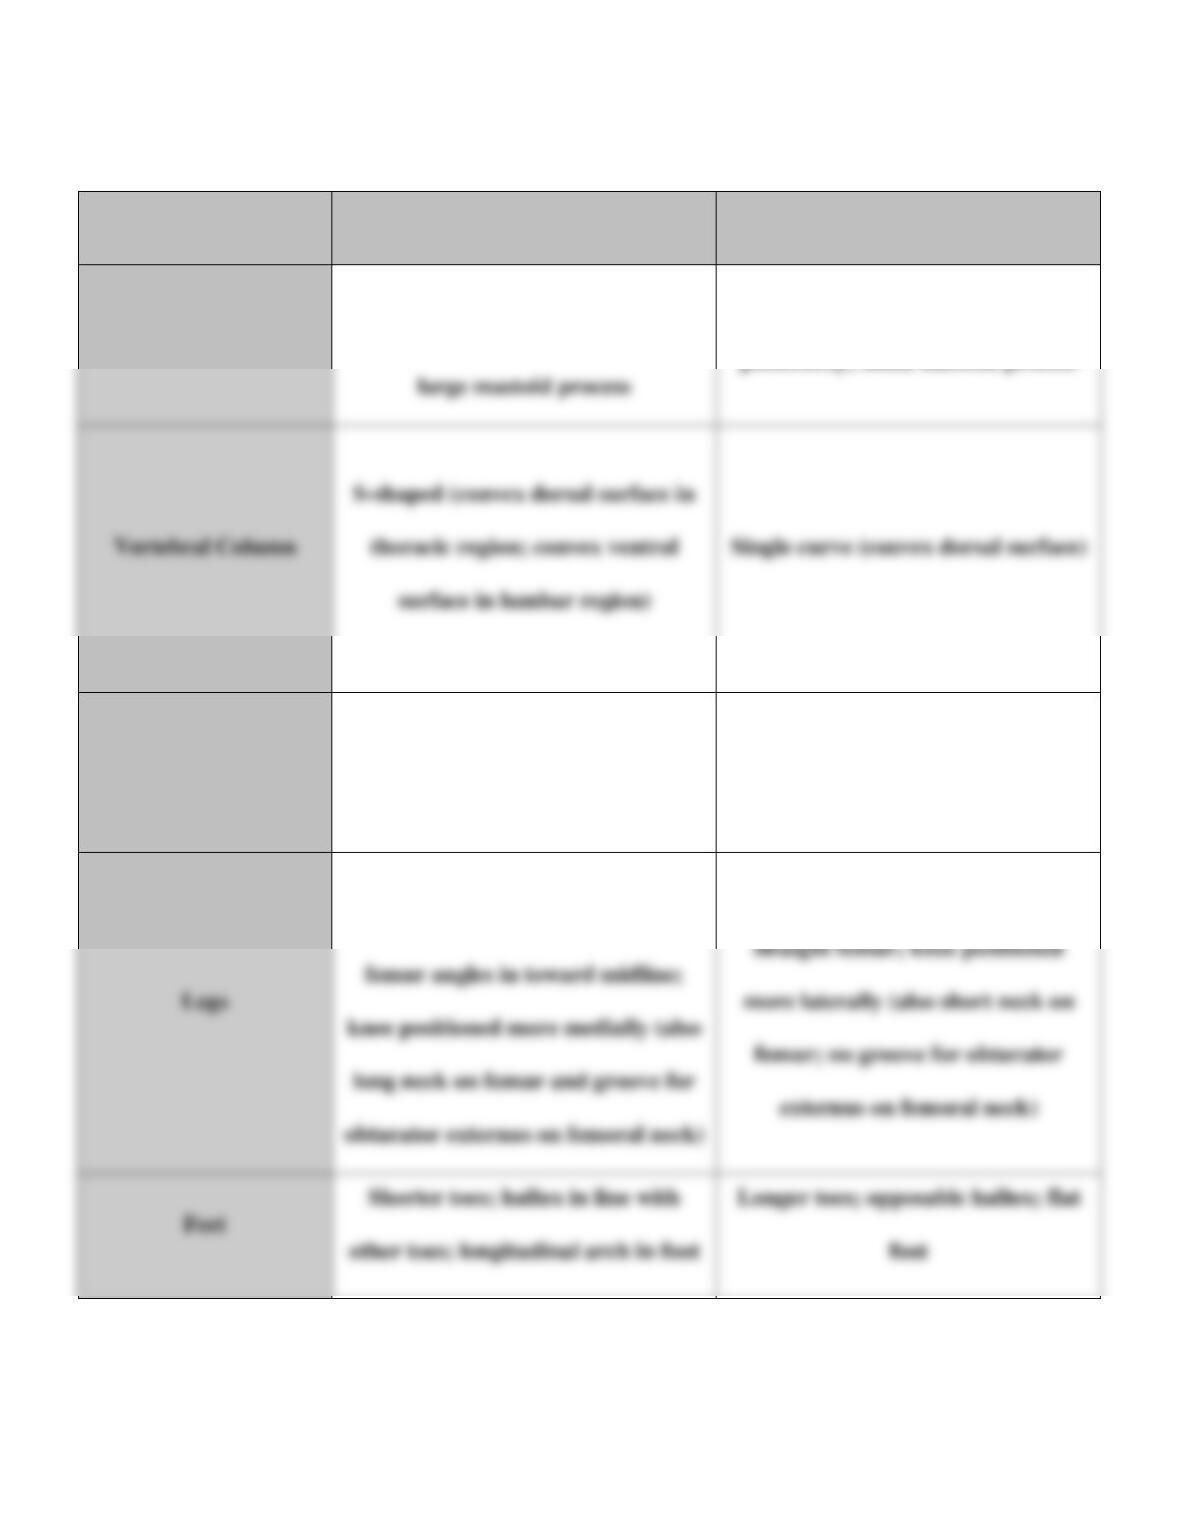
7. A completed Bipedal Adaptations Chart is provided on the following page. [Note: You
8. Students are to use their completed Bipedal Adaptations Chart to answer these questions.
Some elements of the answers may vary; sample answers are provided here.
IM14–16
A. We have more adaptations for bipedalism in the lower body than the upper body. This
is probably because bipedal movement is heavily reliant on the lower body. [Note:
B. All bipedal traits help with balance to some extent, but the clearest connections to
balance are found in the vertebral column (the s-shape prevents us from tipping
C. Again, all bipedal traits in the skeleton somehow relate to soft tissue, but the clearest
connections are found in the cranium (the foramen magnum positioned more
anteriorly to support the head above the upright trunk and the adequate connection of
IM14–17
BIPEDAL ADAPTATIONS CHART
Bipedal Primate
Nonbipedal Primate
Cranium
Foramen magnum positioned more
anteriorly (and inferiorly);
Foramen magnum positioned more
posteriorly; small mastoid process
Pelvis
Short, broad ilia positioned more
laterally; bowl-shaped pelvis
Tall, narrow ilia; flat and less bowl-
shaped pelvis
Longer legs relative to body size;
elongated femur, tibia, and fibula;
Shorter legs relative to body size;
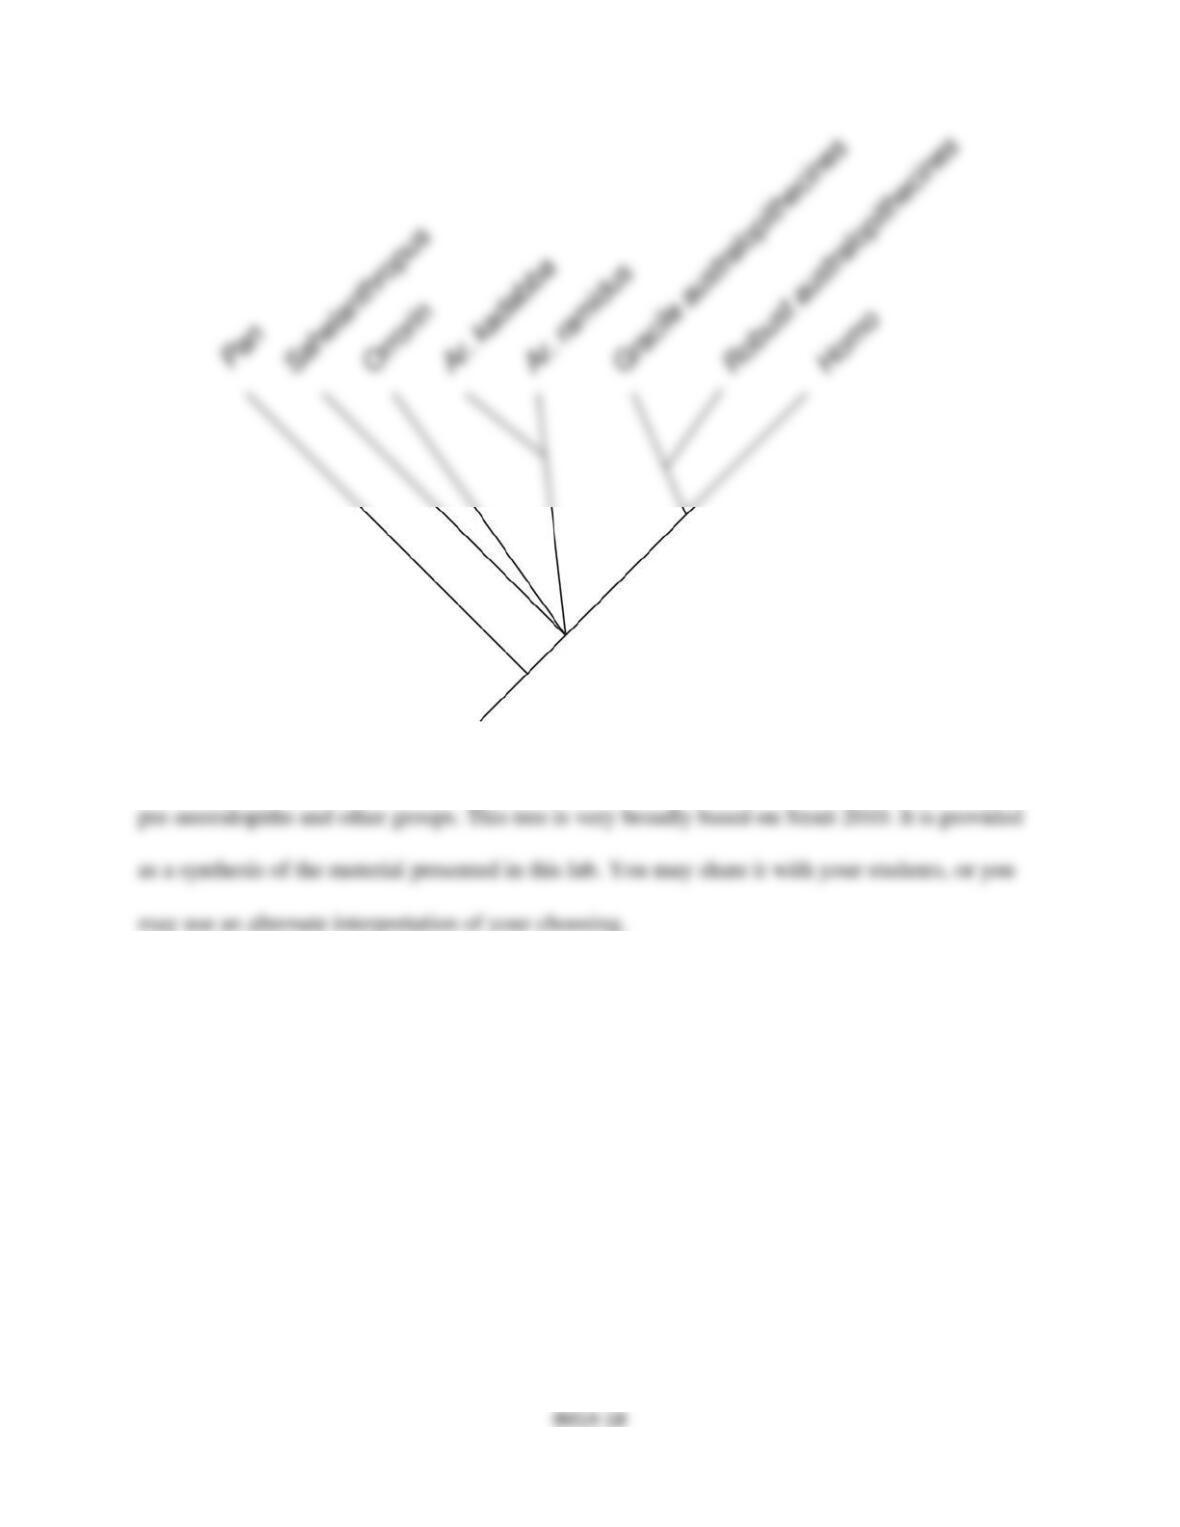
Cladogram of Pre-Australopiths. This cladogram shows the possible relationships among the