
1
EXCEL TEMPLATES
OPERATIONS GUIDE
EXCEL TEMPLATES were developed by McGraw-Hill/Irwin to accompany
FUNDAMENTALS OF COST ACCOUNTING, Fifth Edition, by Lanen, Anderson and
Maher. It is designed to provide you, the student, with experience in using
microcomputers in accounting by working selected problems at the end of chapters, using
spreadsheet templates developed for Excel 2003. The purpose of this guide is to provide
general software operating instructions as well as to provide specific help in completing
Excel Template problems. The guide is divided into five sections:
Using Excel 2010: This section is an abbreviated guide to using Excel
spreadsheet software. It is not meant to be a comprehensive user’s manual;
USING EXCEL 2010
WHAT IS AN EXCEL SPREADSHEET
An Excel spreadsheet is a grid of 16,384 rows and 256 columns that allow you to enter
and manipulate numbers and text and to create graphs.
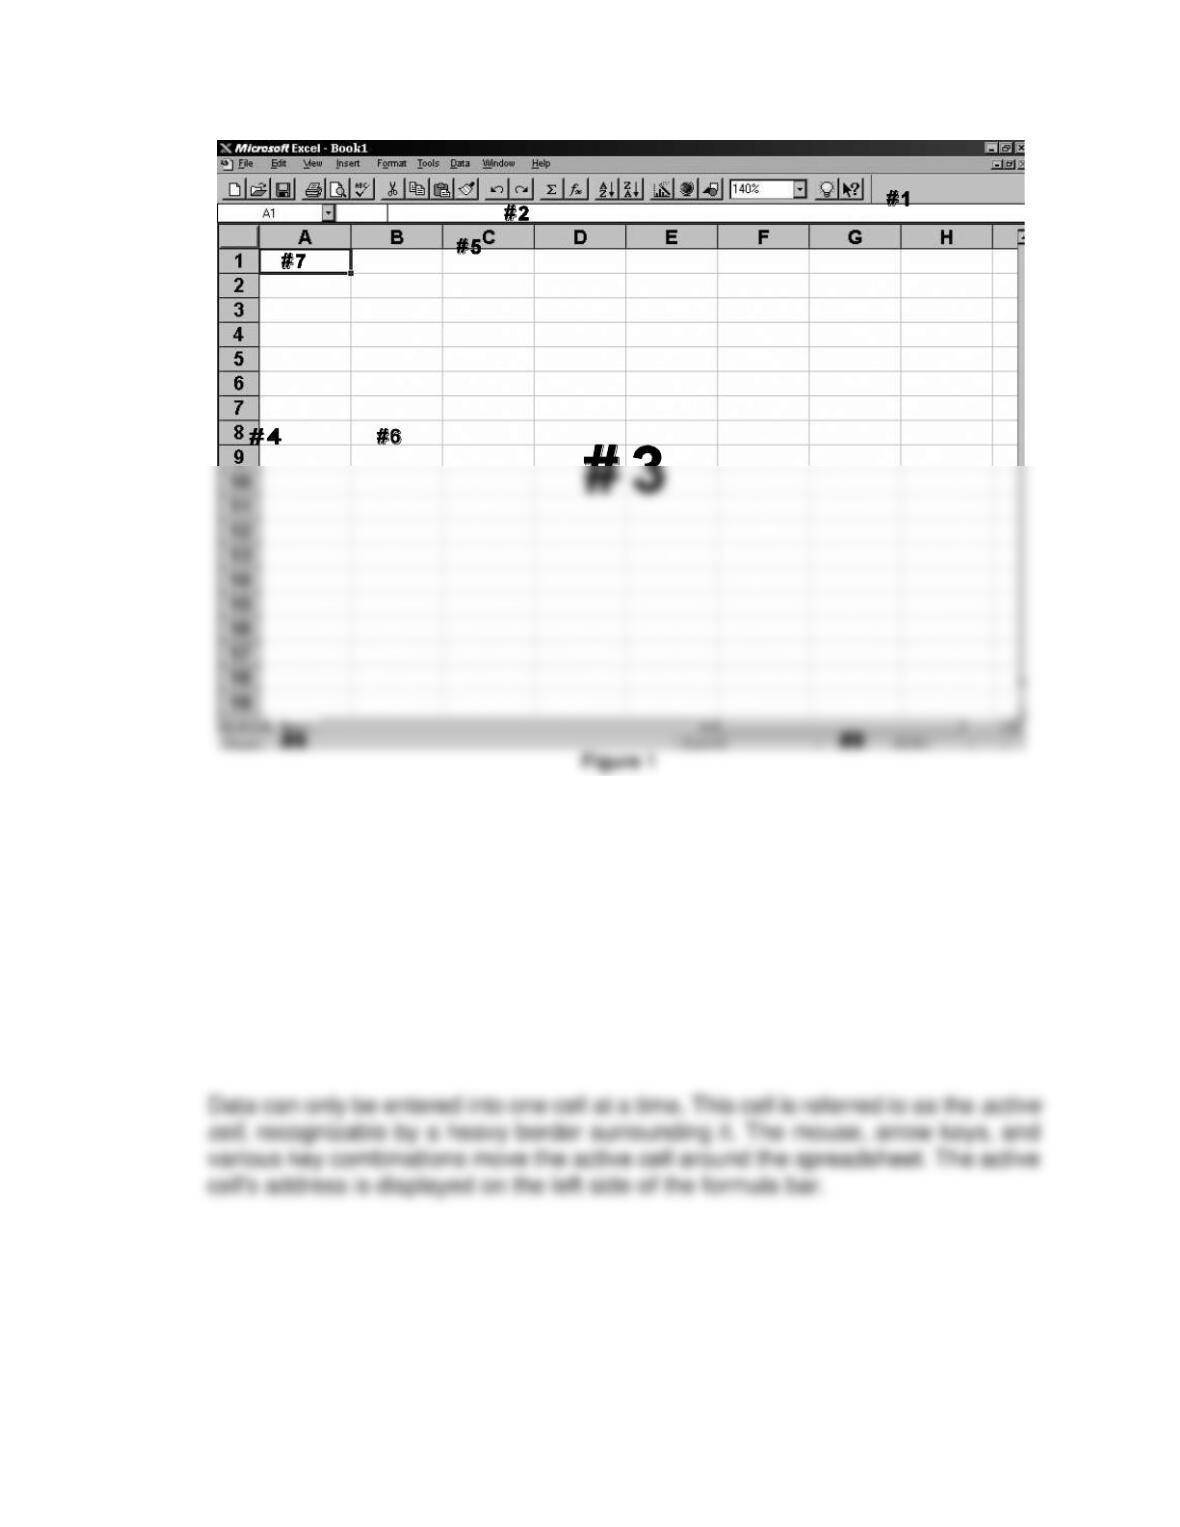
SCREEN TERMINOLOGY (Refer to Figure 1.)
Toolbar – Key #1
The row of buttons below the menu bar of the application window gives quick
access to commands and tools such as bold, italic, and formatting.
Rows – Key #4
Rows are designated by a number along the left side of the document window. The
rows are numbered from 1 through 16,384.
3
Ranges
A range is one or more contiguous cells that have been selected. It is identified by
the upper left and lower right cell addresses separated by a colon. For example,
A1:F15 is the rectangular block of cells covered by this address range. Many
features in Excel require that a range of cells be selected before performing an
action.
Active Cell – Key #7
Cell Pointer – Key #7
The cell pointer highlights the active cell in the spreadsheet. You may move the
cell pointer through the spreadsheet by using the keyboard or mouse. Table 1
below provides more information about moving through the spreadsheet.
Status Line – Key #8
MOUSING AROUND THE SPREADSHEET
Excel is designed to be used with a mouse. Most actions are performed with the left
mouse button, including selecting all menu options. The right mouse button is used only
to bring up shortcut menus in various places in the Excel window. This manual, unless
otherwise indicated, refers to clicking the left mouse button.
There are three main actions performed with the mouse:
1. Point and click. Point at something on the screen and click. This action will normally
select something such as a menu item, cell, or file name.
The following mouse actions may be used to move through a document window:
5
Hold the Ctrl key and click on various cells, column letters, or row numbers to activate
non-contiguous cells or cell ranges.
To select a contiguous range of cells, click on the upper left cell of the range. Next, press
the Shift key while clicking in the lower right corner of the range.
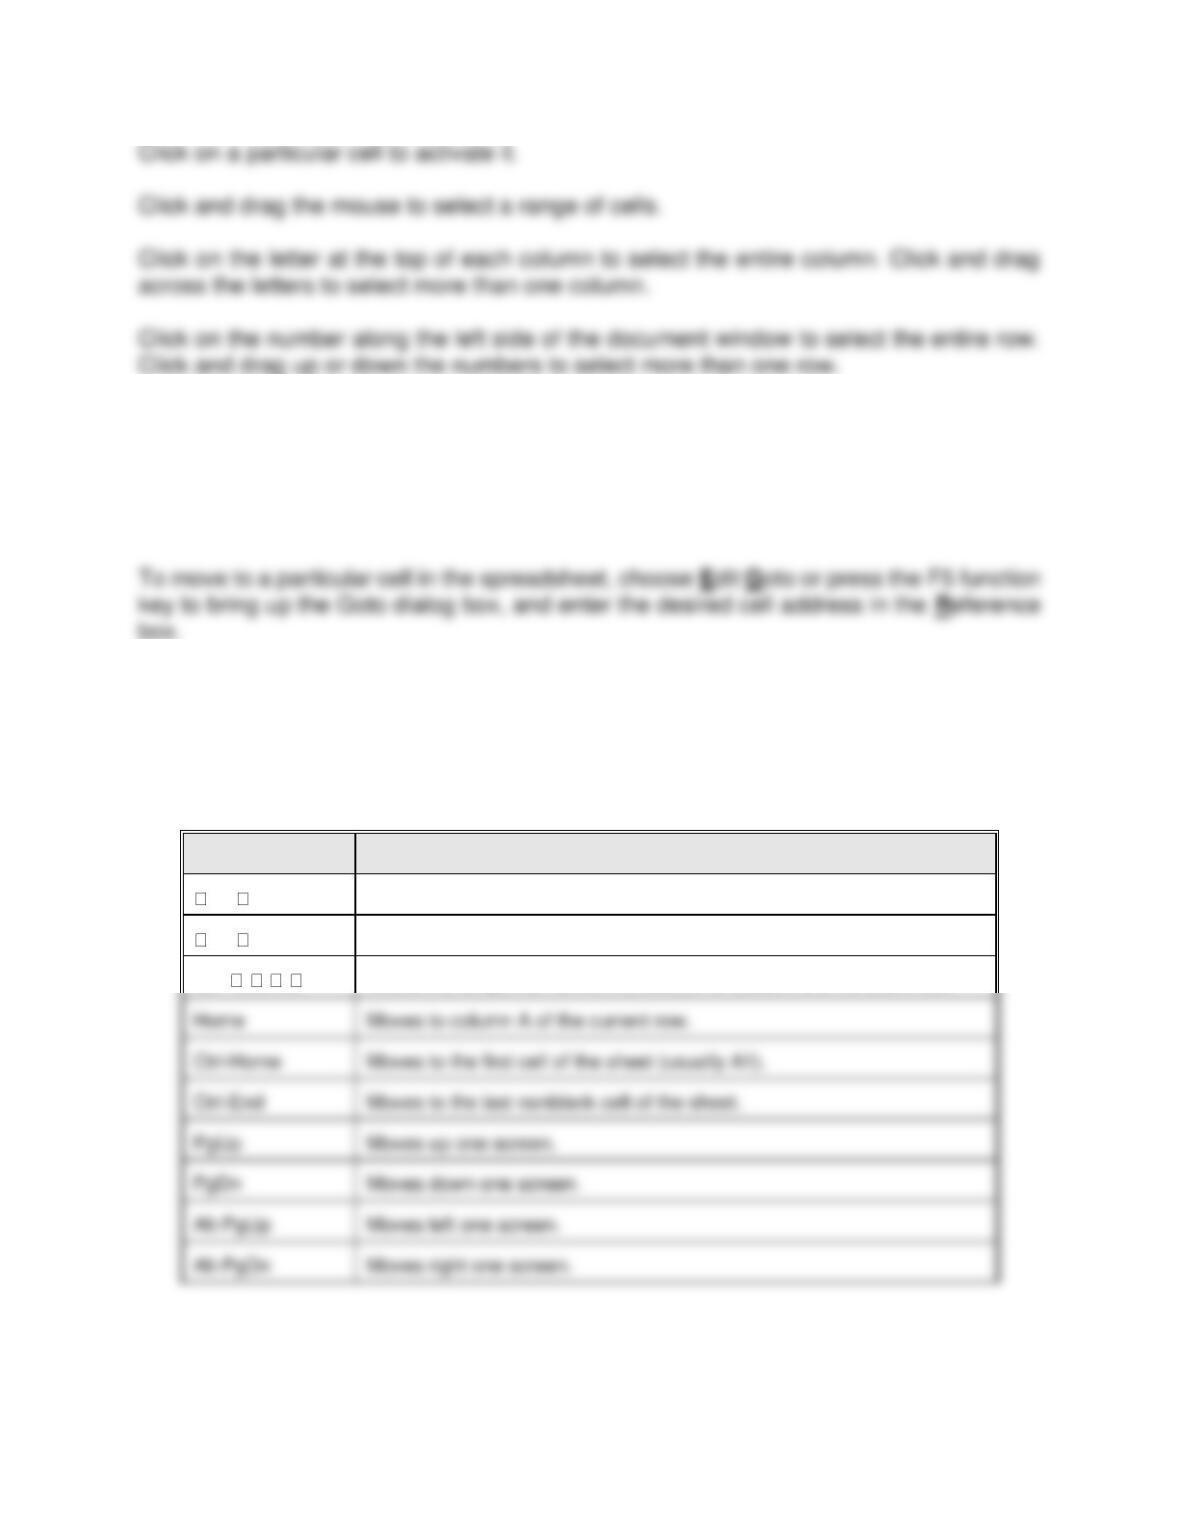
CELL POINTER MOVEMENT USING THE KEYBOARD
In addition to using a mouse, you may also use the keyboard to move around the
spreadsheet (refer to Table 1).
Table 1 – Common Keyboard Movement
Excel
ACTION
or Arrow
Moves the cellpointer up or down one cell.
or Arrow
Moves the cellpointer left or right one cell.
Ctrl- , , ,
Moves the cellpointer to the intersection of a blank and nonblank cell.
Home
Moves to column A of the current row.
Ctrl-Home
Moves to the first cell of the sheet (usually A1).
Ctrl-End
Moves to the last nonblank cell of the sheet.
PgUp
Moves up one screen.
PgDn
Moves down one screen.
Moves left one screen.
Moves right one screen.
6
LAUNCHING THE PROGRAM
Click the Start button, point to Programs, and then click on the Microsoft Excel program
icon.
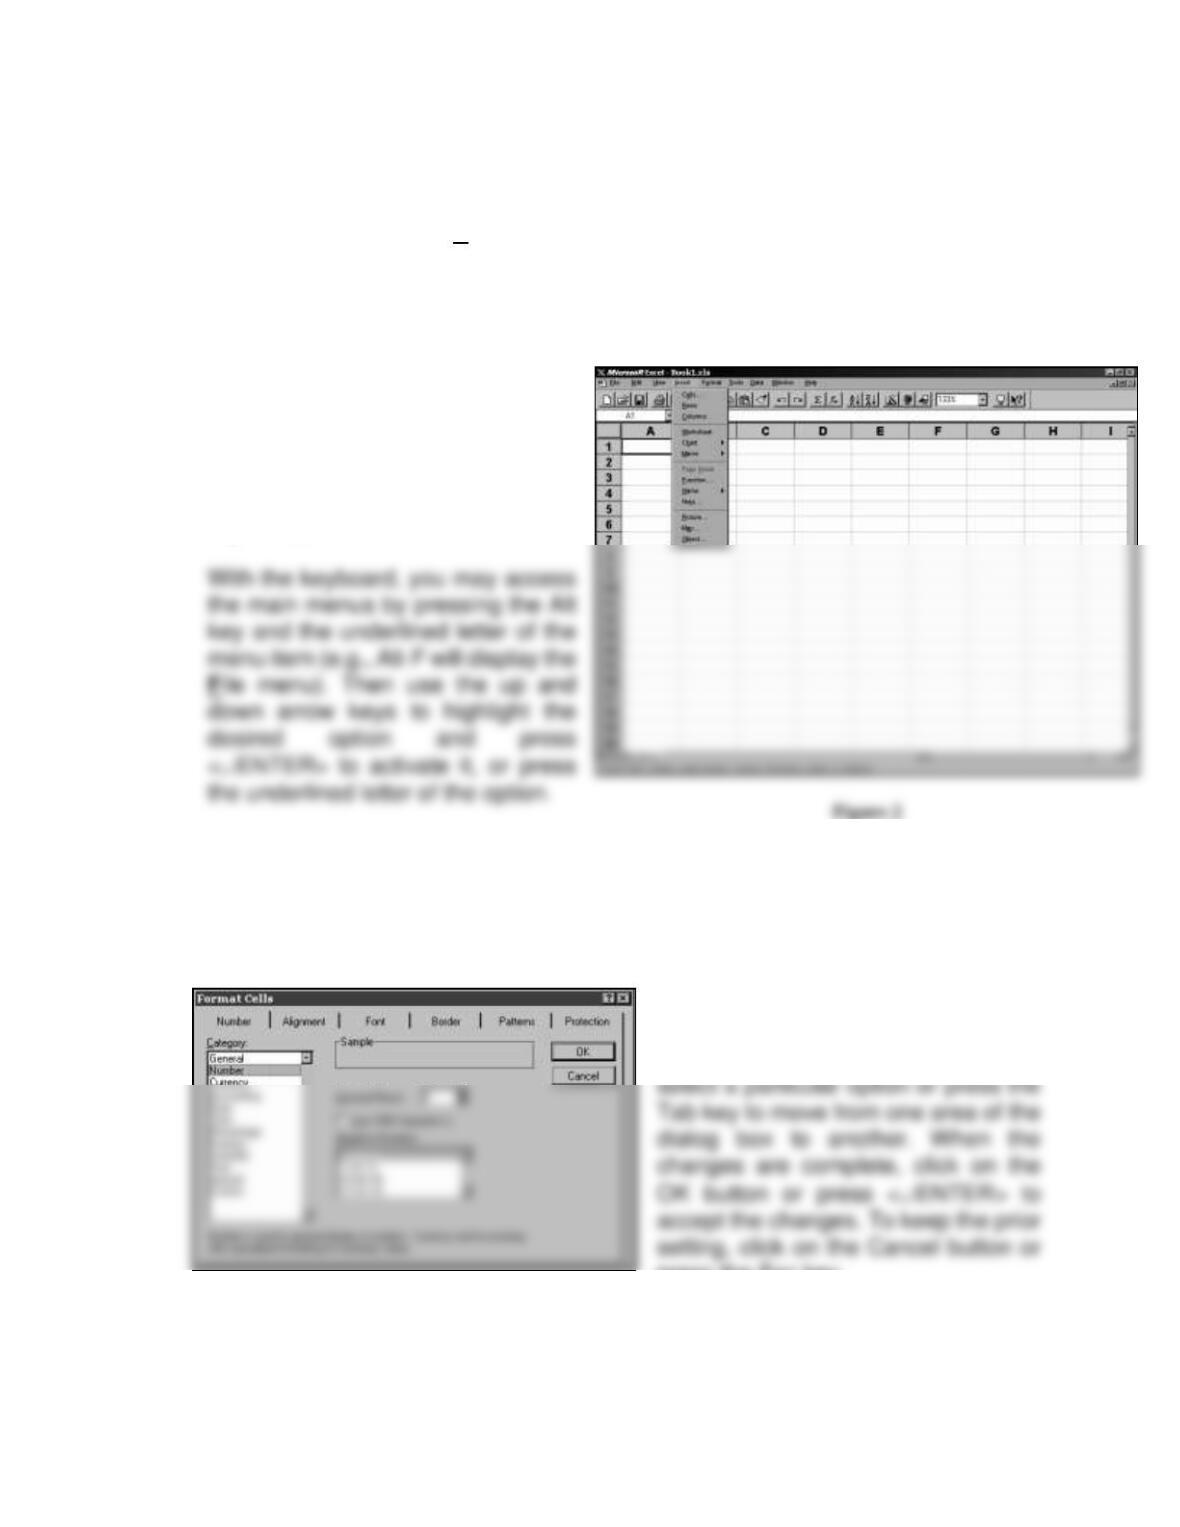
MENUS
Main Menu
To access a Menu, click on the
menu item with the mouse. Next
click on the desired option in the
menu to activate it (refer to
Figure 2.)
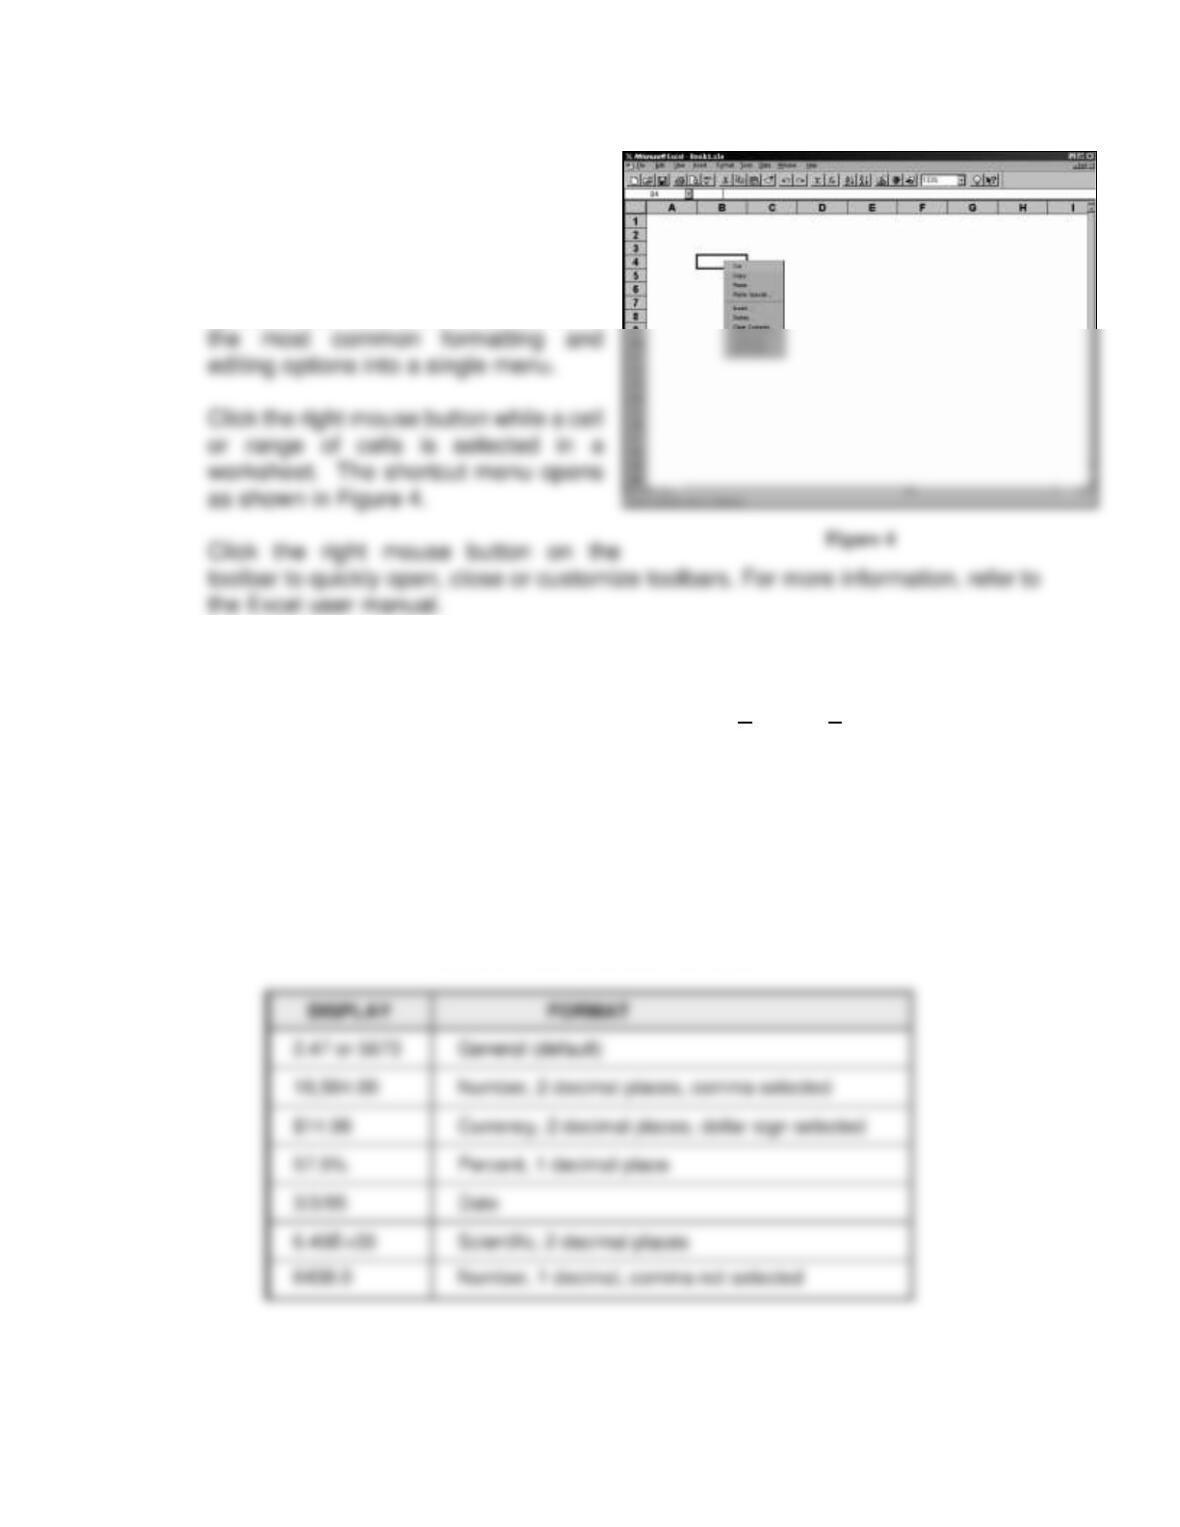
Dialog Boxes
Items on a menu followed by ellipses (…) will display a dialog box where more
action must be taken to complete the option. Items without ellipses will execute
immediately.
Within a dialog box there may be
many options from which to choose
(refer to Figure 3.) Use the mouse to
press the Esc key.
7
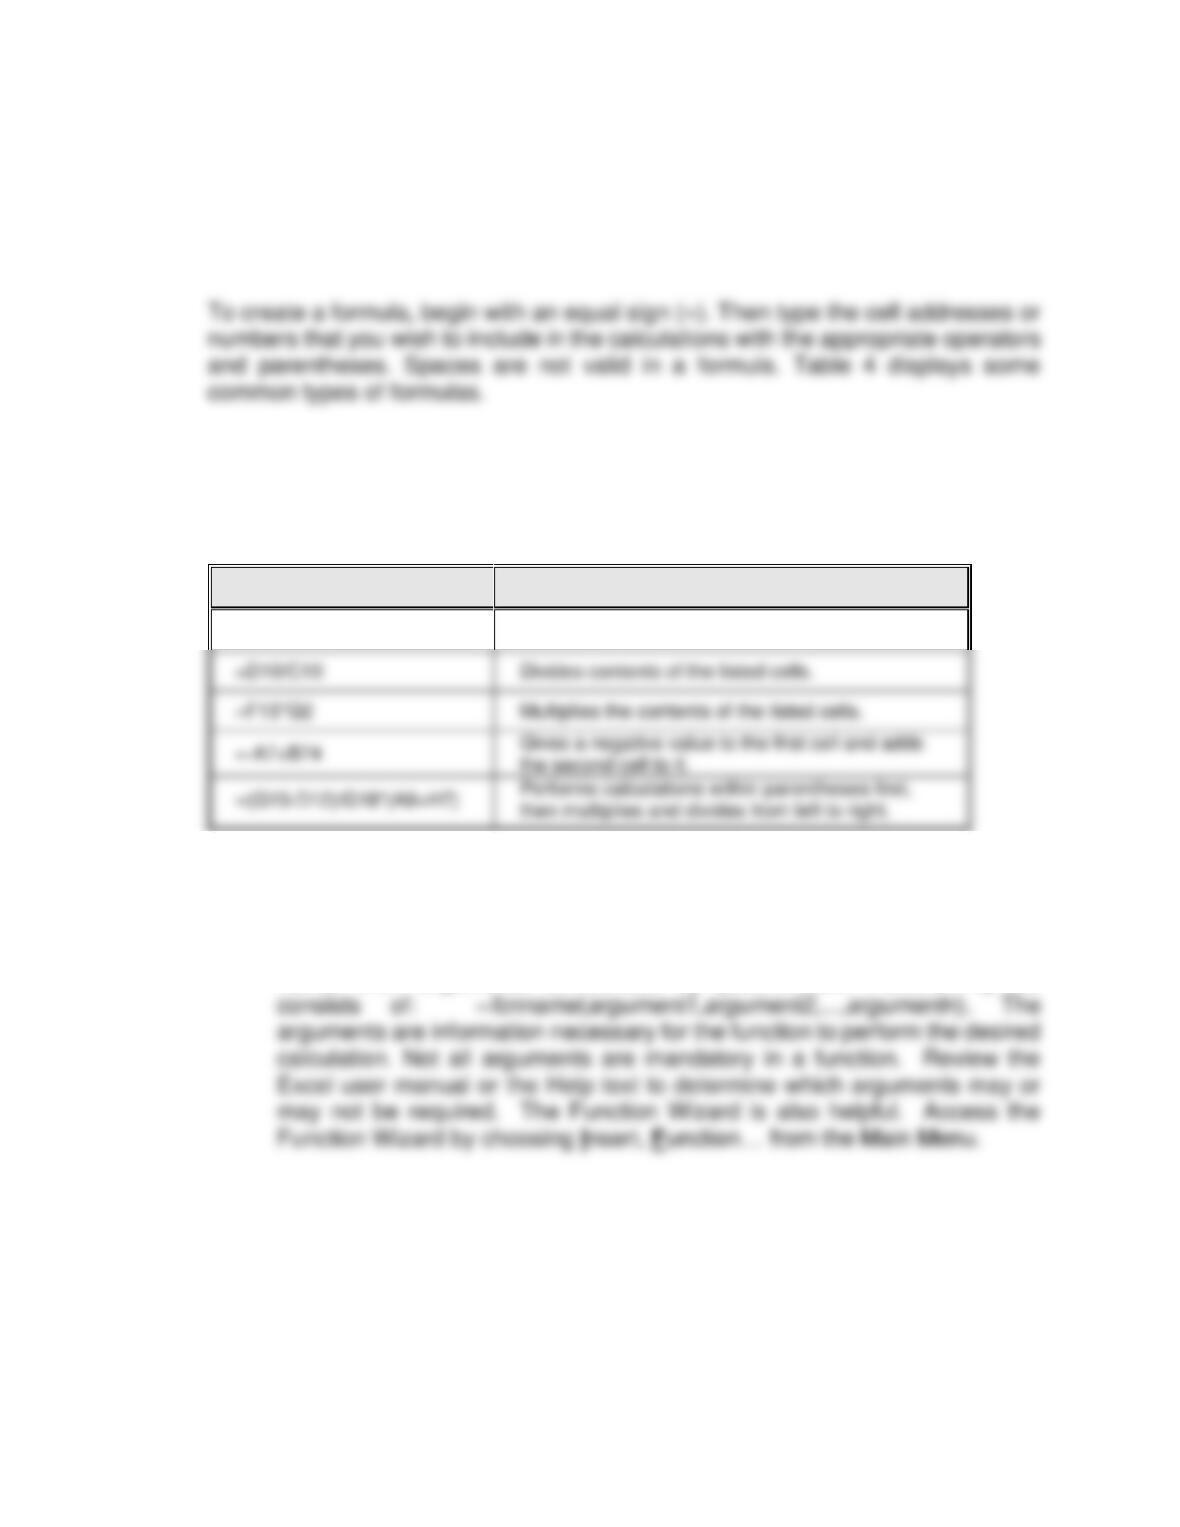
Shortcut Menus
Clicking the right mouse button
accesses shortcut menus. These
menus provide convenient and efficient
means of making changes in the
spreadsheet. Shortcut menus combine
FORMATTING CELLS
Select the cell or range of cells to be formatted. Choose Format, Cells… to bring up the
Format Cells dialog box (refer to Figure 3.) You may also click the right mouse button
while you have selected a cell or range of cells to bring up a shortcut menu (refer to Figure
4.) Click on Format Cells… on this menu and the Format Cells dialog box will appear.
Click on the Number Tab. The left side of the box lists the various numeric format
categories while the right side of the box lists any formatting options. Scroll through the
options and double click on the desired format to apply it to the selected cells. Table 2
includes examples of numeric formatting:
Table 2 – Numeric Cell Formats
Figure 3

8
NOTE: Phone numbers, zip codes, and social security numbers are not generally
considered numbers. Excel assumes entries such as 555-1212 or 97405-1234 are text
unless an operator, such as an equal sign (=), is placed in front of the entry.
CONTENTS OF A CELL
Cells may contain values, formulas, functions or text.
Values
Values are usually entered as numbers. When entered into a cell, values are right
justified by default. This data can be used in mathematical calculations.
Formulas
Formulas perform mathematical calculations on the numerical contents of a cell or
range of cells. All formulas must start with an equal sign (=). Below, Table 3 lists
the mathematical operators that can be used in a formula:
9
The standard precedence for arithmetic calculation is multiplication and division
before addition and subtraction unless there are parentheses, in which case, the
calculations within parentheses are performed first. If there is more than one
occurrence of any arithmetic operator, the calculations occur from left to right.
NOTE: You may use actual numbers in a formula, but if there is already a
cell with that value in it, use the cell address.
Table 4 – Typical Formulas
FORMULA
ACTION
=A7+B7+C7
Adds contents of the listed cells.
=D10/C10
Divides contents of the listed cells.
=F15*G2
Multiplies the contents of the listed cells.
Functions
Functions are special formulas built into Excel that perform complicated
calculations. They begin with an equal sign (=) followed by the function
name, then arguments surrounded by parentheses. Function syntax
10
Common Functions
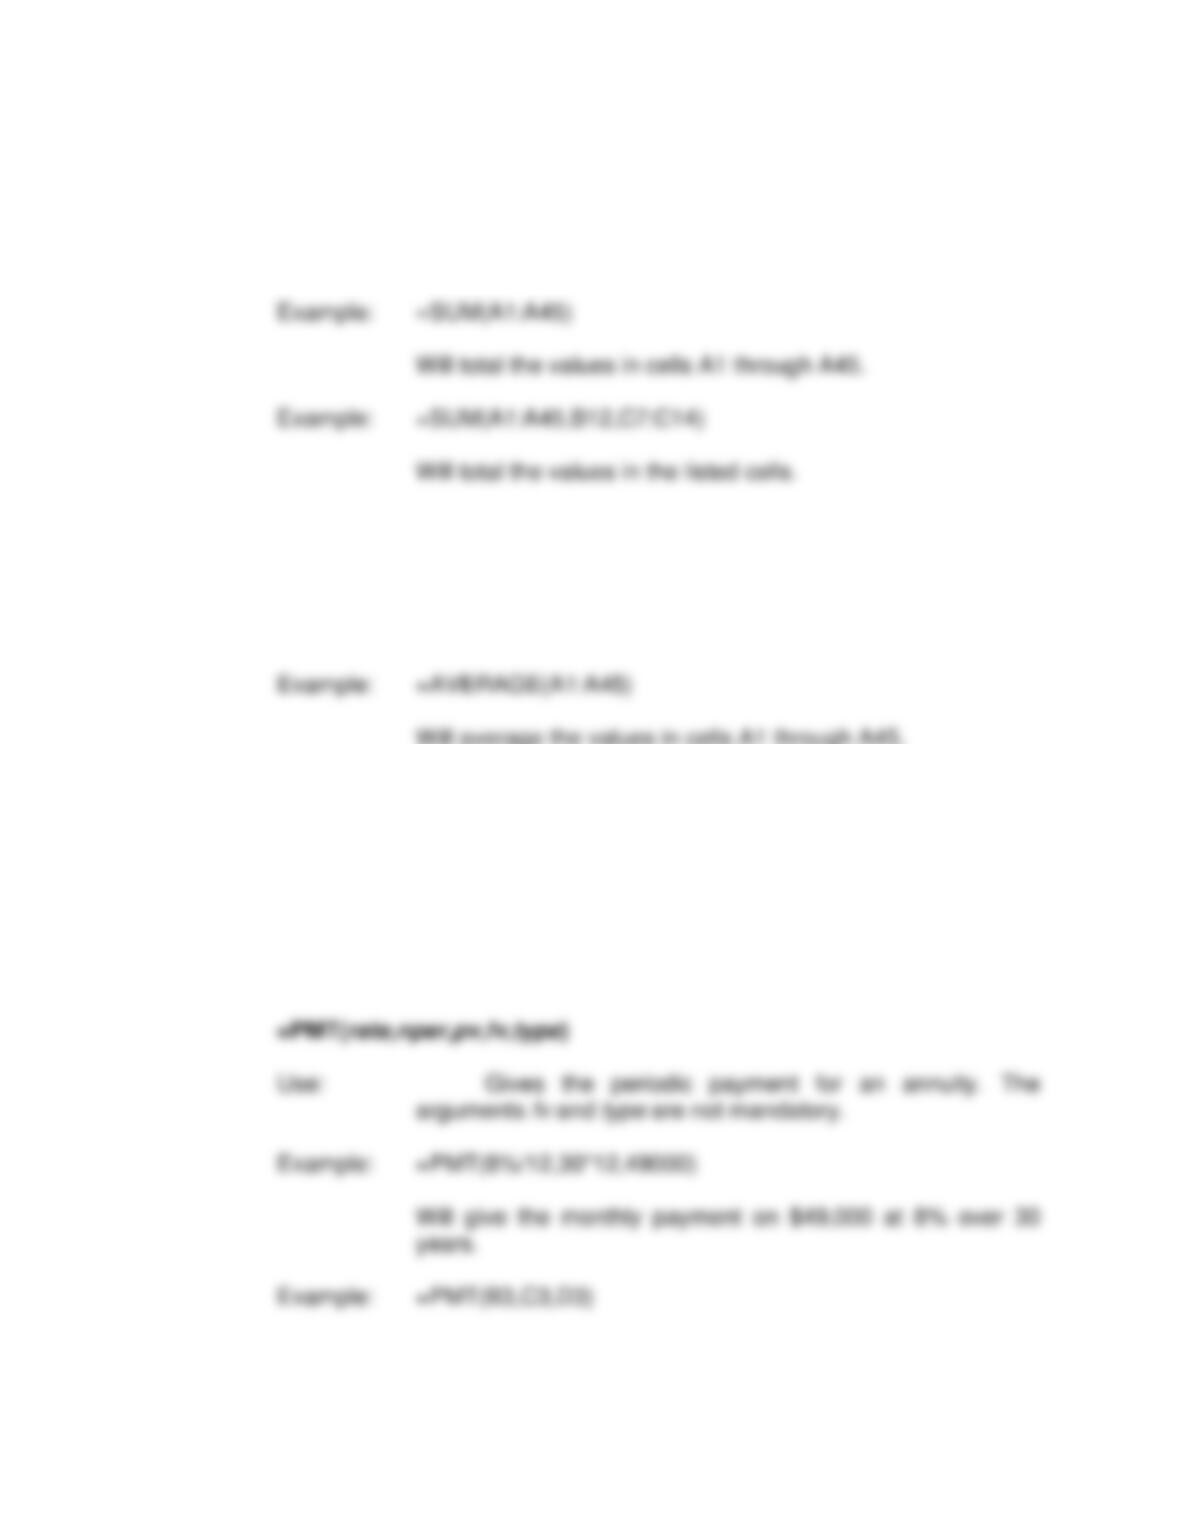
=SUM(list)
Use: Adds the values in the given list of cells.
=AVERAGE(list)
Use: Calculates the mean average of a group of numbers.
This function interprets any cell containing text as a zero value
and ignores blank cells.
=COUNT(list)
Use: Counts the number of cells in a range. Cells containing
text or blank cells are not counted.
Example: =COUNT(G3:K3)
Counts how many numbers are in cells G3 through K3.
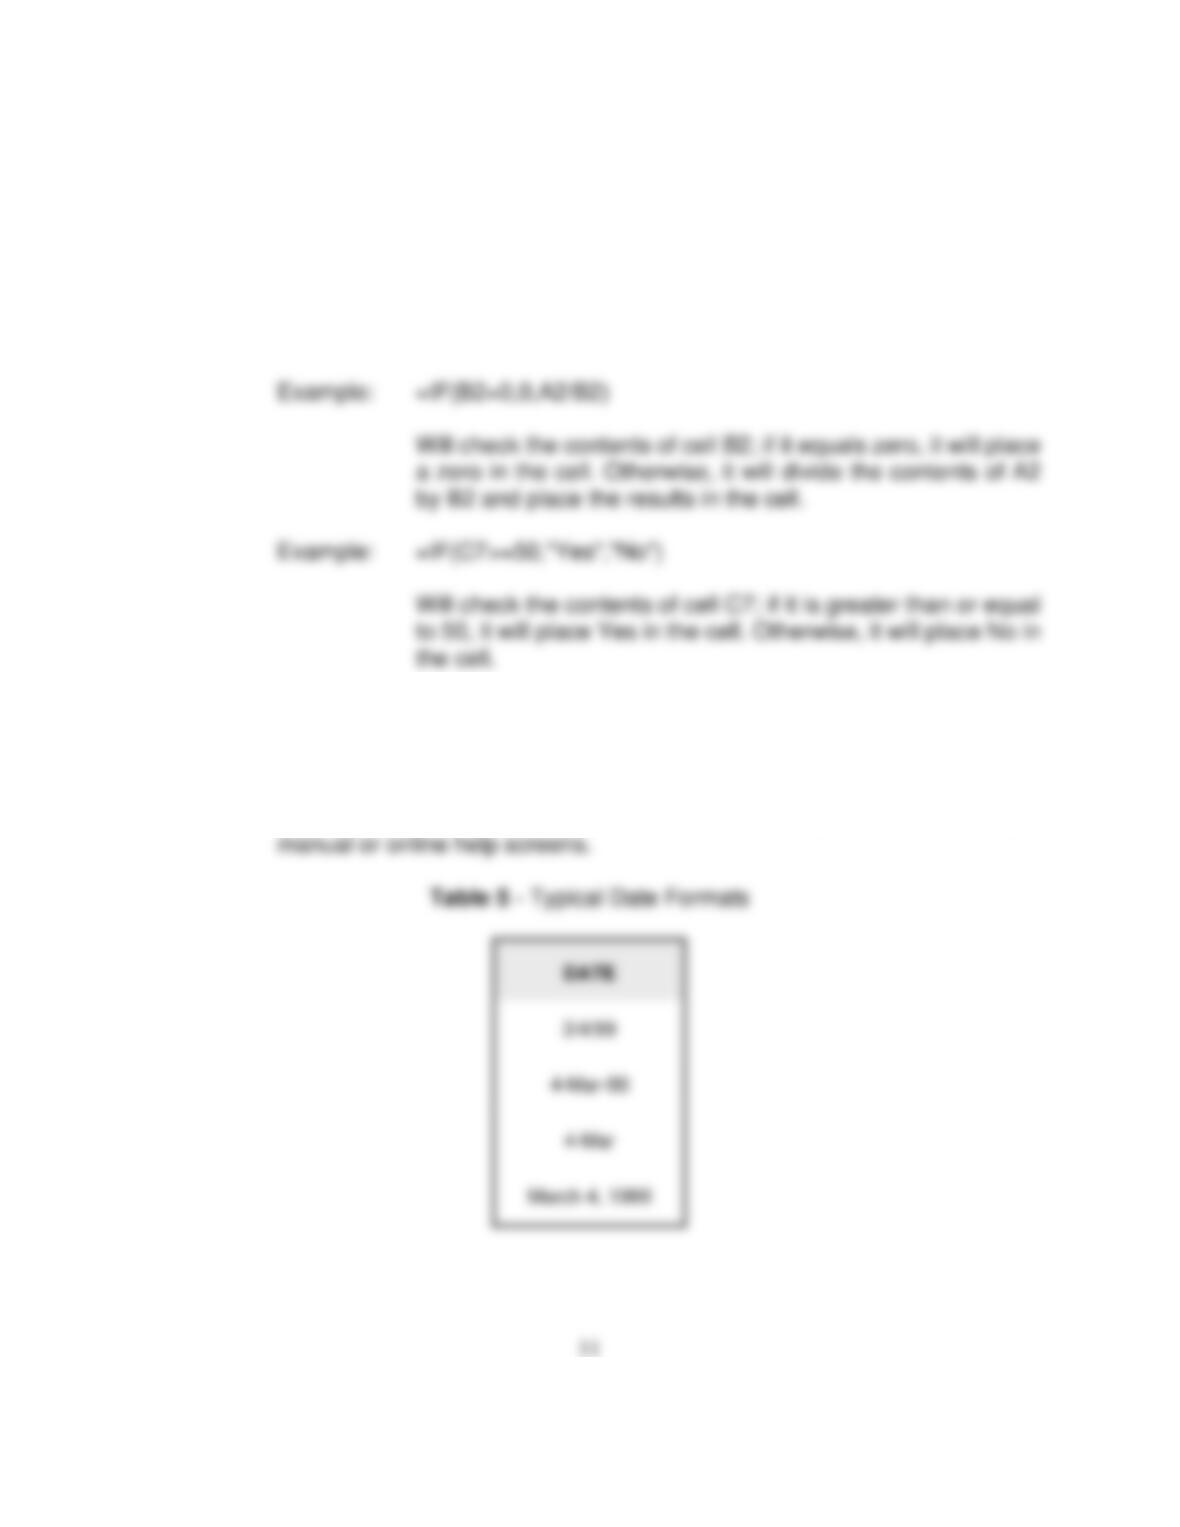
Will calculate the payment based on the values entered in
cells B3, C3 and D3.
=IF(condition,true_expression,false_expression)
Use: Performs decision-making tests in situations with at
least two possible outcomes.
Dates in Excel
To enter a date, type it in using one of the suggested formats listed in Table
5. To change the way the date is displayed, use Format Cells from the
menu bar or shortcut menu. For more information, see the Excel user
12
Point Method to Create Formulas and Functions
To build formulas and functions, use the point method. Type the equal sign
(=) to begin the formula, and then use your movement keys (mouse or
keyboard) to select the cell you want to reference. Notice that the cell
NOTE: Each time you select a cell or range of cells, a marquee will
appear around the selection, illustrating what range will be
used in a formula.
AutoSum Button ( )
Use the AutoSum button on the toolbar to enter the Sum function. Select
the cell in which the Sum function will appear. Click once on the AutoSum
Text
Text is all other data entered in a spreadsheet and is usually used to describe
values. Excel determines that data is text if the first character of the data is a letter
of the alphabet (except dates; refer to the “Dates in Excel” section above.)
When you type text and press <ENTER>, Excel will left justify the data by default.
If you want to center or right justify, click on the center or right justify buttons on
the toolbar.
13
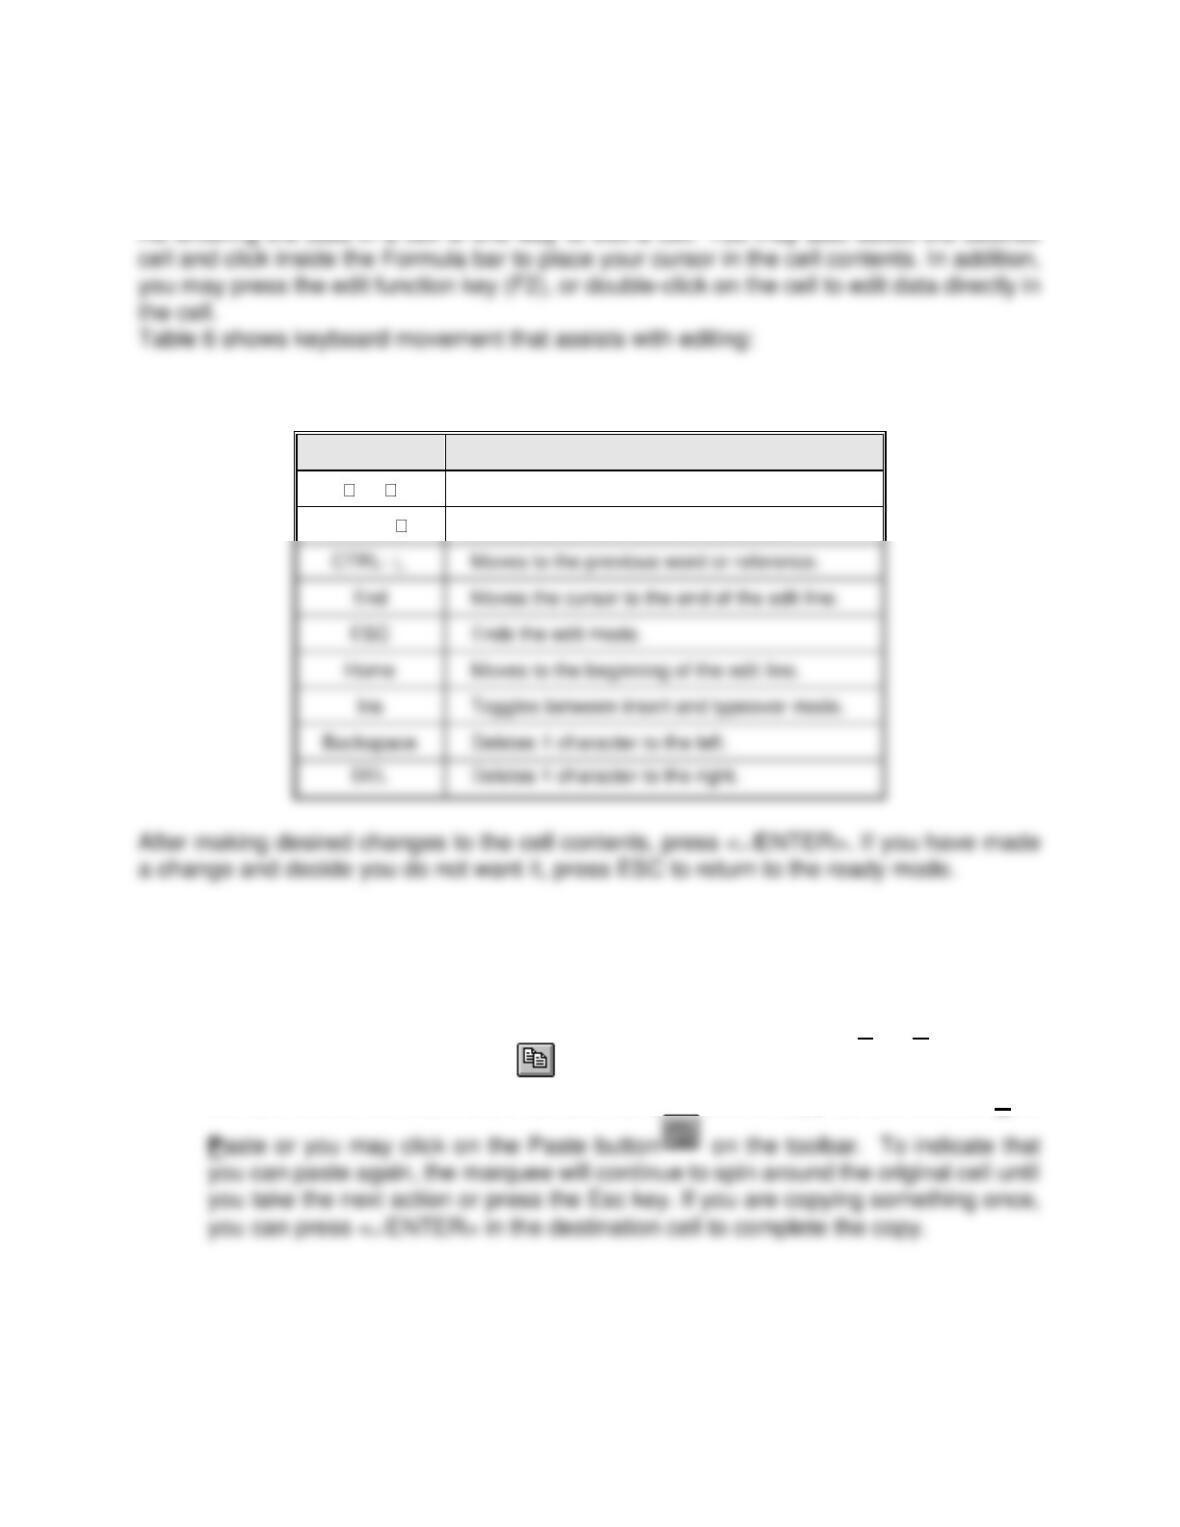
EDITING CELL CONTENTS
Table 6 – Editing Keys
KEY
ACTION
or
Moves the cursor 1 character left or right.
CTRL-
Moves to the next word or reference.
CTRL-
Moves to the previous word or reference.
End
Moves the cursor to the end of the edit line.
Ends the edit mode.
Home
Moves to the beginning of the edit line.
Toggles between insert and typeover mode.
Backspace
Deletes 1 character to the left.
COPYING CELL CONTENTS
Copying from One Cell to Another Cell
Select the source cell (the cell you want to copy) and choose Edit, Copy or you
may click on the Copy button on the toolbar. A marquee will appear around
the cell. Select the destination cell (the cell you want to copy to) and choose Edit,

14
Copying from One Cell to Many Cells
Select the source cell and choose Edit, Copy, or you may click on the Copy button
on the toolbar. A marquee will then appear around the cell. Select the destination
range and choose Edit, Paste, or click on the Paste button on the toolbar.
MOVING CELL CONTENTS
Select the source cell or range of cells and choose Edit, Cut, or click on the Cut button
on the toolbar. A marquee will appear around the cell. Select the upper left cell in the
destination range, then choose Edit, Paste, or click on the Paste button on the toolbar.
CHANGING COLUMN WIDTH
If the column width is too narrow for the text, it will exceed the boundaries of the column.
If there is data in the cell next to it, the text will appear truncated. When the column width
is too narrow for a value and the cell format is general, the value will appear in scientific
notation (e.g., 1.2E+09). All other formats will appear as pound signs (#####) when the
value is too large.
15
INSERTING COLUMNS AND ROWS
Use Insert to add blank cells, ranges of cells or entire blank rows or columns. Excel shifts
the other cells of the worksheet to make room and adjusts references in formulas to reflect
Insert an Entire Row or Column
Select a cell or range of cells below (or to the right) where the row(s) or column(s)
is to be inserted. Click Insert, then Column or Row. Excel will insert an entire blank
row or column in the worksheet. If more than one cell was selected across a row
or down a column then a corresponding number of rows or columns will be
inserted.
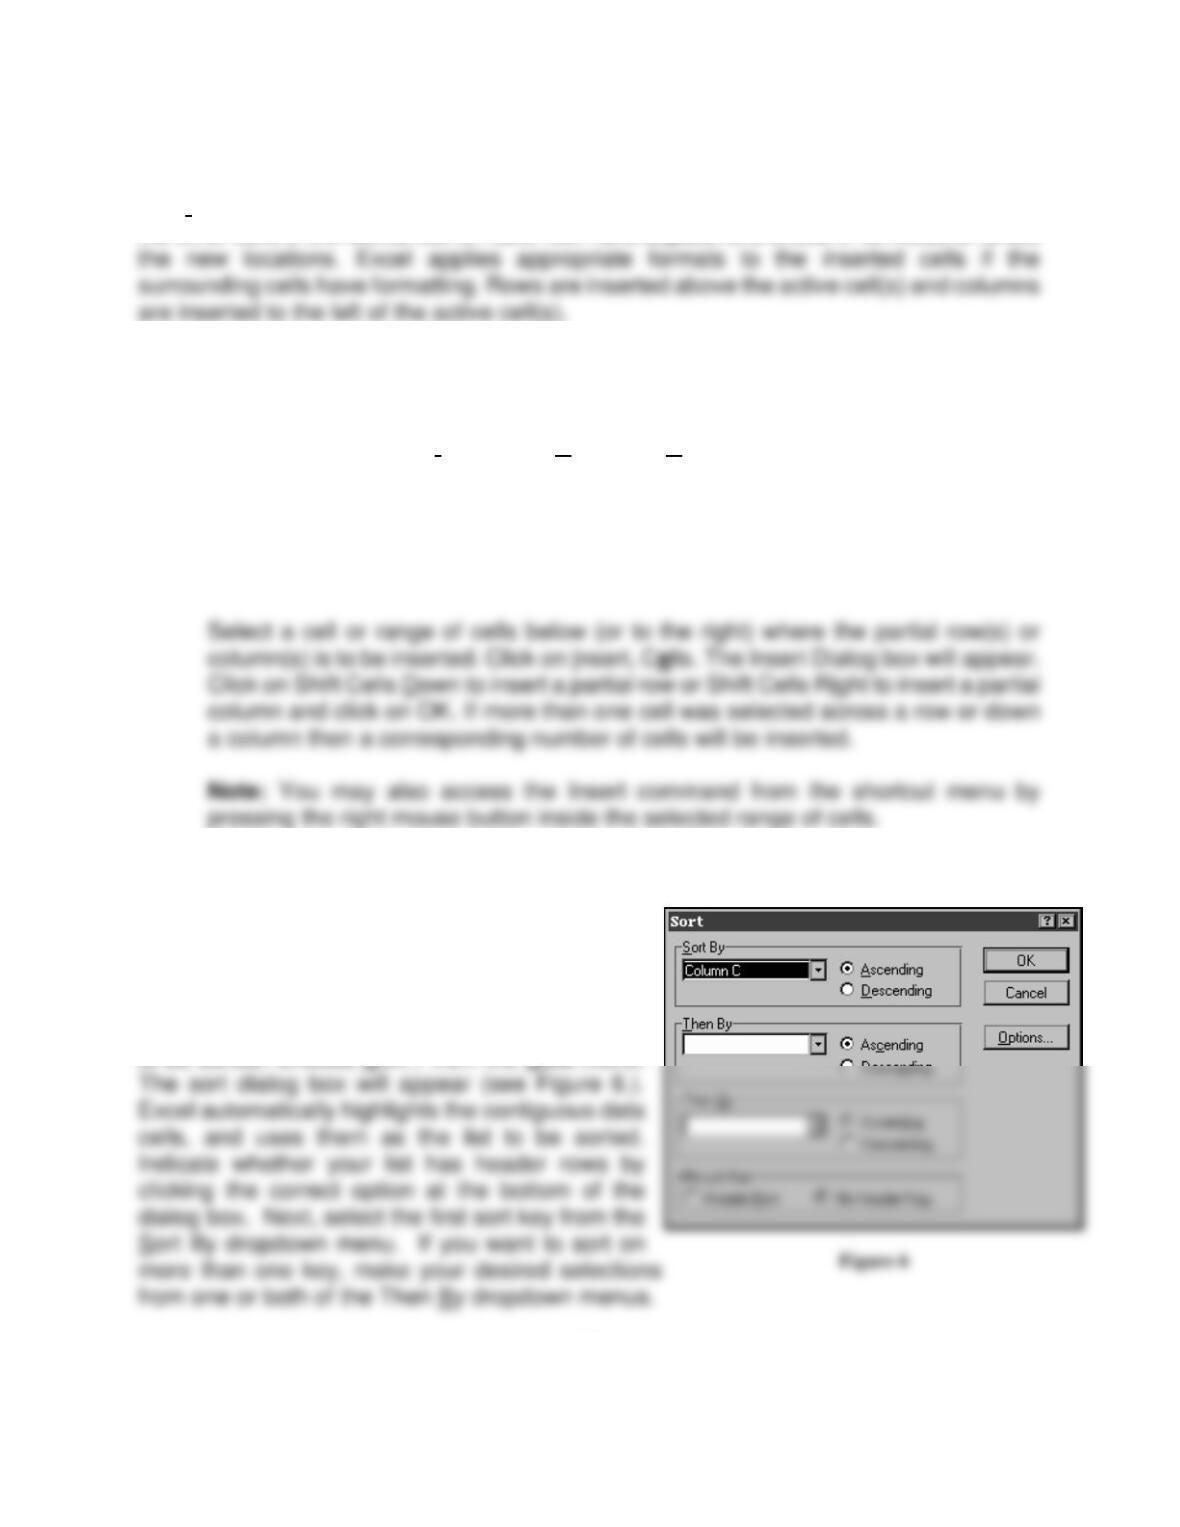
Insert a Partial Row or Column
SORTING
Sorting is used to rearrange data in the worksheet
using sort keys. The first sort key sorts all of the
data, the second and third sort keys sort within the
previous key. To sort rows using up to three
columns as your sort keys, select a cell in the list
To sort lists with headings positioned to the left of the data, you will click Options from
the Sort dialog box, then choose Sort Left to Right from the Orientation options. Click
OK, and then choose any other desired Sort options from the dialog box.
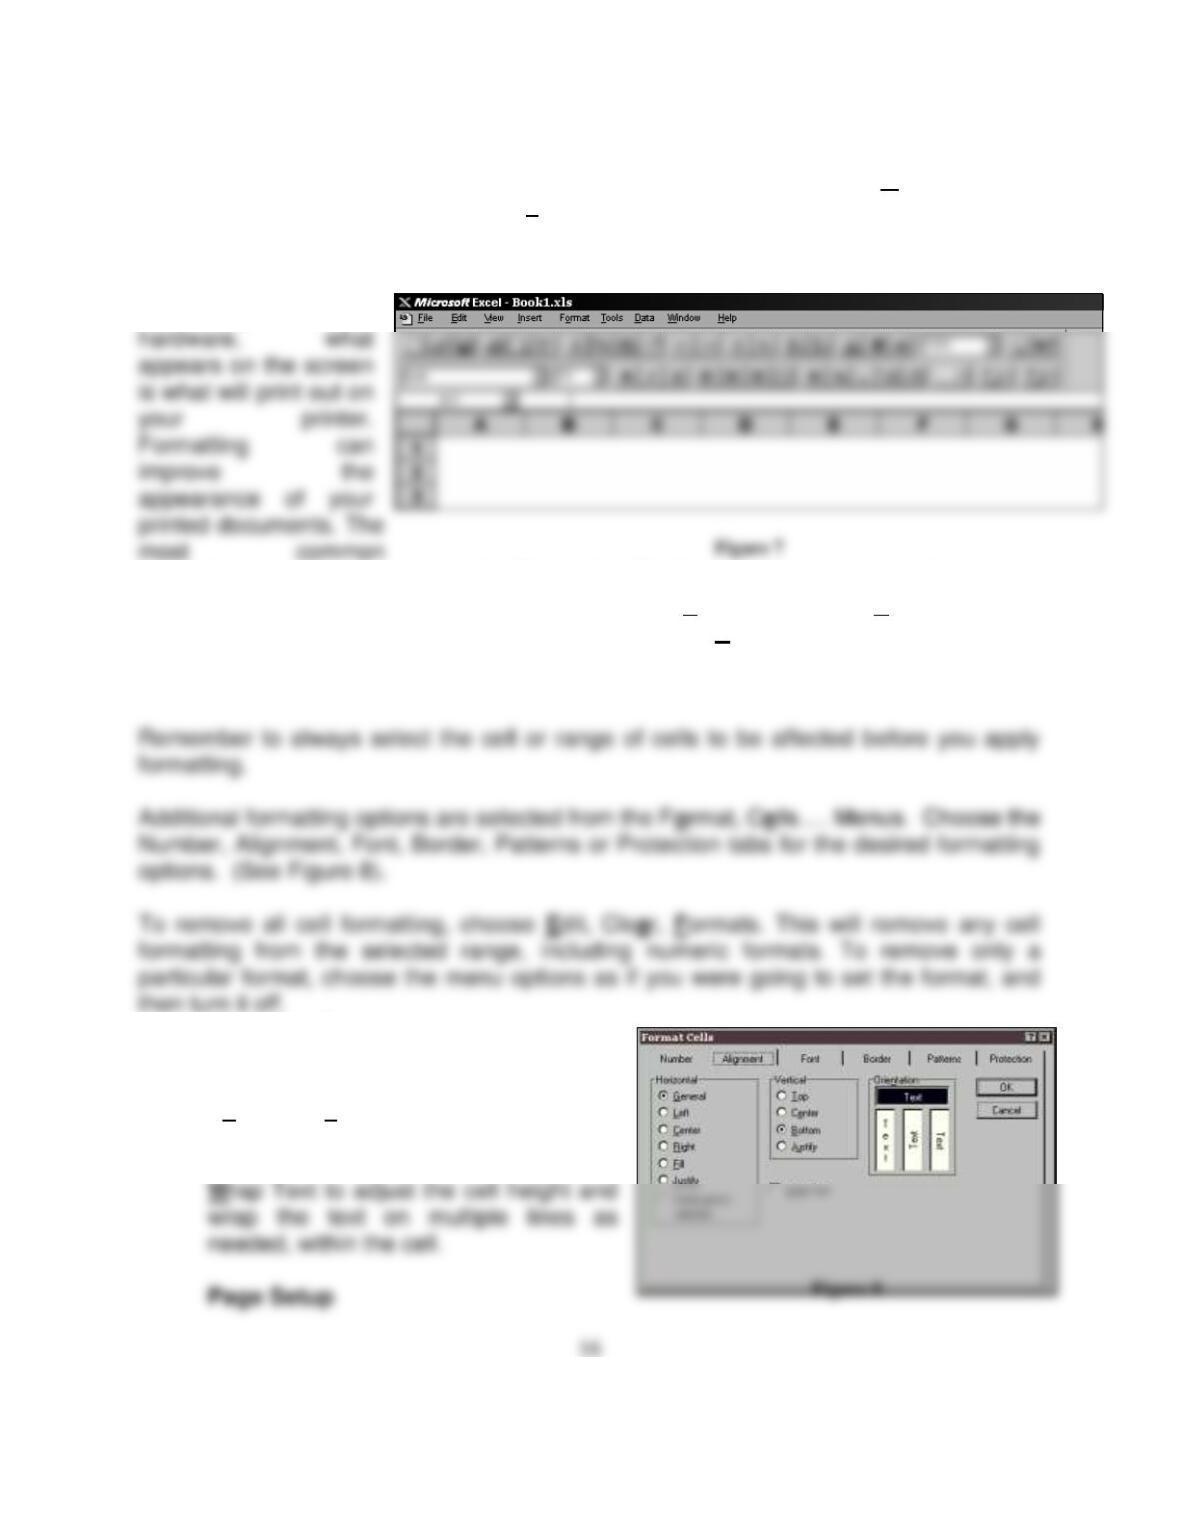
DOCUMENT FORMATTING
Depending on your
formatting tools are located on the Formatting Toolbar, which is show as the second
toolbar in Figure 7. To bring this toolbar up, choose Toolbars from the View menu, and
then place a check in the Formatting box. Be sure the Show ToolTips box is clicked at
the bottom of this dialog box. ToolTips are the toolbar descriptions that display when you
point your mouse arrow on the button. Click on OK.
Wrapping Text
If text in a cell is too long and you do not
want to widen the column, choose
Format, Cells…., then click on the
alignment tab to display the Alignment
dialog box shown in Figure 8. Click on

Unless changed, the default page
setup includes portrait orientation,
alignment with the top and left margin,
a header that centers the filename at
the top, and a footer that centers the
page number. To change these within
To center your document between the left and right margins, click on the Margins
tab, then click the Center on Page: Horizontally box.
To change a header or footer, click on the Header/Footer tab, and then select a
header and footer from the suggestions in the dropdown lists. You may also create
your own by clicking on the Custom Header or Custom Footer buttons.
When you are finished with the Page Setup dialog box, click on OK or press
<ENTER>.
Page Breaks
You can set horizontal or vertical page breaks individually, or you can set page
break that is both horizontal and vertical.
Figure 9
18
break.
For a vertical page break, choose the column that is to begin printing on the new
page. Click on the column letter at the top of the worksheet, then click on Insert,
Page Break. A dotted line will appear along the left edge of the column to indicate
the page break.
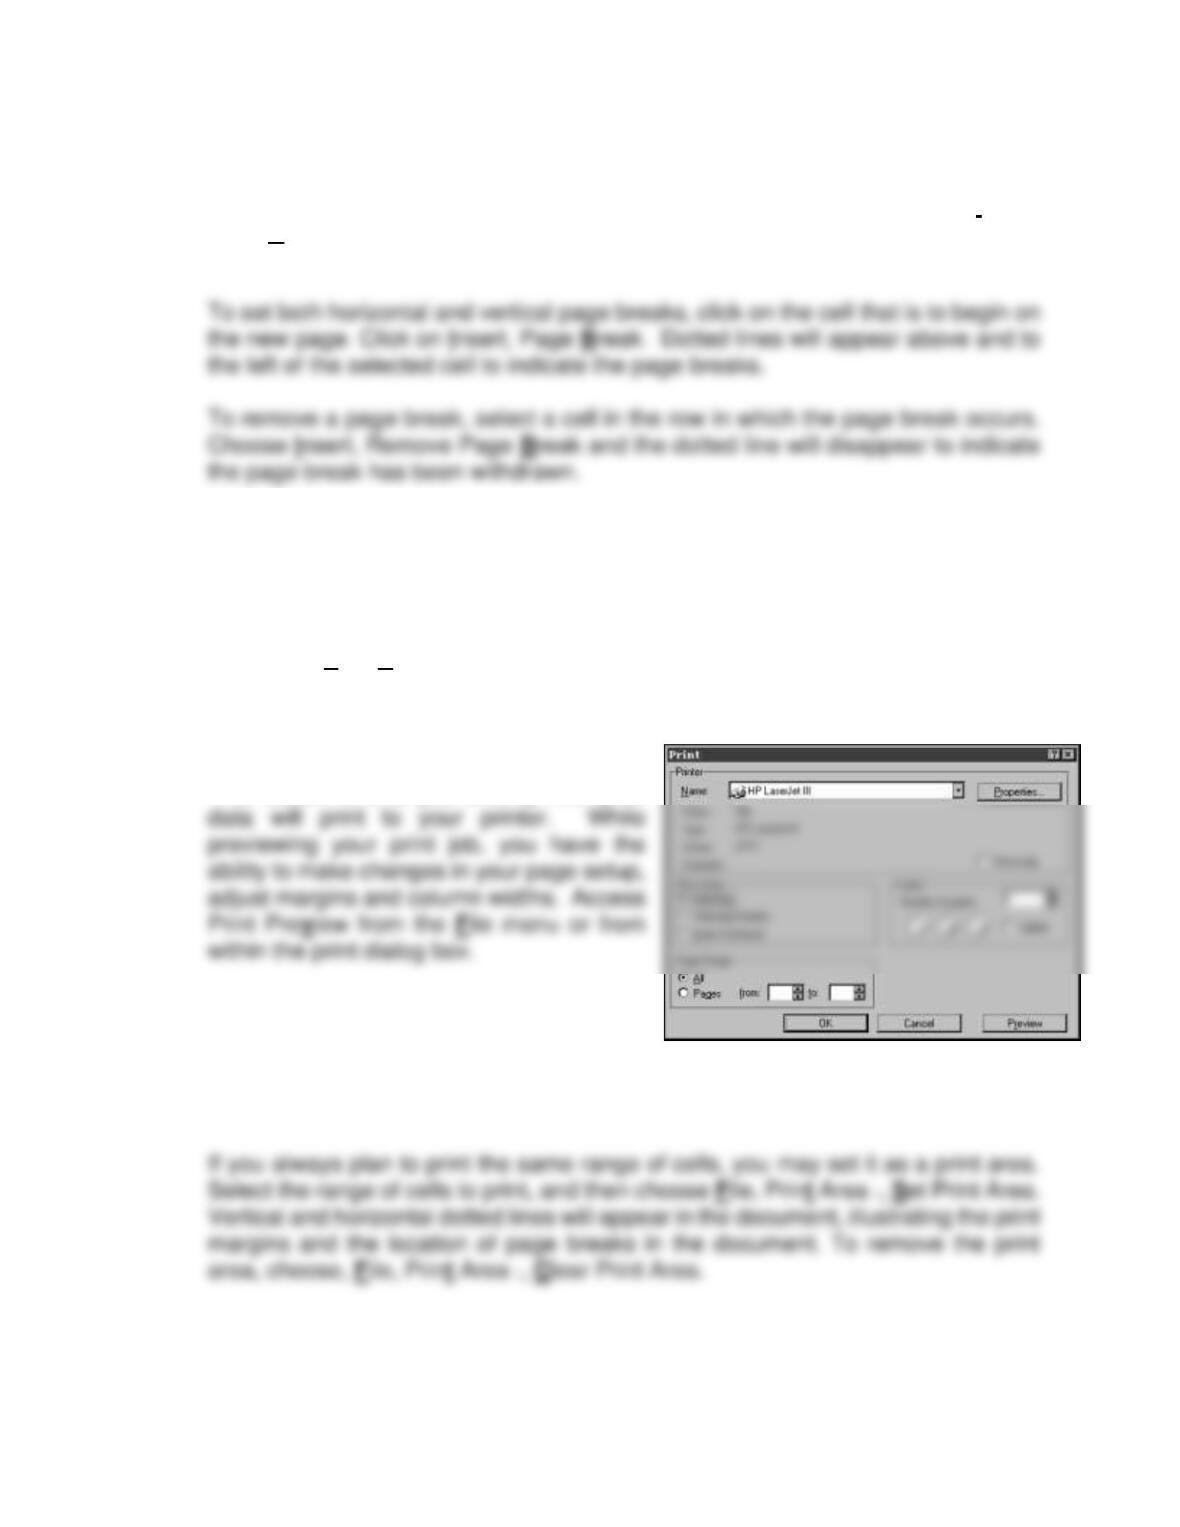
PRINTING A FILE
There are two ways to print a document. You may click on the Print button on the toolbar,
which sends your document directly to the printer using previously set print options, or
you may choose File, Print to display the print dialog box (see Figure 10.) You may
change the print options in the dialog box, then click on OK to begin printing the document.
Print Preview
This feature shows you exactly how your
Print Area
Unless a print area is defined or a print area
selected, Excel will print all of the data in a
document.
Figure 10
19
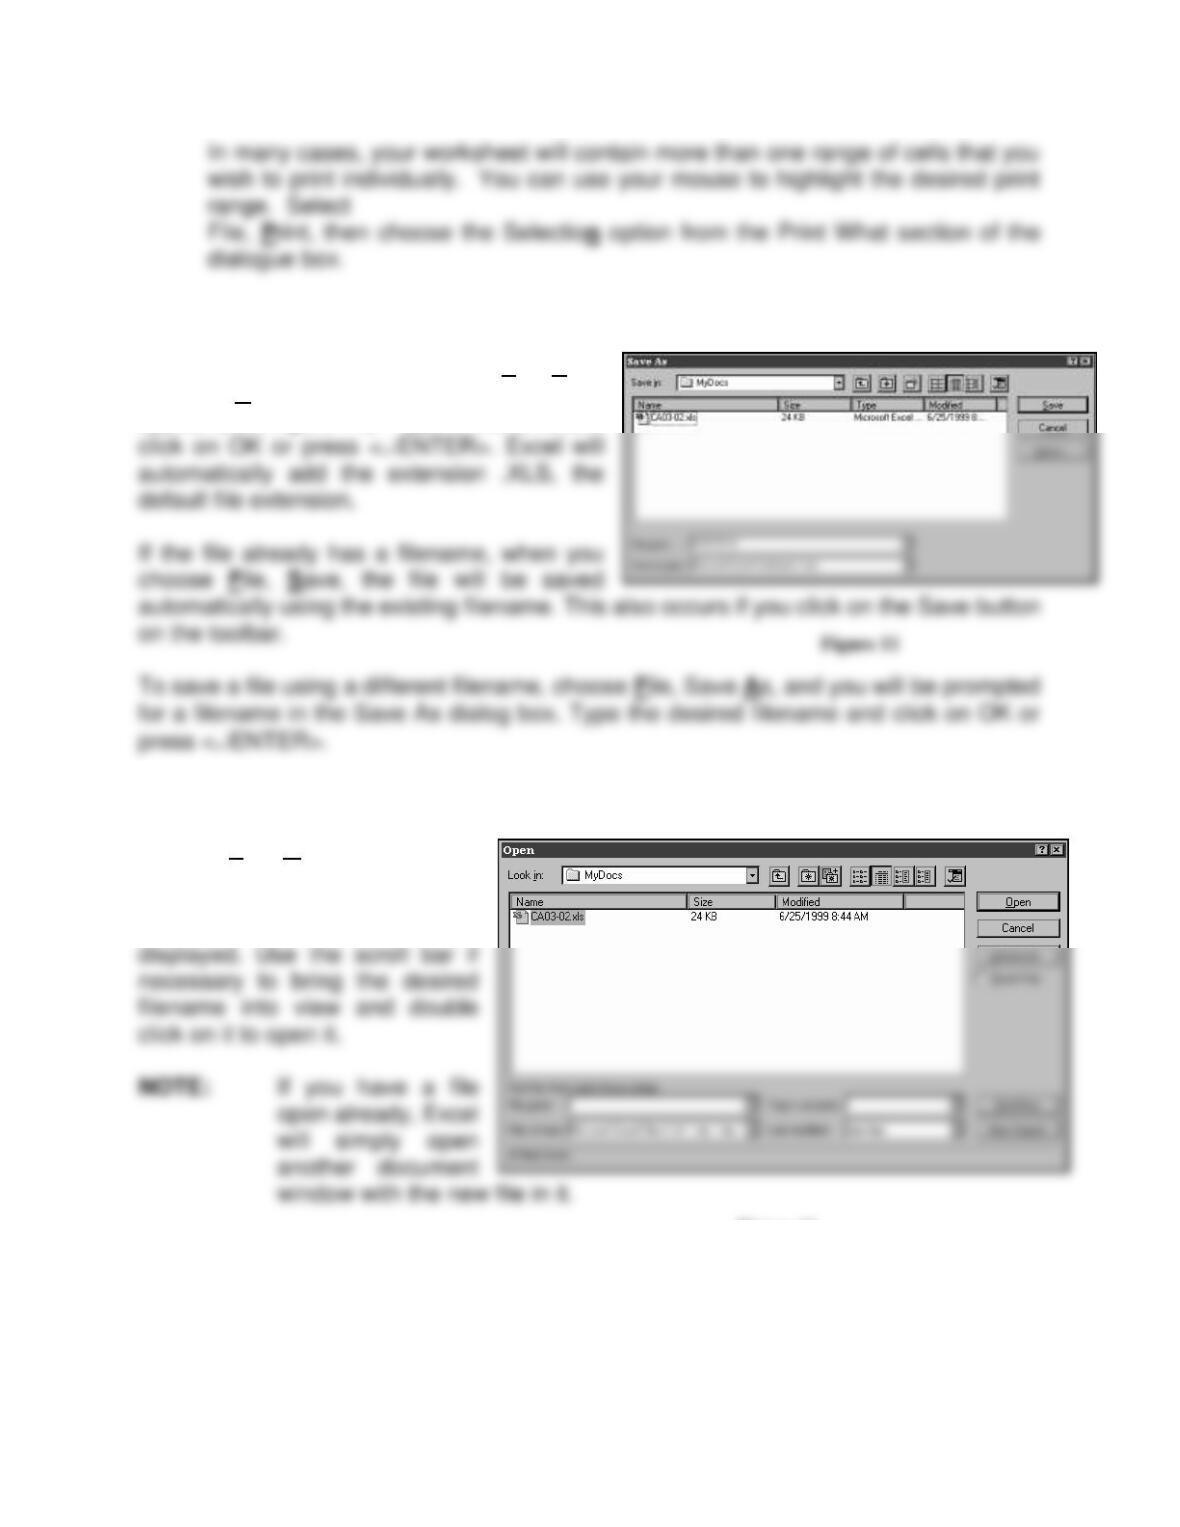
SAVING A FILE
To save a file the first time, choose File, Save
(or Save As) and the Save As dialog box will
appear (see Figure 11). Type a filename and
OPENING AN EXISTING FILE
Choose File, Open and the File
Open dialog box will appear (see
Figure 12.) A list of files in the
current directory will be
CLOSING A FILE
Figure 12

20
HELP
To open the help window, choose Help from the menu bar and search for an applicable
topic. You may also press the help key (F1). This will bring up information sensitive to
your current screen. In addition, most dialog boxes have a context-sensitive help button.
EXITING EXCEL
Choose File, Exit to close the application window. If an open file has not been saved,
21
INSTALLATION AND CONFIGURATION
Excel Templates are designed to work specifically with Excel 2003 and will also work with
most of the earlier versions of Excel. It may also be compatible with some versions of
Lotus, Quattro Pro, Symphony or other Windows spreadsheet programs.
INSTALLING EXCEL TEMPLATES FOR EXCEL 2003 ON YOUR HARD DRIVE:
There are many ways to copy files from a CD to your hard drive. These directions use
Windows Explorer to accomplish the task.
1. Place the installation CD in your CD Rom drive:.
5. Copy the selected files: Click on Edit, then choose Copy.
6. Click on the new directory you created to contain the Excel Template files.
22
SETTING UP EXCEL TO DEFAULT TO THE EXCEL TEMPLATES FOLDER:
For ease of file access, you may wish to change Excel’s default data folder to the new
folder you created.
1. Open Excel.
DISPLAYING THE FORMATTING TOOLBAR
Excel’s formatting toolbar displays buttons that perform many of the common formatting
tasks. These helpful shortcuts are used in the Step–by-Step Example section of this
Guide.
1. Select View from the main menu, and then select Toolbars…
23
USING EXCEL TEMPLATES
FOLLOWING THE GUIDE TO INDIVIDUAL PROBLEMS
The Guide to Individual Problems, which is the last part of this Guide, is designed to
help you:
1. Open the correct file.
1. Open the File
The first step in any problem is to open the file. Click on File, Open…. Click on the file
you want to open, and then click on <OK>.
2. Enter Your Name and Class
Position your cursor in the cell to the right of the label “Student Name:.” Type your
3. Enter Your Problem Solution
The Guide to Individual Problems will indicate which parts of the textbook problem are
included in the Excel Template. If no such indication is given, the entire problem is
included in the Template. The Excel functions used to arrive at the correct solution are
listed.
24
a. On the Tools menu, click Options, and then click the View tab.
b. Under Comments, click Comment indicator only. Click on or arrow to
the cell and begin to type.
4. Print Your Solution
SAVING
SAVE OFTEN!! On the toolbar of your Excel screen is a button that looks like a diskette.
This is the Save button. Click on it to save your document. Note that when you close the
GUIDE TO INDIVIDUAL PROBLEMS
Most of the problems include numerical information from the textbook. This allows you
Comments are used in some of the cells to help you start entering the appropriate data
in individual problems. Be sure you have Excel options set to display comment
indicators in the upper-right corners of cells with comments, and to display the text of
the comments when you rest the pointer over cells that contain them:
1. On the Tools menu, click Options, and then click the View tab.
2. Under Comments, click Comment indicator only.
For each problem, follow these general instructions:
1. Choose Open from the File menu. Locate the file for the correct chapter,
for example: Ch02.xls. Select the file, and then click on <OK>. Click on
the tab labeled with the problem you will work on; for example: P02-26.
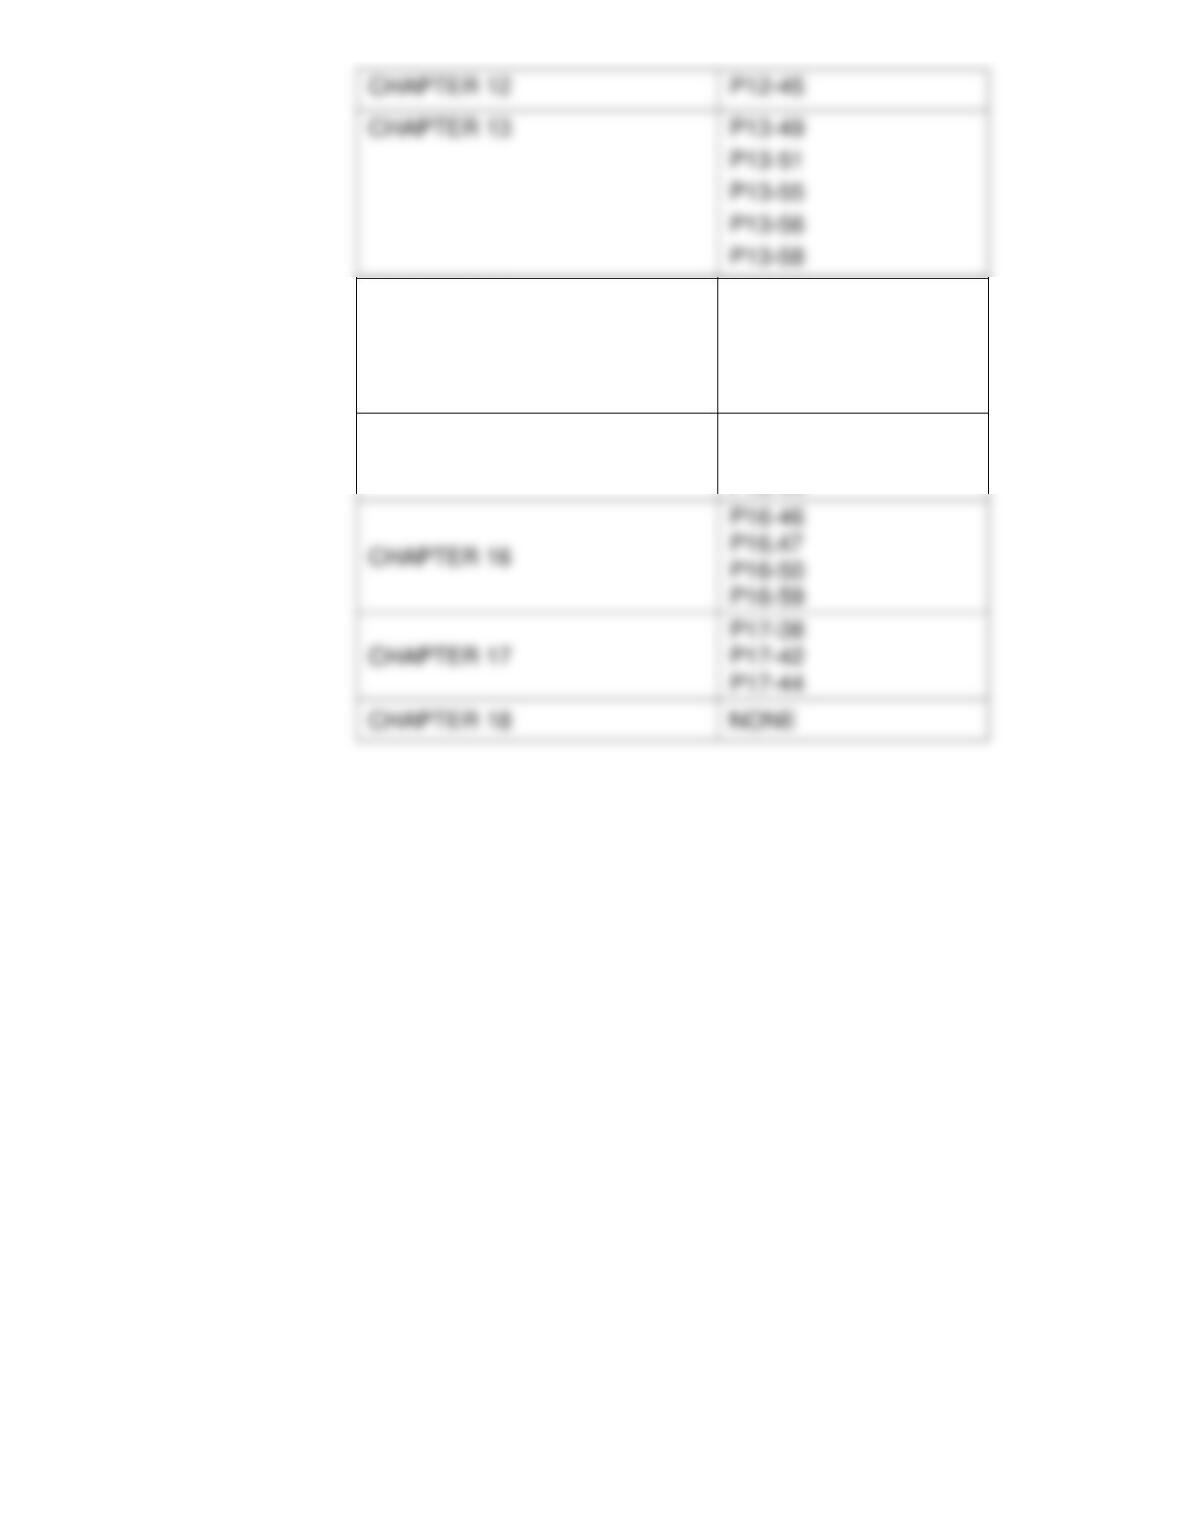
The following table shows problems that have accompanying Excel Templates:
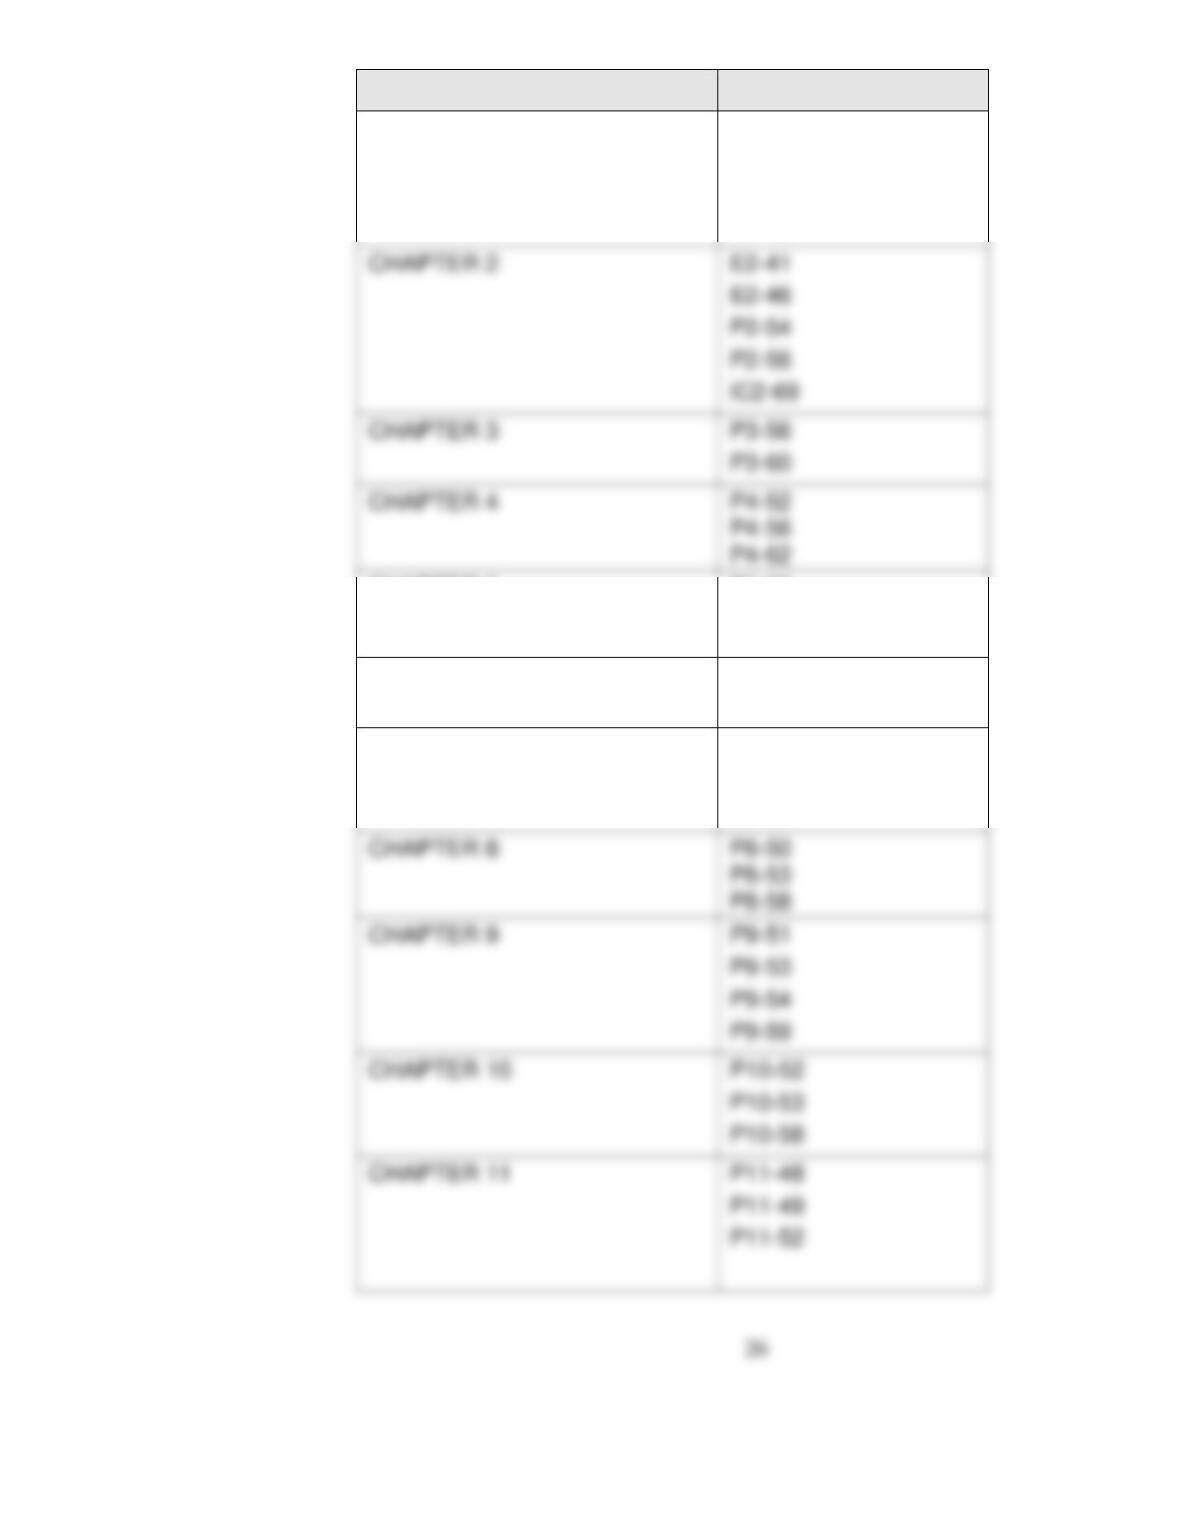
CHAPTER
EXCEL PROBLEMS
CHAPTER 1
P1–37
P1–39
P1–40
P1–42
P2–54
P2–56
CHAPTER 3
P3–56
P3–60
CHAPTER 4
P4–52
P4–56
P4–62
CHAPTER 5
E5–33
P5–60
P5–61
CHAPTER 6
P6–51
P6–53
CHAPTER 7
P7–51
P7–54
P7-57
CHAPTER 8
P8–50
P8–53
P8-58
P9–53
P9–54
P9–59
27
CHAPTER 14
P14-40
P14-43
P14-48
P14-50
CHAPTER 15
P15-36
P15-39
P15-44
P17-44
P13-51
P13-55
P13-58