Chapter 5
Creating and Using Forms
Notes to the Instructor
In this chapter students will create forms based on tables and queries stored in the database. Upon
completion of this chapter, students should have sufficient database skills to create fundamental
accounting systems. Completed files have been included on the Companion CD to aid students in their
learning process. These files are referred to in the process of completing the textbook exercises. The
exercises presented in this chapter convey the chapter’s content via a hands-on approach.
Before beginning, copy the Chapter 5 database Ch05.accdb from the book’s companion Web site
to your hard disk (I assume you can do this part on your own computer). The instructor’s version,
Ch05Inst.accdb, has answers on it you may not want to distribute to students.
Lecture Outline
This chapter assumes you have some hands-on experience using Access and are familiar with relational
databases. Reviewing Chapter 5 in the text will help you use this outline to lead discussions of chapter
materials and concepts.
Objectives
• This chapter extends the knowledge gained in Chapters 2, 3, and 4 with information about
Microsoft Access forms and reports.
• In Chapter 5 the students will learn how to:
➢ Build a fundamental form.
➢ Designate a particular as a startup form for the application.
We continue using the Coffee Merchant database as the backdrop application in this chapter.
Putting Forms to Work
• Forms display information from one or more tables in an easily understood and attractive
format.
5-2 CHAPTER 5 • CREATING AND USING FORMS
• You could create several forms for a single database in which one form is for data entry
(Figure 5.1), another form allows the user to select queries or reports, another form provides
a way to alter the data, and another form displays warning messages.
• Forms provide far more robust and versatile ways to validate data as it is entered.
Viewing Form Types
• A form wizard helps you create various types of forms.
• Forms can contain several sections including Page Header and Page Footer, Form Header
and Form Footer, and Detail sections.
• A continuous form displays several records simultaneously on a form (Figure 5.2).
• Forms with lots of information are designed as multiple-page forms, with information
distributed across several form pages.
• A modal dialog box form displays information in a small form that is always on top of all
other windows (Figure 5-3).
• A modal dialog box form requires the user to respond to one of the form’s buttons before
Building a Form
Exercise 5.1: Creating a One-Table Form. This exercise shows the students how to create a
Exercise 5.2: Altering a Form’s Title and Changing Its Field Labels. This exercise is a
continuation of Exercise 5.1 and illustrates how to manipulate a form in Layout view. Students
learn that you must click two times on a label to enter edit mode to change its value.
Building a Split Form
• Forms provide an intuitive and quickly understood interface for users.
• Forms are particularly convenient because you can place controls on them that guide users
through choices with combo boxes, list boxes, and option buttons.
Exercise 5.3: Creating a Split Form and Navigating through Its Records. This exercise
shows the students how to create a split form by using the Split Form tool in the Forms group.
CHAPTER 5 • CREATING AND USING FORMS 5-3
Building a Multiple Items Form
Exercise 5.4: Creating a Multiple Items Form and Navigating through Its Records. This
exercise shows the students how to create a multiple items form by using the Multiple Items tool
in the Forms group. The form displays information from the tblStates table.
Guidelines for Good Form Design
The bullets in this section of the textbook describe some considerations about creating attractive and
Creating Basic Forms Using the Form Wizard
Exercise 5.5: Using the Form Wizard to Create a Basic Form. This exercise shows the
students how to create a form by using the Form Wizard and following its prompts. The form
displays information from the tblInventory table. Students save the table under the name
MyInventory. (Note: We instruct students to save newly created objects using the “My” prefix
Creating a Form from Scratch in Design View
It is instructive for students to create a form from scratch because they can become acquainted with the
Field List panel that lists all fields of all tables and queries in the database.
Exercise 5.6: Creating a Blank Form in Design View. This exercise shows the students how
to create a blank form by using the Blank Form in the Forms group. A blank form, like a blank
Exercise 5.7: Placing Bound Controls on a Form. This exercise shows the students how to
select fields from the Field List to automatically create label and text box control pairs
corresponding to the selected table’s field.
Adding a Title to a Form
This section shows how easy it is to add a title to a form’s form header. Click the Title button in the
Controls group while in Design view to add a title.
Exercise 5.8: Adding a Title to a Form. This exercise shows the students how easy it is to add
a title to the Form Header of a form by clicking the Title tool in the Controls group (Design view).
Adding a Logo to a Form
This section shows how easy it is to add a logo to a form’s form header. Click the Logo button in the
Controls group while in Design view to add a title.
Exercise 5.9: Adding a Title to a Form. This exercise shows the students how easy it is to add
Exercise 5.10: Saving and Naming a New Form. This exercise merely reinforces the notion
5-4 CHAPTER 5 • CREATING AND USING FORMS
Exercise 5.11: Opening the Form in Form View and then Layout View to Alter It. This
exercise demonstrates that double-clicking an object, such as a form, in the Navigation Pane
opens it. Here, students open the MyShipperForm form and then switch to Layout view. Make
sure students understand that viewing data in Layout view—new to Access 2007—is the best
way to determine if the controls are wide enough to display their data. This is a very helpful new
tool.
Navigating a Form
Several ways to navigate through the data in a form appear in this section so that students can choose the
way they like best including pressing Enter, pressing Tab, and pressing Shift+Tab. We introduce the
terms focus and tab order in this section. Illustrate both to students. It is sometimes instructive to mock up
a form with a “bad” tab order and show students how frustrating and confusing it is to Tab through such a
Exercise 5.12: Modifying the Tab Order of a Form’s Controls. This exercise shows students
how to reorder the tab order of controls so pressing Tab moves from the top of the form to the
bottom. Open the Tab Order dialog box and drag/drop control names or click the Auto Order
button to quickly rearrange them into sensible order.
Printing a Form
Emphasize to students that forms are not printed in most cases. However, it is handy to do so.
• To print a form:
➢ Display form in Form view.
• The Try It exercise shows how to preview form properties and permissions:
➢ Click Database Tools, Click Database Documenter in the Analyze group.
➢ Click the Forms tab.
➢ Check the check boxes of objects whose definition you want to print.
➢ Click OK to preview the report.
• Remind students that they print forms, frequently more than one form per page will print. If
they want to print just a single form by itself on a page, then they can add the Page Break
control just below the last control on a form (Design view). That causes each form to be
printed on its own page.
Modifying a Form in Layout View
Layout view is the best way to resize controls on a form because it is the only view that allows
modification and that also displays the data in its bound controls. Thus, Layout view is perfect for
modifying the length of bound text boxes, for example. Take time to describe the stacked and tabular
layout group controls and how they work. In particular, illustrate how to form a stacked layout group and

CHAPTER 5 • CREATING AND USING FORMS 5-5
Modifying a Form’s Default View
A form’s default view is specified by its Default View property—a property of the form as a whole and
not any particular control found on the form.
Exercise 5.13: Changing the Default View of a Form. This exercise shows students how to
set the default view of a form—the view that automatically displays when a user double-clicks
Exercise 5.14: Modifying Labels in Layout View. This exercise shows students how to alter
the text found in labels. Emphasize to students that clicking a label once simply selects the label
container. Clicking a second time (not double-clicking) places the cursor in edit mode. You can
tell because the blinking, vertical insertion point indicator appears somewhere within the text of
the label.
Applying Conditional Formatting to a Control
Exercise 5.15: Applying Conditional Formatting. This exercise shows students how to set
conditional formatting for the Commission Rate bound control while displaying a form in Layout
view. Because the conditional values are percentages, warn students that the values specified
in the exercise are all less than one. For example, don’t type “7” as an upper bound in a
commission rate field, because that indicates 700 percent!
Understanding Control Layouts
Take some time explaining tabular and stacked control layouts. They require a bit of experimentation to
Sizing and Moving Controls
Sizing controls involves dragging one of a control’s sizing handles.
Exercise 5.16: Moving Controls within a Stacked Layout. This exercise shows students how
Exercise 5.17: Resizing all Controls in a Stacked Layout Group. This exercise shows
Exercise 5.18: Removing a Control from a Layout and Resizing It. This exercise shows
students how to remove a control from a layout and subsequently resize it. You must first
remove it from the group (Figure 5.22) and then resize it (Figure 5.23).
Enforcing Data Integrity and Consistency with Forms
This is a very important section. It discusses how to build data integrity checks into forms.

5-6 CHAPTER 5 • CREATING AND USING FORMS
Using Data Validation to Avoid Errors
Exercise 5.19: Setting Data Integrity Rules in Form Controls. This exercise shows students
how to set data validation rules on a form’s control. In addition, the students resize selected
controls.
Inserting Controls to Limit Choices: Buttons and List Boxes
List boxes and option buttons provide an excellent way to limit user choices and therefore enforce data
integrity. Creating a list box that displays the four choices Freshman, Sophomore, Junior, and Senior
Exercise 5.20: Replacing a Text Box Control with a List Box. This exercise shows students
how to create a list box that displays Coffee or Tea. Using the Control Wizard, students specify
Exercise 5.21: Deleting the Old Control and Moving in the New List Box. This exercise
shows students how to remove a superfluous bound control—one that has been replaced by a
list box.
Exercise 5.22: Inserting Option Buttons to Represent Value Choices. This exercise shows
Creating a Behind-the-Form Query
Behind the form queries are private to the form and are an excellent way to sort or filter data before it
appears in the form. An exercise shows how to create a query to sort data supplied to a form.
Exercise 5.23: Creating a Behind-the-Form Query to Sort Rows. This exercise shows
students how to change a form’s data source to a query—a so-called behind-the-form query. It
sorts the data from the inventory table into order by beverage type and name within beverage
CHAPTER 5 • CREATING AND USING FORMS 5-7
Creating a Multitable Form and Subform
Creating a Multiple-Table Form
Exercise 5.24: Creating a Form and Related Subform. This exercise shows students how
easy it is to create a form and subform from two related tables. Simply click the Create tab and
then click Form. Access builds a default form and subform because Access discovers there are
related tables via the relationships established in the Relationships window.
A Try it exercise leads students through navigating through form and subform records via the two distinct
sets of navigation buttons.
Creating a Subform from a Query
Reinforce that sometimes it is handy to create forms from queries instead of tables. Queries allow you to
write expressions such as extended price for display in a form. You cannot write an extended price
expression in a calculated form control because the constituent parts (quantity, unit price, and so on) used
in the expression must be calculated before they are displayed on the form. Thus, the query computes
values before the form “calls for them.”
Exercise 5.25: Creating a Query for Use by a Subform. This exercise shows students how to
Exercise 5.26: Creating a Form and Related Query-based Subform. This exercise shows
5.29 shows the completed form prior to resizing and modifying selected control widths.
Creating Special Purpose Forms
Special purpose forms include those which contain unbound controls (labels) and calculated controls that
are not related to any database tables or queries. We illustrate a typical example, a mortgage calculation
form, because most students have at least a rudimentary notion of the time value of money and loan
amortization calculations. Thus, the example should be familiar to them.
Creating a Mortgage Calculation Form
Creating some of the calculated controls can be a little tricky. For that reason, we supply a nearly
Exercise 5.27: Unhiding the Mortgage Computations Form. This exercise shows students
how to unhide an existing form that is hidden in the Navigation Pane.

Exercise 5.28: Inserting an Expression in a Text Box’s Control Source Property. This
exercise shows students how to write an expression to compute values displayed in a text box
control. The key is to locate the Control Source property—found on the Data tab—and then
Building a Navigation Form
A navigation form is a special form that usually is the first form to open in an application. It usually
contains tabs that display other forms in an application and facilitates navigating the entire database
application without resorting to using Access menus and toolbars. This is a good exercise to do in class.
Simply take any database and create a navigation form that displays any of the existing forms.
Exercise 5.29: Creating a Navigation Form. This exercise shows students how to create a
Navigation form with three active tabs displaying forms for customers, employees, and
inventory.
Designating a Startup Form
Making a form the startup form is a simple process. You may want to follow up the previous
demonstration with one showing how to do this.
Exercise 5.30: Making the Navigation Form the Startup Form. This exercise shows students
how to designate a navigation form as the form that Access automatically opens up when the
database is opened—a so-called startup form. The key is to remember to open the File tab

CHAPTER 5 • CREATING AND USING FORMS 5-9
Answers to Review Exercises
Multiple Choice Questions
Discussion Questions
The solutions presented here come from the textbook discussion. Your students may include other insight
that is relevant but not presented in your solutions.
1. A list box gives the user a list of choices from which to choose one value. It is used when
you want to restrict a field to the values in the list. The advantage of a list box is that it
2. A form displays information from one or more tables in an easily understood and attractive
format. Unlike a Table window, a Form view window typically shows you one row of a table
at a time. Forms have several advantages mentioned earlier, but one of the most compelling
3. A form provides a much more intuitive view of the database. A form that closely resembles
typical paper business forms make it easy for database non-experts to locate information by
4. It makes sense to create a query and use it as the basis of a report whenever you want to use
the query by itself also. Report Wizards do a terrific job of linking related data, grouping
5-10 CHAPTER 5 • CREATING AND USING FORMS
5. A switchboard is useful for end users and it prevents users of the complete database
application from attempting to use (open/edit) tables, queries or other support objects you
Practice Exercises
A note to the instructor: We have created, in the Navigation Pane of the instructor’s version of the
database, a custom category called Review Questions: Answers. That custom category contains four
custom groups: In-Chapter Exercises, Practice Exercises, Problems, and Student Database. You will find
all in-chapter exercise solutions in the In-Chapter Exercises group, all of the solutions to the practice
exercises in the second group, all answers to the problems in the third group, and the original student
database objects in the Student Database group. If the custom category Review Questions: Answers does
not appear in the Navigation Pane, click the category name at the top of the Navigation Pane and click the
Review Questions: Answers category name.
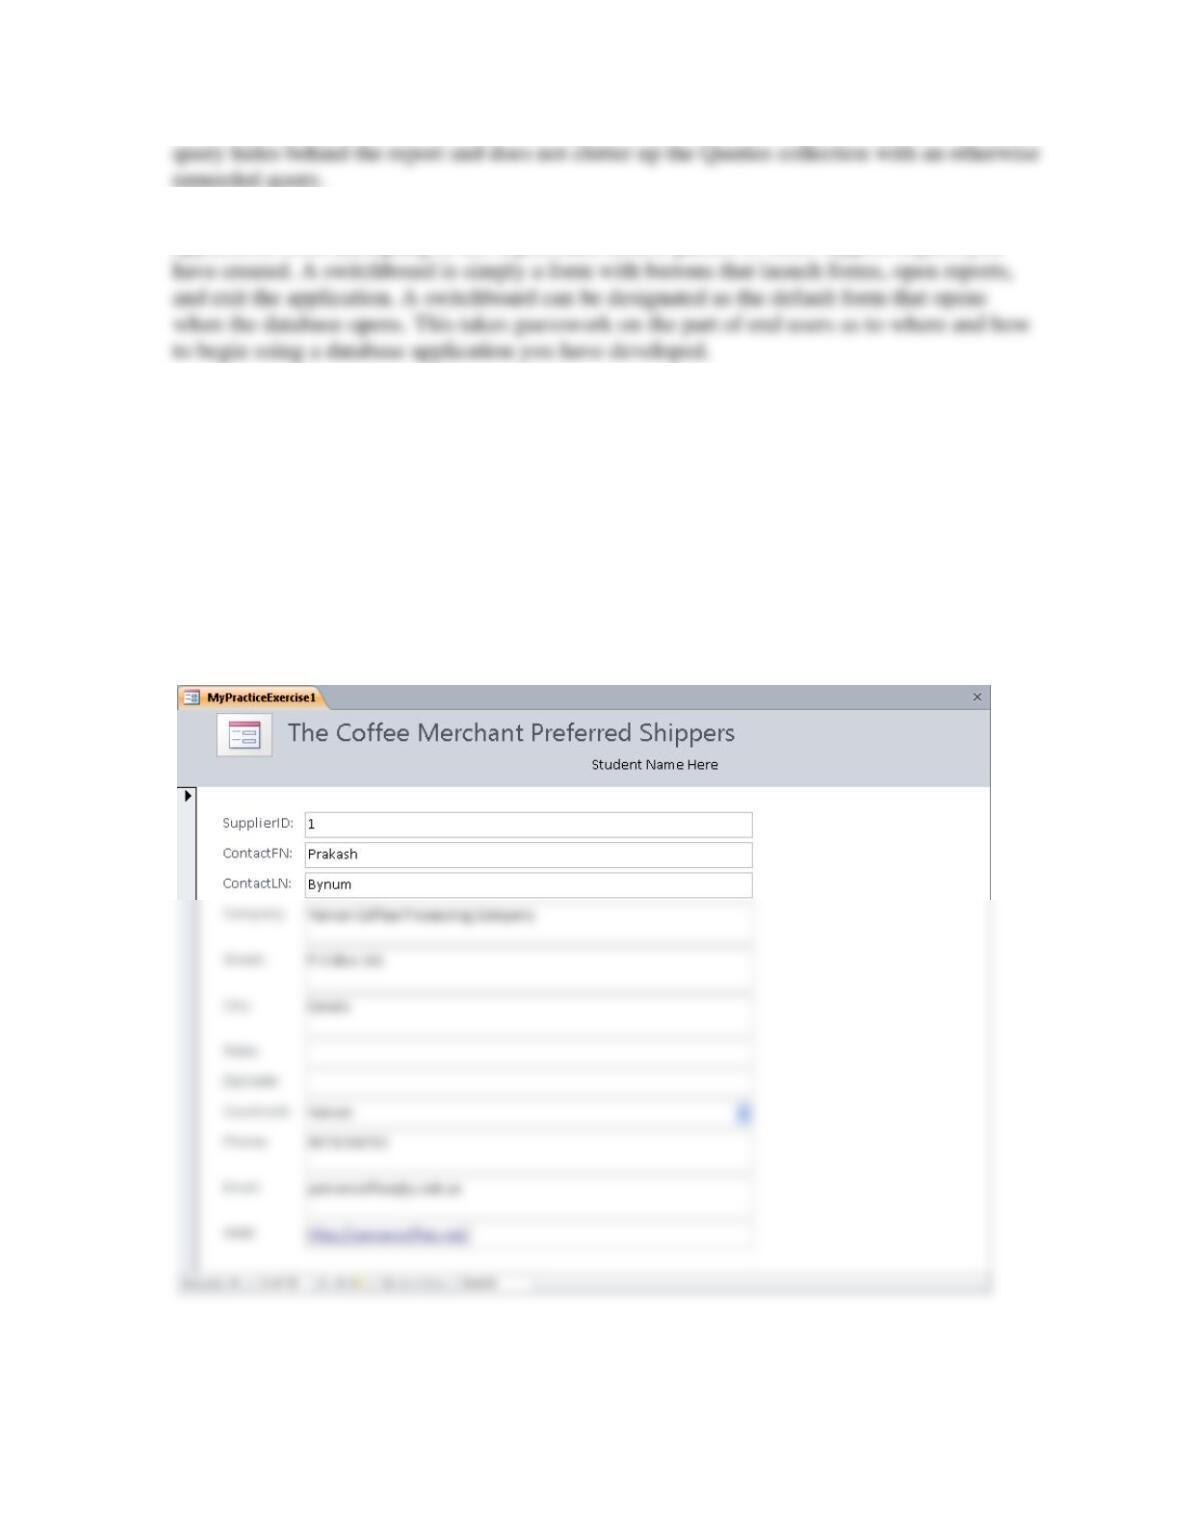
1. The solution is saved in the instructor’s solution database (Practice Exercises group) as
5-Practice Exercise 1. The figure that follows shows the Form view of the solution.
2. The solution is self evident. Simply follow the directions to add a new inventory item.
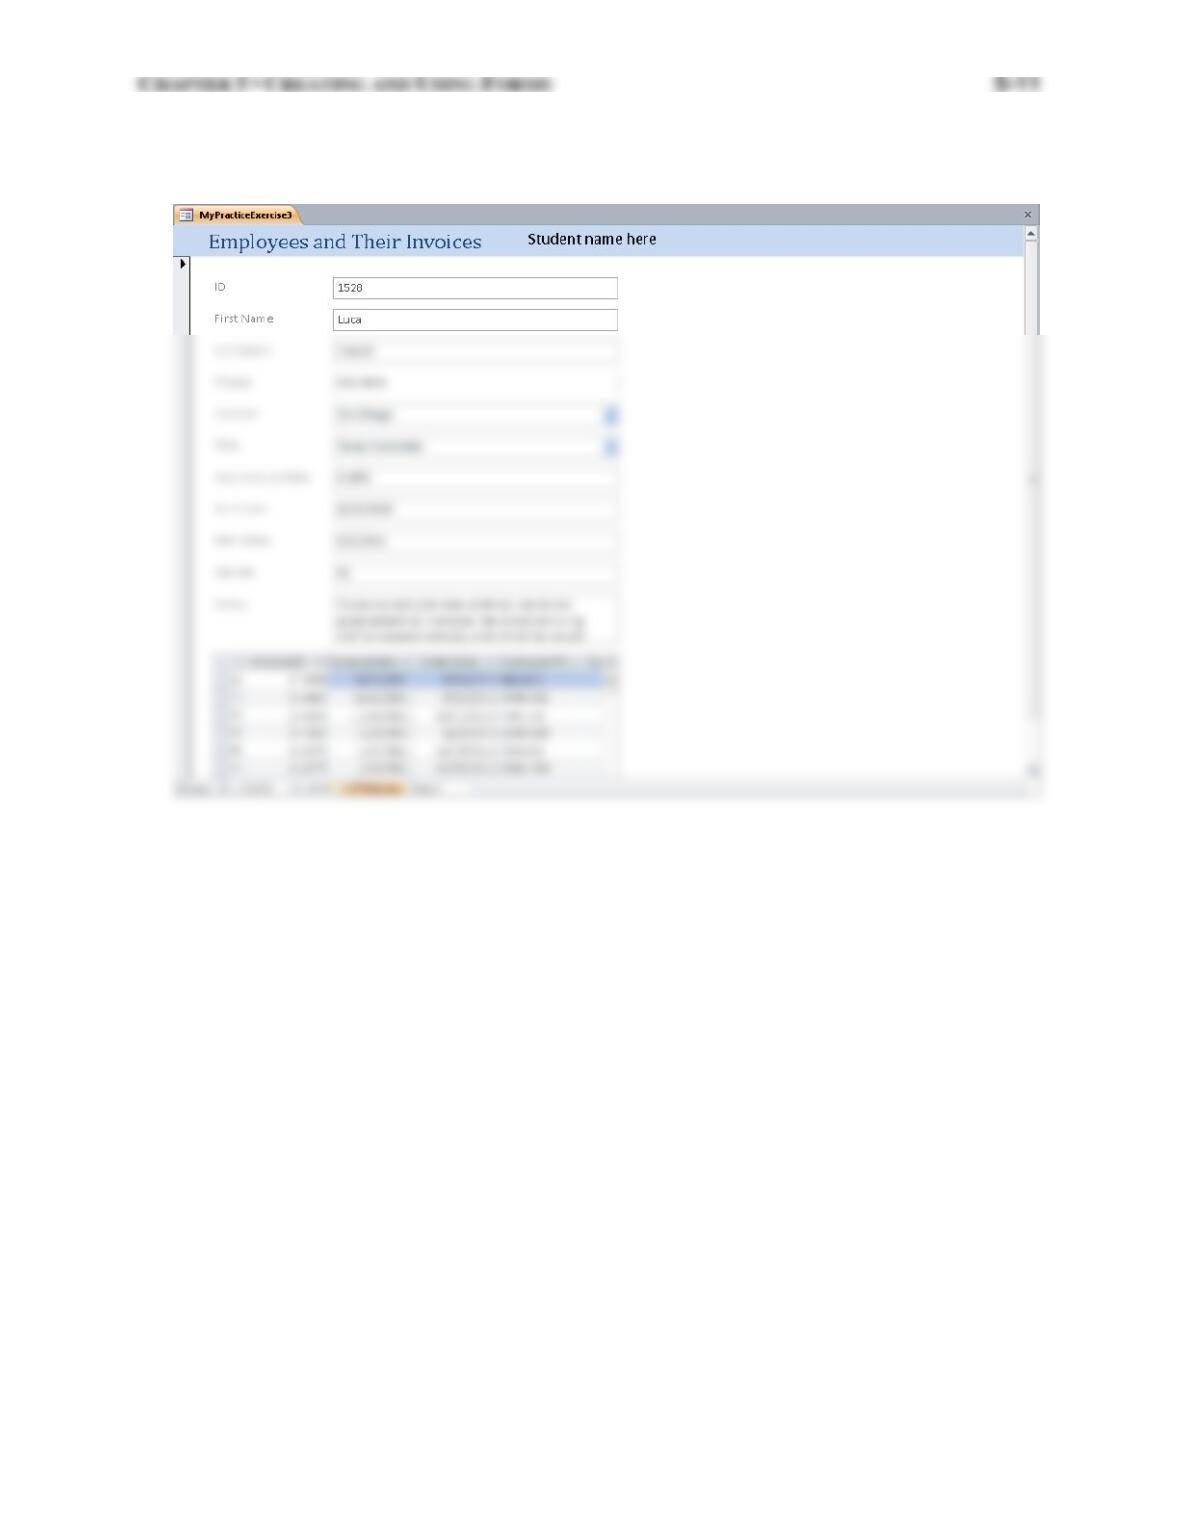
3. The solution is saved in the instructor’s solution database (Practice Exercises group) as
5-Practice Exercise 3. The figure that follows shows the Form view of the solution.
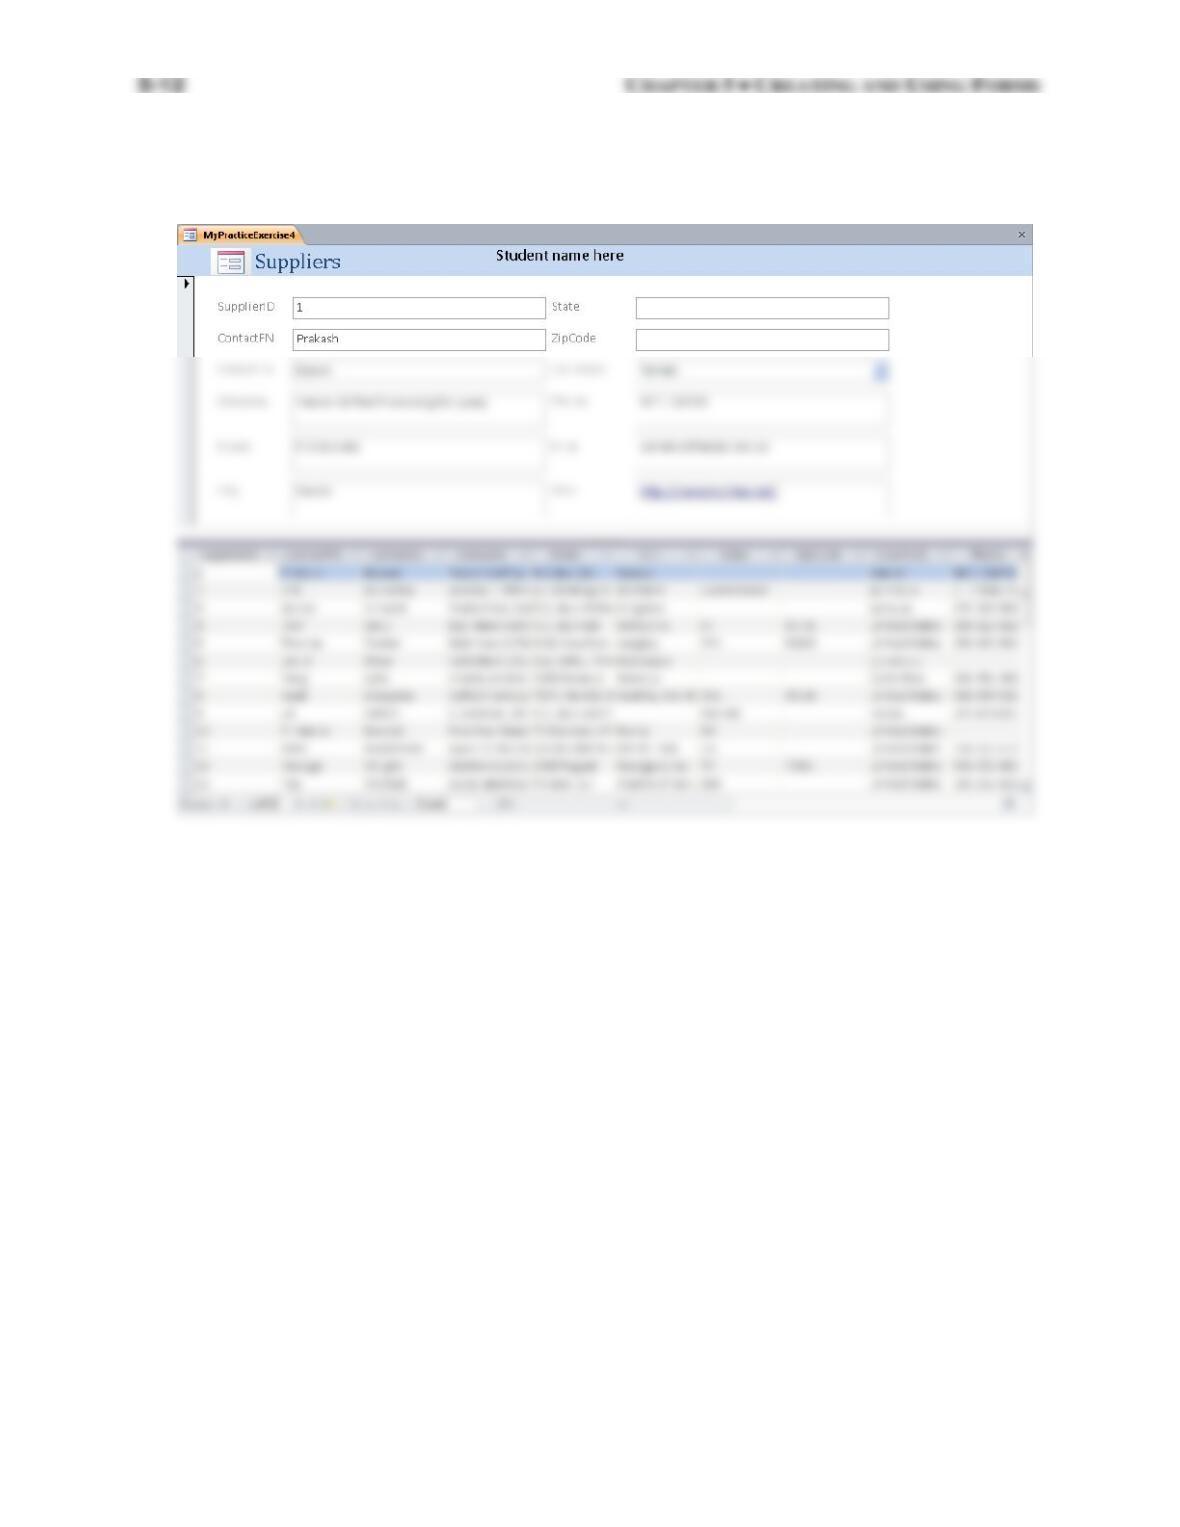
4. The solution is saved in the instructor’s solution database (Practice Exercises group) as
5-Practice Exercise 4. The figure that follows shows the Form view of the solution.

CHAPTER 5 • CREATING AND USING FORMS 5-13
5. The solution is saved in the instructor’s solution database as 5-Practice Exercise 5. The
figure that follows shows the Form view of the solution.
5-14 CHAPTER 5 • CREATING AND USING FORMS
Problems
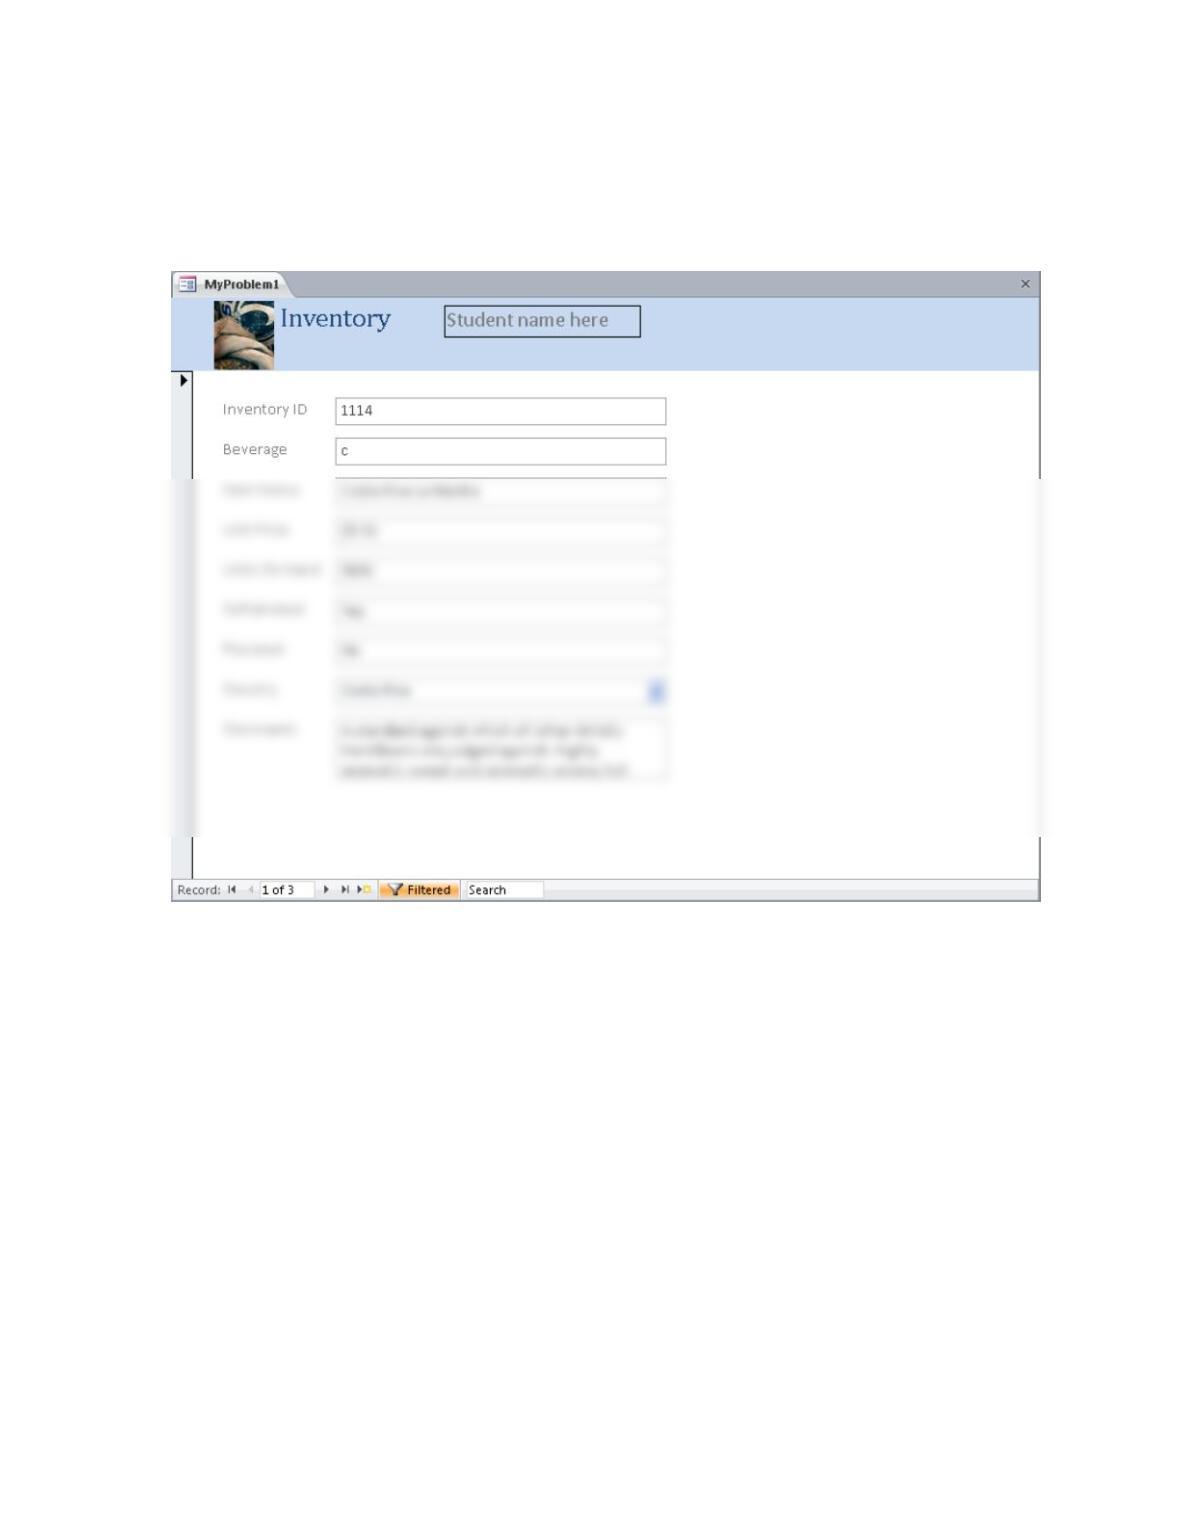
1. The following figure shows the Form view for this question. The solution is stored in the
instructor’s version of the database. In particular it is in the Problems group of the Review
Questions: Answers category and is called 5-Problem 1.
CHAPTER 5 • CREATING AND USING FORMS 5-15
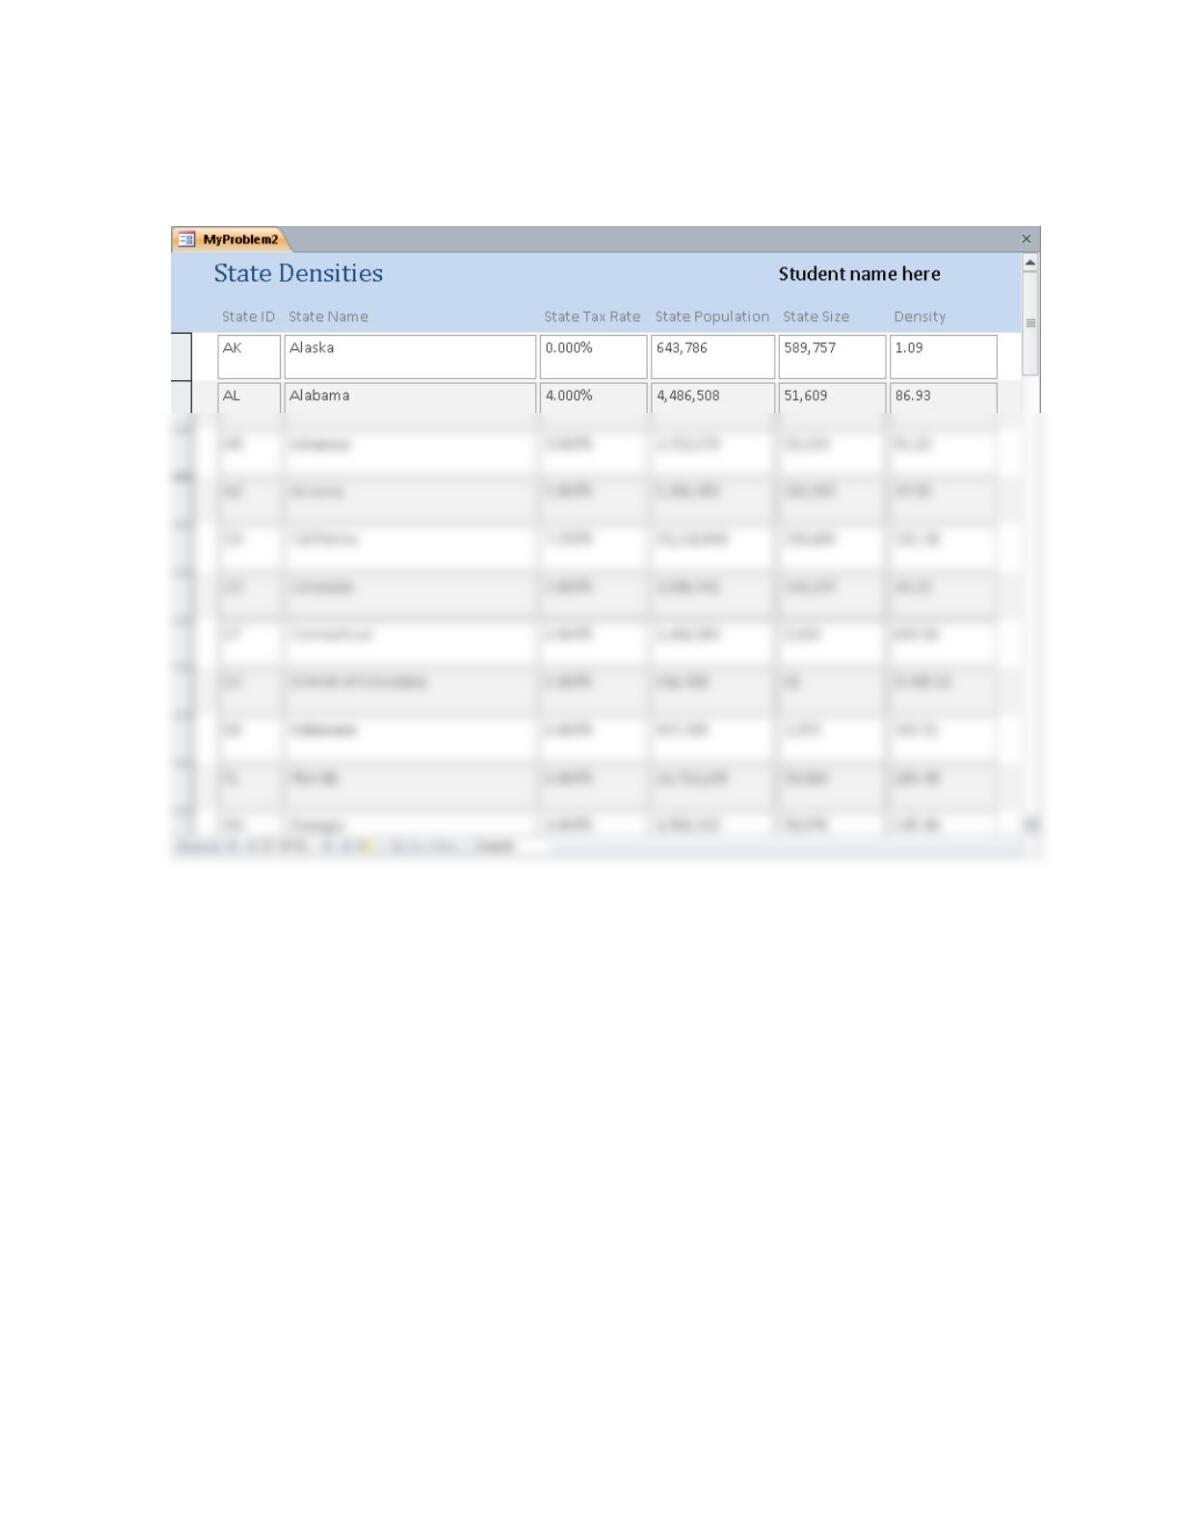
2. The following figure shows the Form view for this question. The solution is stored in the
instructor’s version of the database. In particular it is in the Problems group of the Review
Questions: Answers category and is called 5-Problem 2.
5-16 CHAPTER 5 • CREATING AND USING FORMS
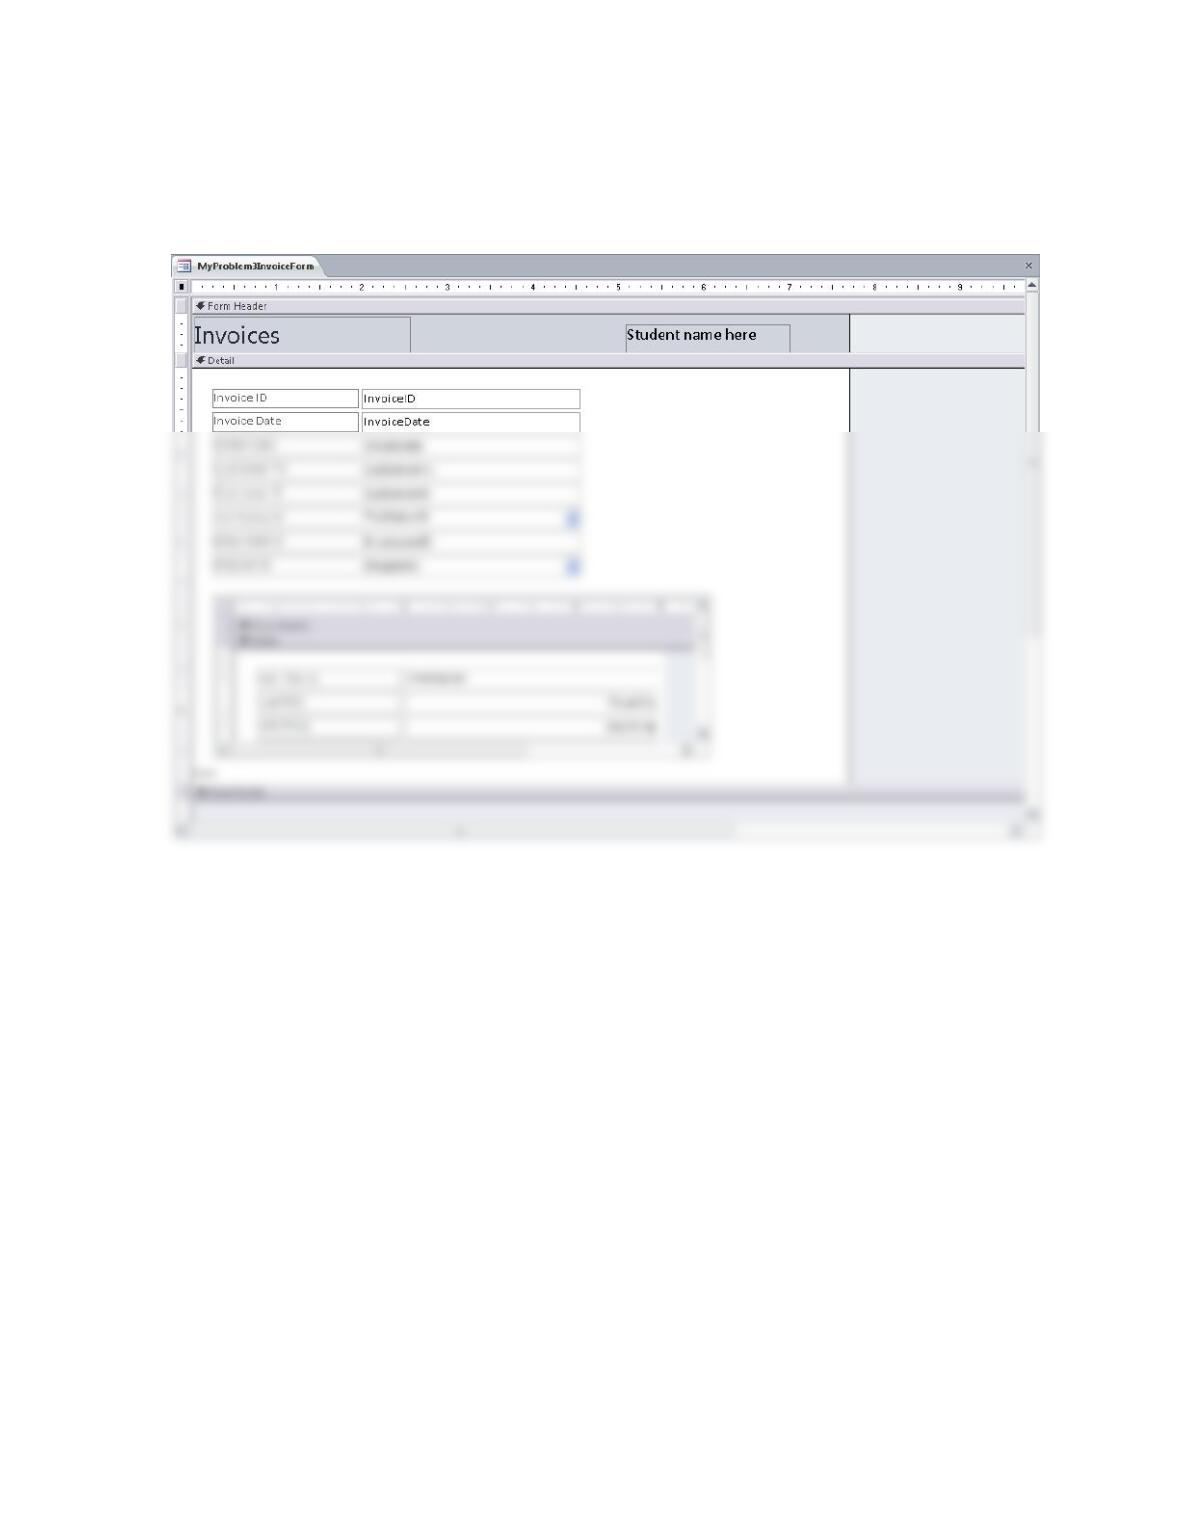
3. The following figure shows the Form view for this question. The solution is stored in the
instructor’s version of the database. In particular it is in the Problems group of the Review
Questions: Answers category. The two forms are called 5-Problem 3 main form and
5-Problem 3 subform. The Design and Form views are shown below.
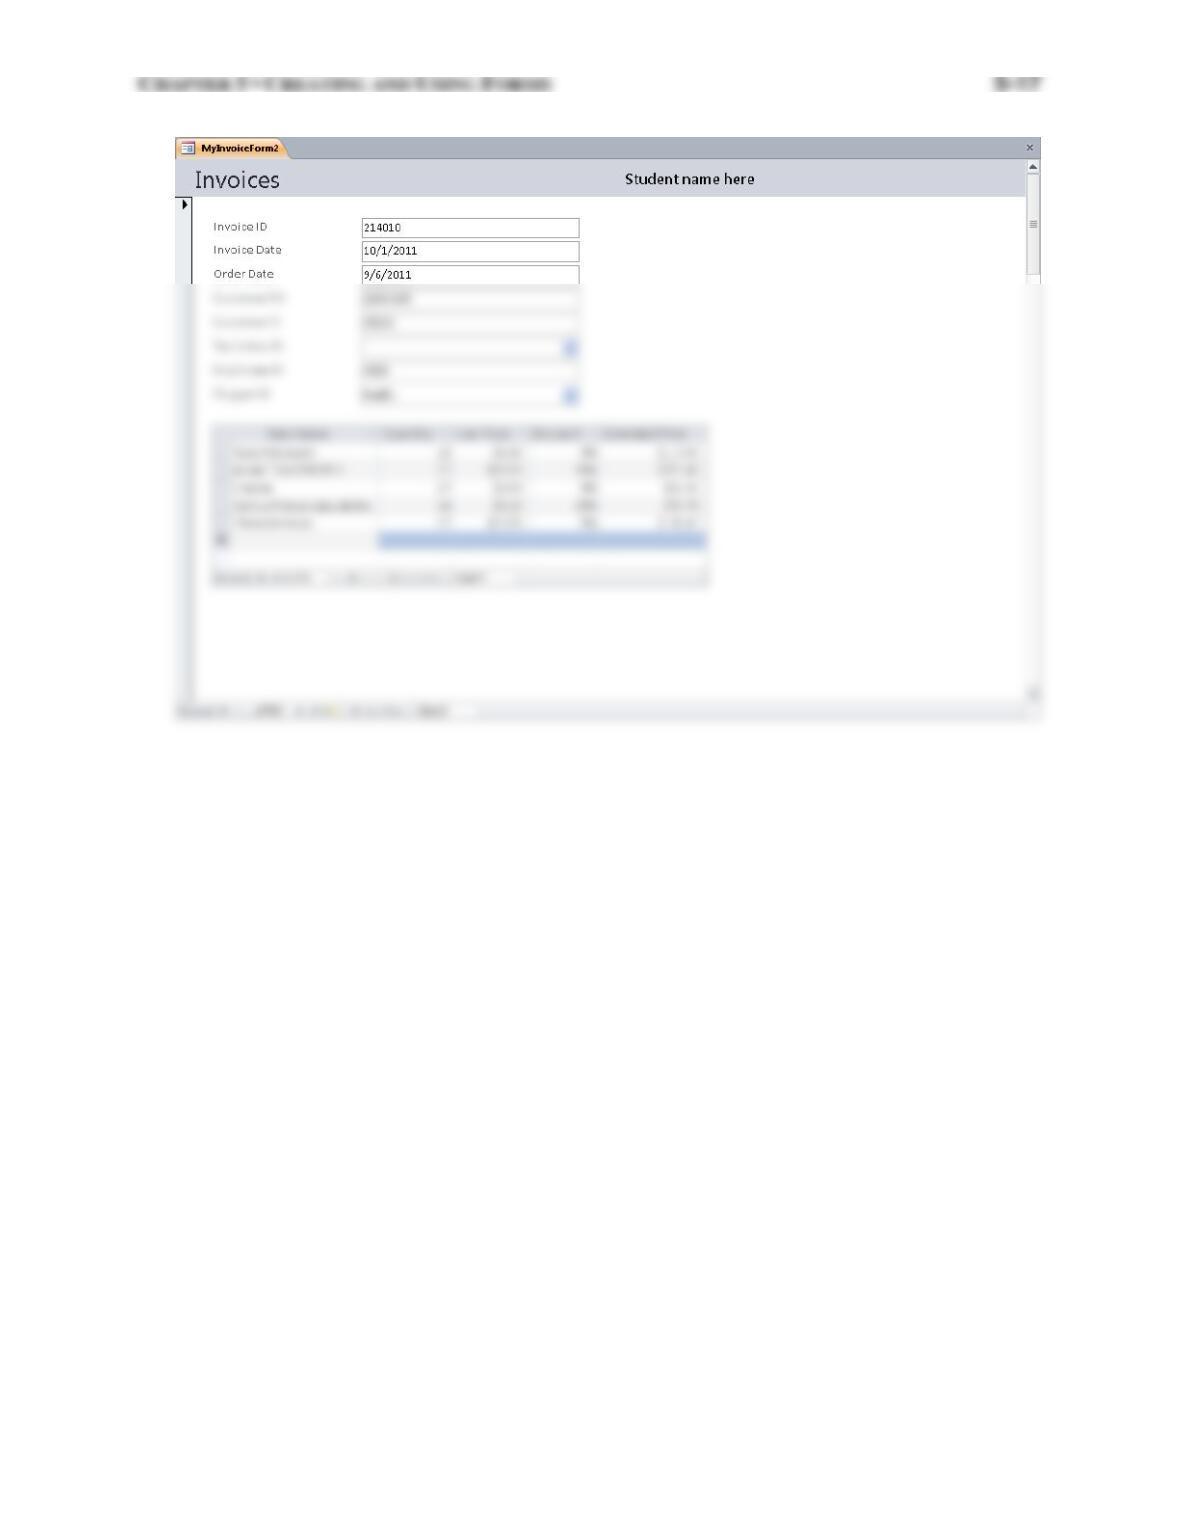
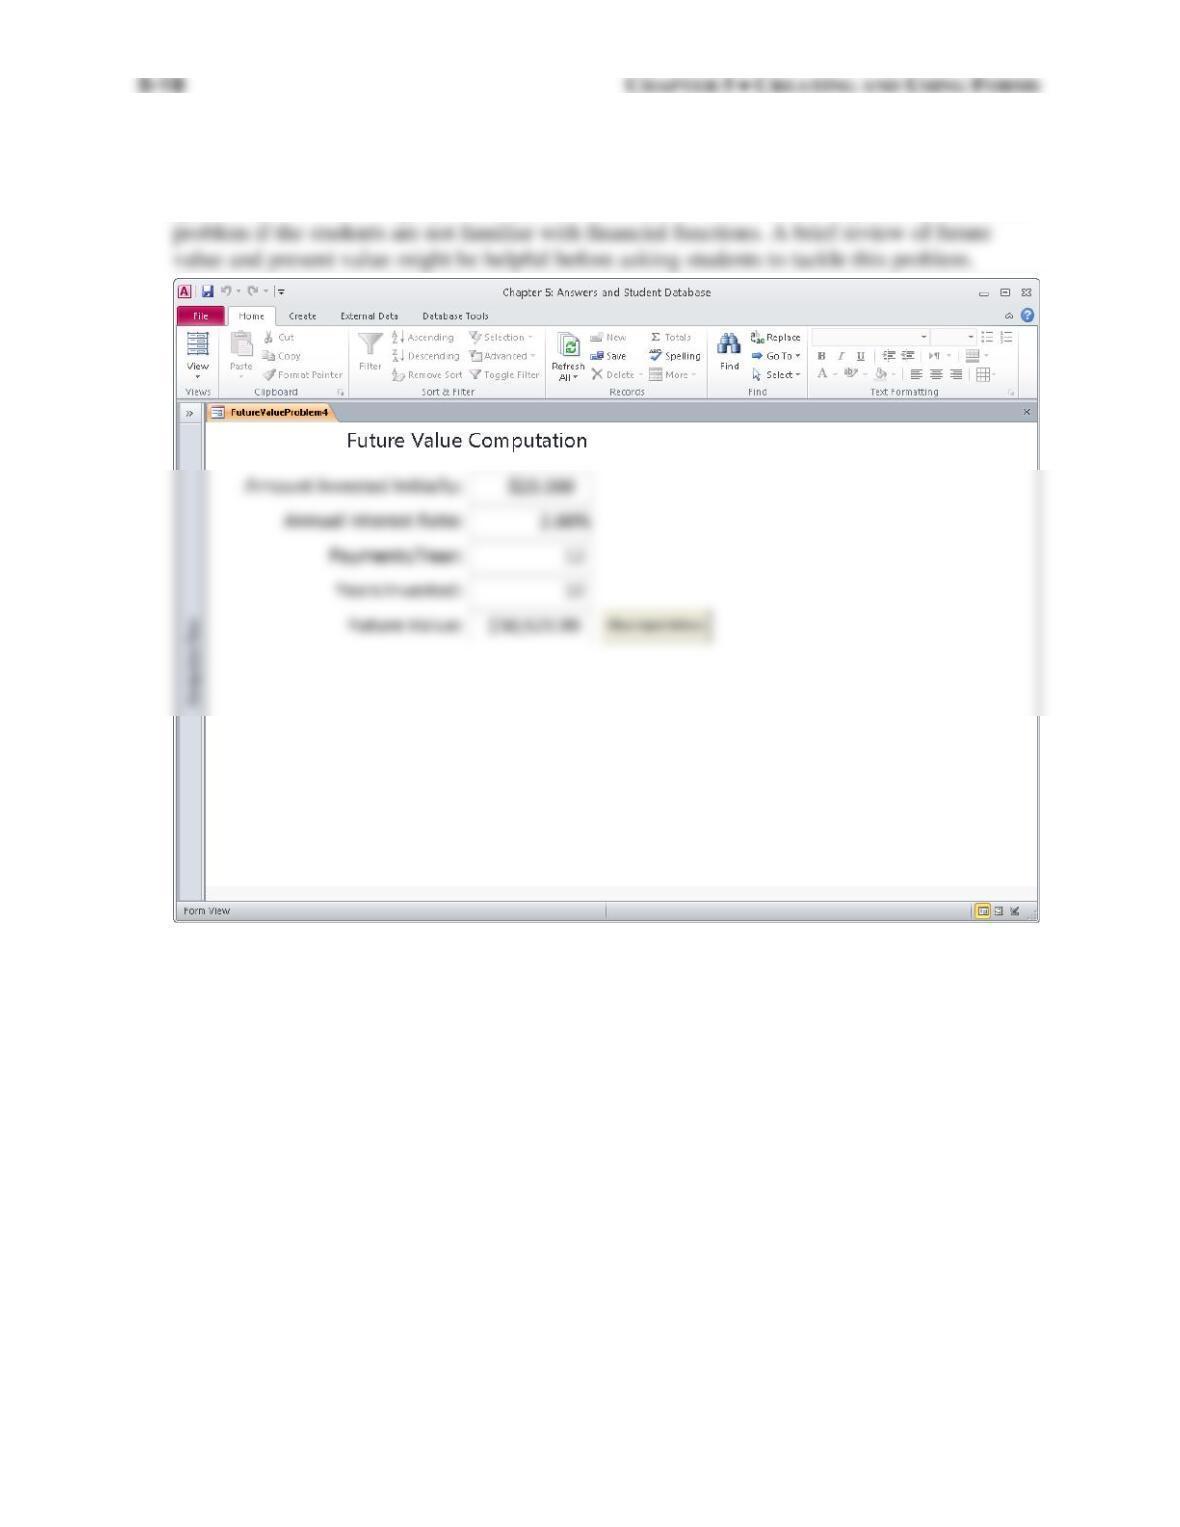
4. The following figure shows the Form view for this question. The solution is stored in the
instructor’s version of the database. In particular it is in the Problems group of the Review
Questions: Answers category and is called 5-Problem 4. Note that this is probably a difficult
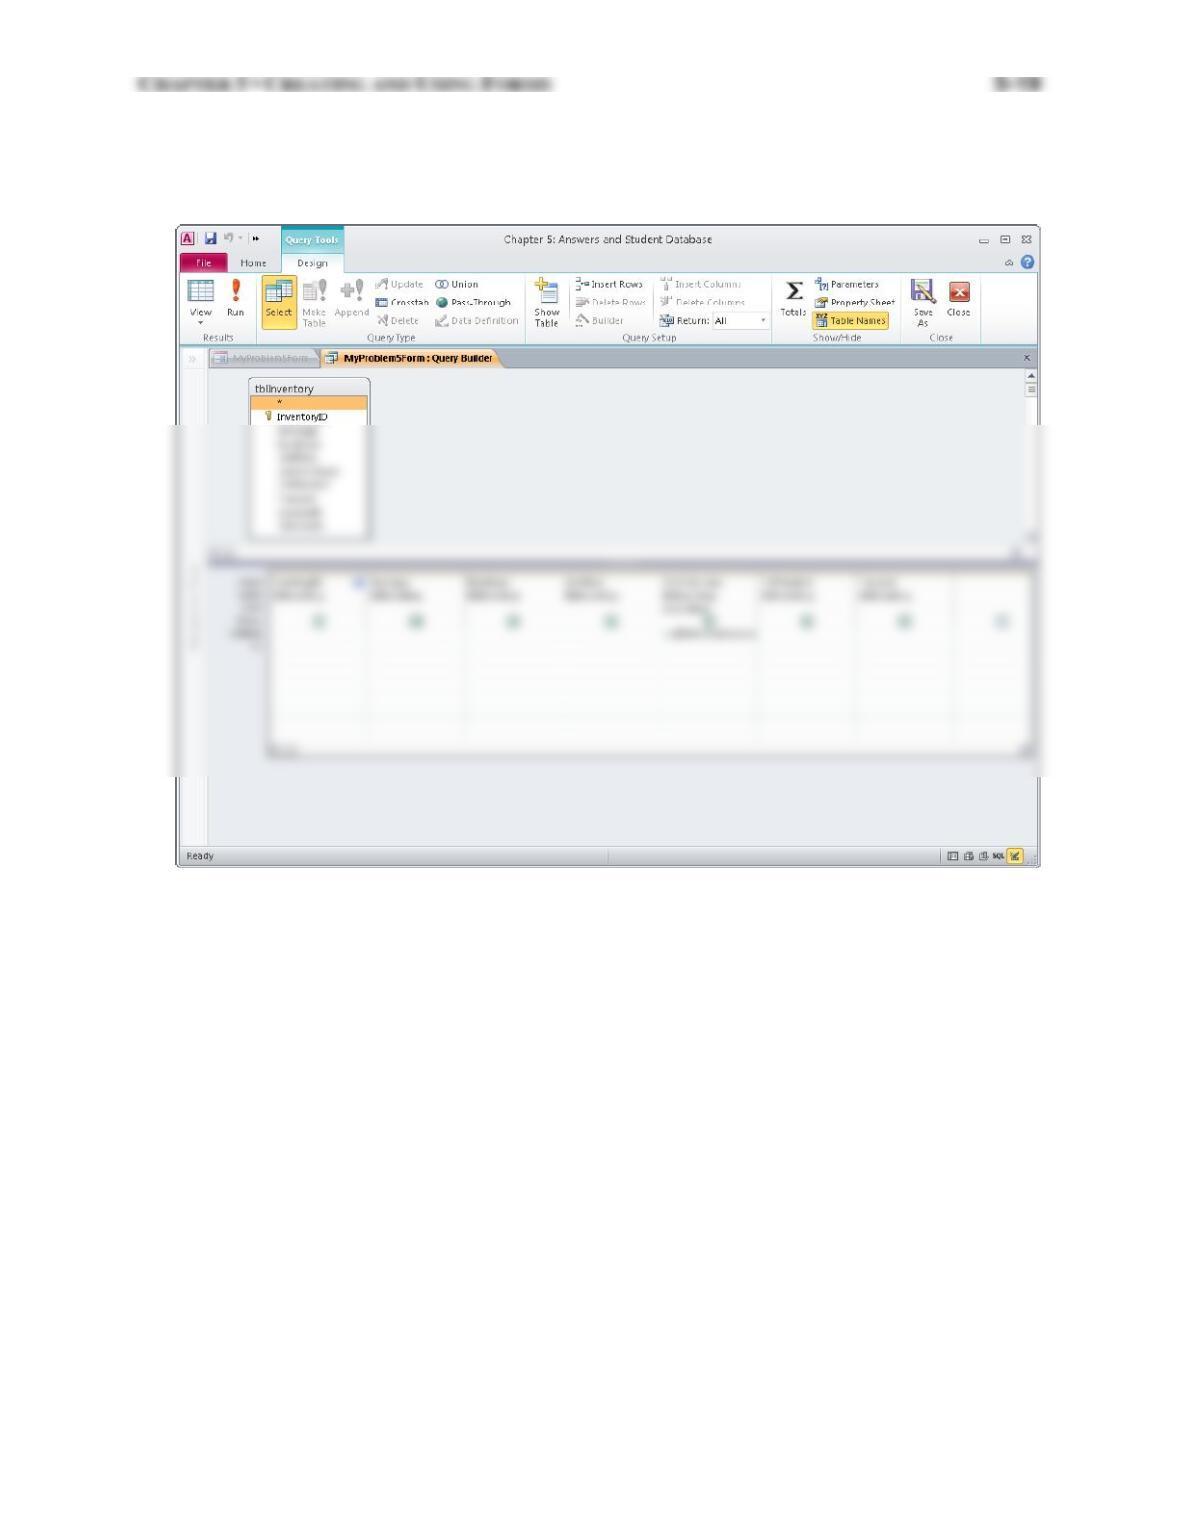
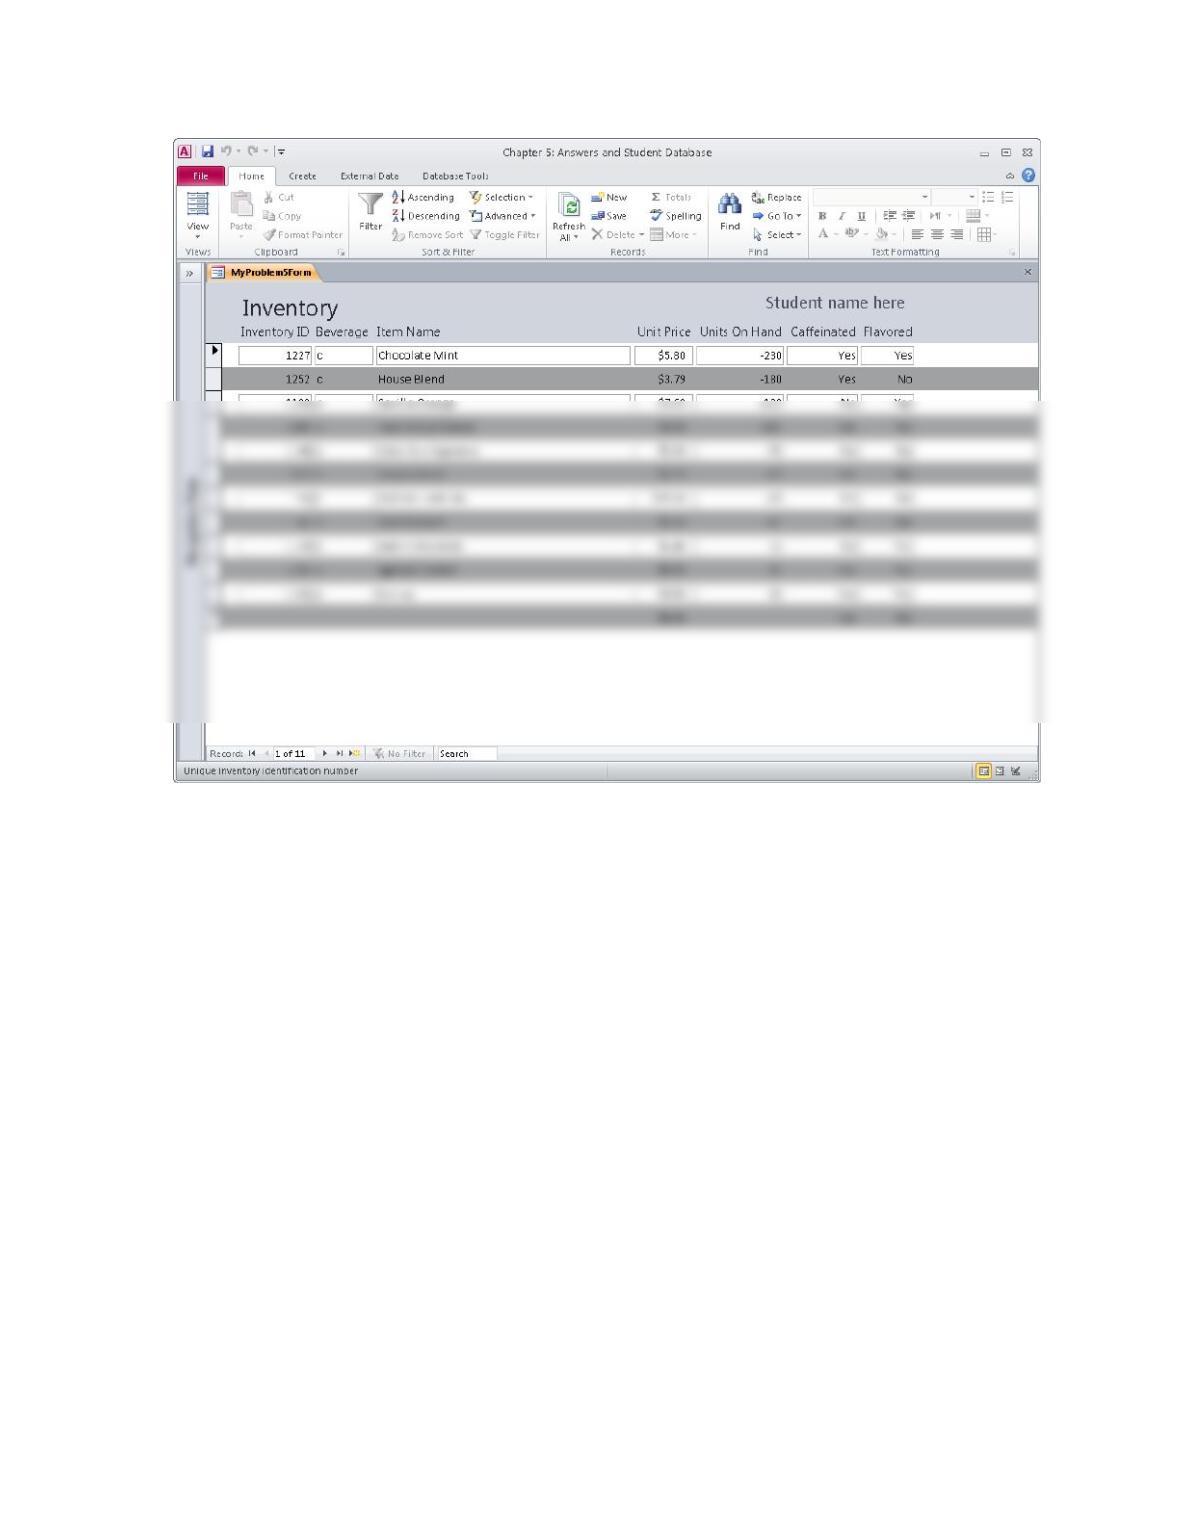
5. The following figure shows the behind-the-form query design and the Form view for this
question. The solution is stored in the instructor’s version of the database. In particular it is in
the Problems group of the Review Questions: Answers category and is called 5-Problem 5.
5-20 CHAPTER 5 • CREATING AND USING FORMS