16
choose any other desired Sort options from the dialog box.
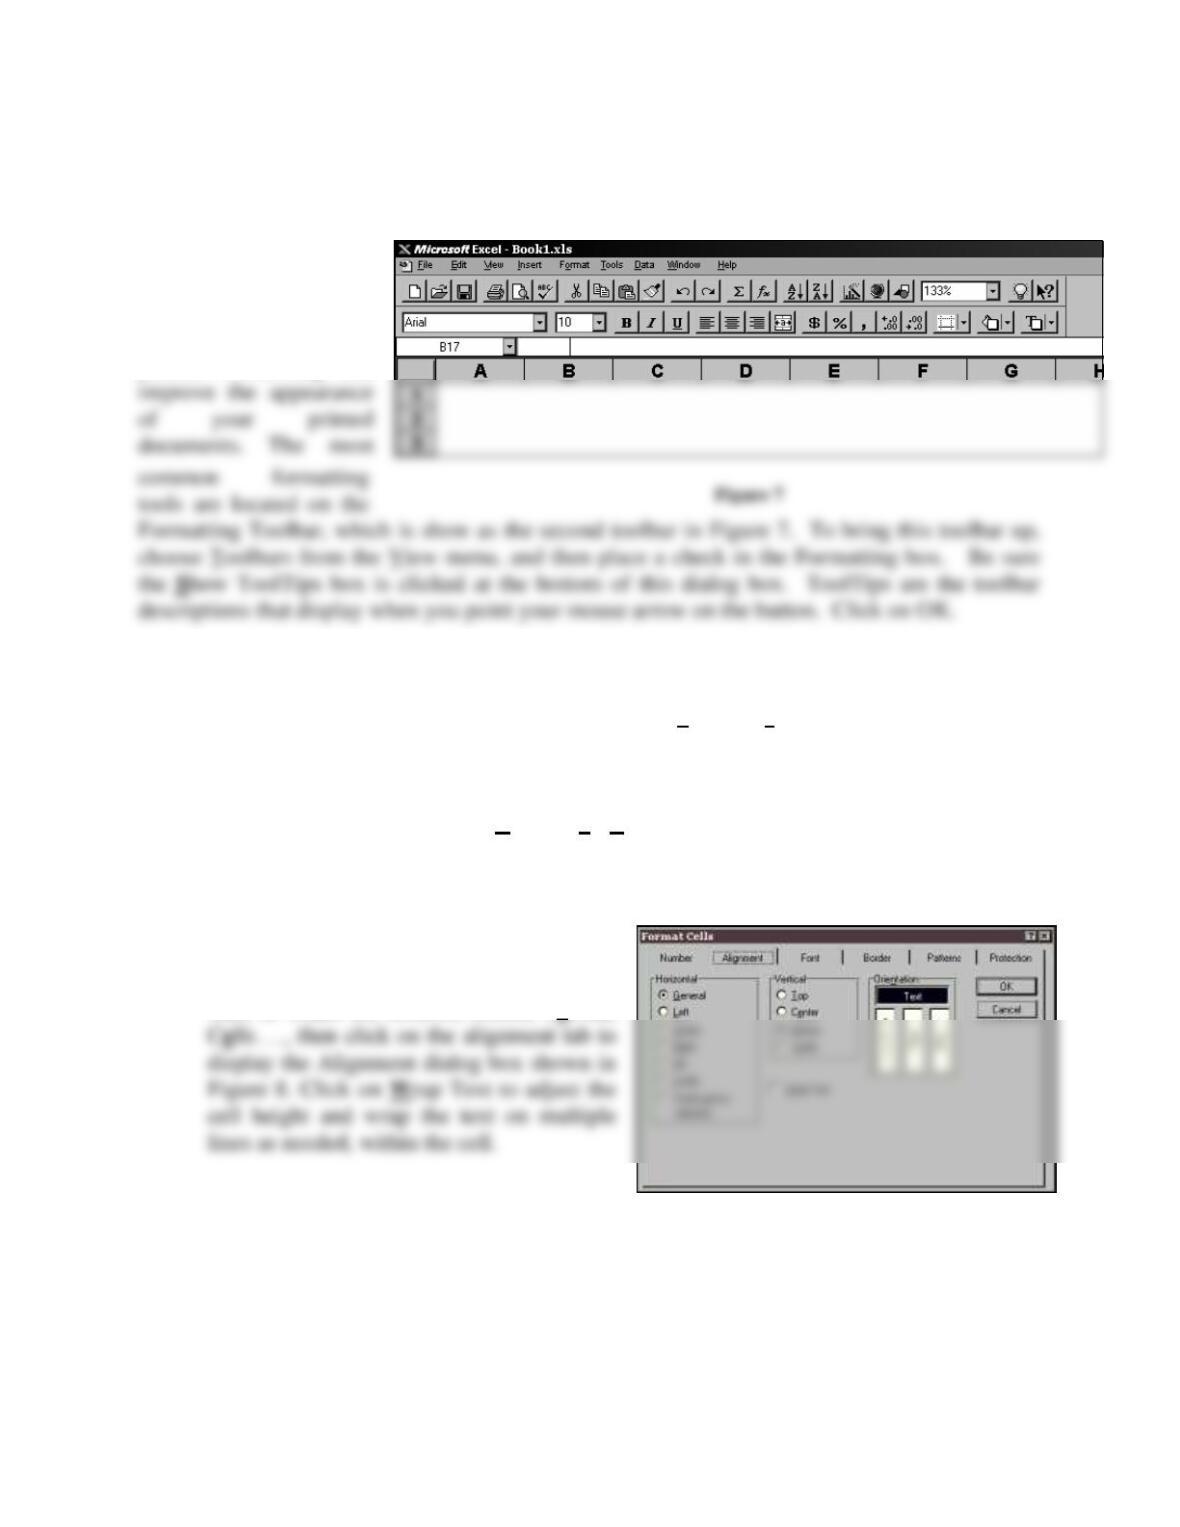
DOCUMENT FORMATTING
Depending on your
hardware, what appears
on the screen is what
will print out on your
printer. Formatting can
Remember to always select the cell or range of cells to be affected before you apply formatting.
Additional formatting options are selected from the Format, Cells…. Menus. Choose the
Number, Alignment, Font, Border, Patterns or Protection tabs for the desired formatting options.
(See Figure 8).
To remove all cell formatting, choose Edit, Clear, Formats. This will remove any cell formatting
from the selected range, including numeric formats. To remove only a particular format, choose
the menu options as if you were going to set the format, and then turn it off.
Wrapping Text
If text in a cell is too long and you do not
want to widen the column, choose Format,
Figure 8

17
Page Setup
Unless changed, the default page setup
includes portrait orientation, alignment
with the top and left margin, a header that
centers the filename at the top, and a
footer that centers the page number. To
To center your document between the left and right margins, click on the Margins tab,
then click the Center on Page: Horizontally box.
To change a header or footer, click on the Header/Footer tab, and then select a header and
footer from the suggestions in the dropdown lists. You may also create your own by
clicking on the Custom Header or Custom Footer buttons.
NOTE: If you set a print title, do not include it in the print area or it will print
twice on the first page; once as a title and once as part of the print area.
Page Breaks
You can set horizontal or vertical page breaks individually, or you can set page break that
is both horizontal and vertical.
Figure 9
18
dotted line will appear along the left edge of the column to indicate the page break.
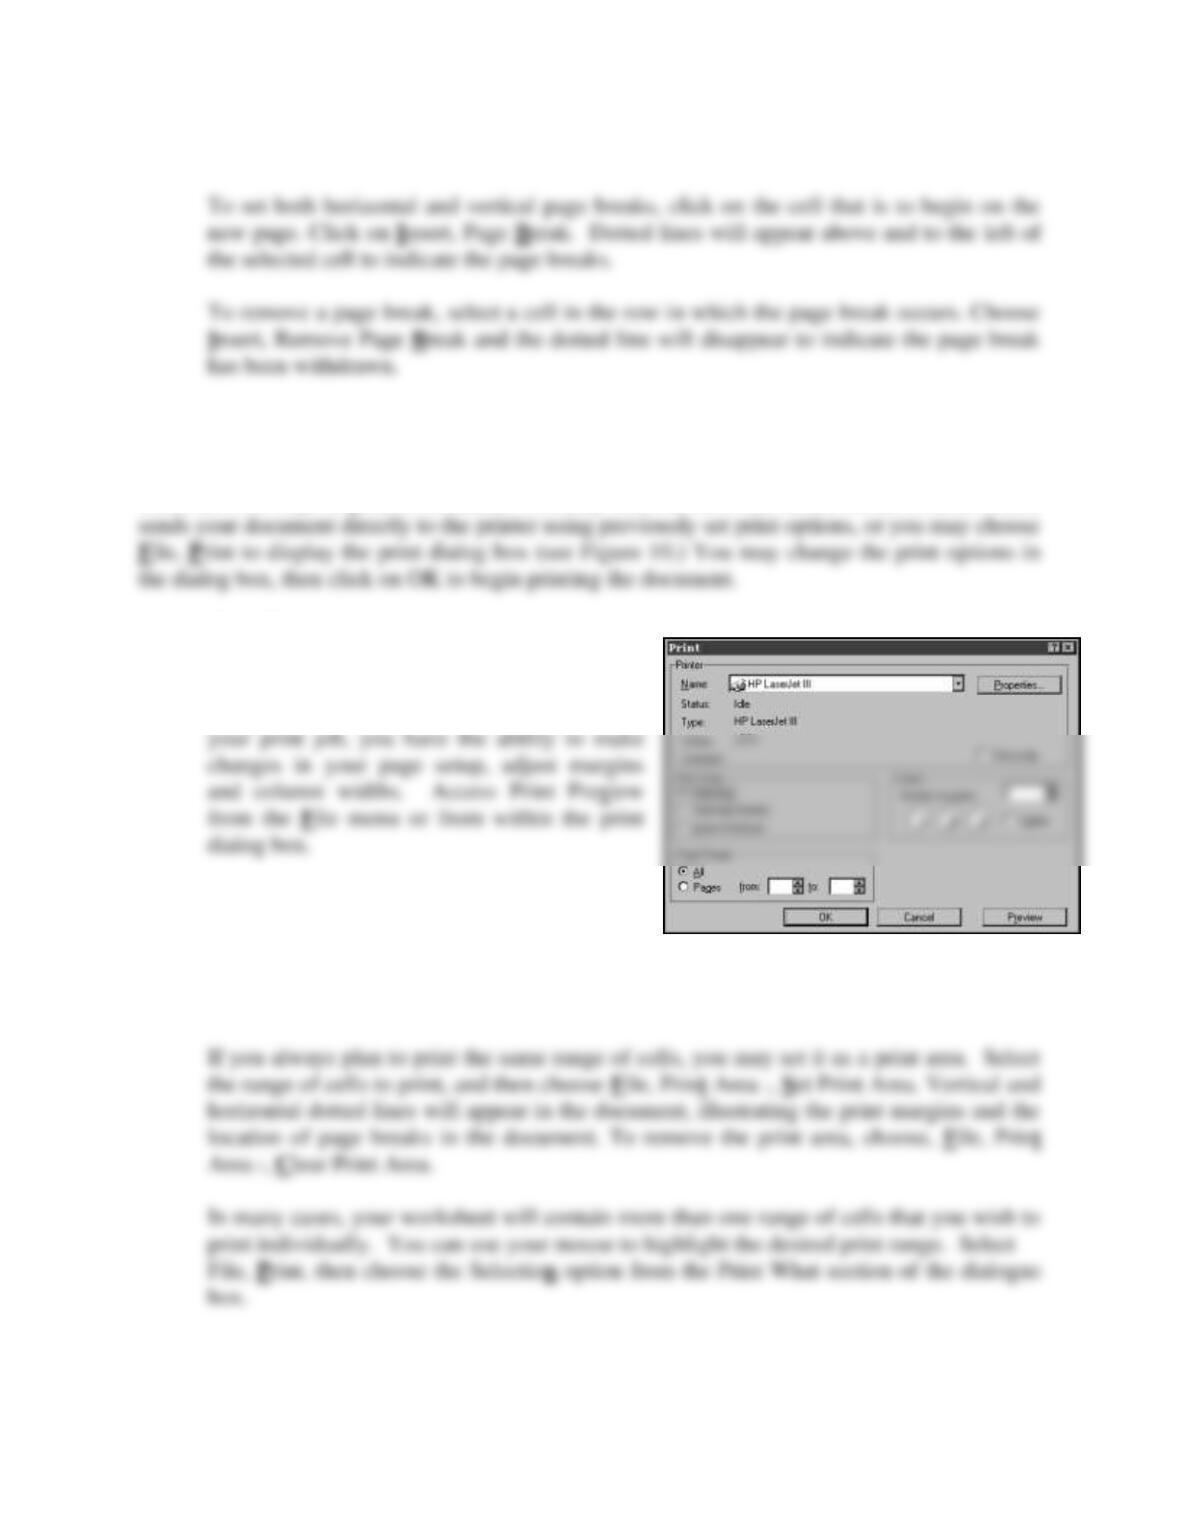
PRINTING A FILE
There are two ways to print a document. You may click on the Print button on the toolbar, which
Print Preview
This feature shows you exactly how your data
will print to your printer. While previewing
Print Area
Unless a print area is defined or a print area
selected, Excel will print all of the data in a
document.
Figure 10
19
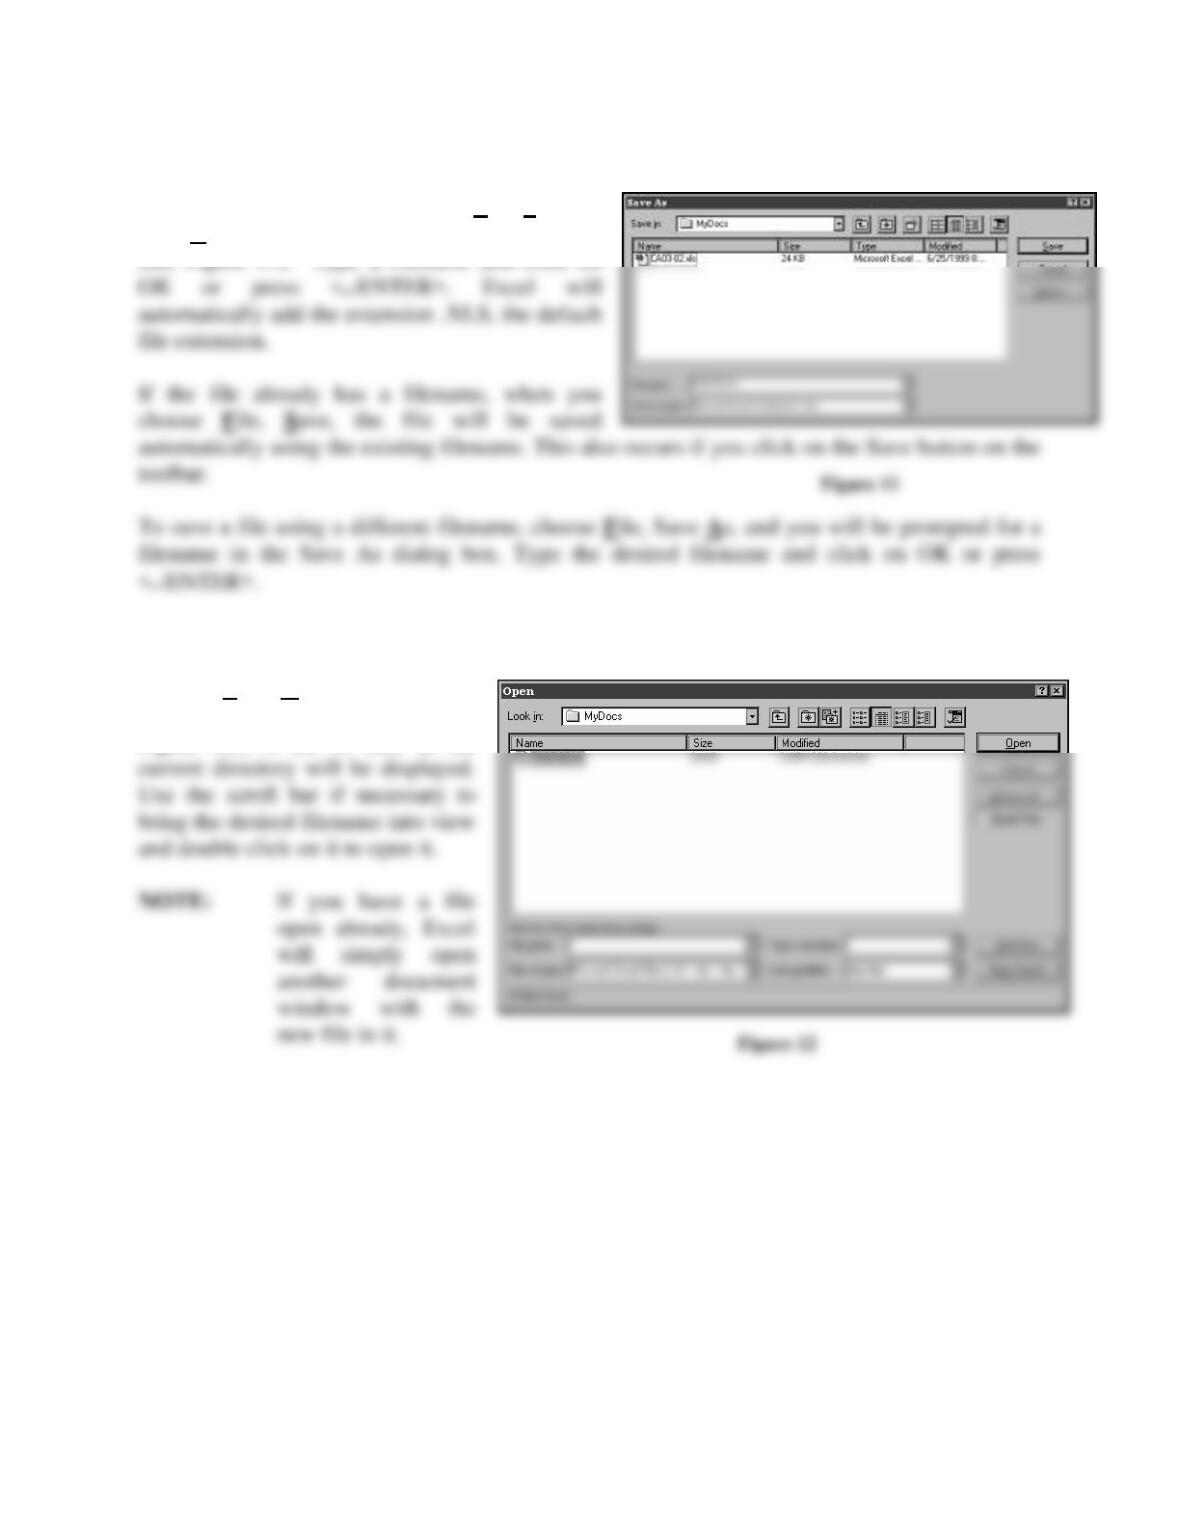
SAVING A FILE
To save a file the first time, choose File, Save (or
Save As) and the Save As dialog box will appear
(see Figure 11). Type a filename and click on
OPENING AN EXISTING FILE
Choose File, Open and the File
Open dialog box will appear (see
Figure 12.) A list of files in the

20
CLOSING A FILE
Choose File, Close. If the file has not been saved, you will be prompted to save it. If you choose
HELP
To open the help window, choose Help from the menu bar and search for an applicable topic.
You may also press the help key (F1). This will bring up information sensitive to your current
screen. In addition, most dialog boxes have a context-sensitive help button.
EXITING EXCEL
21
INSTALLATION AND CONFIGURATION
Excel Templates are designed to work specifically with Excel and will also work with most of
the earlier versions of Excel. It may also be compatible with some versions of Lotus, Quattro
Pro, Symphony or other Windows spreadsheet programs.
INSTALLING EXCEL TEMPLATES FOR EXCEL ON YOUR HARD DRIVE:
There are many ways to copy files from a CD to your hard drive. These directions use Windows
Explorer to accomplish the task.
1. Place the installation CD in your CD Rom drive:.
2. Access Windows Explorer by right clicking on the Start button, then click on Explore
from the list box.
22
SETTING UP EXCEL TO DEFAULT TO THE EXCEL TEMPLATES FOLDER:
For ease of file access, you may wish to change Excel’s default data folder to the new folder you
created.
1. Open Excel.
DISPLAYING THE FORMATTING TOOLBAR
Excel’s formatting toolbar displays buttons that perform many of the common formatting tasks.
These helpful shortcuts are used in the Step-by-Step Example section of this Guide.
23
USING EXCEL TEMPLATES
FOLLOWING THE GUIDE TO INDIVIDUAL PROBLEMS
The Guide to Individual Problems, which is the last part of this Guide, is designed to help you:
1. Open the correct file.
2. Enter your name and class name.
3. Enter your problem solution.
4. Print your solution, providing a suggested print area.
1. Open the File
24
4. Print Your Solution
Print Areas are defined in many of the Worksheets. To print the entire problem, choose Print…
from the File menu, then click on <OK>. You may also use the print button from the standard
Excel button bar.
25
STEP–BY-STEP EXAMPLE
1. Open from the File menu. Locate the file Step.xls, select it and Click on <OK>.
2. Select cell E1. Type in your name and press <ENTER>.
3. Use the scroll bar or arrow keys to position the problem on your screen.
4. Note that Cell C13 has a comment indicator. Position your mouse pointer over the
cell. The comment instructs you to enter your data in the yellow cells. It also notes
that each entry will be verified.
Verification – In this example, a warning displays when your entry results in an
incorrect value. You are asked if you want to “Continue?” This is followed by Yes,
No, and Cancel buttons. The Yes button enters the invalid data in the cell. The No
button returns to the cell for further editing. The Cancel button restores the previous
value to the cell. You should only click on the Yes button if you are willing to enter
an incorrect entry. Be sure to return to any such cell to correct your solution.
5. Select cell C13. Type 160000 and press <ENTER>.
7. Select cell D15. Type =SUM(C13:C14) and press <ENTER>.
26
17. Select cell B30, type Retained Earnings, June 1 and press <ENTER>.
18. Select cell C30. Type 84900 and press <ENTER>.
19. Select B31. Press the space bar twice to indent the text. Type Add: Net Income for
June and press <ENTER>.
20. Select cell C31. Since the net income amount already appears in the income
statement, you can use a formula to reflect this entry. Type =D23 and press
<ENTER>.
27
30. Select cell D42. Type 240000 and press <ENTER>.
32. Select cell D43. Type 48000 and press <ENTER>.
34. Select cell D44. Type =SUM(D42:D43) and press <ENTER>.
36. Select cell D48. Type 87600 and press <ENTER>.
GUIDE TO INDIVIDUAL PROBLEMS
Most of the problems include numerical information from the textbook. This allows you to copy
and paste numbers from the given data area to the solution you are creating. This given data is
found in the Worksheet next to Worksheet containing the problem. The Tab is labeled as Given
along with the problem number.
Comments are used in some of the cells to help you start entering the appropriate data in
individual problems. Be sure you have Excel options set to display comment indicators in the
upper-right corners of cells with comments, and to display the text of the comments when you
rest the pointer over cells that contain them:
2. Under Comments, click Comment indicator only.
Verification is used for many of the entries in the solutions. Examples and explanation of the
different types of verification can be found in the Step-By-Step Example above.
Note to Instructors: The instructor version of Excel Template problems begins with the letter “s”
to indicate the problem is a solution. All other information in this guide is the same.
For each problem, follow these general instructions:
1. Choose Open from the File menu. Locate the file for the correct chapter, for
2. Enter your Name and Class in the appropriate location.
4. To print the problem, choose Print… from the File menu. Click on <OK>.
The following table shows problems that have accompanying Excel Templates:
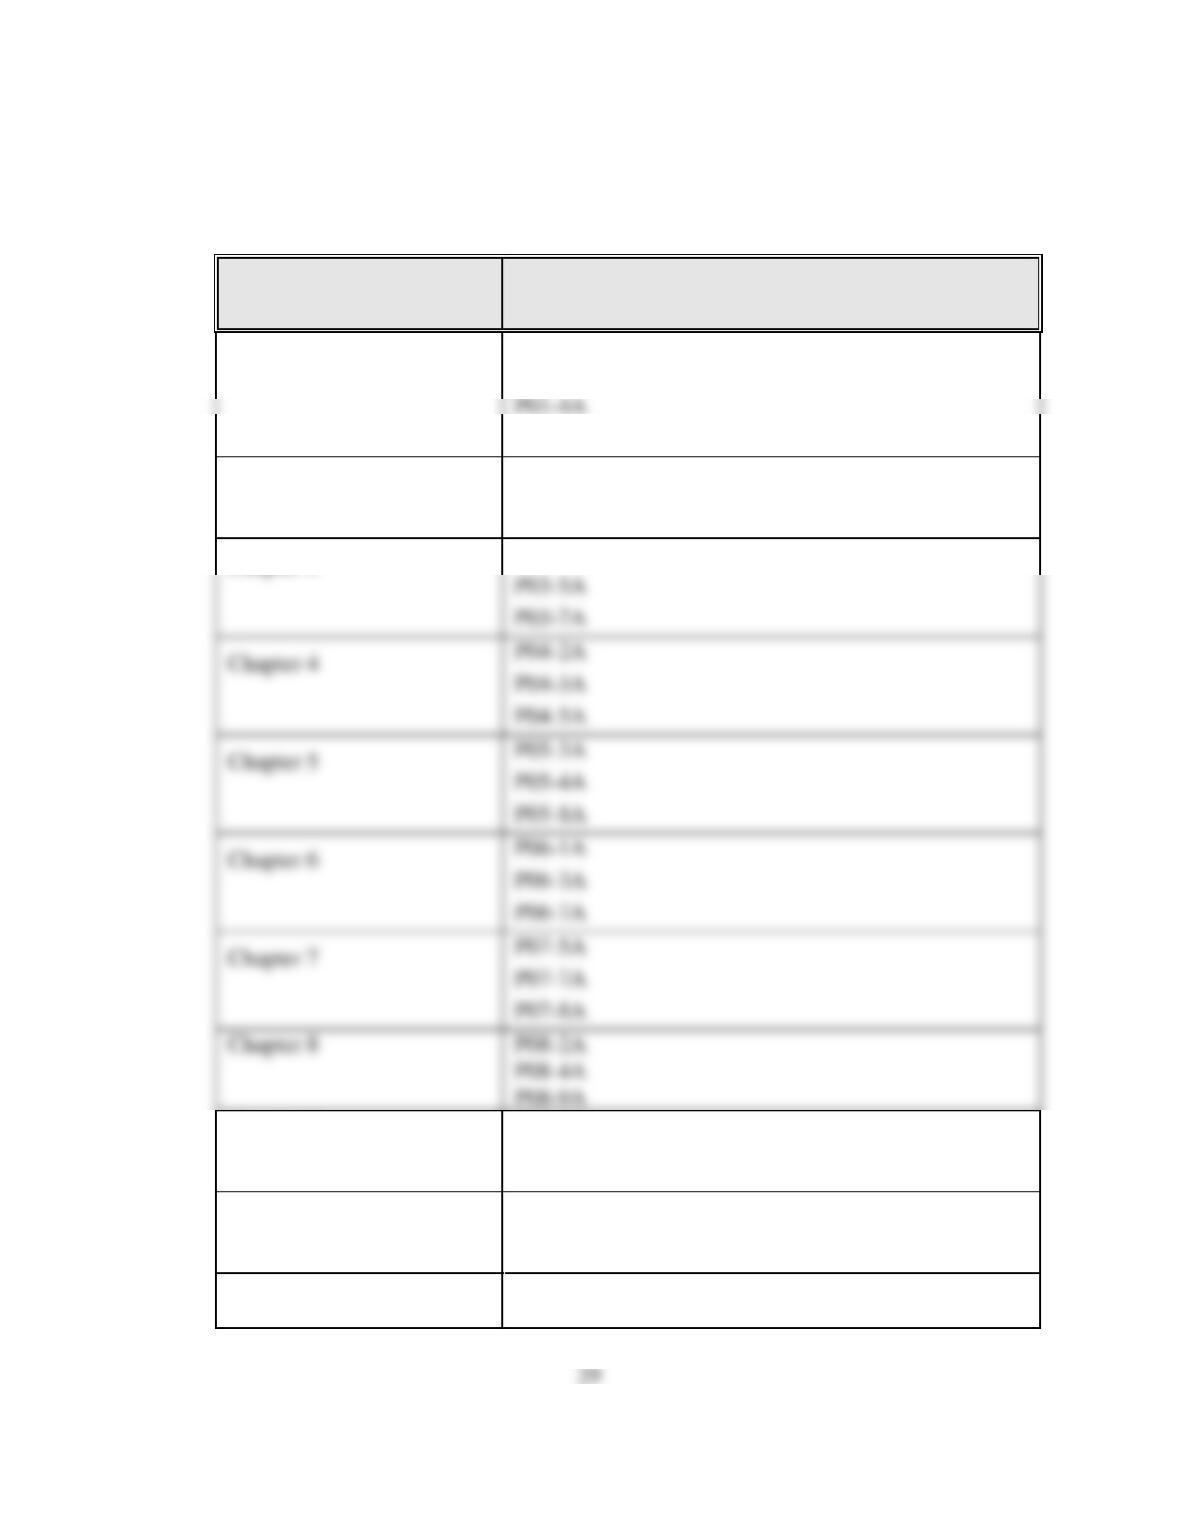
SPICELAND FINANCIAL ACCOUNTING – 4e
EXCEL TEMPLATE PROBLEMS
CHAPTER
EXCEL TEMPLATES
Chapter 1
P01-3A
P01-5A
Chapter 2
P02-6A
P02-7A
P02-8A
Chapter 3
P04-2A
P04-5A
Chapter 6
P06-1A
P07-5A
P07-8A
Chapter 8
P08-2A
P08-4A
P08-9A
P03-4A
Chapter 9
P09-4A
P09-6A
P09-7A
Chapter 10
P10-2A
P10-5A
P10-6A
Chapter 11
P11-2A
P11-4A

30
CHAPTER
EXCEL TEMPLATES
P11-8A
Chapter 12
P12-3A
P12-4A
P12-6A