Chapter 3
Creating, Populating, and Displaying Tables
Notes to the Instructor
In this chapter students learn about designing tables, setting table column properties, and
populating tables by following step-by-step instructions. Upon finishing this chapter, each
student will gain a thorough knowledge of tables—the only database object that supplies data to
an accounting system. Completed files have been included on the Companion CD to aid students
Lecture Outline
This chapter assumes you have some hands-on experience using Access and are familiar with
relational databases. Reviewing Chapter 3 in the text will help you use this outline to lead
discussions of chapter materials and concepts.
Objectives
• This chapter extends the knowledge gained in Chapters 1 and 2 with detailed information
about Microsoft Access database management software in general and Access tables in
particular.
• In Chapter 3 the students will learn how to:
➢ Define a table’s structure.
➢ Create a table from scratch.
➢ Populate a table with data.
➢ Modify a table’s Datasheet view including changing fonts, color, and decimal places.
➢ Create and display column statistics using the Total button to create a Total row.
➢ Modify the Navigation Pane by creating custom categories and groups.
➢ Create links to external Access tables.
• We continue using the Coffee Merchant database system as the backdrop application in this
chapter.
Introduction to Tables
• Access objects refers to the several ways information can be stored and displayed in tables.
• Access supports tables, queries, forms, reports, macros, and modules.
3-2 CHAPTER 3 • CREATING, POPULATING, AND DISPLAYING TABLES
• All database information is stored in one or more tables consisting of rows and columns.
➢ Rows (or records) contain information about a particular instance of an entity (e.g., a row
in the tblEmployee table contains facts about a particular employee).
➢ Columns contain individual values for each attribute that characterizes the row.
➢ Each column can store only one type of data—data types are listed in Figure 3.1.
Creating a Table Using a Template
• Get a quick hand up in creating a table by using one of the Microsoft-supplied templates.
Creating a Table from Scratch
Exercise 3.1: Creating the Employee Table. This exercise shows students how to create an
Exercise 3.2: Defining the Table’s Columns. This exercise continues creating the table begun
in the previous exercise. These steps focus on deciding on data types, field sizes, and
comments for each field. Data types in this exercise include Number, text, Date/Time, and
Memo.
Adding a Column
• Relational database management systems like Access allow one to add a column to a table
even after the table contains data.
Exercise 3.3: Inserting Columns into an Existing Table. This exercise shows students how
to add a new column to an existing table and then set its maximum length in the Field Properties
panel of the Design view.
Adding a Lookup Field to a Table
• A foreign key is a column whose values match values in another table’s primary key column.
Exercise 3.4: Adding a Column to a Table. This exercise shows students how to add a
column to the tblMyEmployees table. The new column is a foreign key pointing to another table,
called tblEmployeeDivision, containing division ID numbers and division names. Only the
CHAPTER 3 • CREATING, POPULATING, AND DISPLAYING TABLES 3-3
division names appear in the EmpDivisionID field once the lookup wizard has completed its
work of linking the two tables. See Figure 3.6.
Exercise 3.5: Adding a Lookup Column to a Table. This exercise shows students how to add
another lookup column to the tblMyEmployees table to select and display from a list of
acceptable job titles found in another table called tblEmployeeTitle.
Deleting, Renaming, or Moving a Table Column
• To delete a column:
➢ You can delete a column in Design or Datasheet view.
➢ Open the table in Design view.
➢ Right-click the Design-view row (a column in Datasheet view) to delete and click Delete
Rows.
➢ Click Save in the Quick Access Toolbar to save the altered structure.
• To rename a column:
➢ Open the table in Datasheet view.
Establishing Referential Integrity
• Referential Integrity rules prevent you from adding records to a related table if there is no
associated record in a primary table.
• The rules prevent you from deleting or changing records in a primary table that would result
in orphan records in a related table.
Exercise 3.6: Establishing Referential Integrity. This exercise shows the students how to
Exercise 3.7: Displaying Related Tables with the Expand Indicator. This exercise illustrates
3-4 CHAPTER 3 • CREATING, POPULATING, AND DISPLAYING TABLES
tblEmployeeDivision row. Rows from tblEmployee open, revealing the employees who work at a
given location (Figure 3.11).
Editing and Removing Intertable Relationships
• Relationships between pairs of tables can be removed or edited through the Relationships
window.
Deleting, Copying, Renaming, Hiding, and Showing Tables
Deleting or Copying a Table
• Right-click an object in the Navigation Pane.
Renaming a Table
• Right-click the table name in the Navigation Pane.
Hiding or Showing a Table
• Right-click an object.
• Select Hide in this group from the pop-up menu.
Exercise 3.8: Hiding a Table and Making it Disappear from the Navigation Pane. This
exercise illustrates how to hide a table in the Navigation Pane (Figure 3.12).
Exercise 3.9: Showing Objects as Dimmed in the Navigation Pane and Showing an
Object. This exercise illustrates how to reveal a table previously hidden in the Navigation.
Setting Field Properties
• Customize each field of a table by setting its properties.
• Properties that you can set vary with the field’s data type: a numeric field has a Decimal
CHAPTER 3 • CREATING, POPULATING, AND DISPLAYING TABLES 3-5
➢ Caption: the caption specifies an alternative field name that appears in forms and reports
as well as the datasheet view of a table or query.
➢ Default Value: the value that is automatically assigned a field when you create a new
record. Entering a value in a default value field changes it for the record.
➢ Validation Rule and Validation Text: A field’s Validation Rule property specifies, in a
logical expression, the value(s) or range of values that are permitted for the field. Access
displays an error message, stored as the Validation Text entry, whenever a user enters a
Establishing Table-level Data Validation
Exercise 3.10: Setting Field Properties for the Employee Commission Field. This exercise
illustrates how to set field properties for the numeric field, EmpCommRate (employee
Exercise 3.11: Setting Field Properties for the EmpGender Field. This exercise illustrates
how to set field properties for the character field, EmpGender (employee gender), in the
tblMyEmployees table. Open tblMyEmployees in Design view, click the EmpGender field, and
set properties in the Field Properties panel. Properties changed or set are: Field Size set to 1 to
Establishing a Primary Key
• A primary key is one or more fields of a table that uniquely defines each row.
• Tables must have a primary key if they are referenced by another table.
Exercise 3.12: Removing the Primary Key Designation from a Column. This exercise
demonstrates how to delete the primary key designation from a column.
3-6 CHAPTER 3 • CREATING, POPULATING, AND DISPLAYING TABLES
Exercise 3.13: Designating Two Columns as a Table’s Composite Primary Key. This
exercise demonstrates how to set two columns, simultaneously and together, as the table’s
primary key. Simply drag through both columns’ row selectors in Design view and click the
Primary Key command (Figure 3.16).
Examining and Setting Table Properties
• Tables, like their columns, have properties you can set.
Exercise 3.14: Setting Table Properties. This exercise demonstrates how to set the property
that determines the default display for a table when it is opened. Display the table in Design
view, click the Properties command, and set the Order By property and the Order By On Load
binary indicator (Figures 3.17 and 3.18).
Saving the Table Design
Printing Table Structure Information
• Printing a table’s design is a good way to document the table.
• A Try It exercise illustrates exactly how to print the tblMyEmployees table design.
Populating a Table
• Populating a table means entering data into its rows—often through the table’s Datasheet
view.
• Data validation rules spring into action as data is entered into any columns protected by
validation rules.
Exercise 3.15: Entering Data into a Record. This exercise demonstrates how to enter data
Exercise 3.16: Deleting a Table and Automatically Deleting its Relationships. This exercise
demonstrates how easy it is to delete a table. Be cautious, as this causes any relationships
between the about-to–be-deleted table and others to come into question. Access prompts for
Yes/No responses to deleting any relationships affected by deleting the table.
Modifying a Table’s Datasheet
Resizing and Rearranging Columns
Exercise 3.17: Resizing and Rearranging Table Columns in Datasheet View. This exercise
demonstrates how easy it is to reorganize columns and widen or narrow them.
CHAPTER 3 • CREATING, POPULATING, AND DISPLAYING TABLES 3-7
Hiding and Freezing Columns
Exercise 3.18: Hiding Columns. Hide columns in Datasheet view by right-clicking them.
Exercise 3.19: Freezing Columns. Freezing columns means making them hold their positions
Exercise 3.20: Unhiding and Unfreezing Columns. Display the tale in Datasheet view, right-
click any column’s column header, and then click Unhide Columns. Remember to right-click the
header, not one of the column’s values. Otherwise, the Unhide Columns command will not
appear.
• Students may wonder if a frozen or hidden column on screen will behave the same way when
the table is printed. Yes. What you see is exactly what appears in hard copy output!
Formatting the Datasheet View
Exercise 3.21: Formatting the Datasheet View. This exercise shows students how to format a
table’s columns by changing font color, back color, and set alternating (“striped”) row colors.
Displaying Column Totals
Exercise 3.22: Adding a Total Row. This exercise shows students how to add a Total row and
then display a count (non null values in a text column) and average and minimum values at the
bottom of three columns in the tblEmployee table’s Datasheet view. Examine Figure 3.24.
Printing Records
• Printing a table’s Datasheet view is a matter of simply selecting it in the Navigation Pane and
then clicking the Print tab in Backstage View.
Organizing Tables in the Navigation Pane
• The Navigation Pane allows you to create custom categories and custom groups.
3-8 CHAPTER 3 • CREATING, POPULATING, AND DISPLAYING TABLES
Hiding and Revealing Object Names
• A try it exercise shows students how to dim a table’s name. It appears in a group but is
unavailable.
Creating New Categories
• Custom categories and their groups provide a way to reorganize the Navigation Pane to meet
Exercise 3.23: Creating a Custom Category. This exercise shows students how to create a
Exercise 3.24: Creating Custom Groups. This exercise shows students how to add two
Organizing Tables into Custom Categories
• You can drag objects from a “normal” view of them into one of the custom groups.
Exercise 3.25: Adding Objects to Custom Groups. This exercise shows students how to add
shortcuts to tables to a custom group. We use two different techniques to demonstrate to
Exercise 3.26: Hiding the Unassigned Objects Group. This exercise shows students how to
hide the unassigned objects group so that only object shortcuts and their groups appear in the
Exercise 3.27: Deleting Custom Categories and Their Groups. This exercise shows
students how to delete custom categories. Access automatically deletes all groups in any
deleted custom categories.
CHAPTER 3 • CREATING, POPULATING, AND DISPLAYING TABLES 3-9
Linking to External Access Tables
Exercise 3.28: Linking to tables in Another Access Database. This exercise shows students
how create links to tables in another database. Once tables are linked into the new database,
Exercise 3.28: Closing Access. This exercise closes Microsoft Access and closes the Chapter
3 database simultaneously.
3-10 CHAPTER 3 • CREATING, POPULATING, AND DISPLAYING TABLES
Answers to Review Questions
Multiple-Choice Questions
Discussion Questions
The solutions presented here come from the textbook discussion. Your students may include other
insight that is relevant but not presented in your solutions.
1. Validation rules catch data entry errors before the record is stored in the database—where it
is much harder to pinpoint field-level errors. If you omit validation rules from text fields,
2. Prohibiting removal of a parent table row until all the rows in another table referring to the
parent table are first removed is called referential integrity. A referential integrity check for
3. Omit information that can be calculated or derived from other columns already in a table. For
instance, good database design rules preclude you from including an age column in the
4. The Input Mask property restricts data types on a character by character basis and guides user
as to what is expected. Default Value provides a value automatically if the user omits typing
5. The Navigation Pane custom categories and groups provide a way to create accounting-
friendly category names and group names in which you can place various accounting objects.
CHAPTER 3 • CREATING, POPULATING, AND DISPLAYING TABLES 3-11
Practice Exercises
A note to the instructor: We have created, in the Navigation Pane of the instructor’s version of
the database, a custom category called Review Questions: Answers. That custom category
contains three custom groups: Practice Exercises, Problems, and Student Database. You will
find all the solutions to the practice exercises in the first group, all answers to the problems in the
second one, and shortcuts to the original three tables in the third one. If the custom category
Review Questions: Answers does not appear in the Navigation Pane, click the category name at
the top of the Navigation Pane and click the Review Questions: Answers category name.
1. The solution is saved in the instructor’s solution database as 3-Practice Exercise 1. Open it in
3-12 CHAPTER 3 • CREATING, POPULATING, AND DISPLAYING TABLES
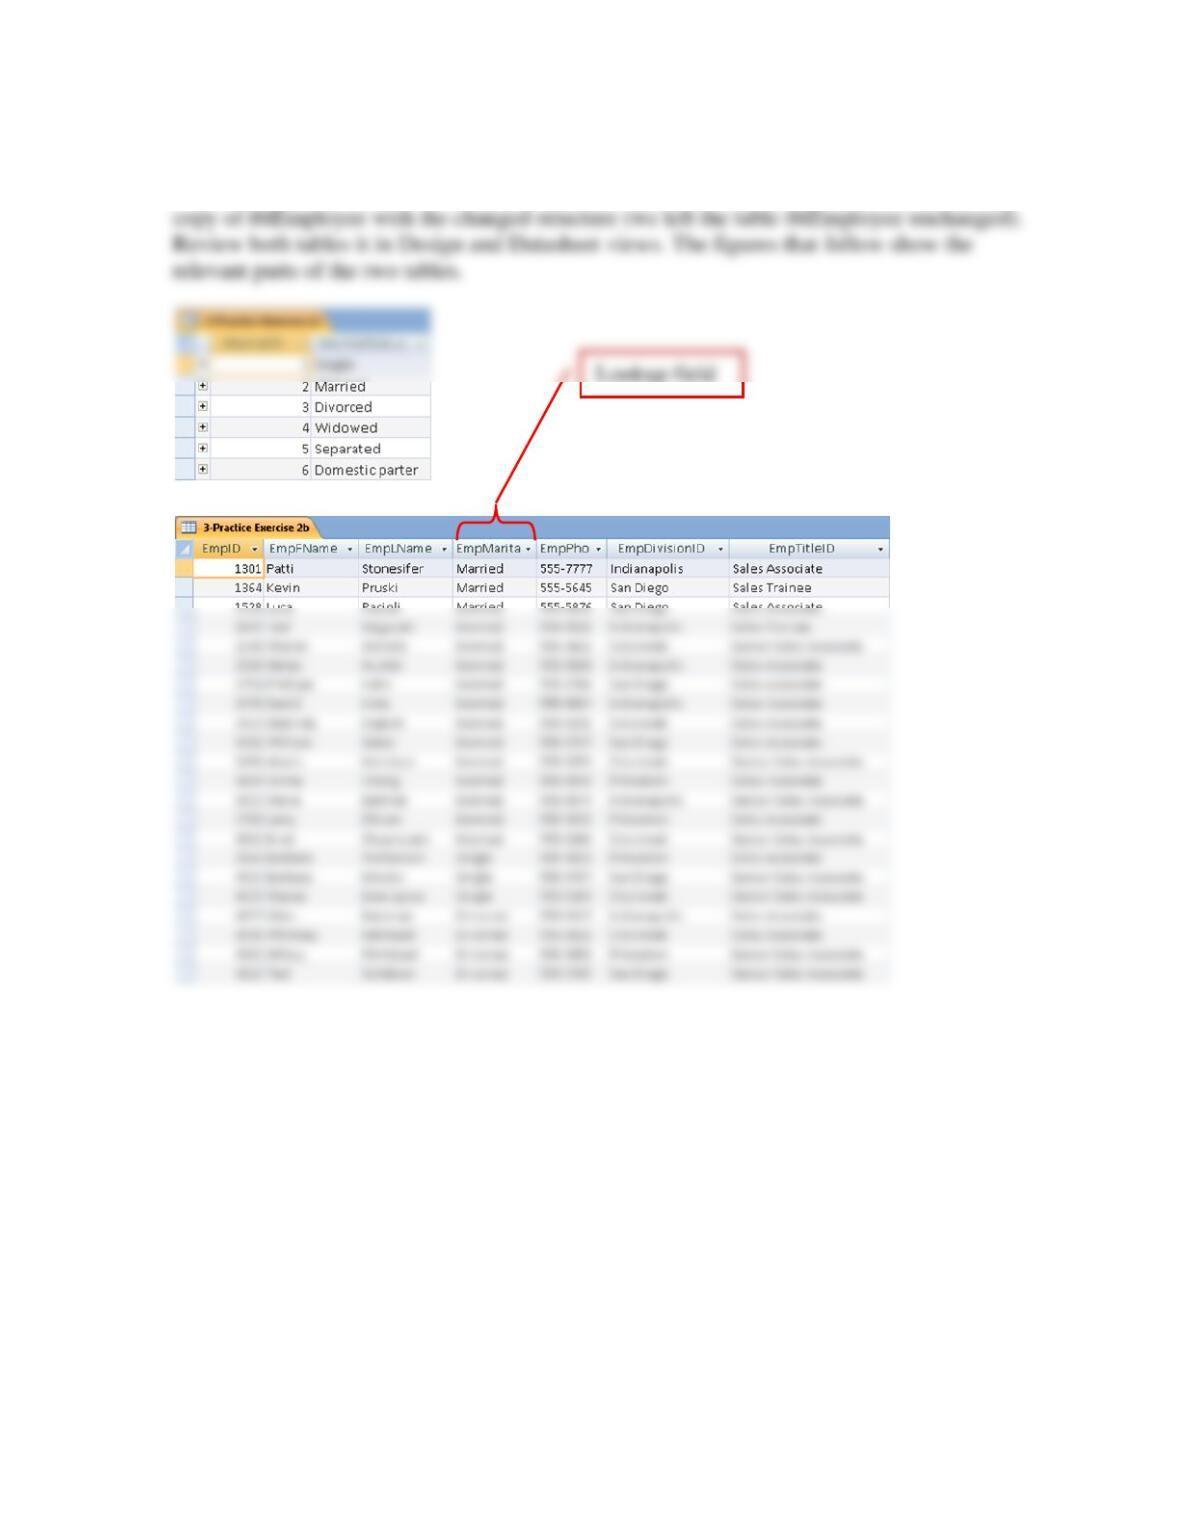
2. The solution is saved in the instructor’s solution database as 3-Practice Exercise 2a and
3-Practice Exercise 2b. The first table holds the marital status values. The second table is a
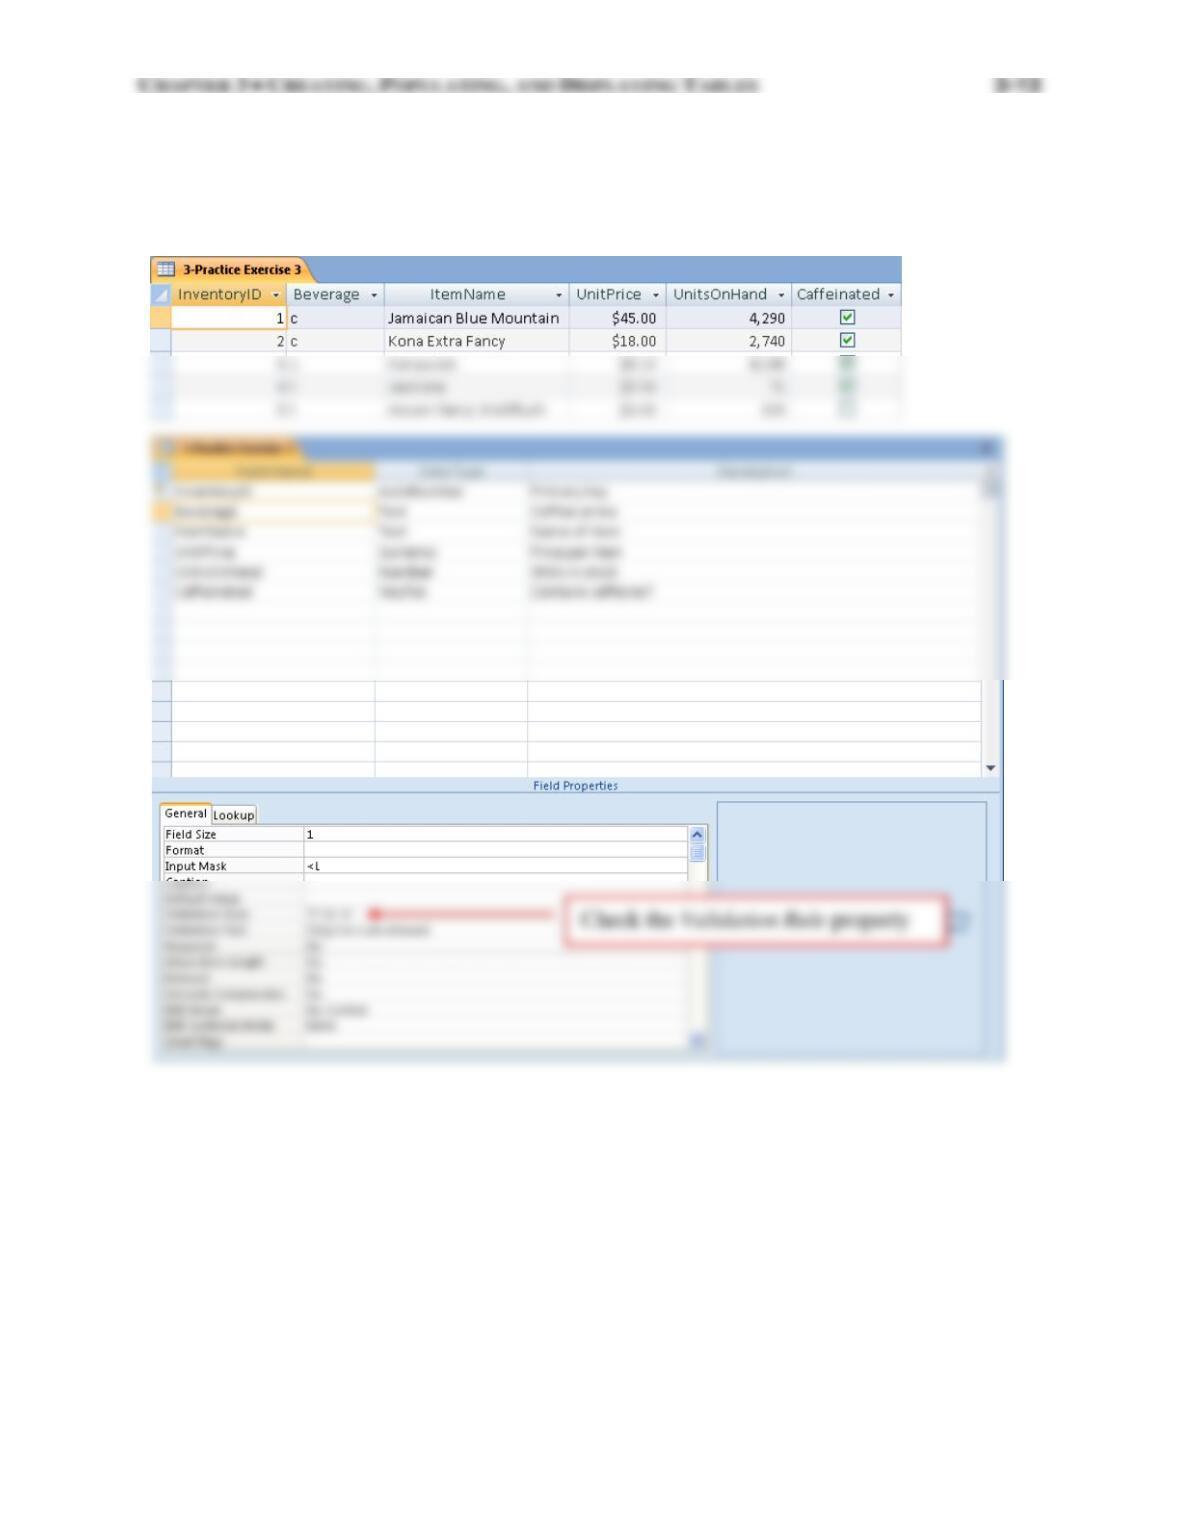
3. The solution is saved in the instructor’s solution database as 3-Practice Exercise 3. Open it in
design view and datasheet view to see the dynaset. The figures that follow show the
populated table and its design.
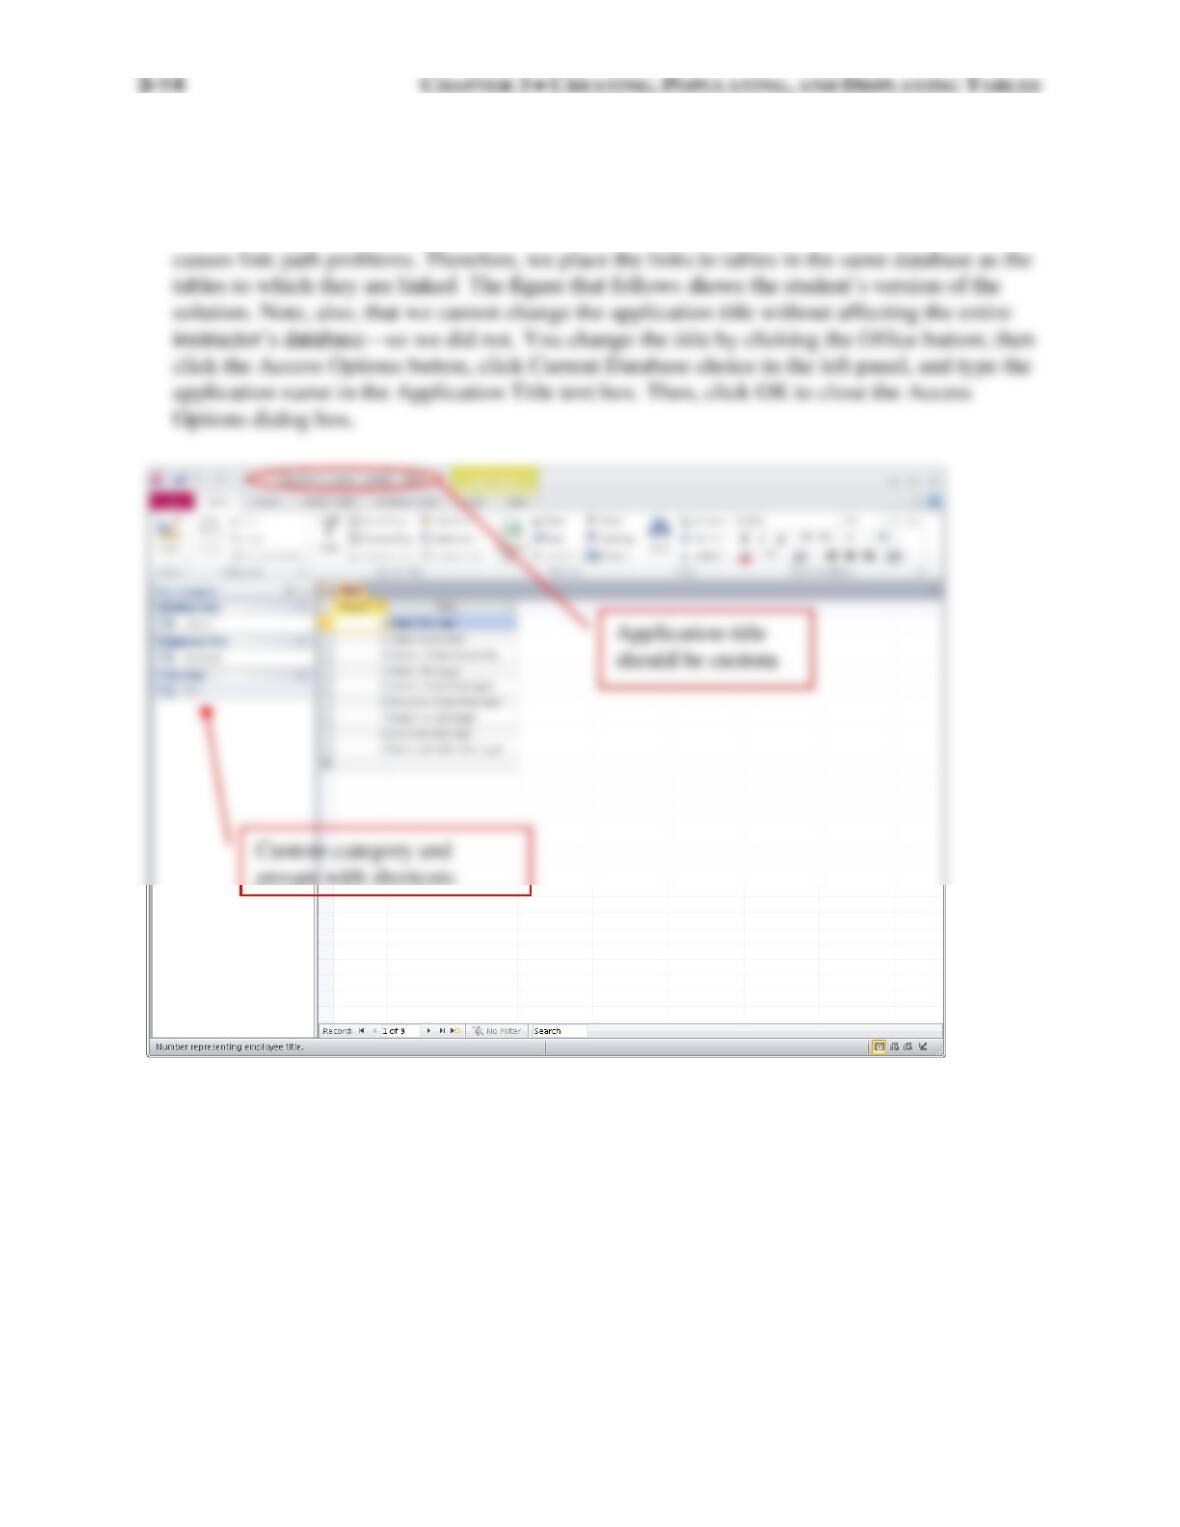
4. The solution is saved in the instructor’s solution database as 3-Practice Exercise 4-Division,
3-Practice Exercise 4-Employee, and 3-Practice Exercise 4-Title. These are all shortcuts
stored in the Practice Exercises group of the Review Questions: Answers category. The
student is supposed to link to an external database. Doing so in the instructor’s database
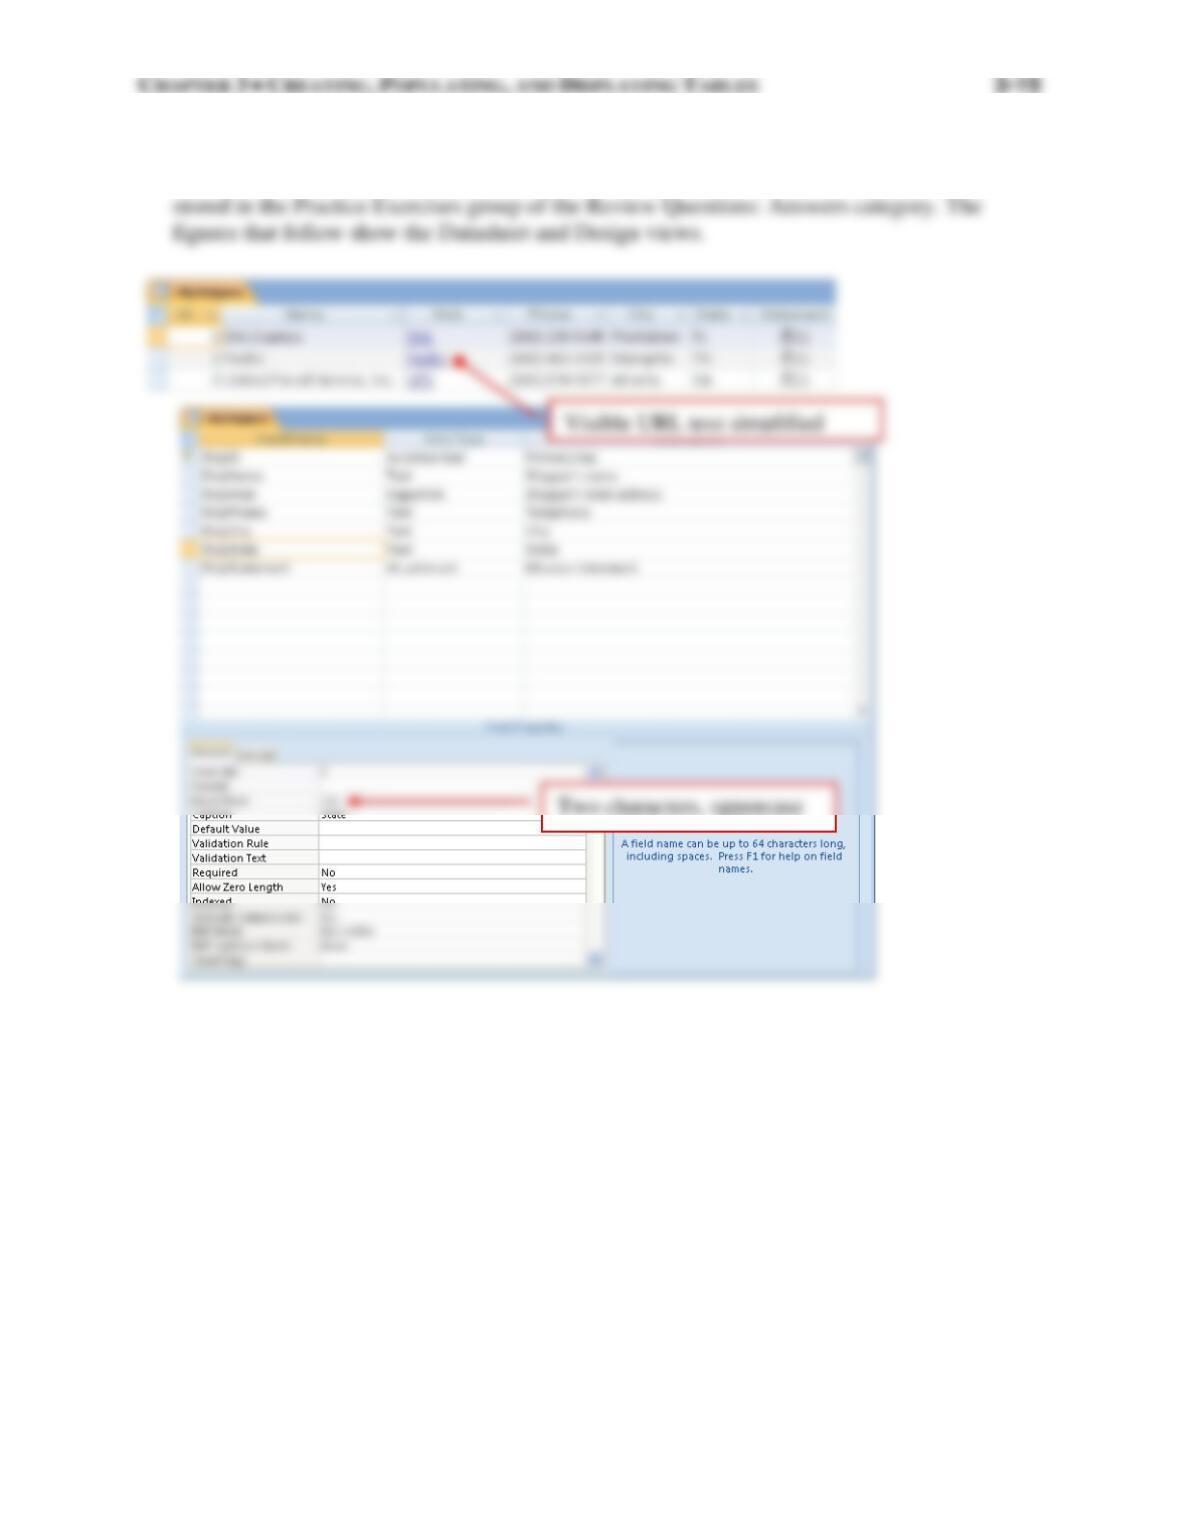
5. The solution is saved in the instructor’s solution database as 3-Practice Exercise 5. This is a
shortcut to a table named tblShippers (see Object Type category in the Navigation Pane)
3-16 CHAPTER 3 • CREATING, POPULATING, AND DISPLAYING TABLES
Problems
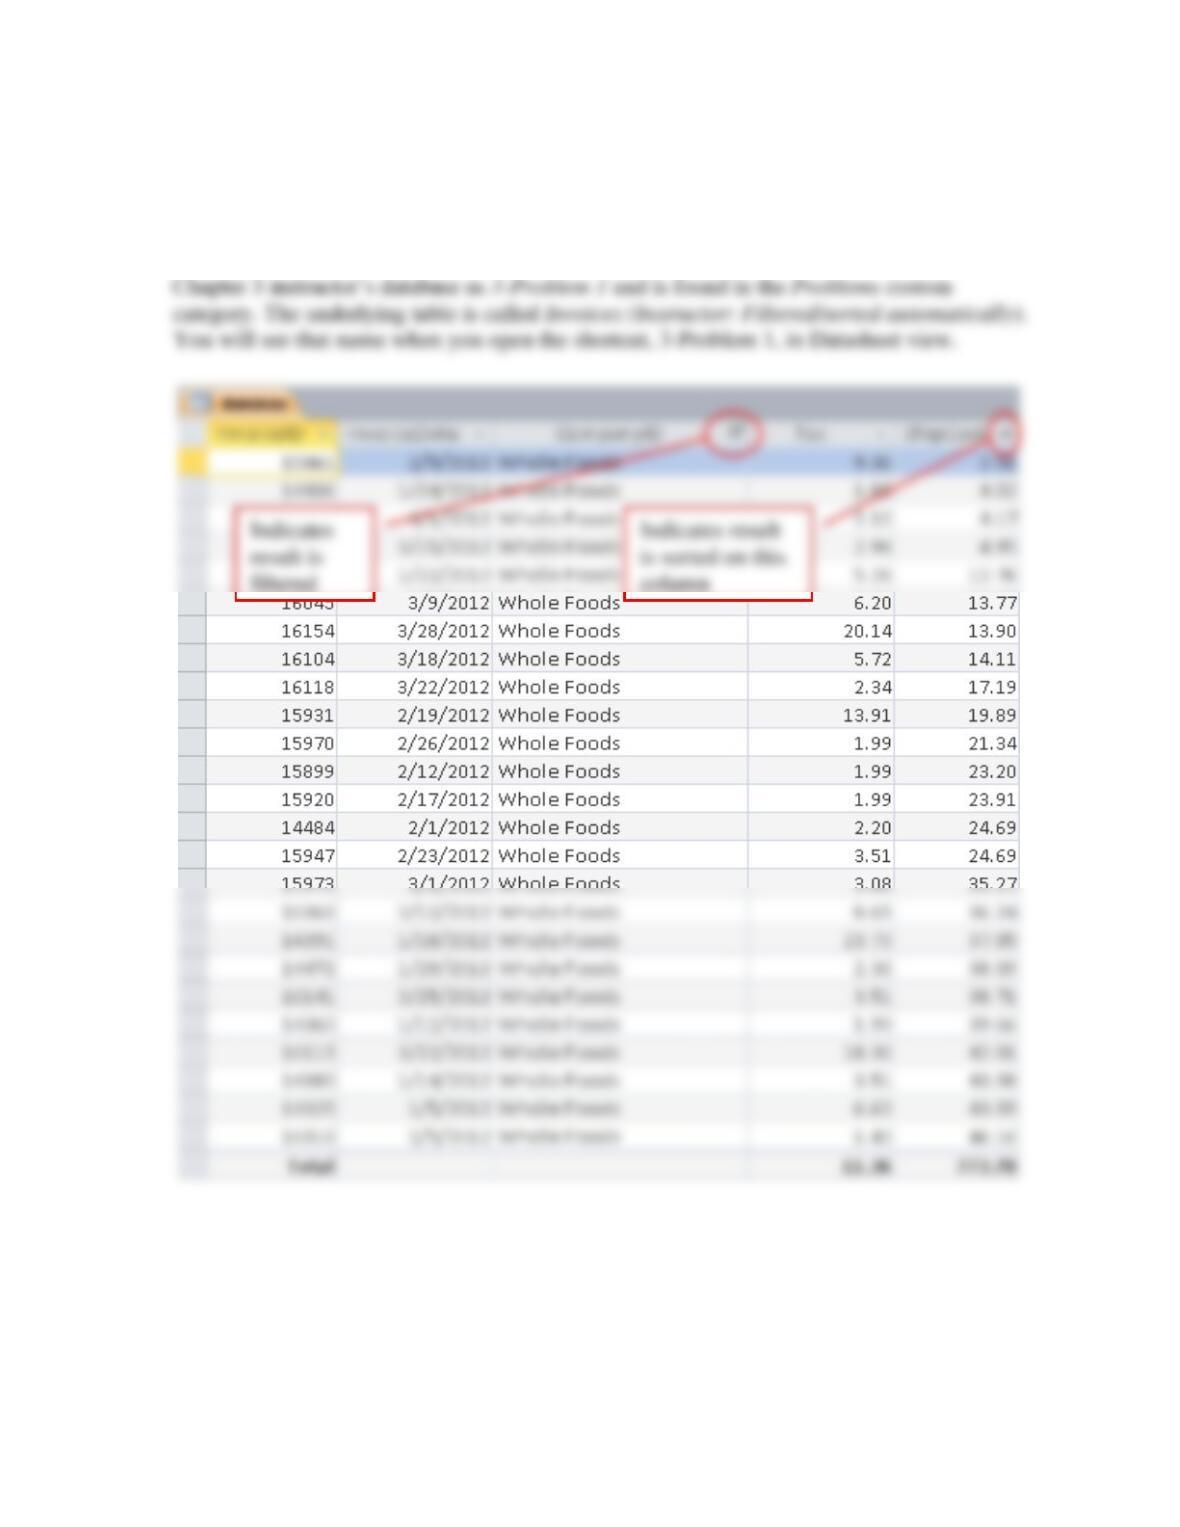
1. The following figures show the Datasheet view. Instructor’s note that the table Invoices is
filtered and sorted automatically for your convenience. You can toggle the filter off and
remove the sort order to return the table back to its original form. The solution is stored in the
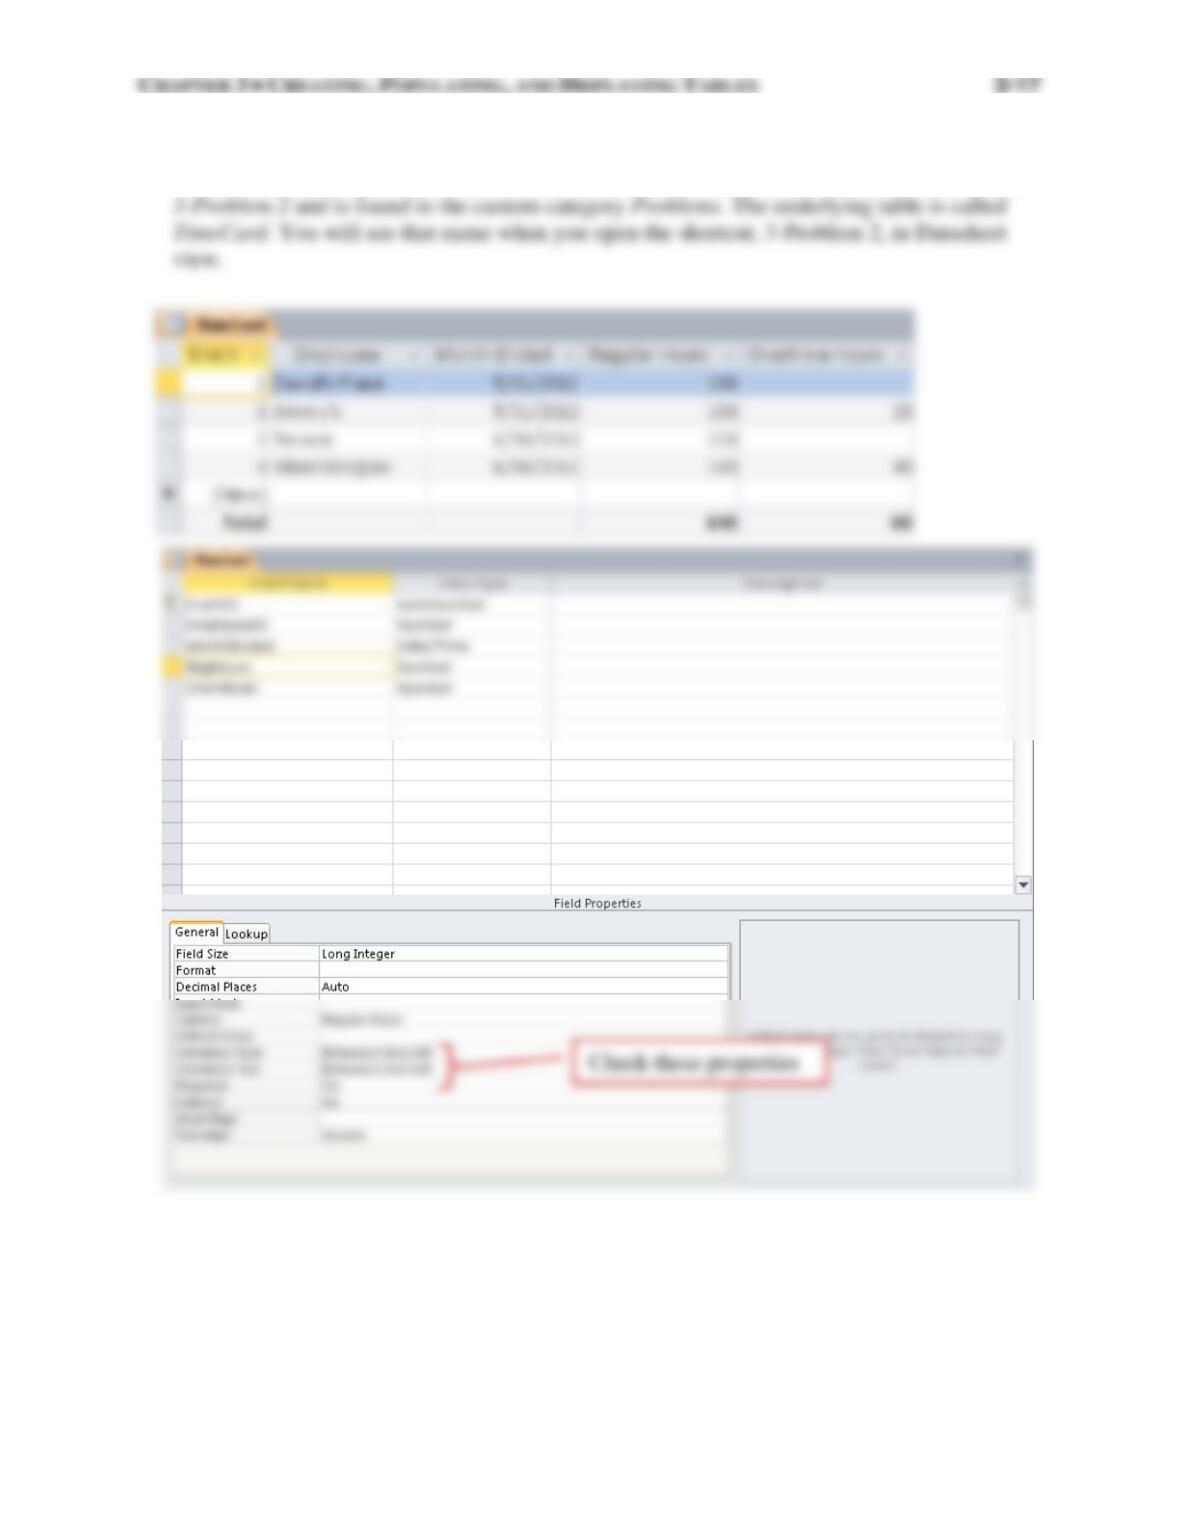
2. The following figures show the Design and Datasheet views of the TimeCard table, which is
the solution for this problem. The solution is stored in the Chapter 3 instructor’s database as
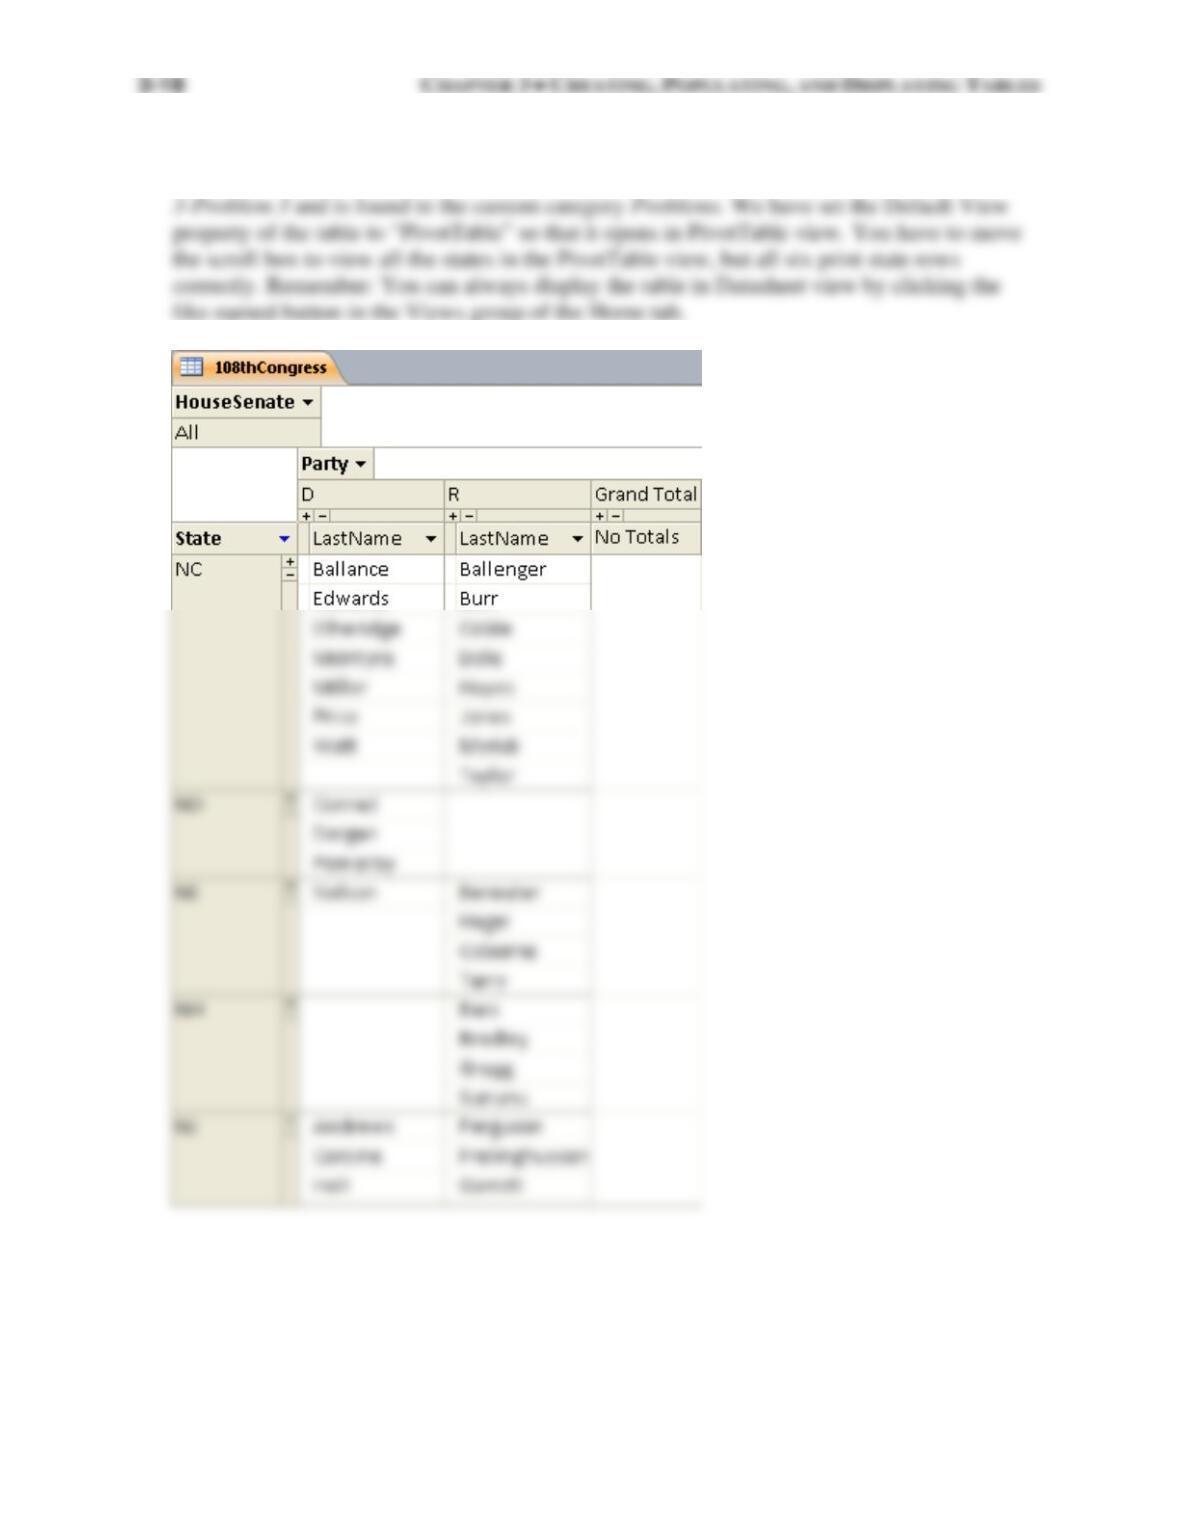
3. The following figure shows the PivotTable view of the 108thCongress table, which is the
solution for this problem. The solution is stored in the Chapter 3 instructor’s database as
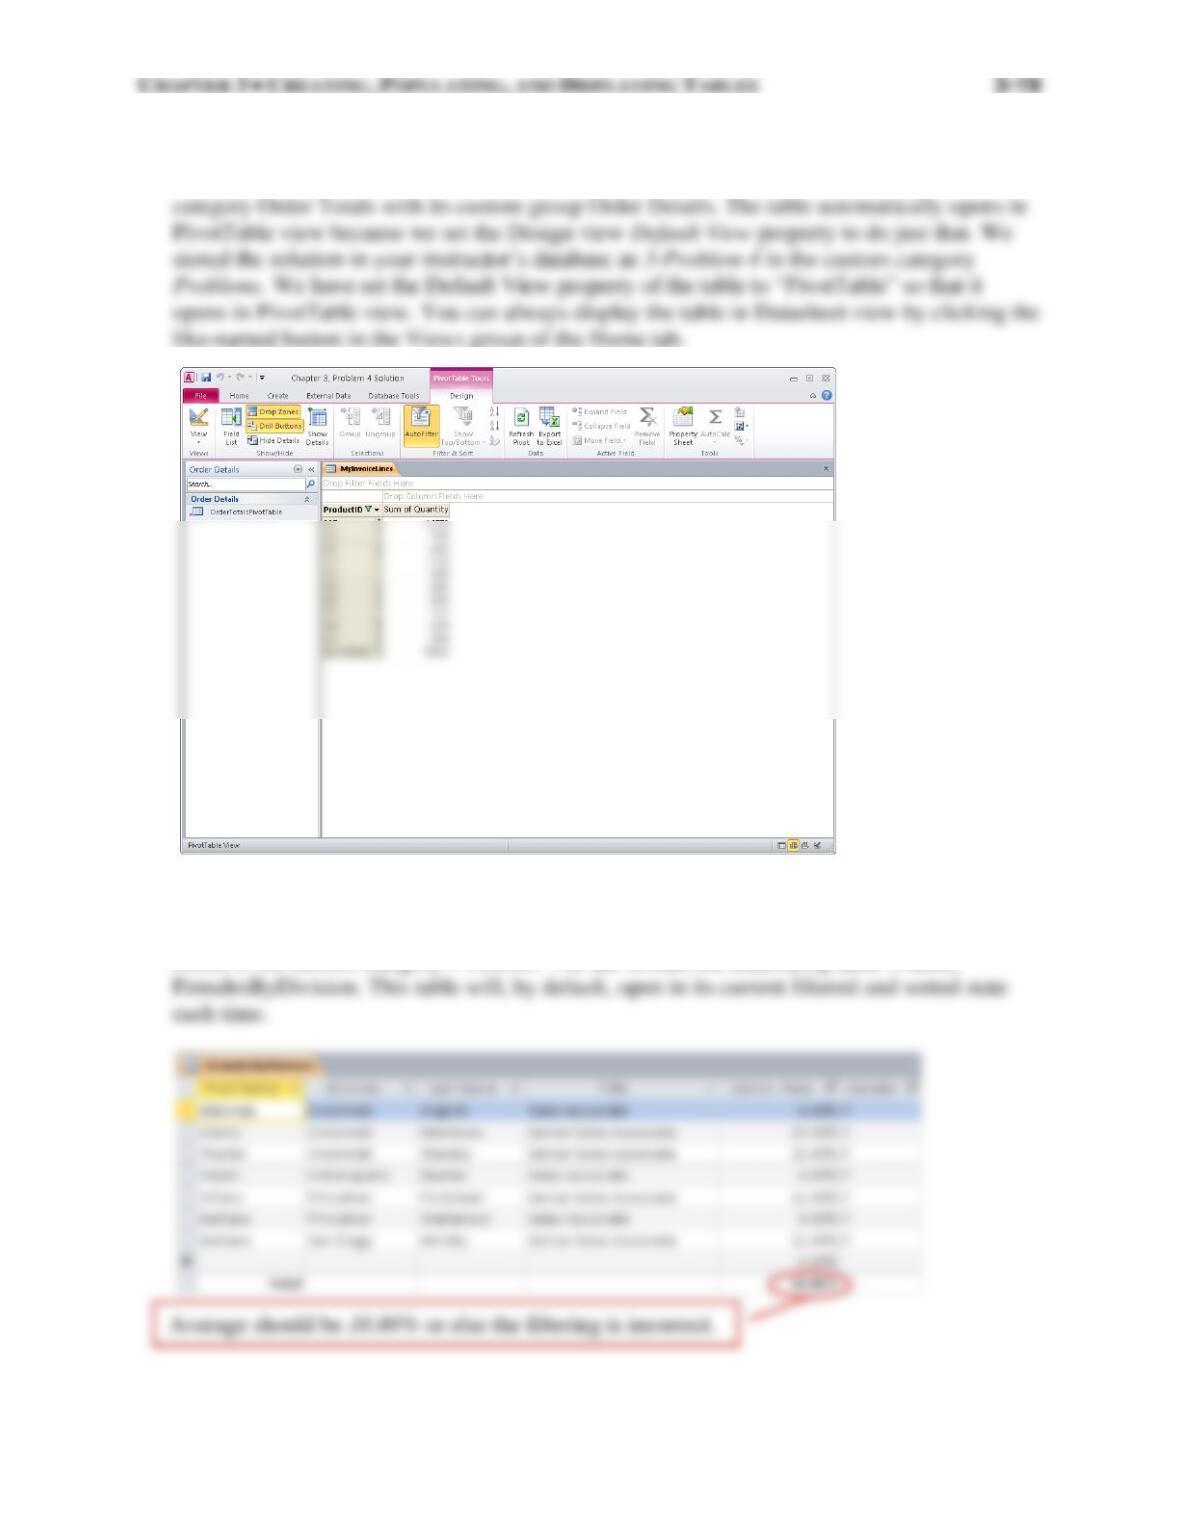
4. The following figure shows OrderTotalsPivotTable in PivotTable view. This is the solution.
The figure shows the database as it would be created by students including the custom
5. The following figure shows the solution using filtering and sorting of the FemalesByDivision
table. The solution is stored in the Chapter 3 instructor’s database as 3-Problem 5 and is
found in the custom category Problems. The tab reveals the underlying table’s name,