Cities of Smithville and Bingham – User Guide for Windows/Mac
Table of Contents
Introduction ………………………………………………………………………………………………………………..2
Welcome ………………………………………………………………………………………………………………...2
System Requirements ………………………………………………………………………………………………..2
Cities of Smithville and Bingham Main Window ………………………………………………………………7
Adding and Posting Journal Entries ……………………………………………………….…………………….8
Editing / Deleting / Unposting Journal Entries ……………………………………………………………….9
Working with the Ledgers Screen …………………………..…………………………………………………. 11
Working with the Detail Journal Screen ……………………………………………………………………… 11
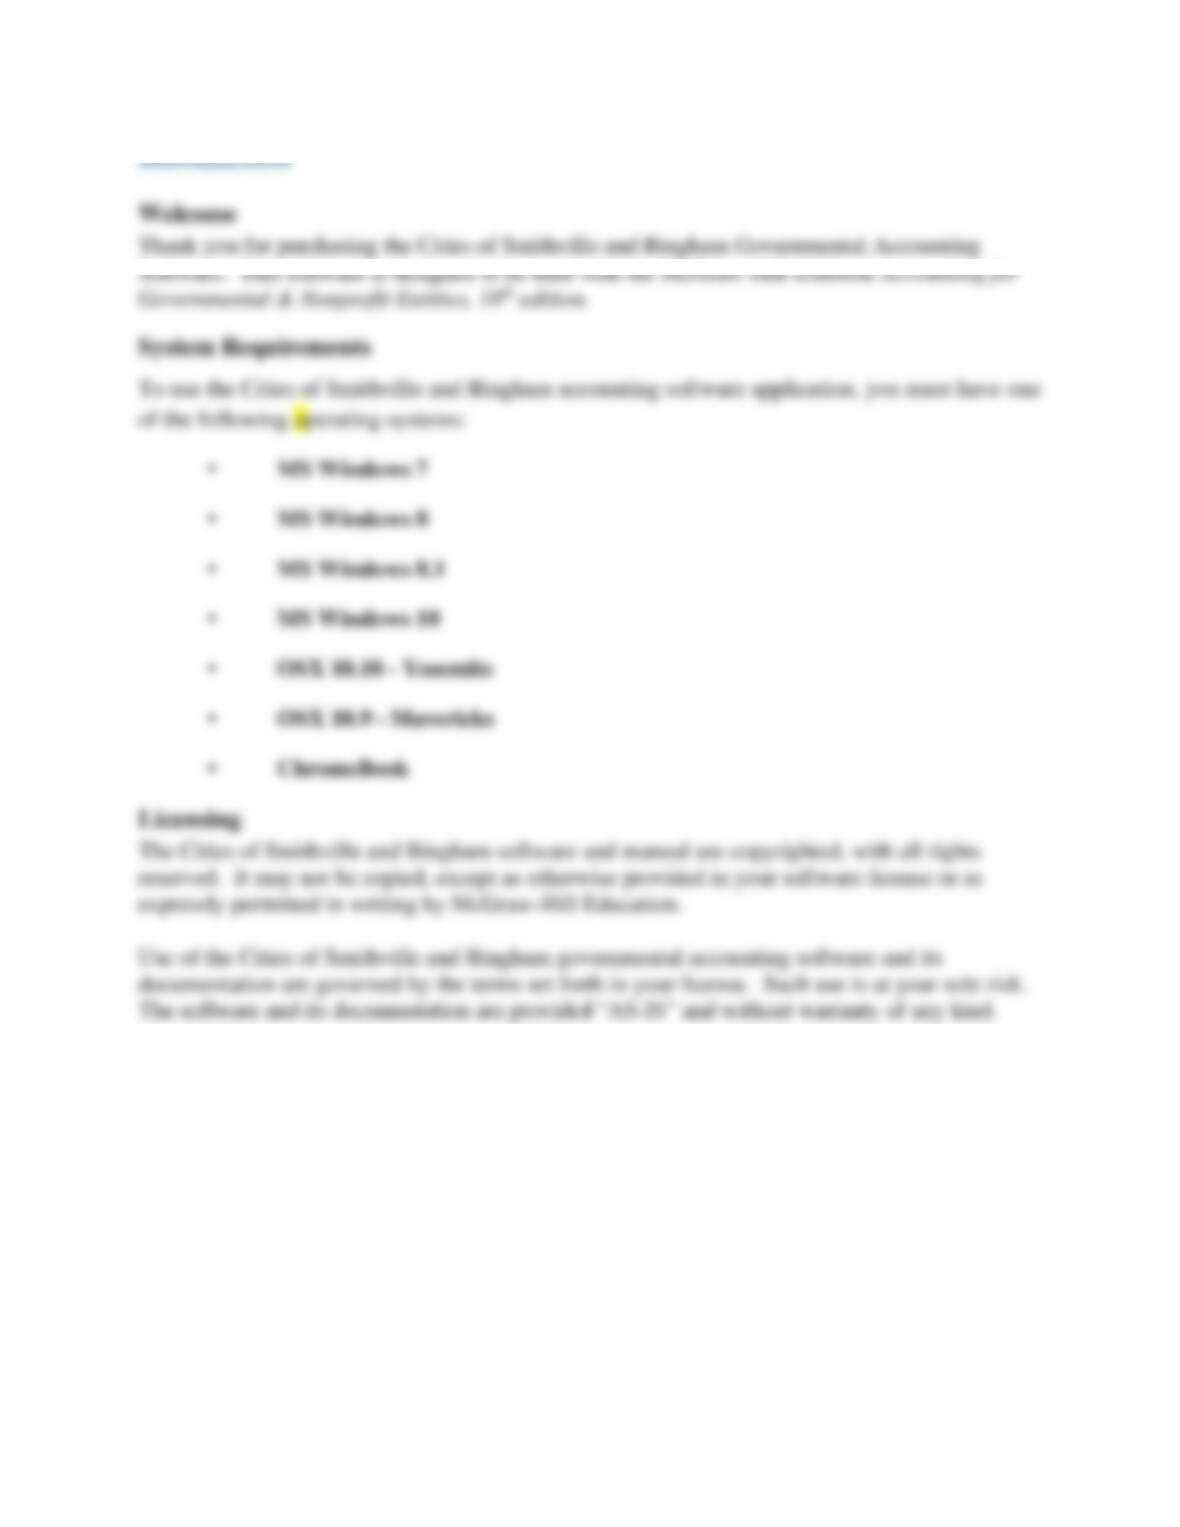
After downloading the application, it can be run by double-clicking on an EXE file, i.e.
“MHECitiesofSmithvilleBingham” icon/program as indicated in the instructions below.
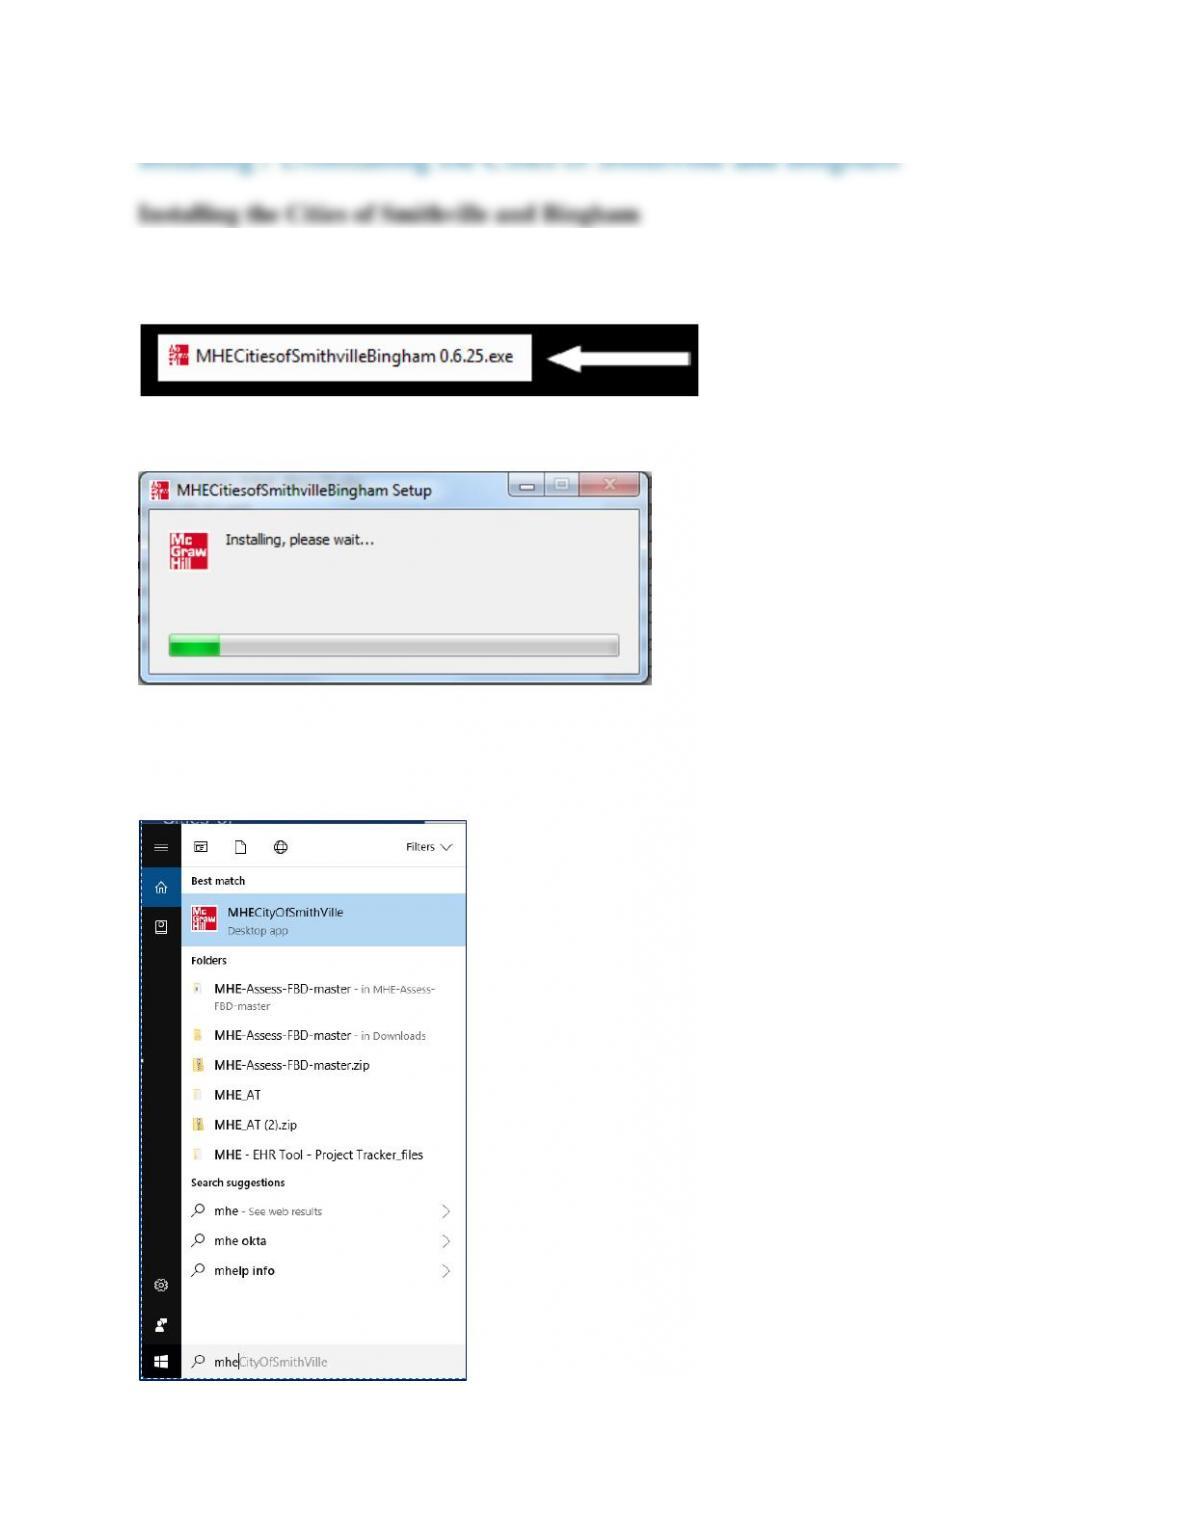
Once the setup is complete, you will see the below image indicating that the desktop application
was successfully installed.
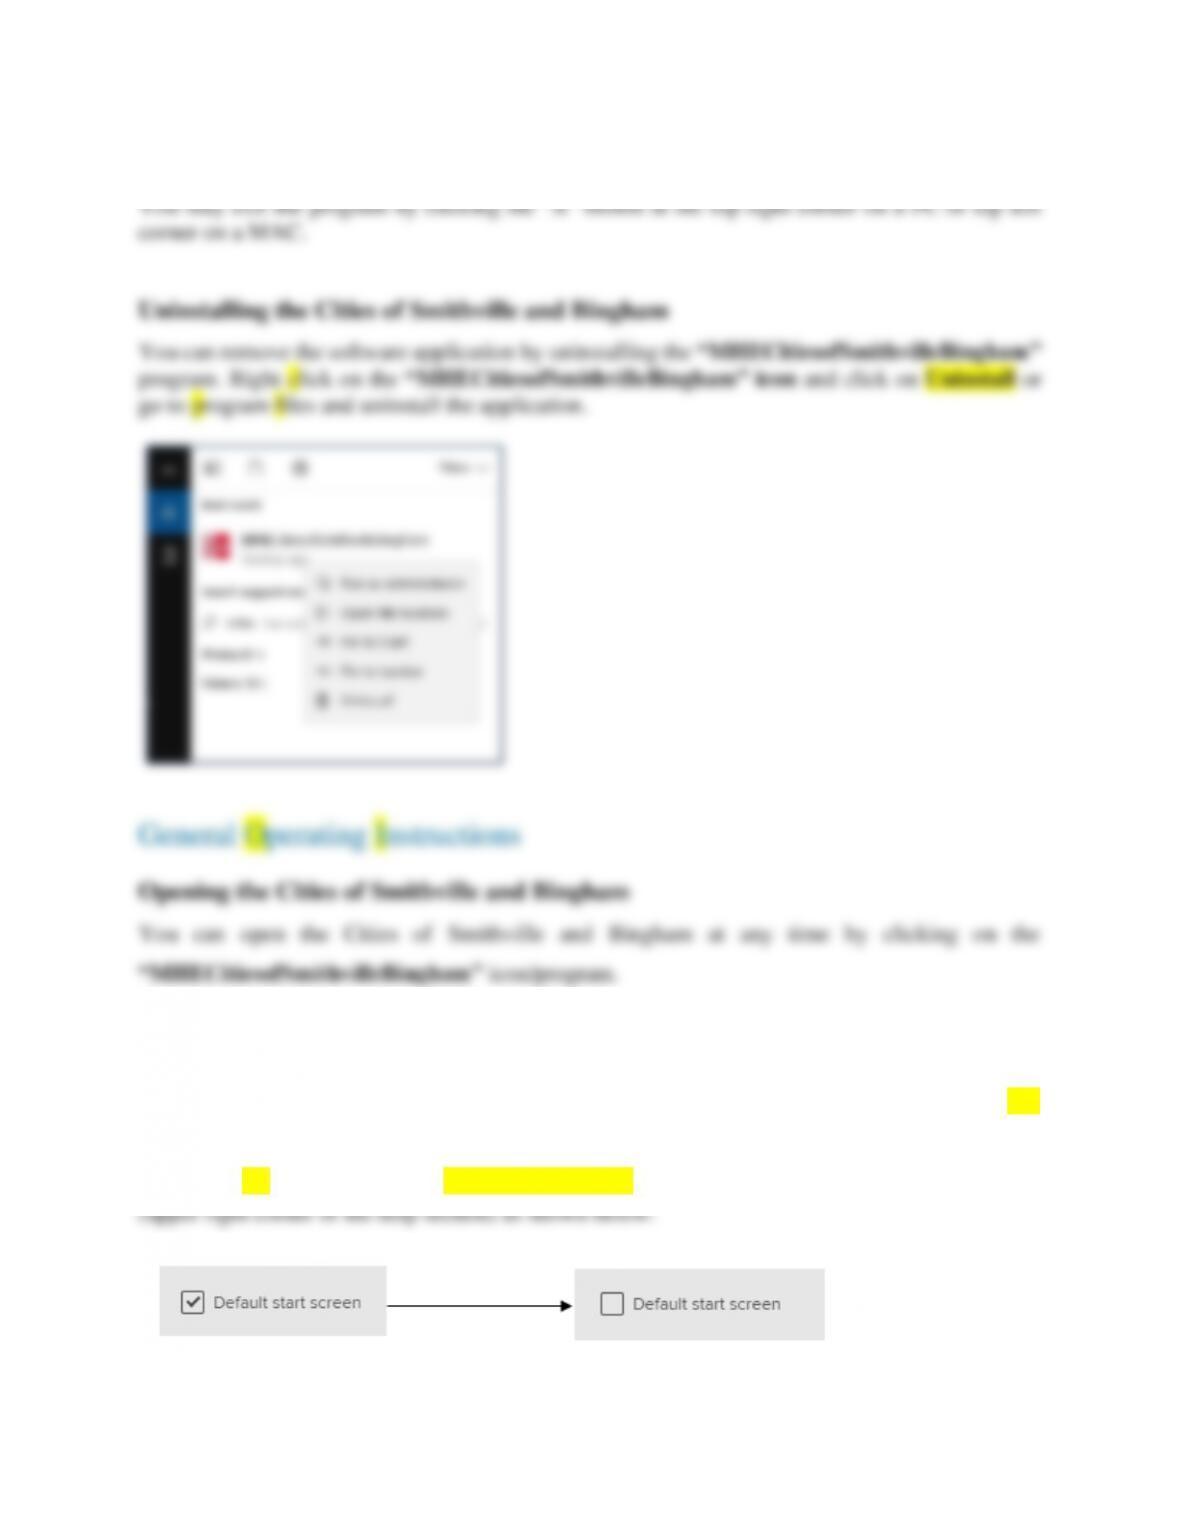
It is recommended that you save this file in your Programs/Applications or Desktop.
Creating a New Project
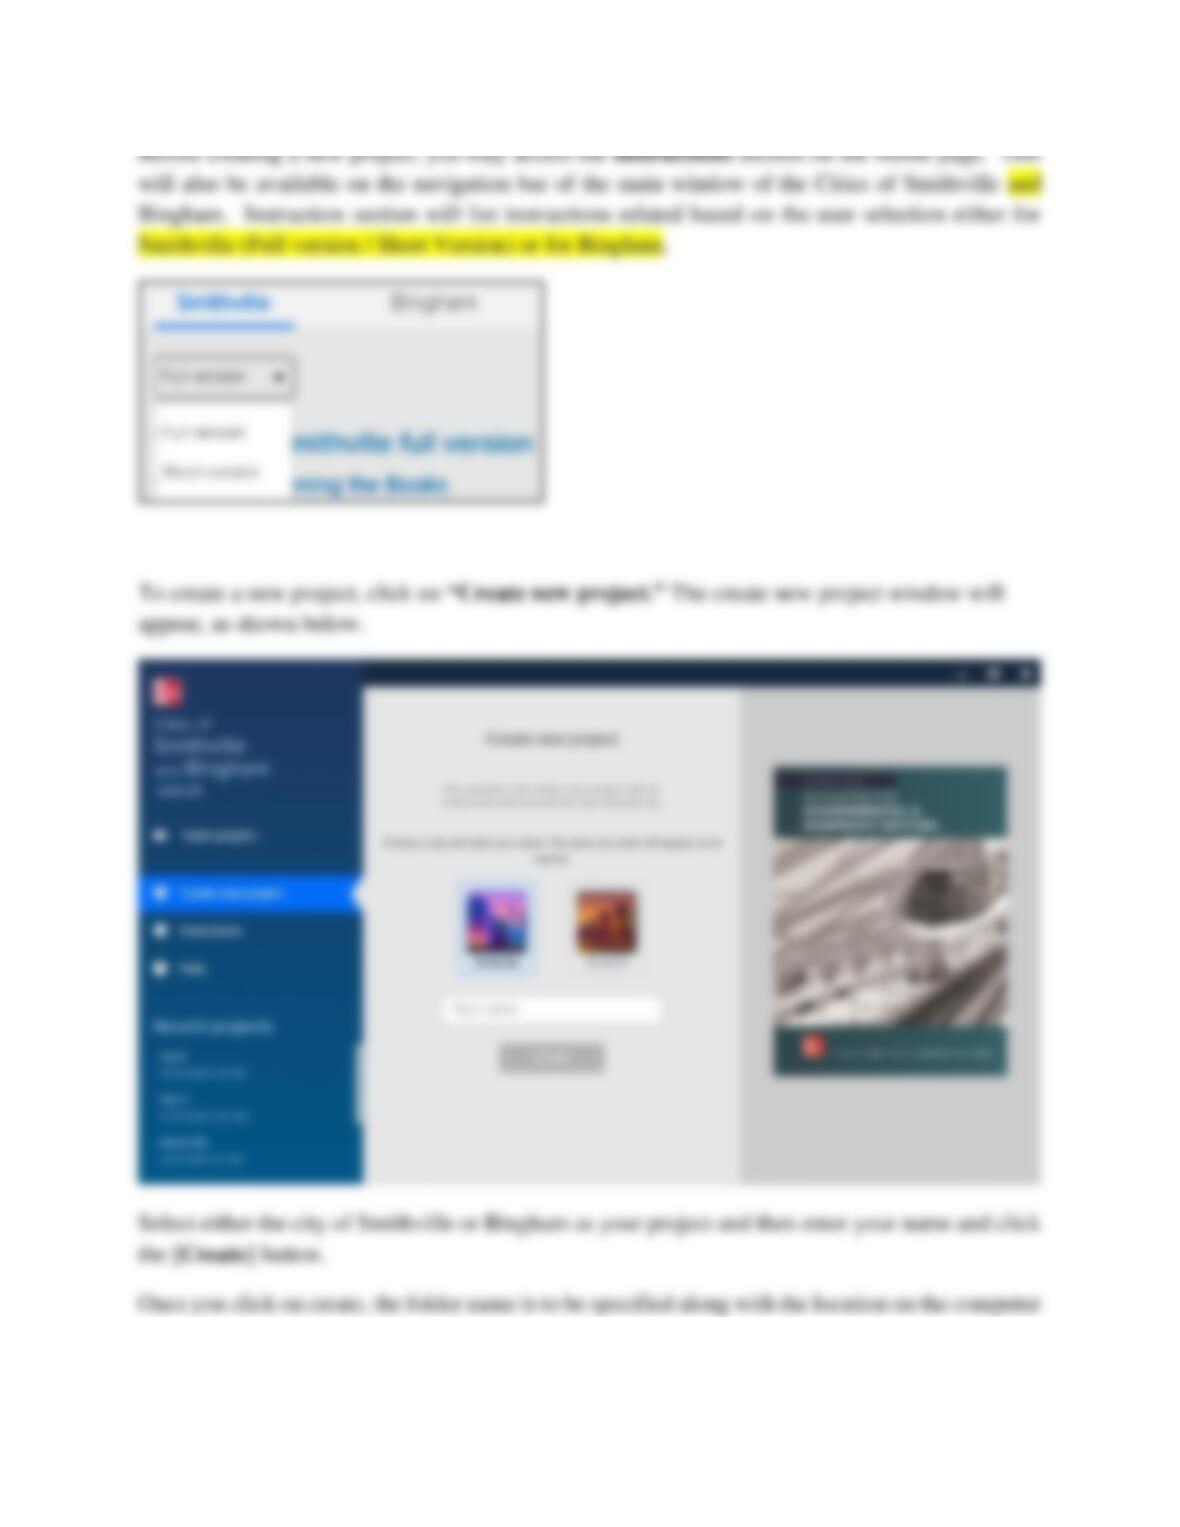
You will see a Help section (by default), once the application is opened. This Help section will
also be available on the navigation bar of the main window of the Cities of Smithville and
Bingham.
To change the default section to Create new project section, you need to uncheck the checkbox
where the file will reside. This will create a file on your computer.
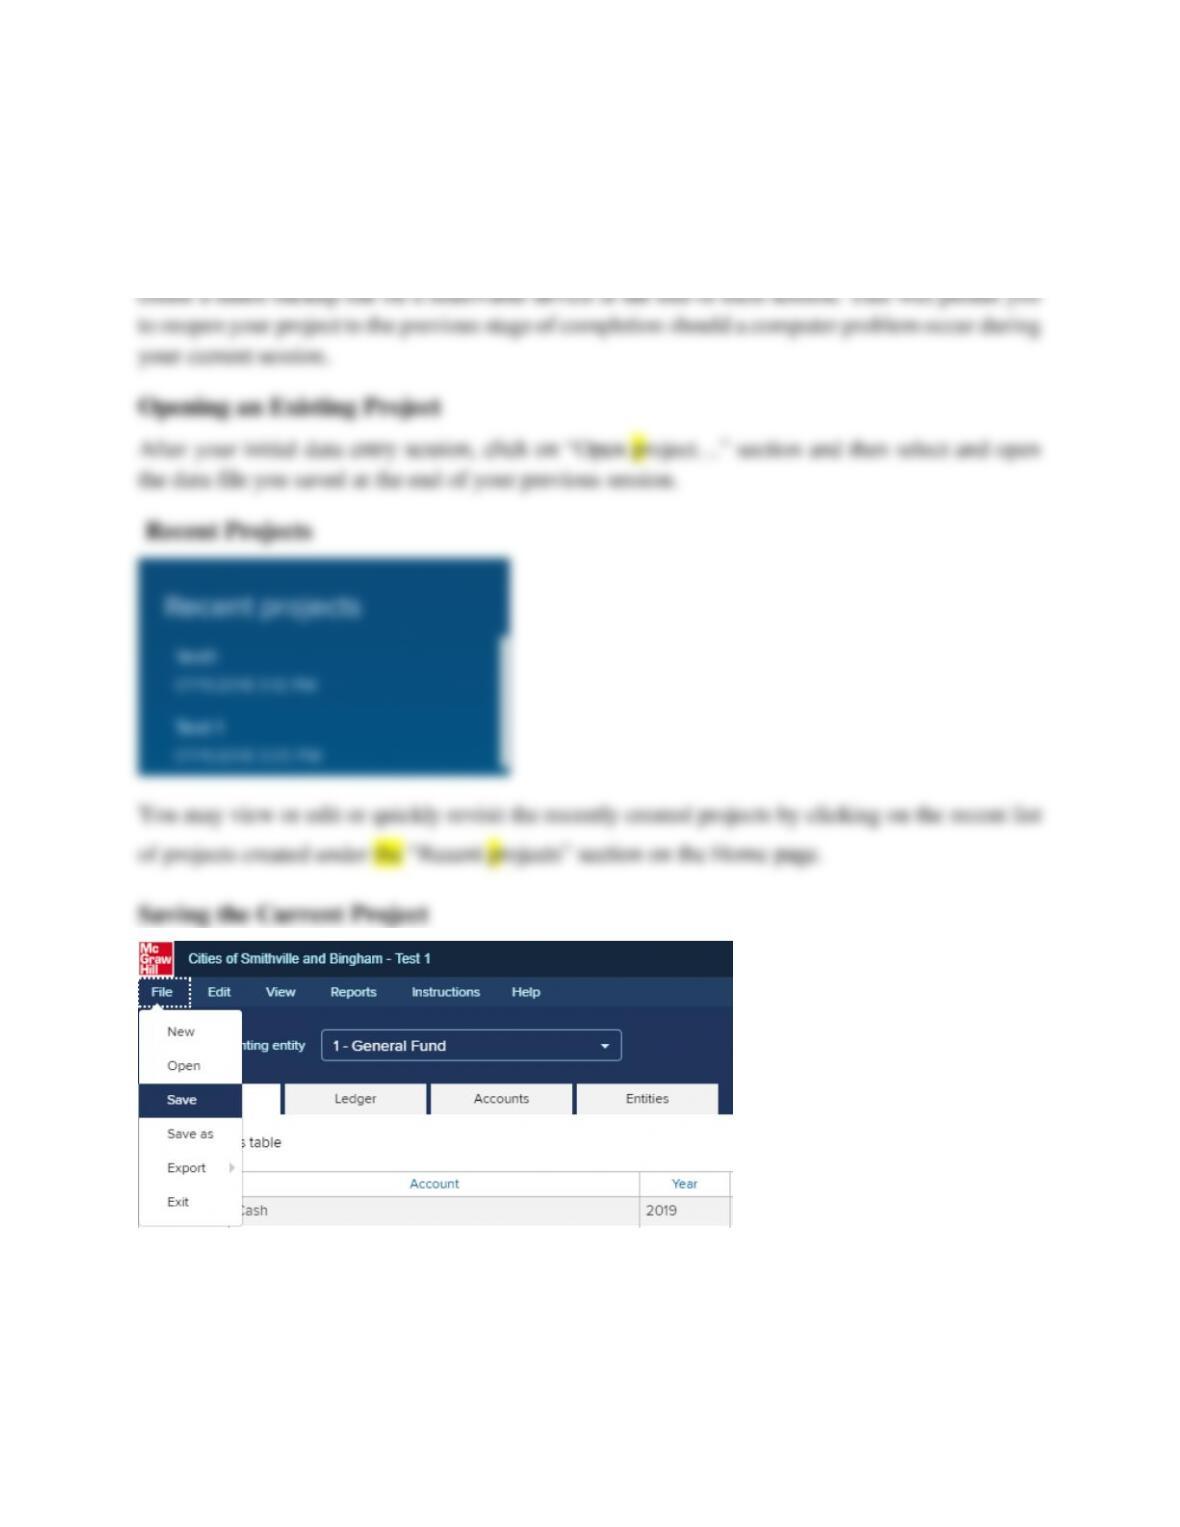
The main project window will pop-up once the project is created and you will be ready to begin
entering journal entry data for your first assignment, this data gets saved automatically on the
specified computer location.
For your own protection against hard-drive failure or file corruption, we recommend that you
This application automatically saves your work. However, at the end of each assignment, it is
recommended that you click on <File> and <Save As> to create a backup version of your file in
a secondary location such as a removable device or cloud storage. If a file name has already been
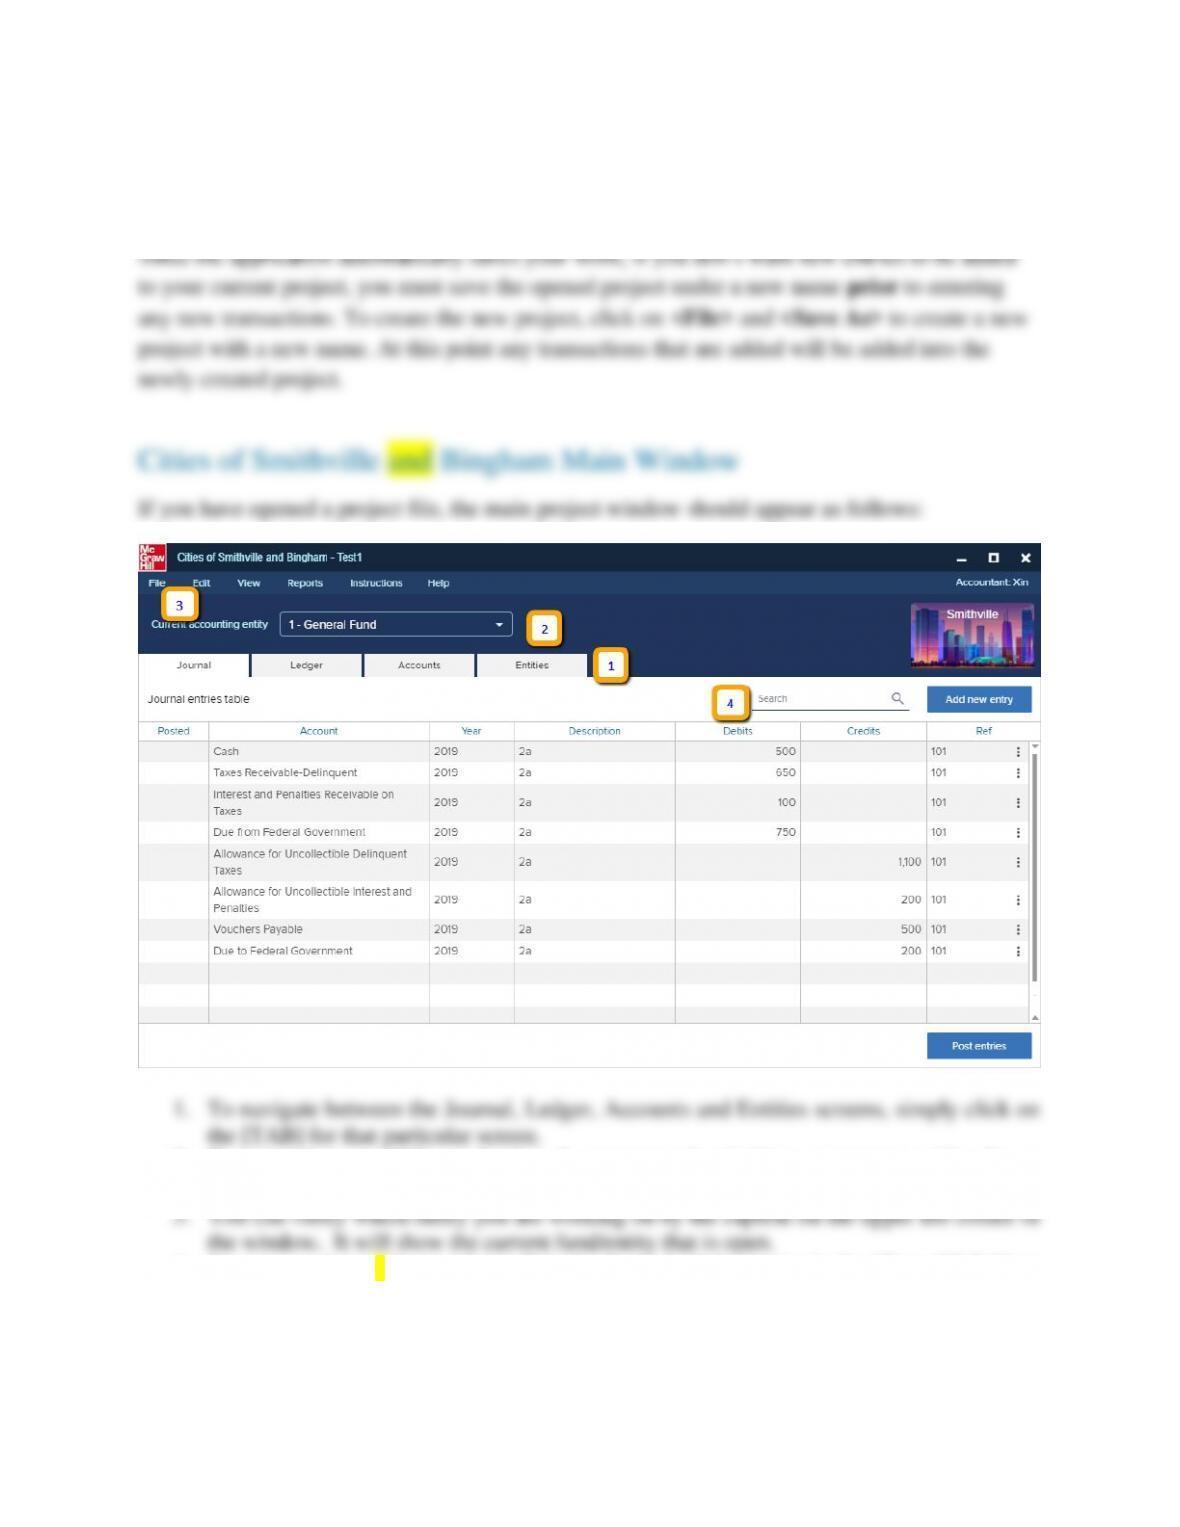
specified, the current file name should be displayed in the file name box but may be changed if
desired.
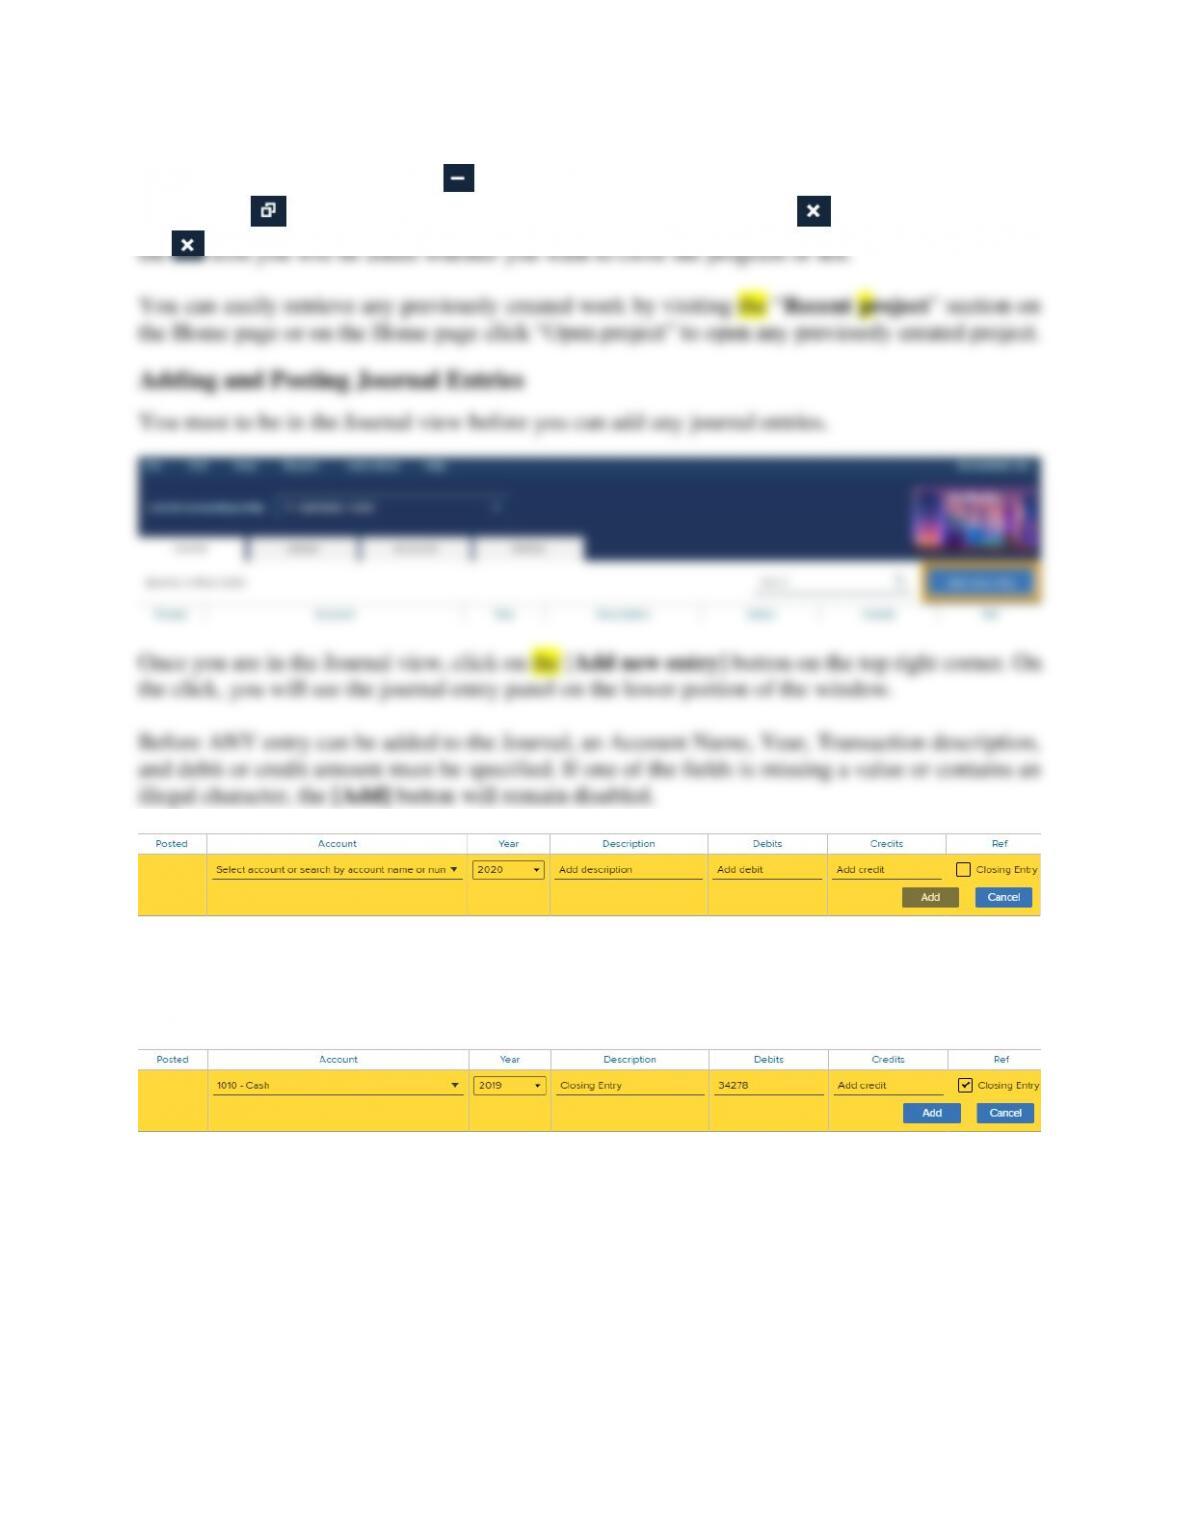
2. To switch between different funds and governmental activities, government-wide, choose
the desired entity from the drop-down menu.
4. You can perform a keyword search in the Journal tab by typing in the “Search” field on
this screen.
The main window has the same standard window controls as most other applications. To
minimize the screen click on the icon on the upper right corner. To maximize your screen,
click on the icon. To close down your project, simply click on the icon. If you click on
Once you have entered the necessary fields the [Add] button gets activated. Simply click on [Add]
to add the entry to the journal. If the entry being made is a closing entry, you must click on the
check mark for [Closing Entry]
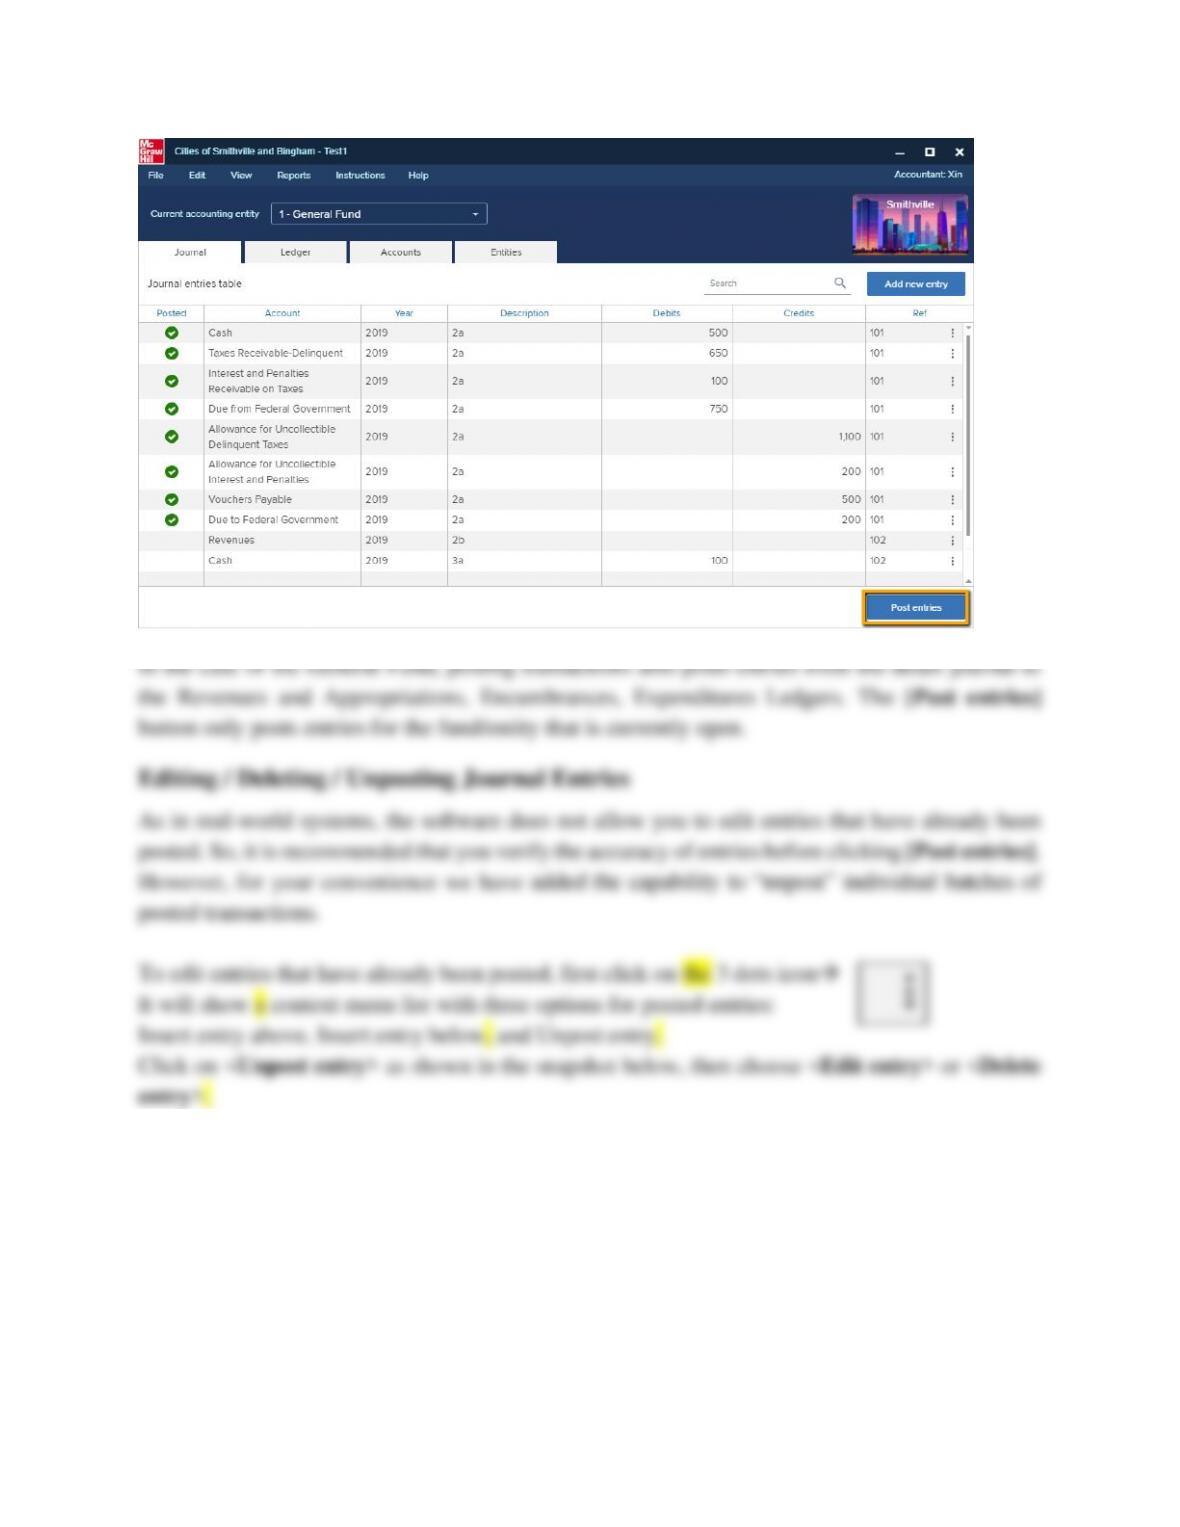
Once you have entered a batch of entries into the system, you can post them to the general ledger
at any time by clicking the [Post entries] button.
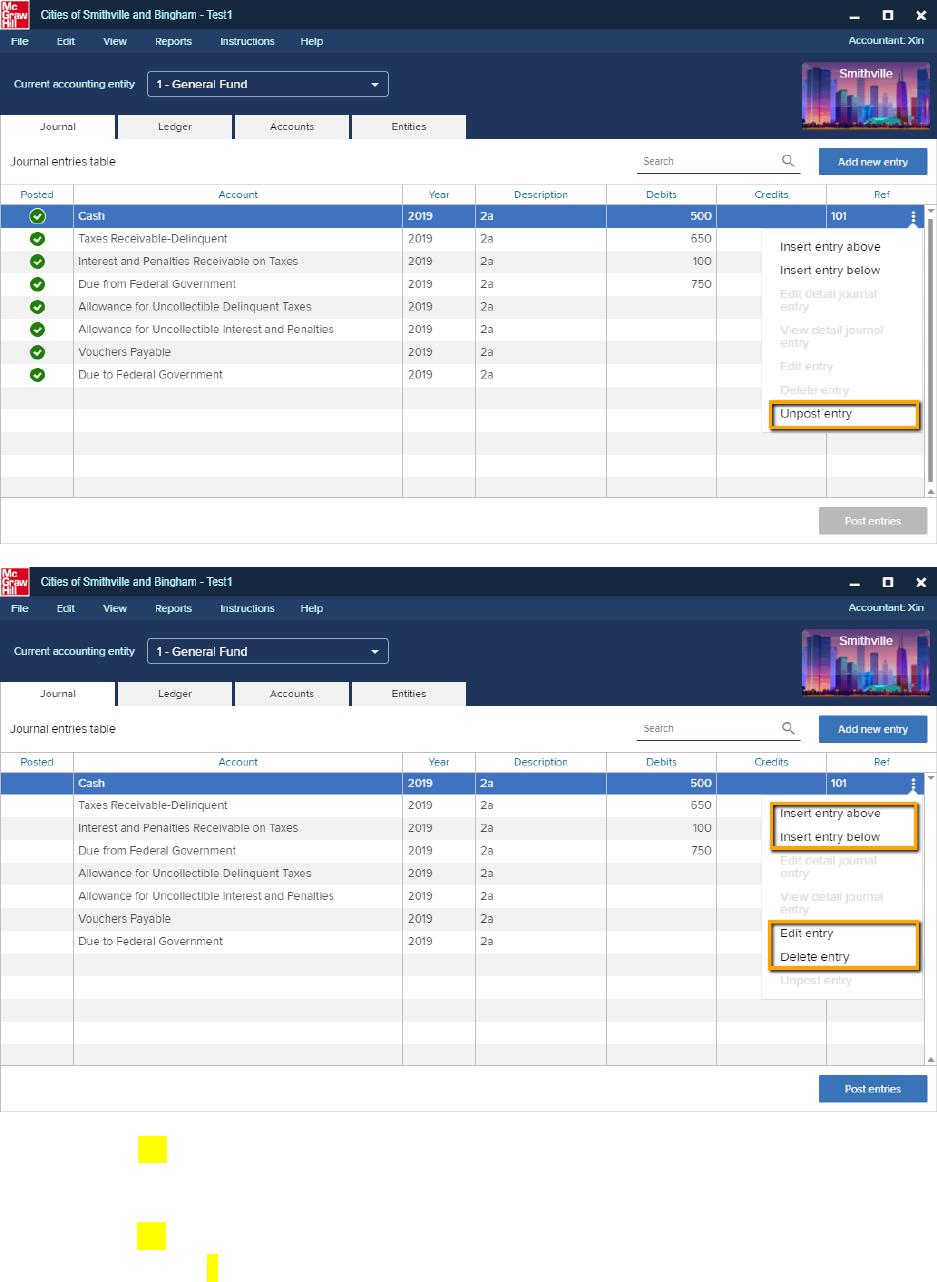
1. Select the <Edit entry> option to allow you to go in edit mode, once the entry is edited,
click the [Save] button to save the entry.
2. Select the <Delete entry> if you wish to delete an entry. It will prompt “Are you sure you
want to delete?” Click [Ok] to delete that journal entry or [Cancel] to cancel your action.