Contents
Procedures ………………………………………………………………………………………………………. 1
Standard Operating Procedures ………………………………………………………………………. 1
Power Procedures …………………………………………………………………………………………. 1
Chair Tilt Procedures ……………………………………………………………………………………… 2
Emergency Injury Procedures …………………………………………………………………………. 3
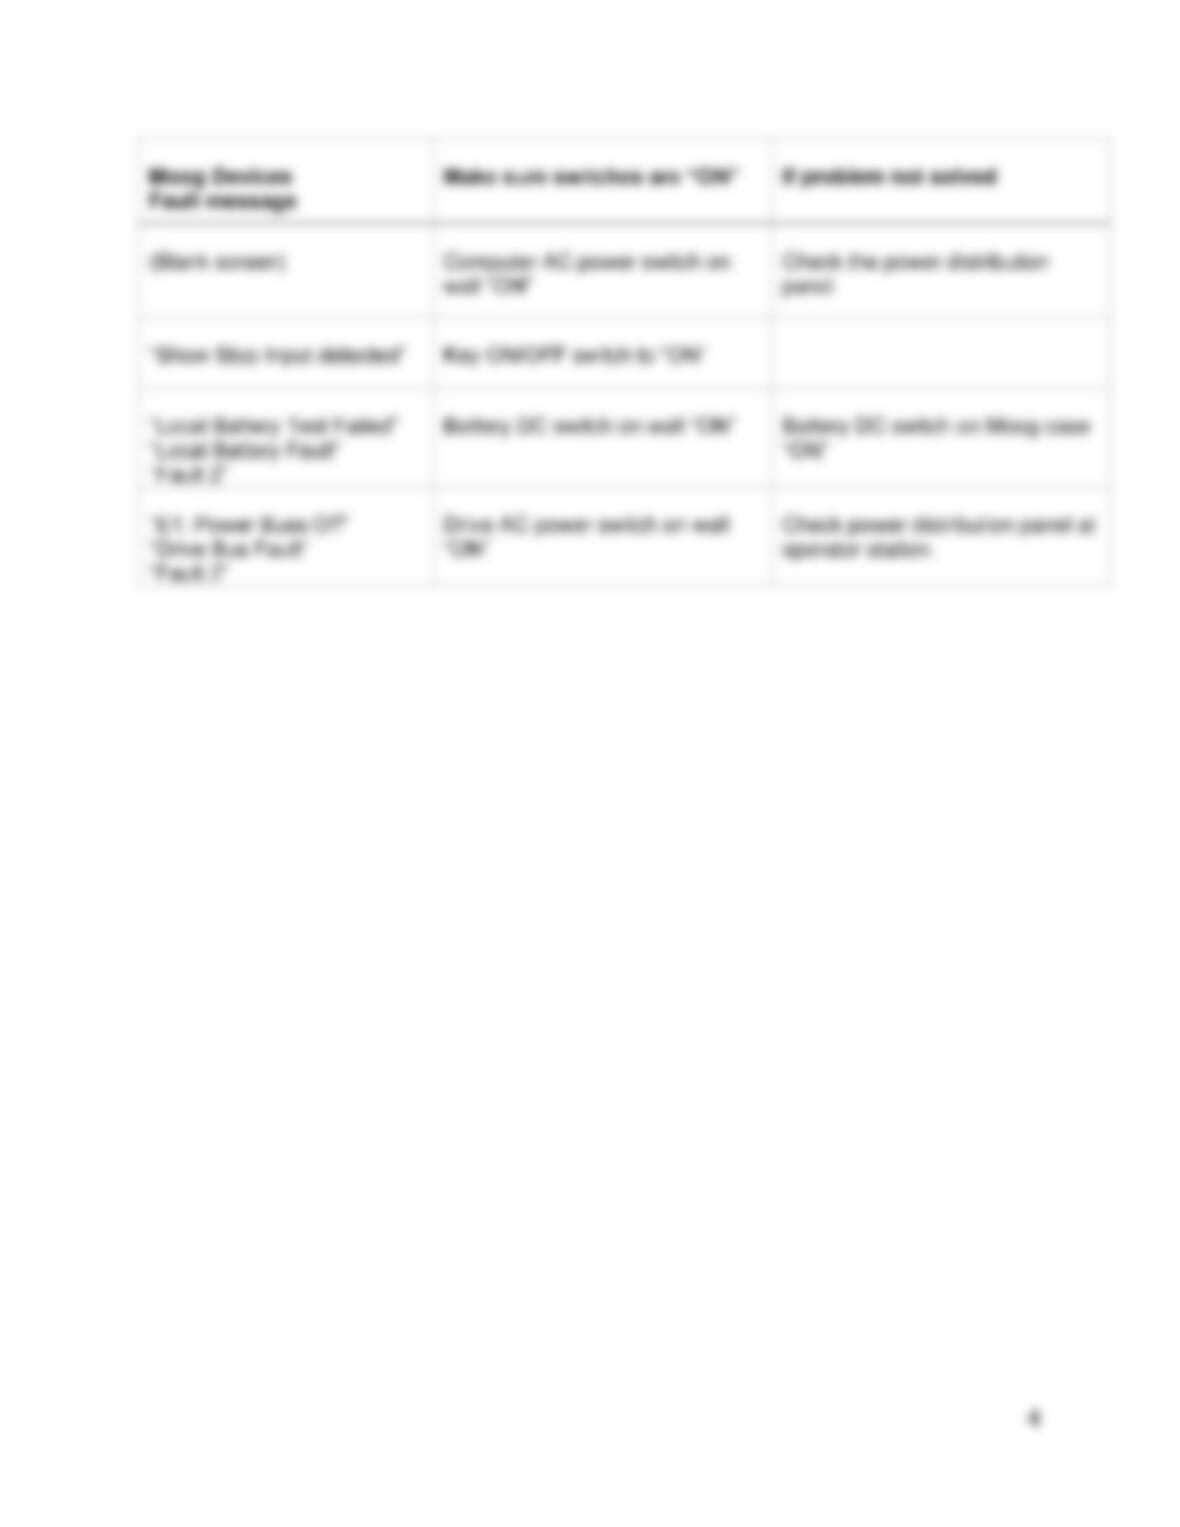
Moog Troubleshooting Check List ……………………………………………………………………. 3
Hardware …………………………………………………………………………………………………………. 5
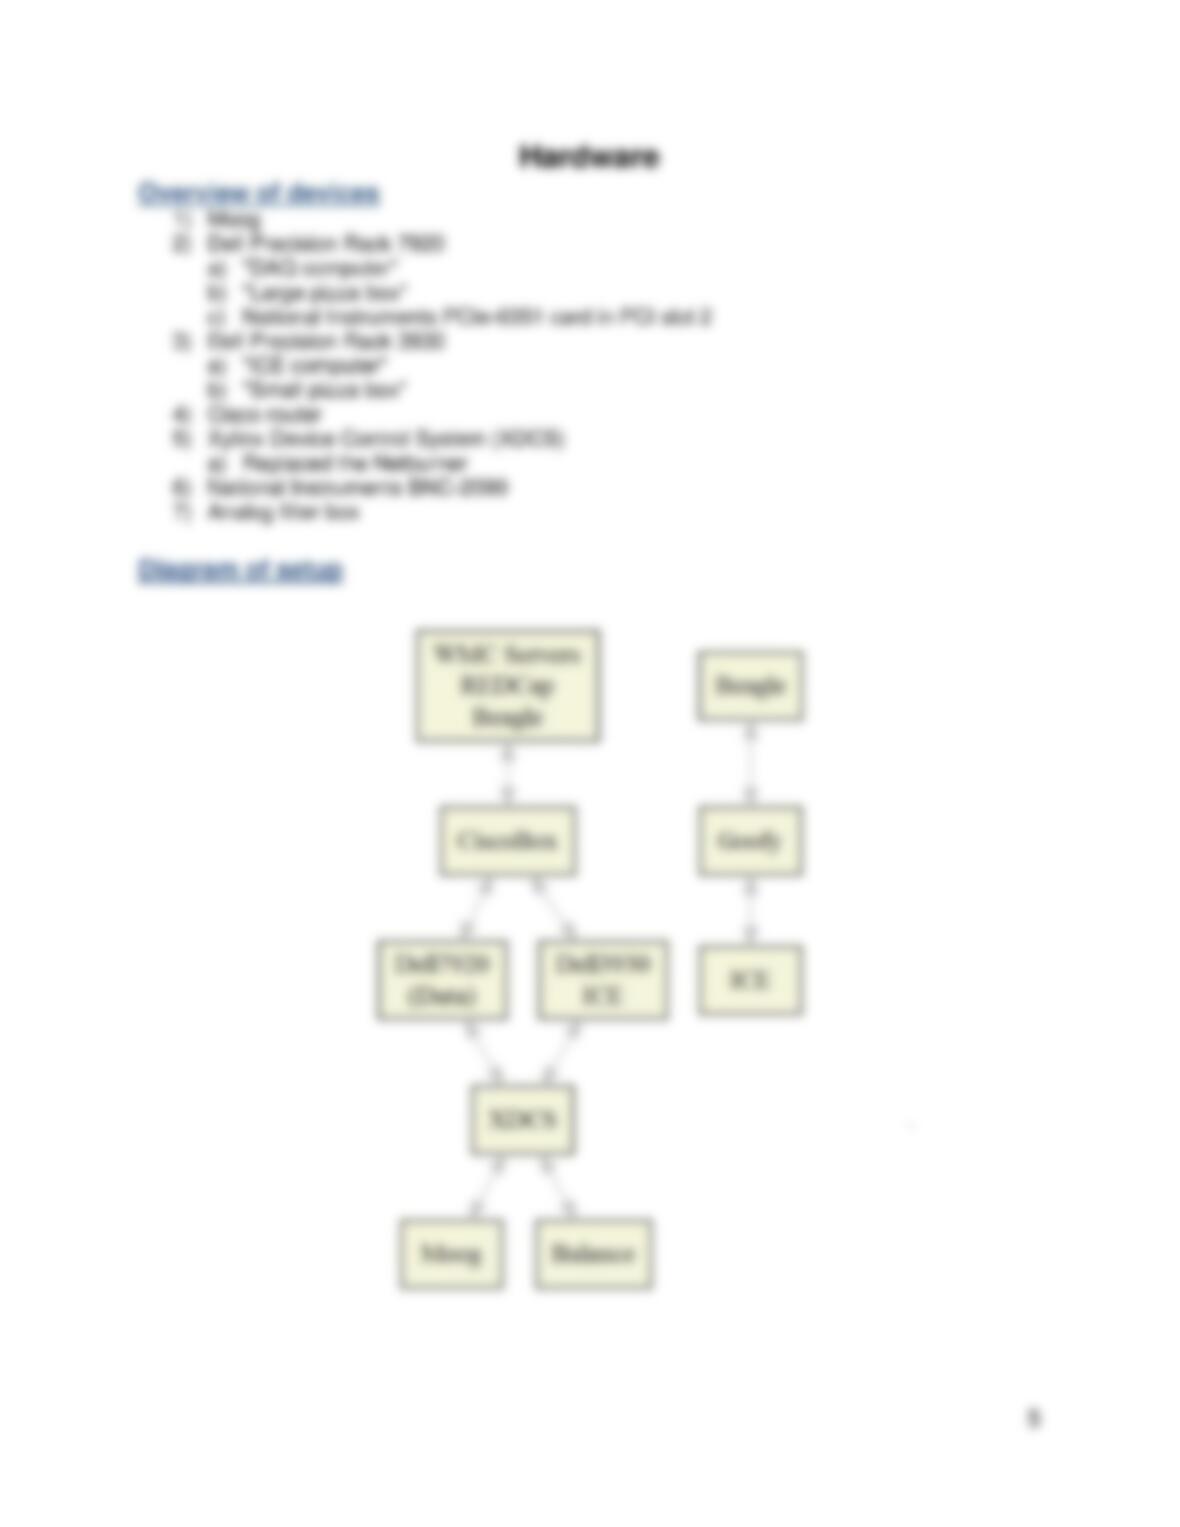
Overview of devices ……………………………………………………………………………………….. 5
Diagram of setup …………………………………………………………………………………………… 5
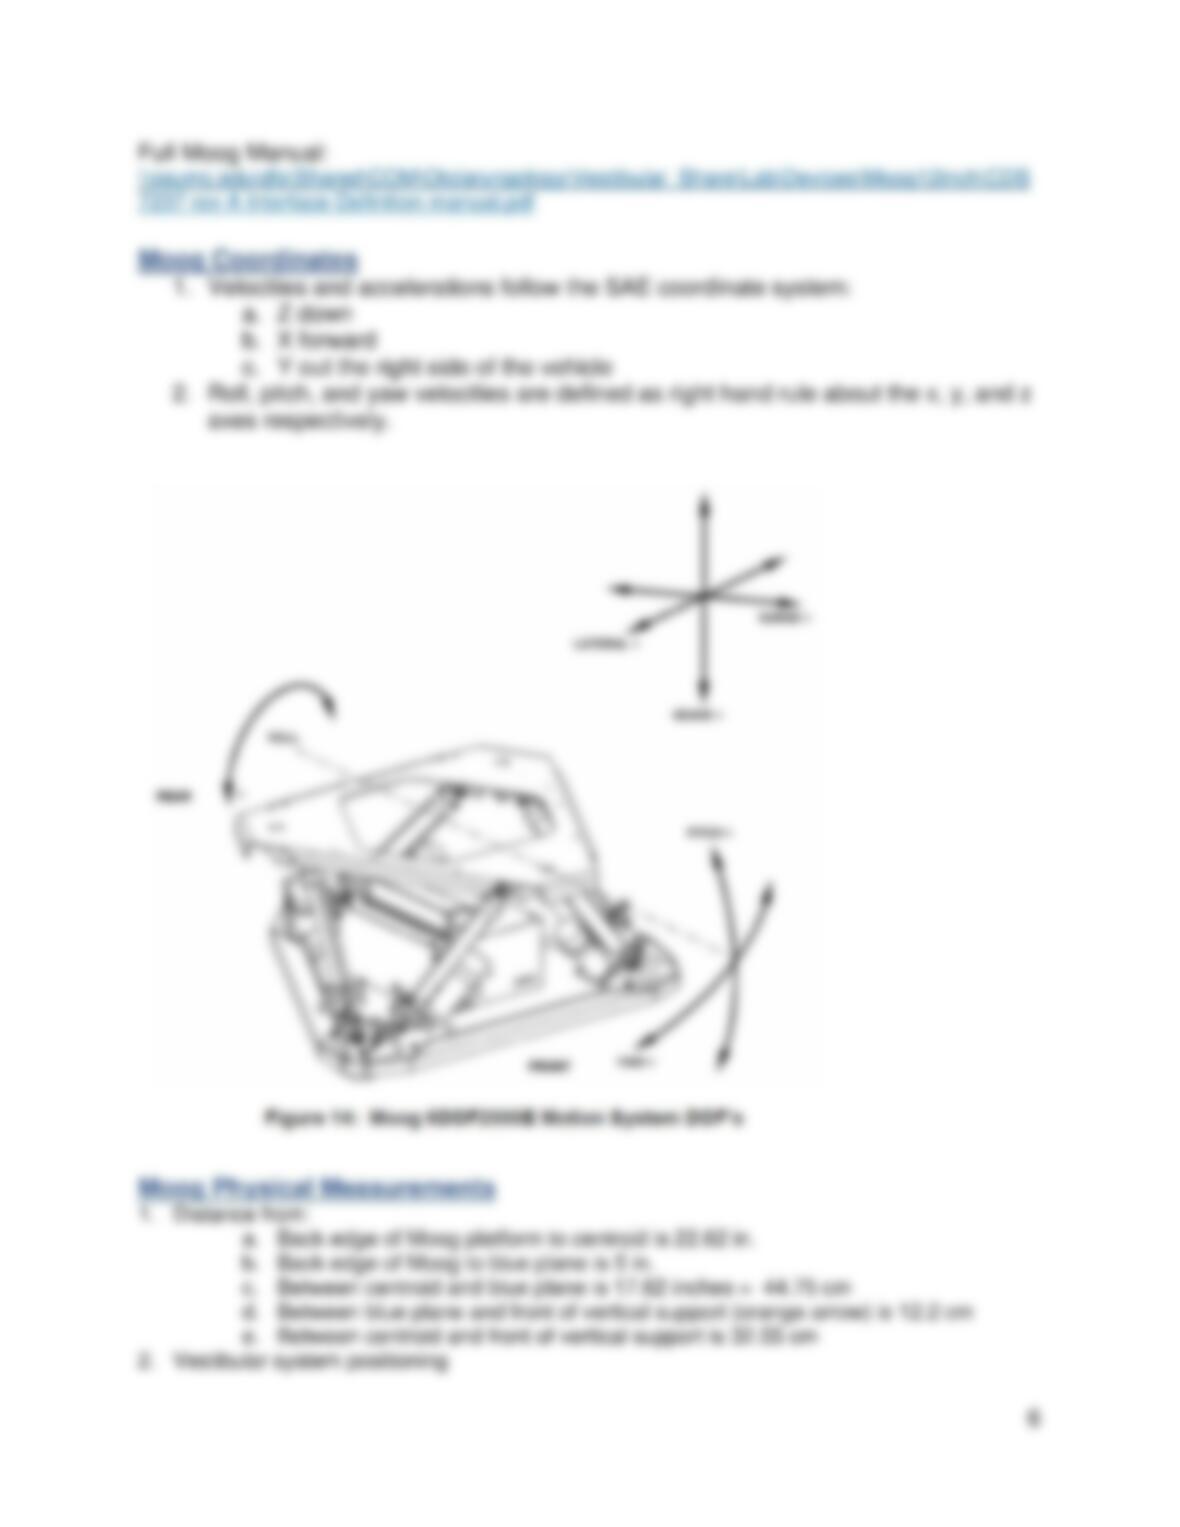
Moog Coordinates …………………………………………………………………………………………. 6
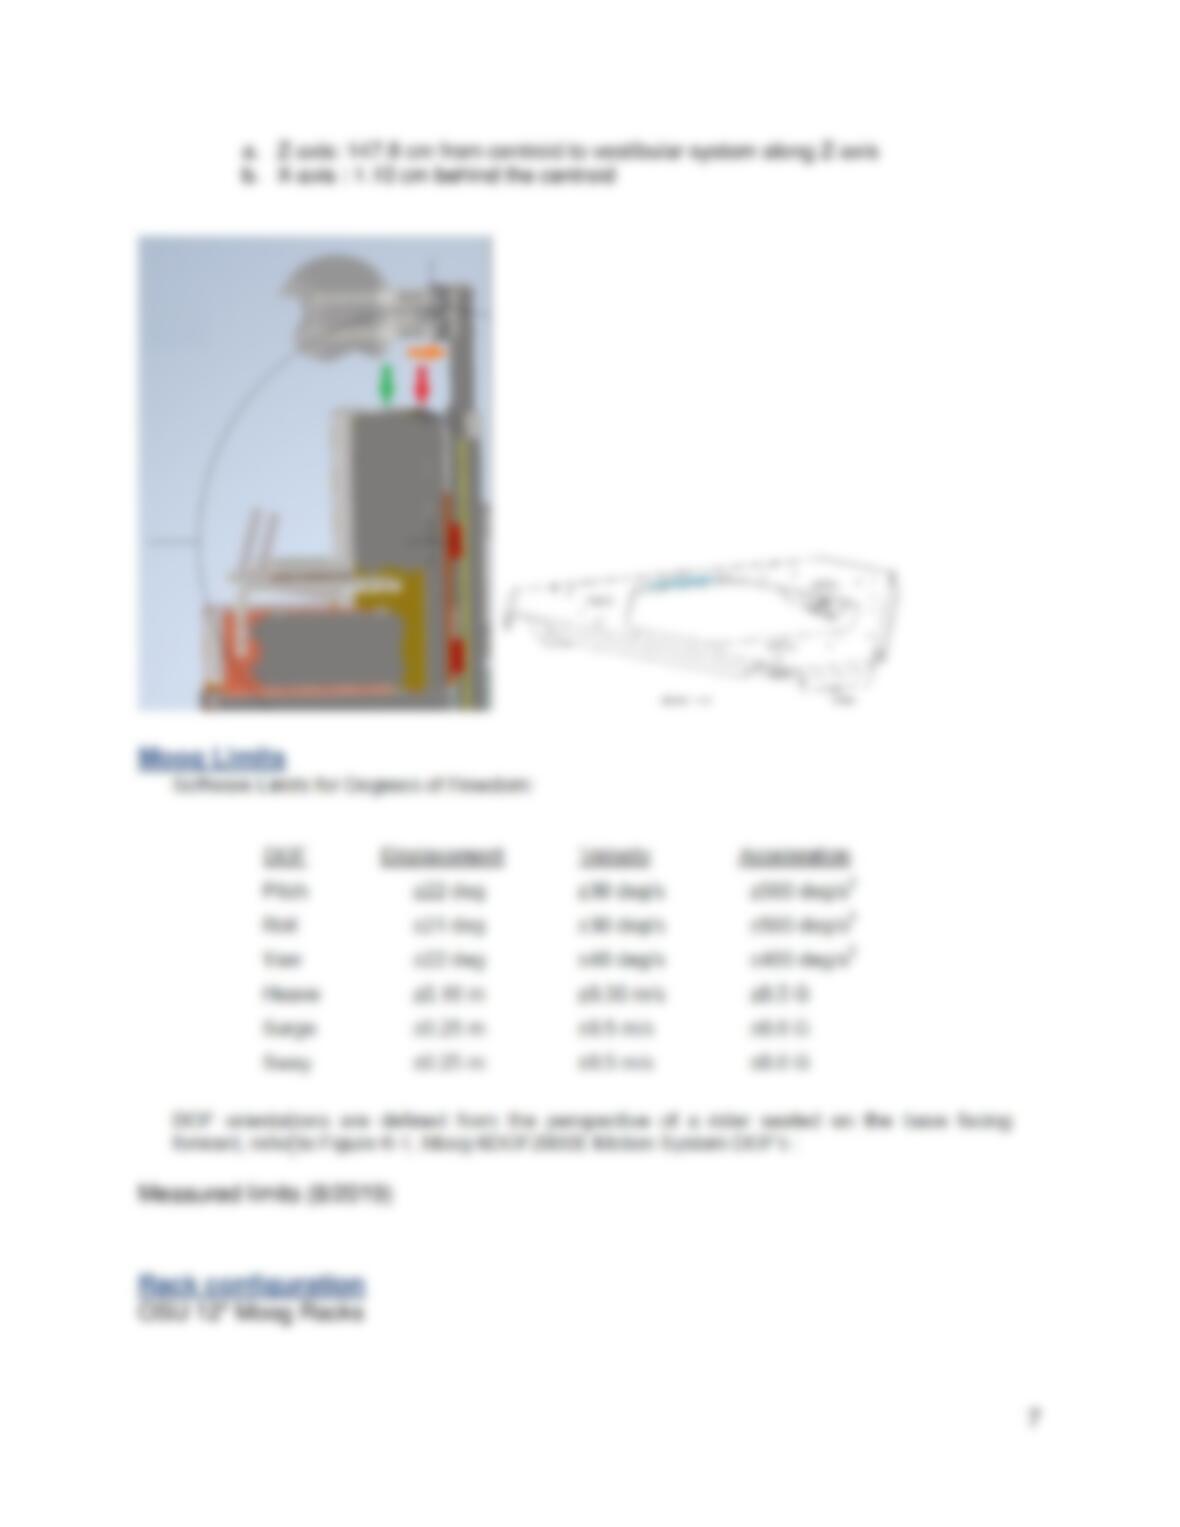
Moog Physical Measurements …………………………………………………………………………. 6
Moog Limits ………………………………………………………………………………………………….. 7
Rack configuration …………………………………………………………………………………………. 7
Software ………………………………………………………………………………………………………….. 9
Overview of applications …………………………………………………………………………………. 9
Garage and DAQ FAQs ………………………………………………………………………………… 10
Quick-start Guide for Collecting Data with the DAQ.vi and Converting Data with
MATLAB …………………………………………………………………………………………………….. 11
Commands for controlling the Moog through DOS interface ………………………………. 13

1
Procedures
Standard Operating Procedures
(Reviewed July 17, 2019)
Every Time the Moog 6 DOF platform is used:
1. Verify that no objects have been moved into the motion envelope. Repeat this check both
before and after the subject is in the chair, as well as each time you manually change
subject orientation during a testing protocol.
2. Before every test, as close to the test time as feasible, run through at least 3 of the motion
profiles to verify that the equipment is working properly.
a. Acquire data to verify that both the system and the data acquisition are working
properly.
3. Make sure that all applicable safety systems are operational.
4. Log all tests in the logbook.
5. Each of the above steps must be part of each experiment’s checklist! Use of a written
checklist is mandatory for all human subject testing.
For all new test protocols or motion profiles
1. All new computer-generated motion profiles should be tested without a subject prior to
human testing.
a. Acquire data, both command signals as well as performance signals (e.g.,
velocity, position, current monitor, etc.), to verify that the device performs as
expected.
2. For all new or different subject orientations (e.g., supine) or device configurations (i.e.,
new chair), or non–threshold device motions, the device should be tested with a “dummy”
subject weighing at least 25% more than the heaviest human to be tested.
a. For threshold testing, the device should be tested with a “dummy” subject
weighing at least 10% more than the heaviest human to be tested. Weight should
be distributed as much like a human as possible.
b. Test should replicate all motion profiles that yield maximal displacements,
velocities, and/or accelerations.
c. The test plan should be outlined in writing and approved by the Lab Director or
the Lab Engineer prior to the initiation of the test.
3. Transfer and archive data after testing. To same location, transfer and archive ICE and
DAQ protocols used.
4. Safety testing must be performed every 5 years for all active threshold test protocols.
a. Safety testing should be performed every 48 months for all other active test
protocols.
Power Procedures
To power up:
1. Turn the battery switch on.
Then, shortly thereafter
2. Turn the Moog computer power switch on and
3. Turn the Moog high power on
To power down:

2
1. At about the same time (i.e., within 10 s or so),
1. Turn the Moog computer power switch off
2. Turn the Moog high power off
Then, shortly thereafter,
2. Turn the battery power switch to off
Chair Tilt Procedures
1. Upright, yaw rotations
a. Lock slide clamps. Remove bolts B and C. Rotate as desired, replace relevant bolts
(depends on direction).
i. Currently, the chair can be locked in yaw rotation at 45 or 90 degrees in the
direction of facing the Markham room, or 45 degrees facing the opposite wall.
b. Upright, seat lift mechanism: The hand crank on the back of the chair moves the seat
up or down with respect to the frame that the chair sits on. The helmet is on the
frame and therefore stays fixed.
i. Turn the crank counterclockwise to raise the seat (bringing the subject’s head
higher toward the helmet) or clockwise to lower the seat (lower the subject’s
head with respect to the helmet).
2. 90 degree tilt (from upright, to supine)
a. If alone, follow procedure for removing subject from the chair. Once empty, move
chair to the middle of the sliding rails. Lock slide clamps. Remove both T-handle
hitch pins (requires lifting the foot end of the chair slightly to relieve pressure on the
pins).
i. Pull frame from the crossbar that supports the helmet. Shortly after the chair
begins to move, prepare to “catch” it as gravity will soon be pushing it into the
supine position. Rest it gently in supine and replace both hitch pins.
Reposition chair on sliders if needed.
b. With two people, it’s still recommended that you remove the subject from the chair.
Once empty, move chair to the middle of the sliding rails. Lock slide clamps.
Remove both T-handle hitch pins (requires lifting the foot end of the chair slightly to
relieve pressure on the pins).
i. Position one lab member on each side of the chair (left/right), both with one
hand on the foot rest and the other on the helmet posts. Begin tilting toward
supine. Shortly after the chair begins to move, prepare to “catch” it as gravity
will soon be pushing it into the supine position. Rest it gently in supine and
replace both hitch pins. Reposition chair on sliders if needed.
3. Yaw rotations while tilted
a. Lock slide clamps. Remove bolts B and C. Rotate as desired, replace relevant bolts
(depends on direction). Compared to upright, there is slightly more resistance to yaw
rotation when the chair is in supine. (Make sure two lab members are present to
rotate smoothly!)
i. Currently, the chair can be locked in yaw rotation at 45 or 90 degrees right-
ear-down, or 45 degrees left-ear-down.
4. 90 degree tilt (from supine, to upright)
a. If alone, follow procedure for removing subject from the chair. Once empty, move
chair to the middle of the sliding rails. Lock slide clamps. Remove both T-handle
hitch pins (requires lifting the head end of the chair slightly to relieve pressure on the
pins). Lift frame from the crossbar that supports the helmet.
i. As is moves toward the upright position, it will eventually start to accelerate
in that direction, so be prepared to “catch” it. Rest it gently in upright and
replace both hitch pins. Reposition chair on sliders if needed.
b. With two people, it’s still recommended that you remove the subject from the chair.
Once empty, move chair to the middle of the sliding rails. Lock slide clamps.
Remove both T-handle hitch pins (requires lifting the head end of the chair slightly to
relieve pressure on the pins).
i. Position one lab member on each side of the chair (left/right), both with one
hand on the foot rest and the other on the helmet posts. As is moves toward
the upright position, it will eventually start to accelerate in that direction, so be
prepared to “catch” it. Rest it gently in upright and replace both hitch pins.
Reposition chair on sliders if needed.
Emergency Injury Procedures
(Reviewed July 24, 2018)
In case of a wounded subject or operator:
MINOR
(small cut…)
Subject can safely walk
1. Provide medical supplies (e.g., pain relief,
band-aids) as desired or needed.
2. If subject/patient desires, have ENT doctor
or nurse evaluate.